
This guide explains how to install, configure, and run Spark with the NVIDIA RAPIDS Accelerator on your cluster environment.
Prerequisites
Ensure you have access to a cluster with GPU nodes and required permissions.
Java, Hadoop, Spark, and Hive are already installed and accessible on your environment.
CUDA libraries compatible with your RAPIDS version are installed.
Method A: Install RAPIDS Using Ambari Mpack
Spark RAPIDS is bundled with the Spark3 Ambari Mpack. Refer to the https://docs.acceldata.io/odp/odp-3.3.6.2-1/documentation/odp-working-with-ambari-management-packs#spark-3 documentation for installing the Spark3 Mpack. Once installed, refer to these steps:
Open the Ambari UI, navigate to Menu -> Services.
Click the ellipsis menu (⋯) in the top-right corner.
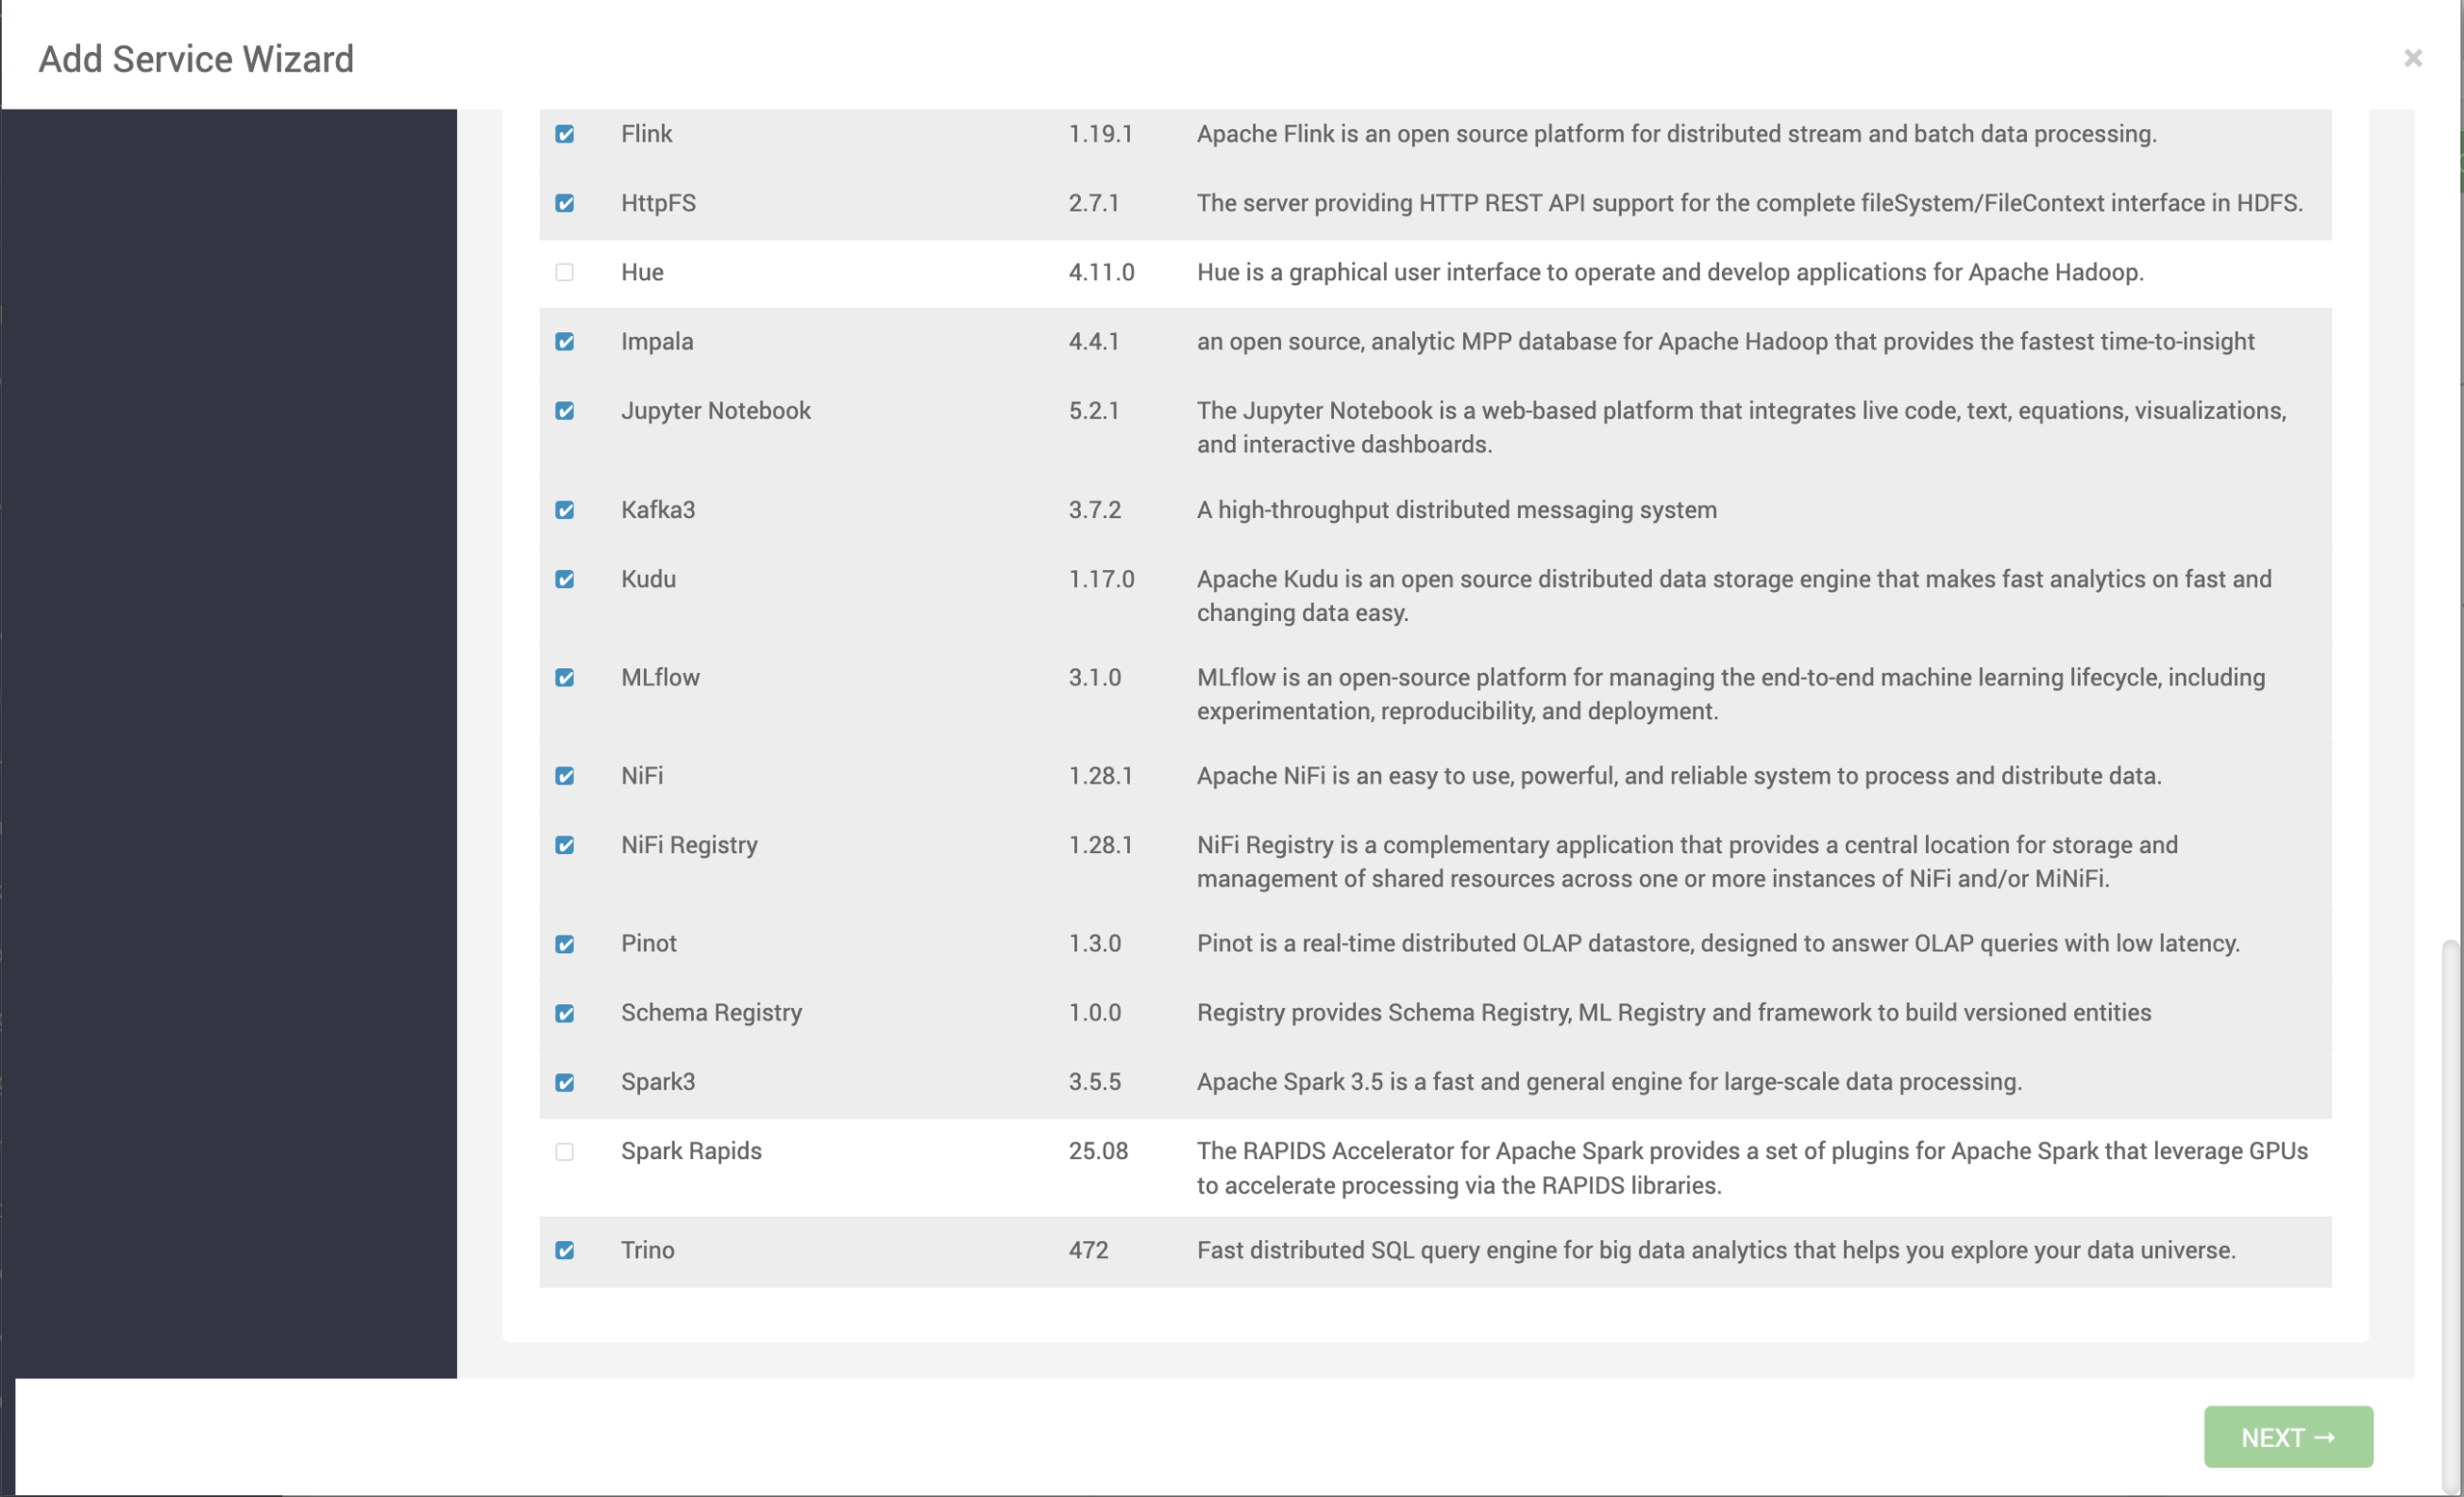
Select Add Service. The list of services appears on the screen.
Select Spark Rapids and click Next.
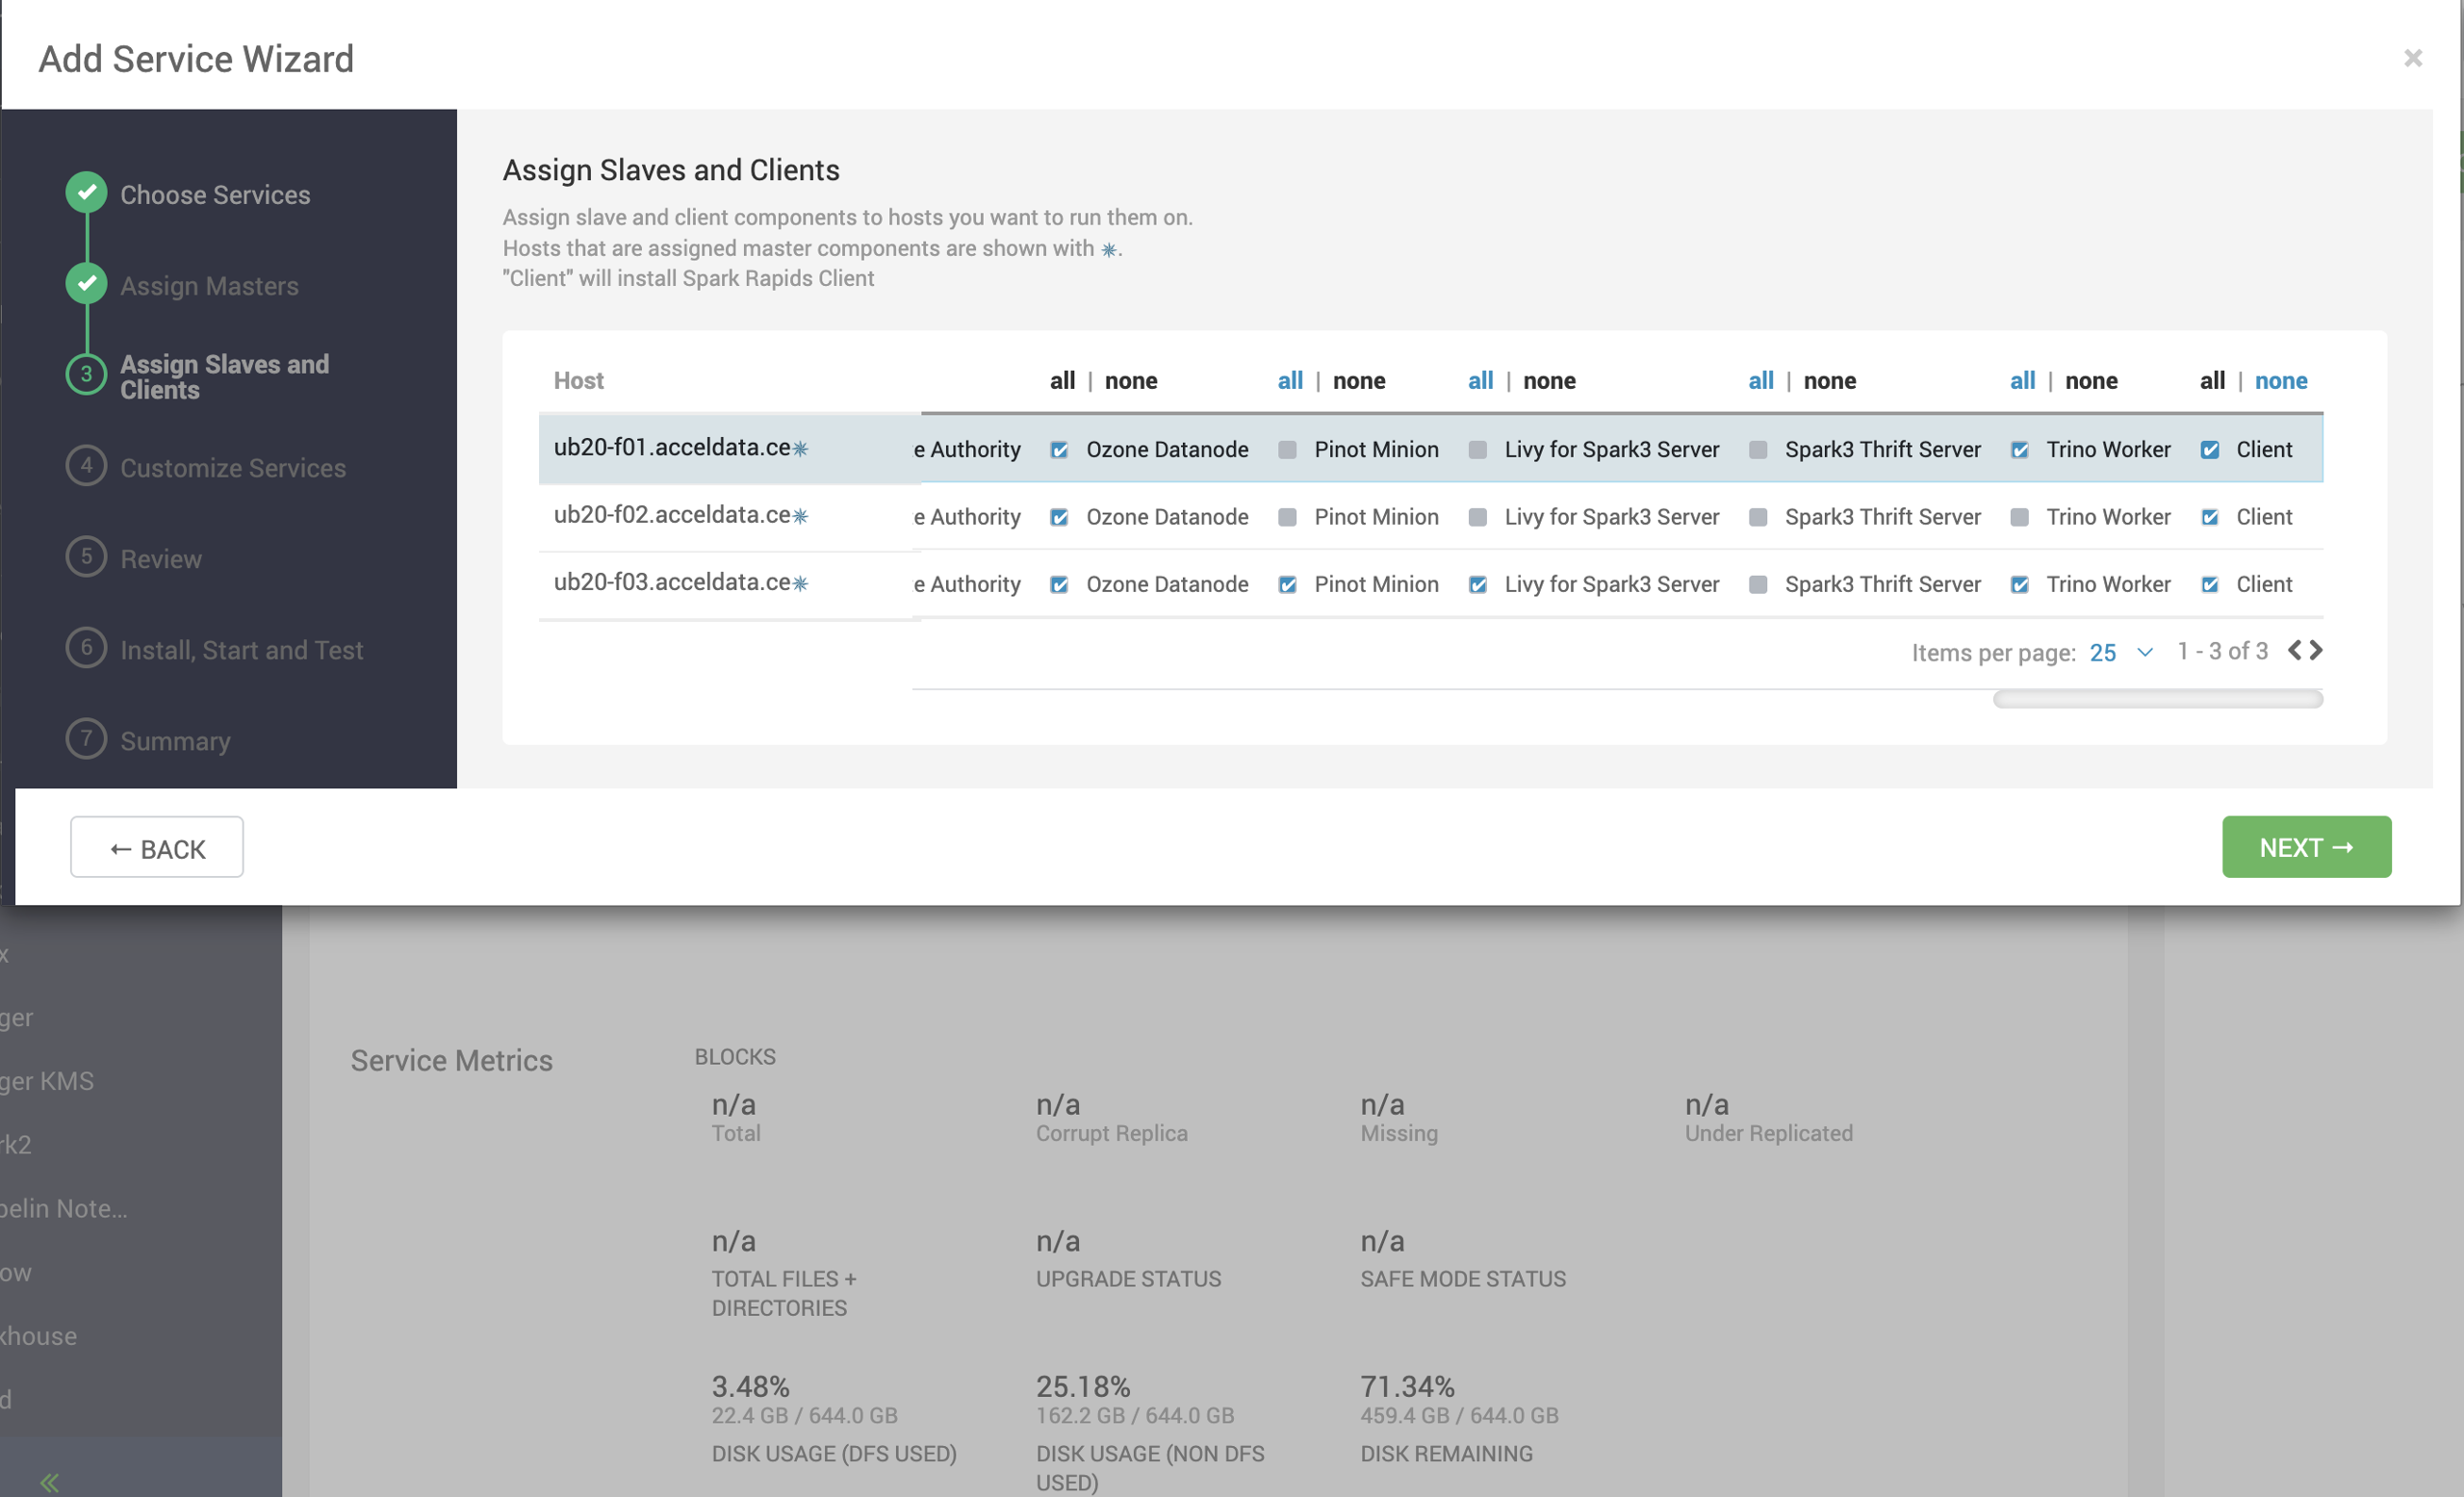
On the Assign Slaves and Clients page, select nodes where you want to install the Spark Rapid Client and click Next.
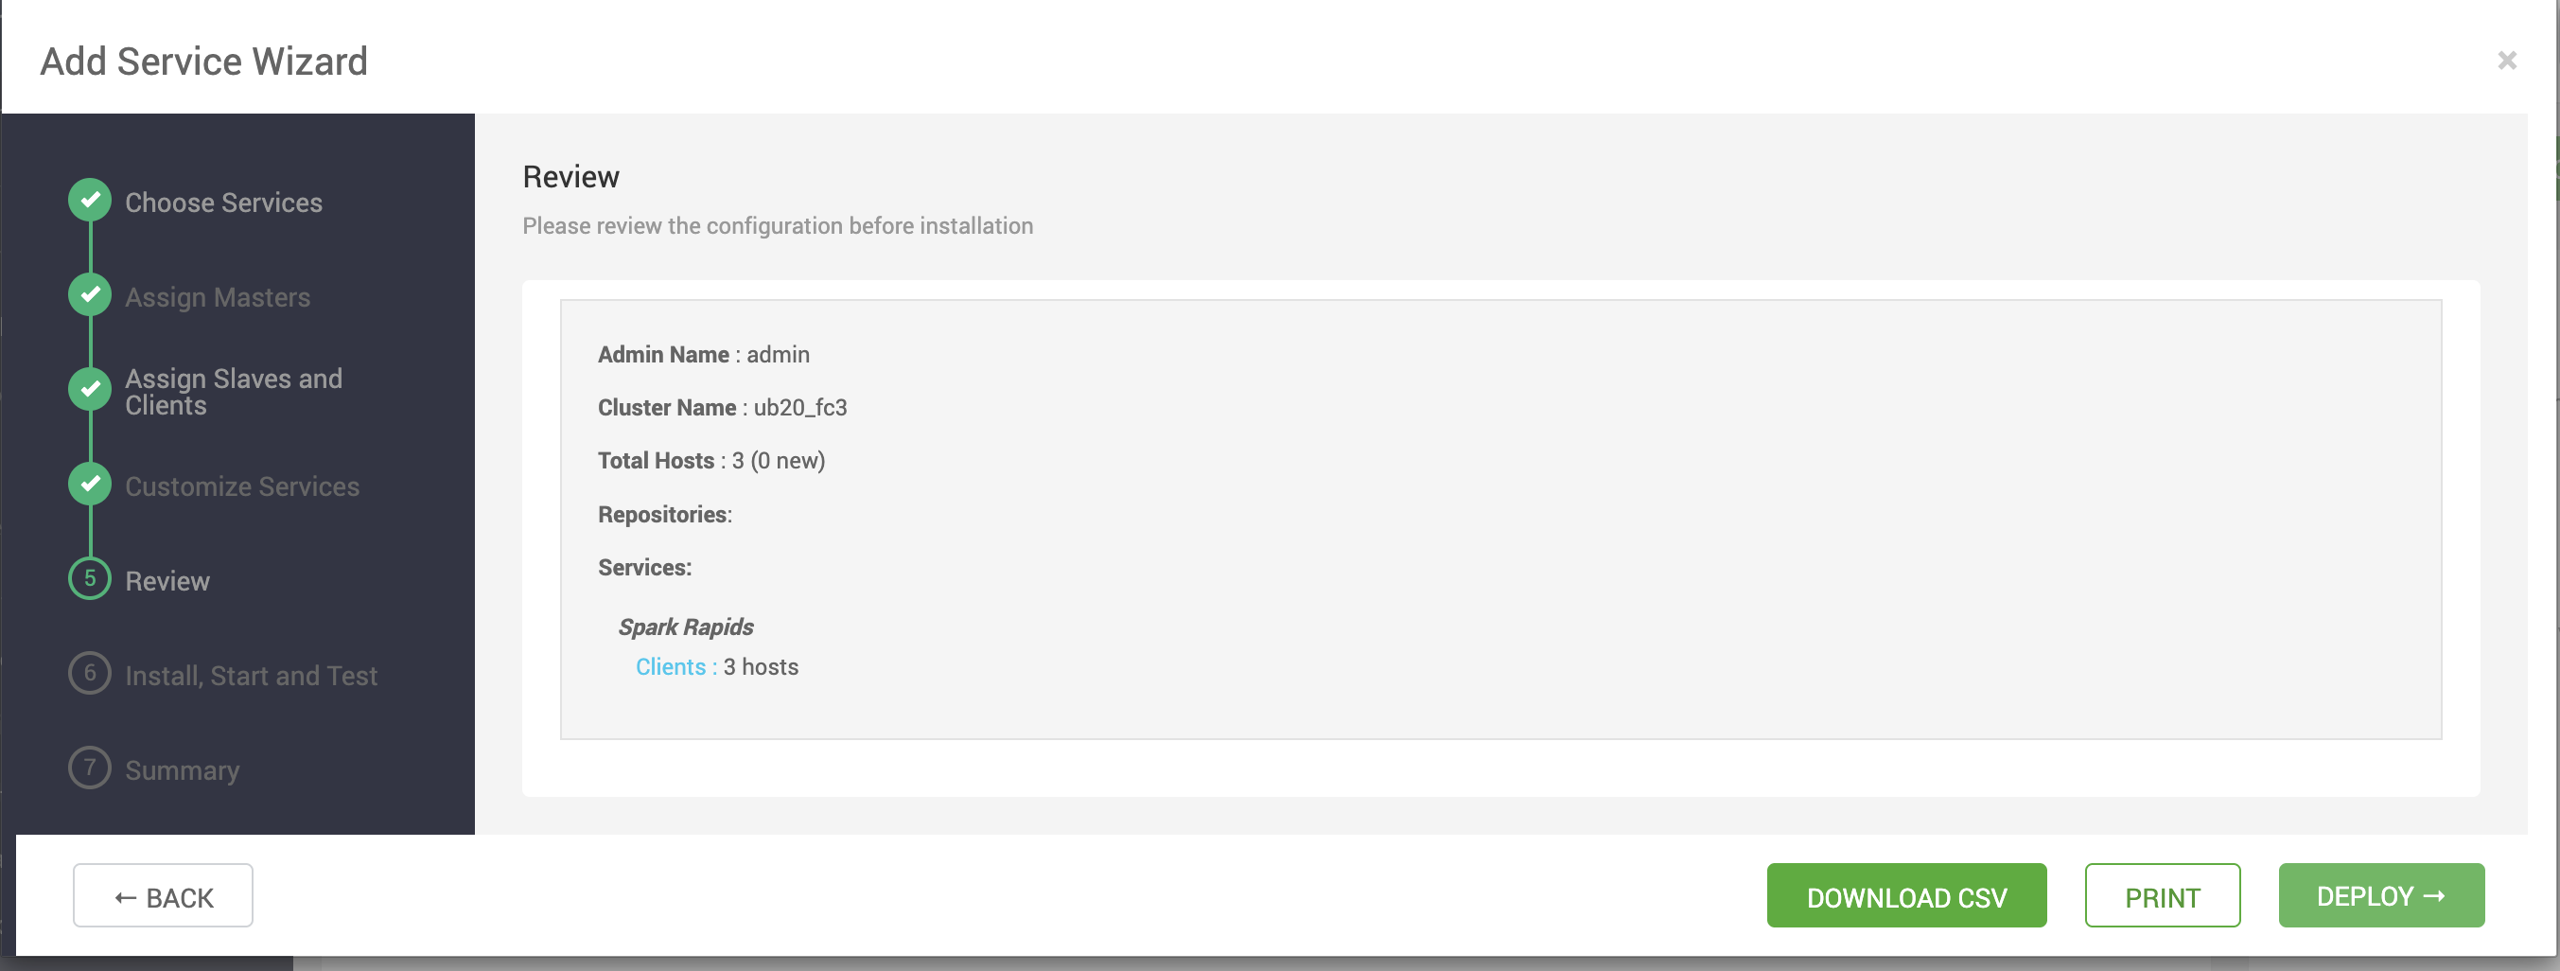
Review the configuration and click Deploy.
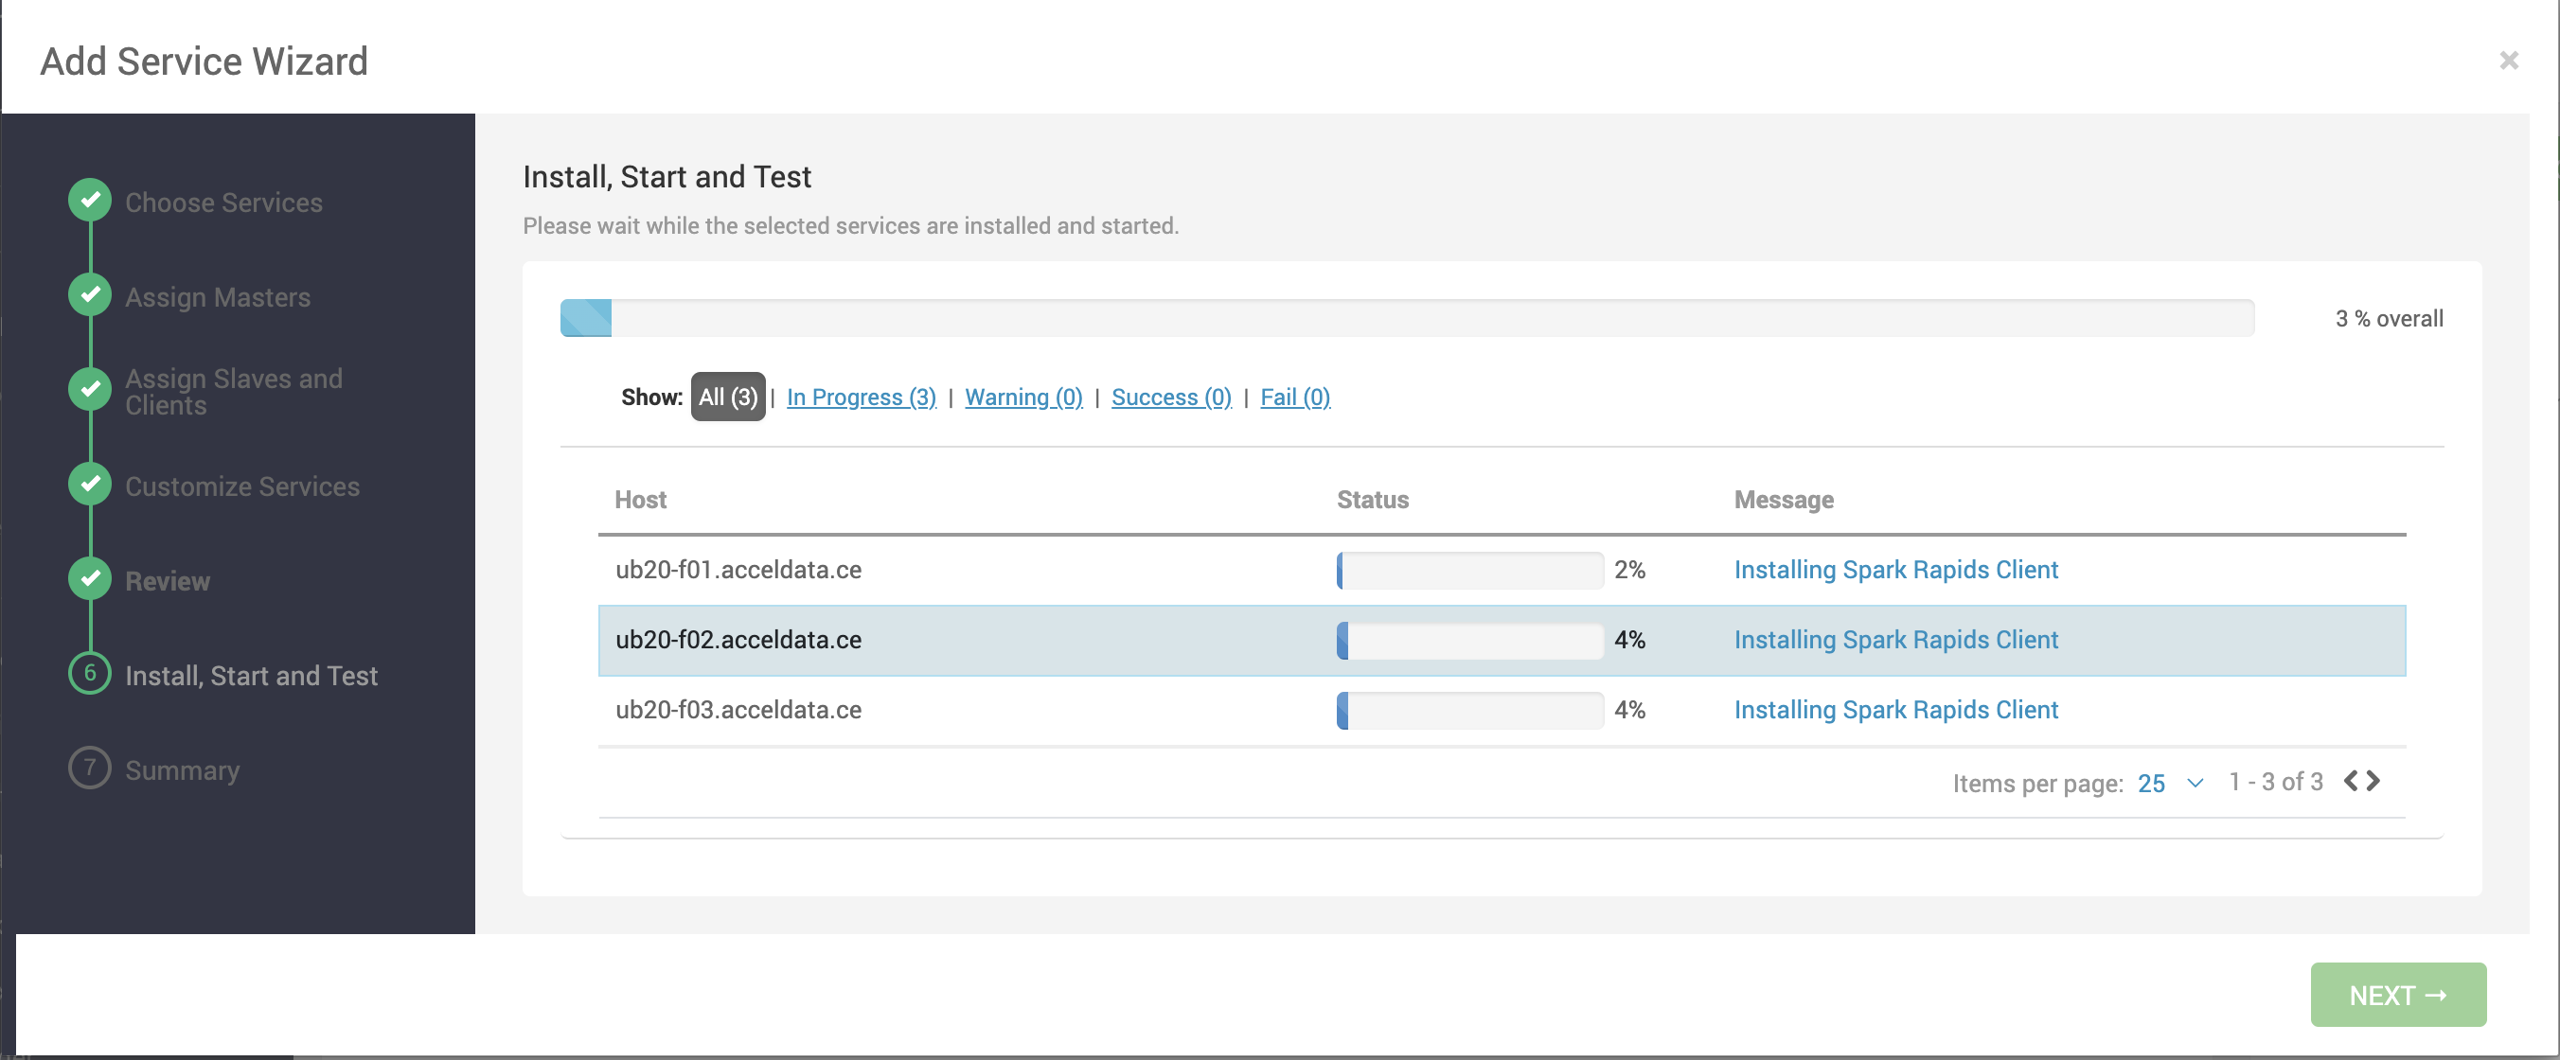
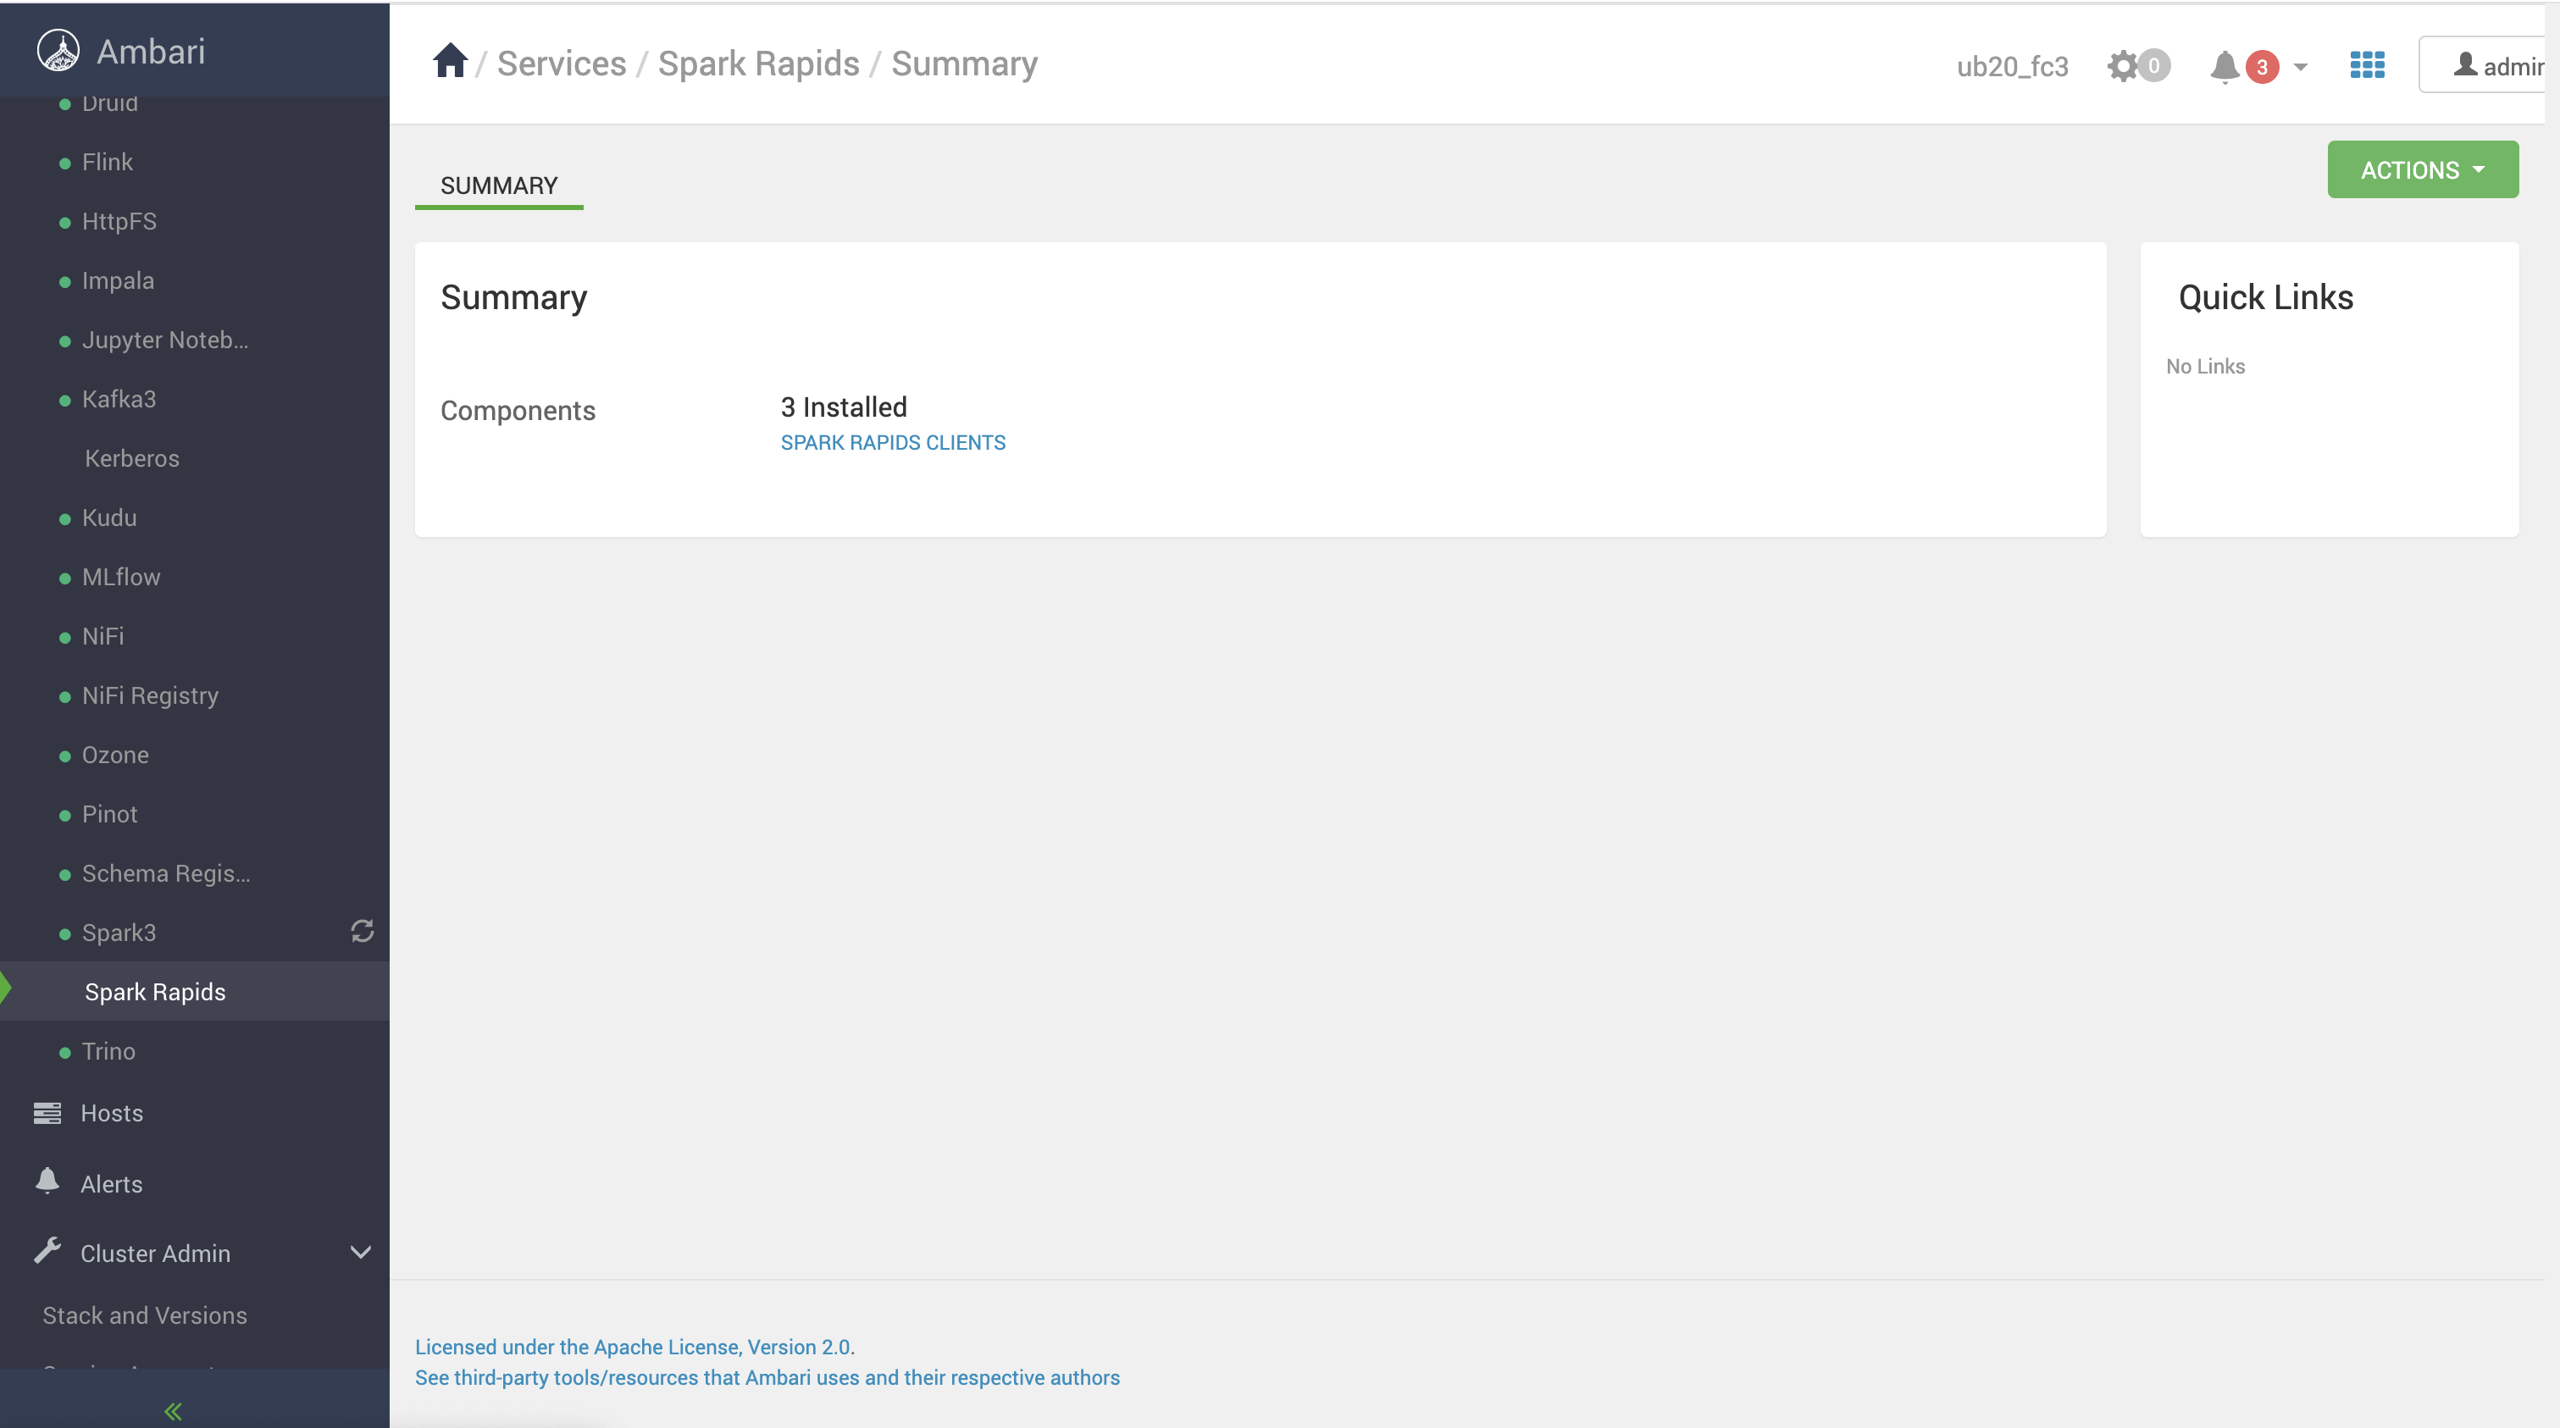
After installation, the service MLflow gets added under Services.
Method B: Spark Rapids Standalone Deployment
Download the standalone tarball.
Set environment variables:
Note Ensure these paths match your cluster’s directory structure..
Validate CUDA installation:
This confirms GPU availability and CUDA version.
Launch Spark Shell with RAPIDS:
Note Adjust script paths and version numbers based on your environment.
Run a sample job:
or
Monitor the Spark UI (default: port 4040) to verify GPU usage.
Validate job execution:
Check ResourceManager logs for GPU assignment or RAPIDS loading issues.
Look for log messages containing
com.nvidia.spark.rapids.Optional logging:
Optional Steps
Tuning: Adjust
spark.executor.memory,spark.executor.cores, andspark.executor.instancesfor optimal performance.Library Version Check: Ensure Spark, CUDA, and CUDF versions are compatible.
Python Jobs: If running with PySpark, update the above procedure accordingly (e.g., use
pysparkinstead ofspark-shell).