Rules/RuleSets
On this page of ADOC, you can create rules to be included in the Data Quality policy that will apply to all qualifying assets. Ensure the same tag is assigned to the rule as is applied to all qualifying assets.
To create a rule, navigate to the Manage Policies page by selecting Reliability from the left pane and clicking the Rules/RuleSets tab, then click the Create Rule button.
Users with view-only permissions will not have access to the Create Rule and Create Rule Set buttons.
Understanding the Rules Tables
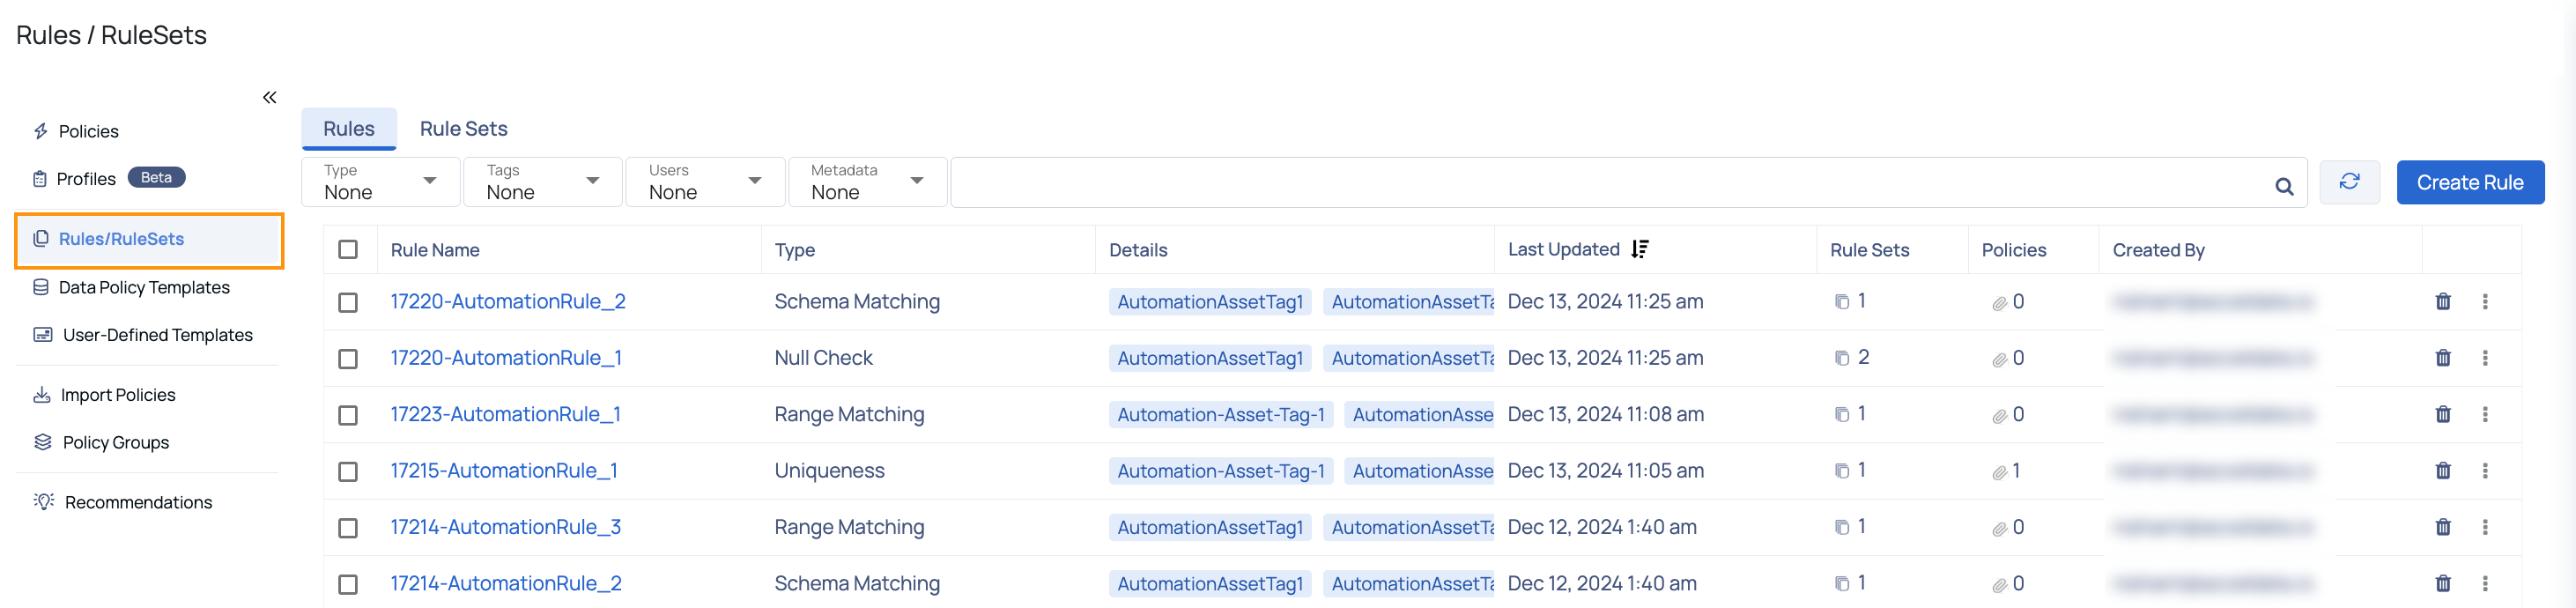
The table on the Rules/RuleSets Page displays details of each rule created. Below are the descriptions of each column:
| Column Name | Description |
|---|---|
| Rule name | The name of the rule. |
| Type | The type of the rule. Example, Null Check, Enumeration, Schema Matching etc. |
| Details | The tags used in the rule. |
| Last Updated | The date and time when the rule was last updated. |
| Rule Sets | The number of rule sets to which the rule is added. Clicking on the count displays the details of the rule set to which the rule belongs to. |
| Policies | The number of policies to which the rule is added. |
| Created By | Displays the email address of the user who created the rule. |
| Delete and ellipsis menu | The delete icon allows you to delete a rule. The ellipsis menu provides you options to edit the rule, duplicate the rule, add the rule to a rule set, and view the list of rule sets to which the rule belongs to. |
How to Create a Rule?
To create a rule, perform the following steps:
- Click Create Rule.
- Enter a name for the rule in the Name field.
- (Optional) Enter a description for the rule in the Description field.
- Select the rule type from the Rule Type drop-down menu.
Based on the rule type you select; you need to specify values for some of the additional fields. To learn more about Data Quality policy rules, see Data Quality Policy.
- Add the tag to the rule. This tag must be the same tag which is added to all the qualifying assets. You can add multiple tags, if needed.
- Select either All or Any in the Tag Match Condition field. This is applicable if you have added multiple tags. If you select the All option, only those assets which match all the tags are selected as qualifying assets. If you select the Any option, if an asset matches even a single tag, it is considered as a qualifying asset.
- Click Save.
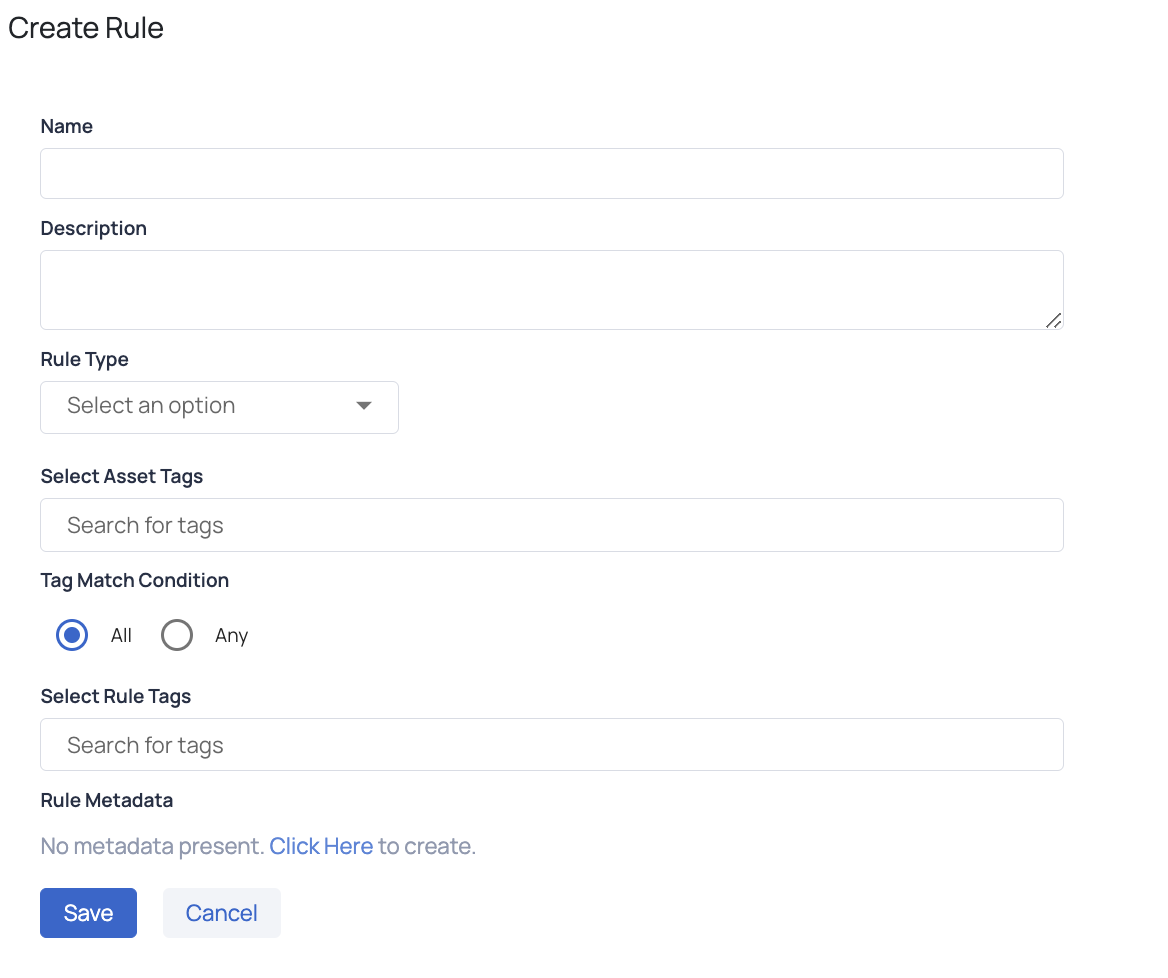
Create Rule Page
Rule Sets
A rule set is a group of rules. You must add the rules to a rule set to apply them on a data source.
You cannot apply a rule directly on a data source. To access the rule set page, click the Rule Sets tab on the Rules page.
The Rule Sets page displays the list of rule sets created in a table. The table has the following columns.
| Column Name | Description |
|---|---|
| Rule Set Name | The name of the rule set. |
| Category | The policy type to which the rule set belongs to. |
| Last Updated | The date and time when the rule set was last updated. |
| Rules | The number of rules present in the rule set. |
| Policies | The number of policies covered by the rule set. |
| # of Schedules | The number of schedules for the rule set. |
| Created By | Displays the name of the user who has created the rule. |
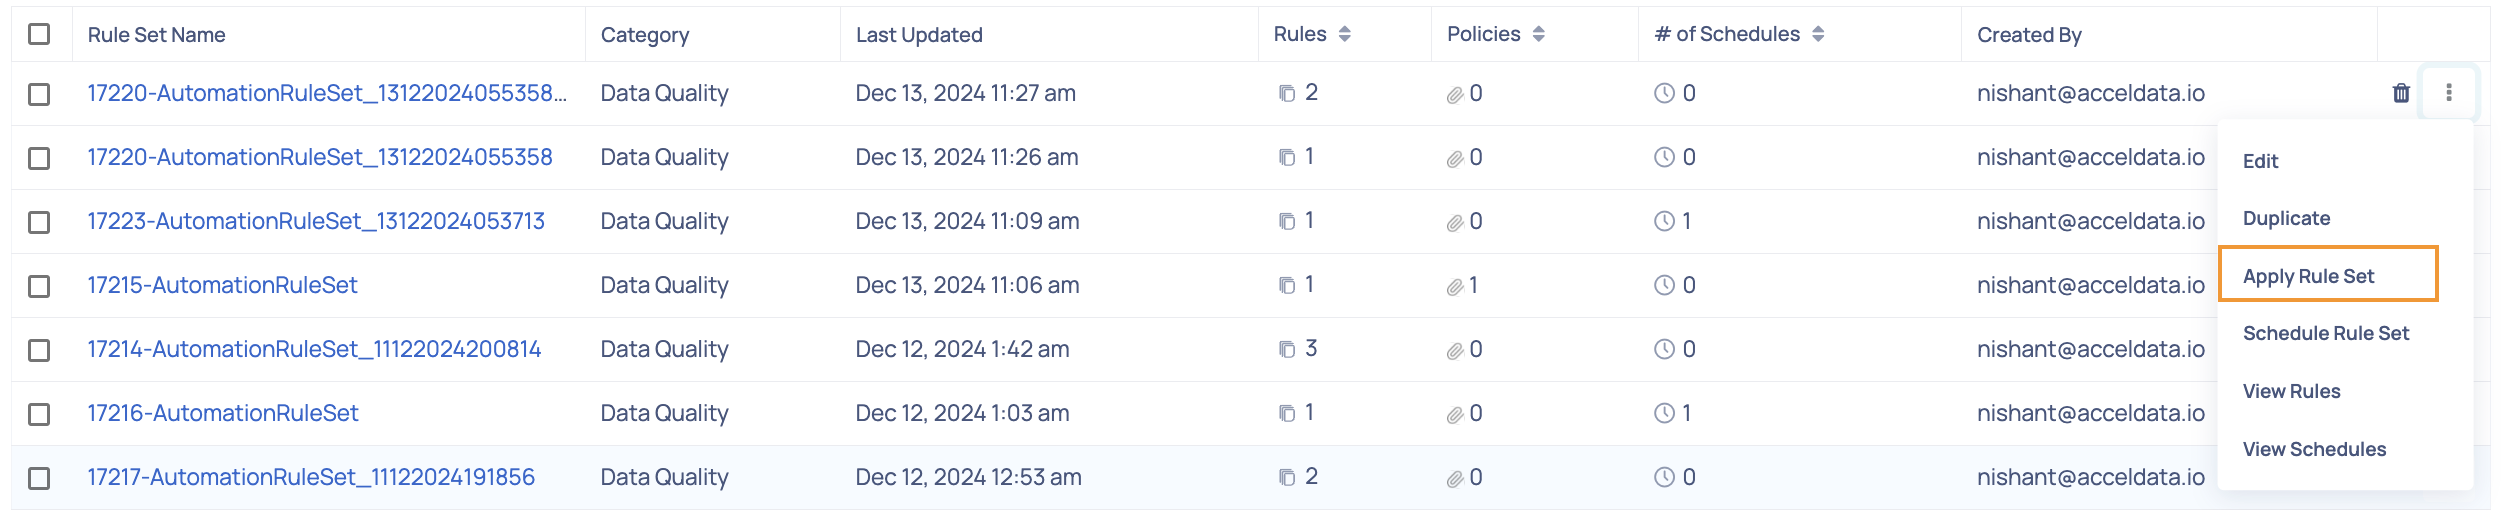
| Delete and Ellipsis Menu | The delete button allows you to delete a rule set. The ellipsis button allows you to: Edit: You can edit a rule set Duplicate: You can now duplicate a selected rule set Apply Rule Set: Apply the selected rule to the rule set to a data source Schedule Rule Set: Schedule a Rule set by selecting the option View Rules: View the rules associated with the ruleset View Schedules: View the Rule Set Application Schedule |
How to Import a Rule Set?
To import a rule set, perform the following steps:
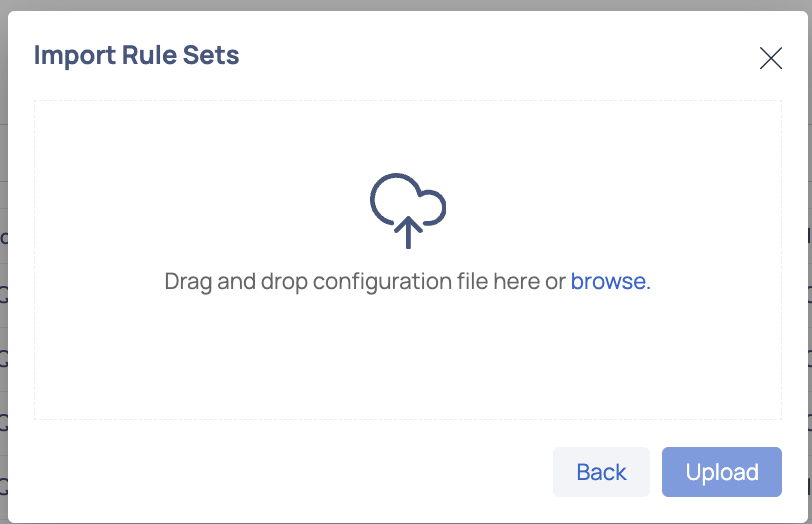
- Click the Import Rule Set button. The Import Rule Sets modal is displayed with the following steps to perform.

- Click Start to drag and drop a file of either zip or gz file extension type or browse from your system files and click Upload.
- Take action for rule sets found with same name on target assets. You can either Override the existing rule set with the one being imported or select Do not import.
Note On selecting do not import none of the rule sets get imported.
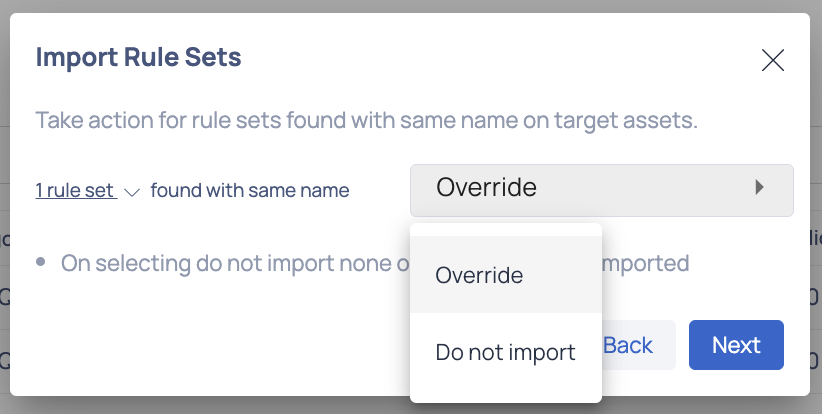
- Click Next. A successful import message is displayed. You must wait for the imports to happen.
How to Apply Rule Set?
To apply a rule set, follow the below steps:
- Click the ellipsis
button of the rule. - Select Apply Rule Set.
- Select the source type to which the rule set must be applied in the Apply ruleset to field. This can either be a Data source, Database, Schema, or Big Query Dataset. While users can apply rule sets based on asset-level permissions, the actual creation of policies depends on domain-level policy permissions. If a user does not have the required permissions, policies may still be created, but they will not be visible to that user.
- Select the name of the Data source, Database, Schema, or Big Query Dataset to which the rule set must be applied.
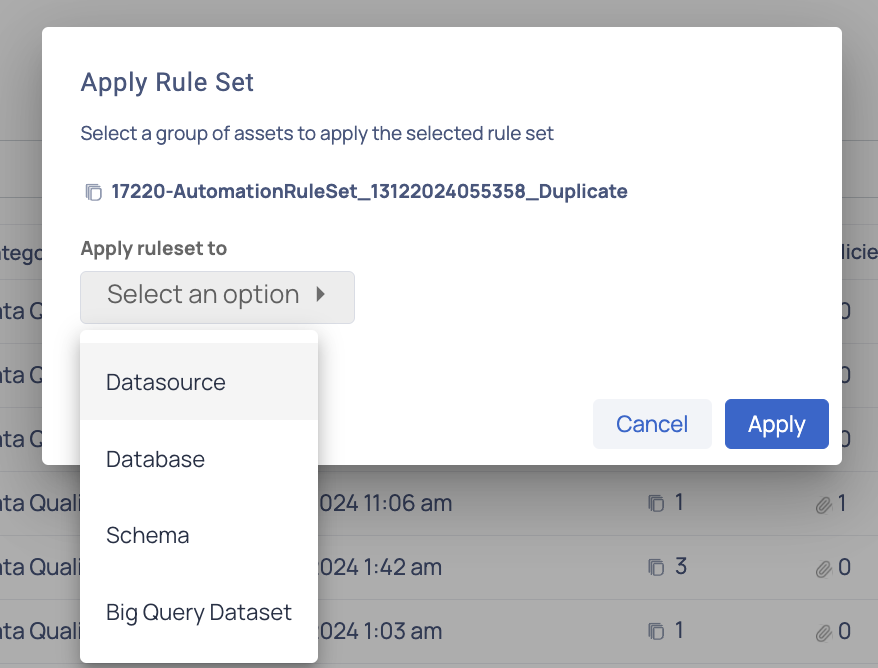
- Click Apply.
When applying a rule set, policies may be created even if the user does not have explicit permissions to create policies on the selected assets. However, these policies will not be visible to the user unless they have the necessary permissions.
Example Scenario:
A user has permission to view and apply the rule sets on certain assets. They apply the rule set to the database. The rule set is successfully applies and policies are created in the system.
However, due to domain level RBAC restrictions, the users does not have permission to create or view policies in the database. As a result even though the rule was applied successfully, the user cannot see the newly created policies.
If you cannot see the policies after applying the rule set, verify your permissions for policy creation and visibility with your administrator.
How to Schedule a Rule Set?
- Click the icon
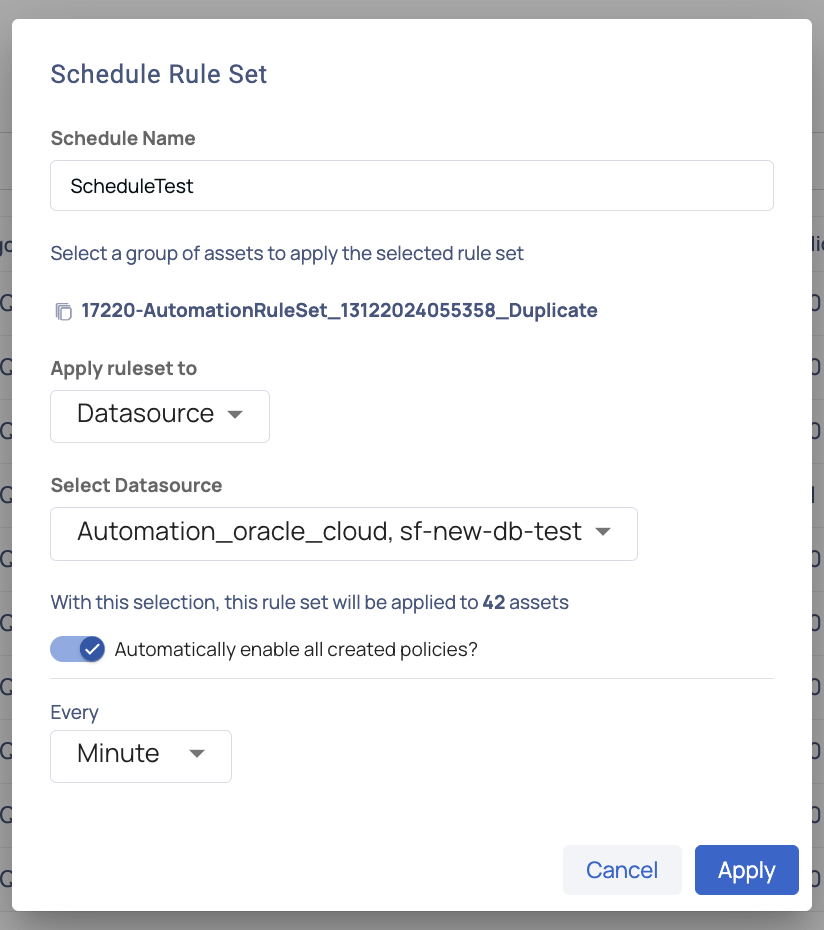
and select the Schedule Rule Set option. The Schedule Rule Set modal is displayed. - Provide a name for the schedule.
- Select a group of assets to apply the selected rule set. For example, if you have selected data source, then select the data sources to apply the selected rule set to.
- Enable the toggle button to automatically enable all created policies.
- Select the time or day unit that you want to apply on the ruleset such as Minute, Hour, Day, Week, Month, or Year.
- Click the Apply button to schedule to the rule set.
How to View Rules?
To view rules associated to the rule set, do the following:
- Click the
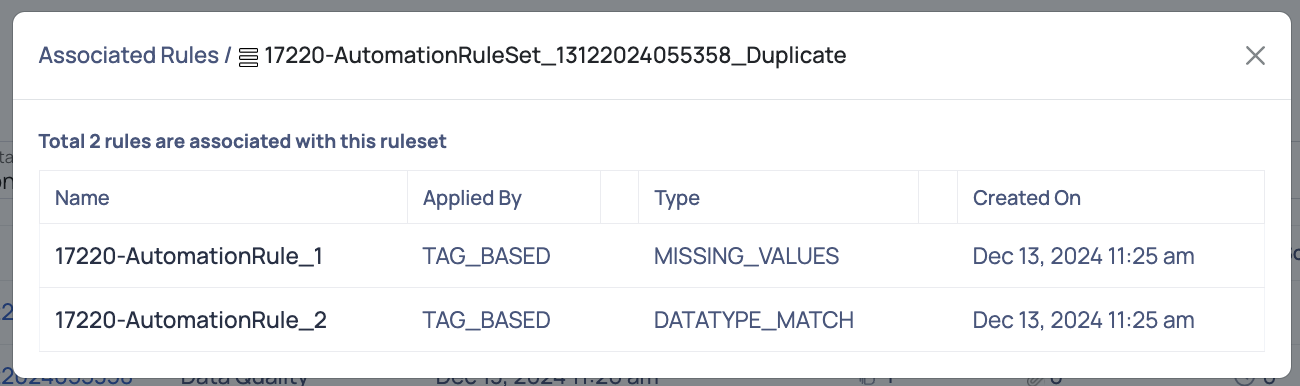
vertical ellipsis icon and select View Rules option. A modal is displayed with the following details: - Name: Name of the rule.
- Applied By: The method in which the rule was applied. Example: Tag Based.
- Type: Type of rule applied. Example: Missing_Values, Distinctness_Check
- Created On: The date and time the rule was created.
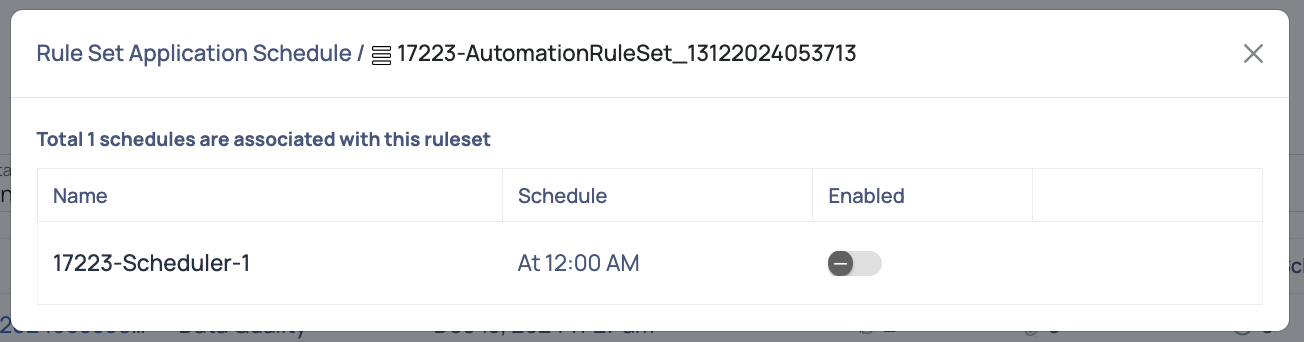
How to View Schedules?
To view schedules of a rule set, do the following:
- Click the
vertical ellipsis icon and select View Schedules option. A modal is displayed with the following details: - Name: Name of the schedule.
- Schedule: The schedule time.
- Enabled: A toggle displaying if the schedule is
enabled or not.
Bulk Policies
Adding multiple data sources to ADOC can be time-consuming. Manually adding policies to assets can be cumbersome. ADOC's Bulk Policies feature simplifies this process by creating rules for data quality, grouping them, and applying them to data sources. ADOC automatically creates a Data Quality policy and applies the rules to assets matching a tag-based condition.
The Bulk Policy functionality now automatically transfers descriptions and metadata from the defined rule set to the created policies and rules. It eliminate the need for manual metadata updates, ensuring complete annotation of both policies and individual rules with essential information.
The user can access the description and metadata directly from the rule definition and policy panels, which improves visibility and traceability.
Terms Associated with Bulk Policies Feature
Before we proceed further, it is important to understand the following terms related to the Bulk Policies feature.
- Qualifying Assets: The qualifying assets are the assets on which quality policies need to be created and rules need to be added to all the policies. These assets would be referred to as qualifying assets through out this document.
- Bulk Policies: The data quality policy created on all the qualifying assets.
- Rule: The rule that must be added to all the quality policies which are created automatically, on the qualifying assets.
- Rule Set: A rule set is a group of rules. You must add a rule to a rule set to use this feature. Rule sets can now automatically propagate metadata and descriptions to their associated rules and policies.
Consider that you have an asset (a database Table). This Table has a primary key column whose values cannot be NULL. The primary key column of this Table is used in multiple Tables (as a foreign key). You also need to ensure that the range of values does not exceed a certain limit for any of the column values. You need to create a Data Quality Policy on all the assets (Tables) which have this column and then add the Null Check rule and Range match rule to all the policies.
You can use this feature to create a null check rule and a range match rule. Once you create the rules, you can add them to a group. You can apply the rule group to all the required assets. Once you apply it to the assets:
- Data Quality policy is created on all the assets automatically.
- Both rules are added to all the data quality policies automatically.
- The established policies and rules automatically propagate the descriptions and metadata set on the rules, making it simple to identify and manage the implemented rules.
How Bulk Policies Work?
The following steps outline how the Bulk Policies feature operates: