Before You Begin
Make sure you contact an Acceldata Support Representative to download the ADOC CLI package. Additionally, you must meet all prerequisites for the usage of ADOC CLI.
Steps to Create UDT Project and Onboard to Torch Platform:
Step 1: Create a Project Using ADOC-CLI Interface
To create a project using ADOC-CLI interface, you first need to install it on your system. Once installed, open a command prompt or terminal and navigate to the directory where you want to create your project. Then, use the new command to create a new project.
Refer the new command.
Step 2: Create New UDT Definition
Please refer to the UDT CLI Usage documentation for information on how to create new UDT definitions and their corresponding test cases.
Step 3: Commit Code Changes to Respective Git Repository
After creating the project, you can commit it to a Git repository to keep track of changes and collaborate with other developers. Create a new Git repository or use an existing one.
Step 4: Create a UDT Driven Manifest File
You must create a manifest file with the information below:
- Torch API and it's credentials
- Storage details: You must provide the storage type, the path where the binaries should be uploaded, and the credentials for the appropriate data storage.
- Package details: This information is regarding the necessary binaries that need to be uploaded and their corresponding meta data.
- UDT definitions: A list of all the UDT definitions and their associated meta data for the Torch platform.
Refer Manifest File Details.
Step 5: Create a CI/CD Pipeline
You must set up a CI/CD pipeline for projects that use UDT. The steps to publish must be configured by the user as a process, followed by:
- Run test cases: To determine whether the changes are stable, run JUnit test cases using the ADOC CLI test command. Refer the test command.
- Generate Binaries: To generate binaries, use the ADOC CLI package or build commands. We provide two methods for generating binaries:
- ADOC CLI package command: This command will generate skinny binaries. Refer the package command.
- ADOC CLI build command: This command will generate fat binaries with all the dependencies. Refer the build command.
- Upload Binaries in accordance with manifest: Using the input manifest file, the ADOC CLI push command will upload the binaries and create all UDT definitions in accordance with the manifest. Refer the push command.
UI Flow:
- Check UDT listing page for created or updated UDTs
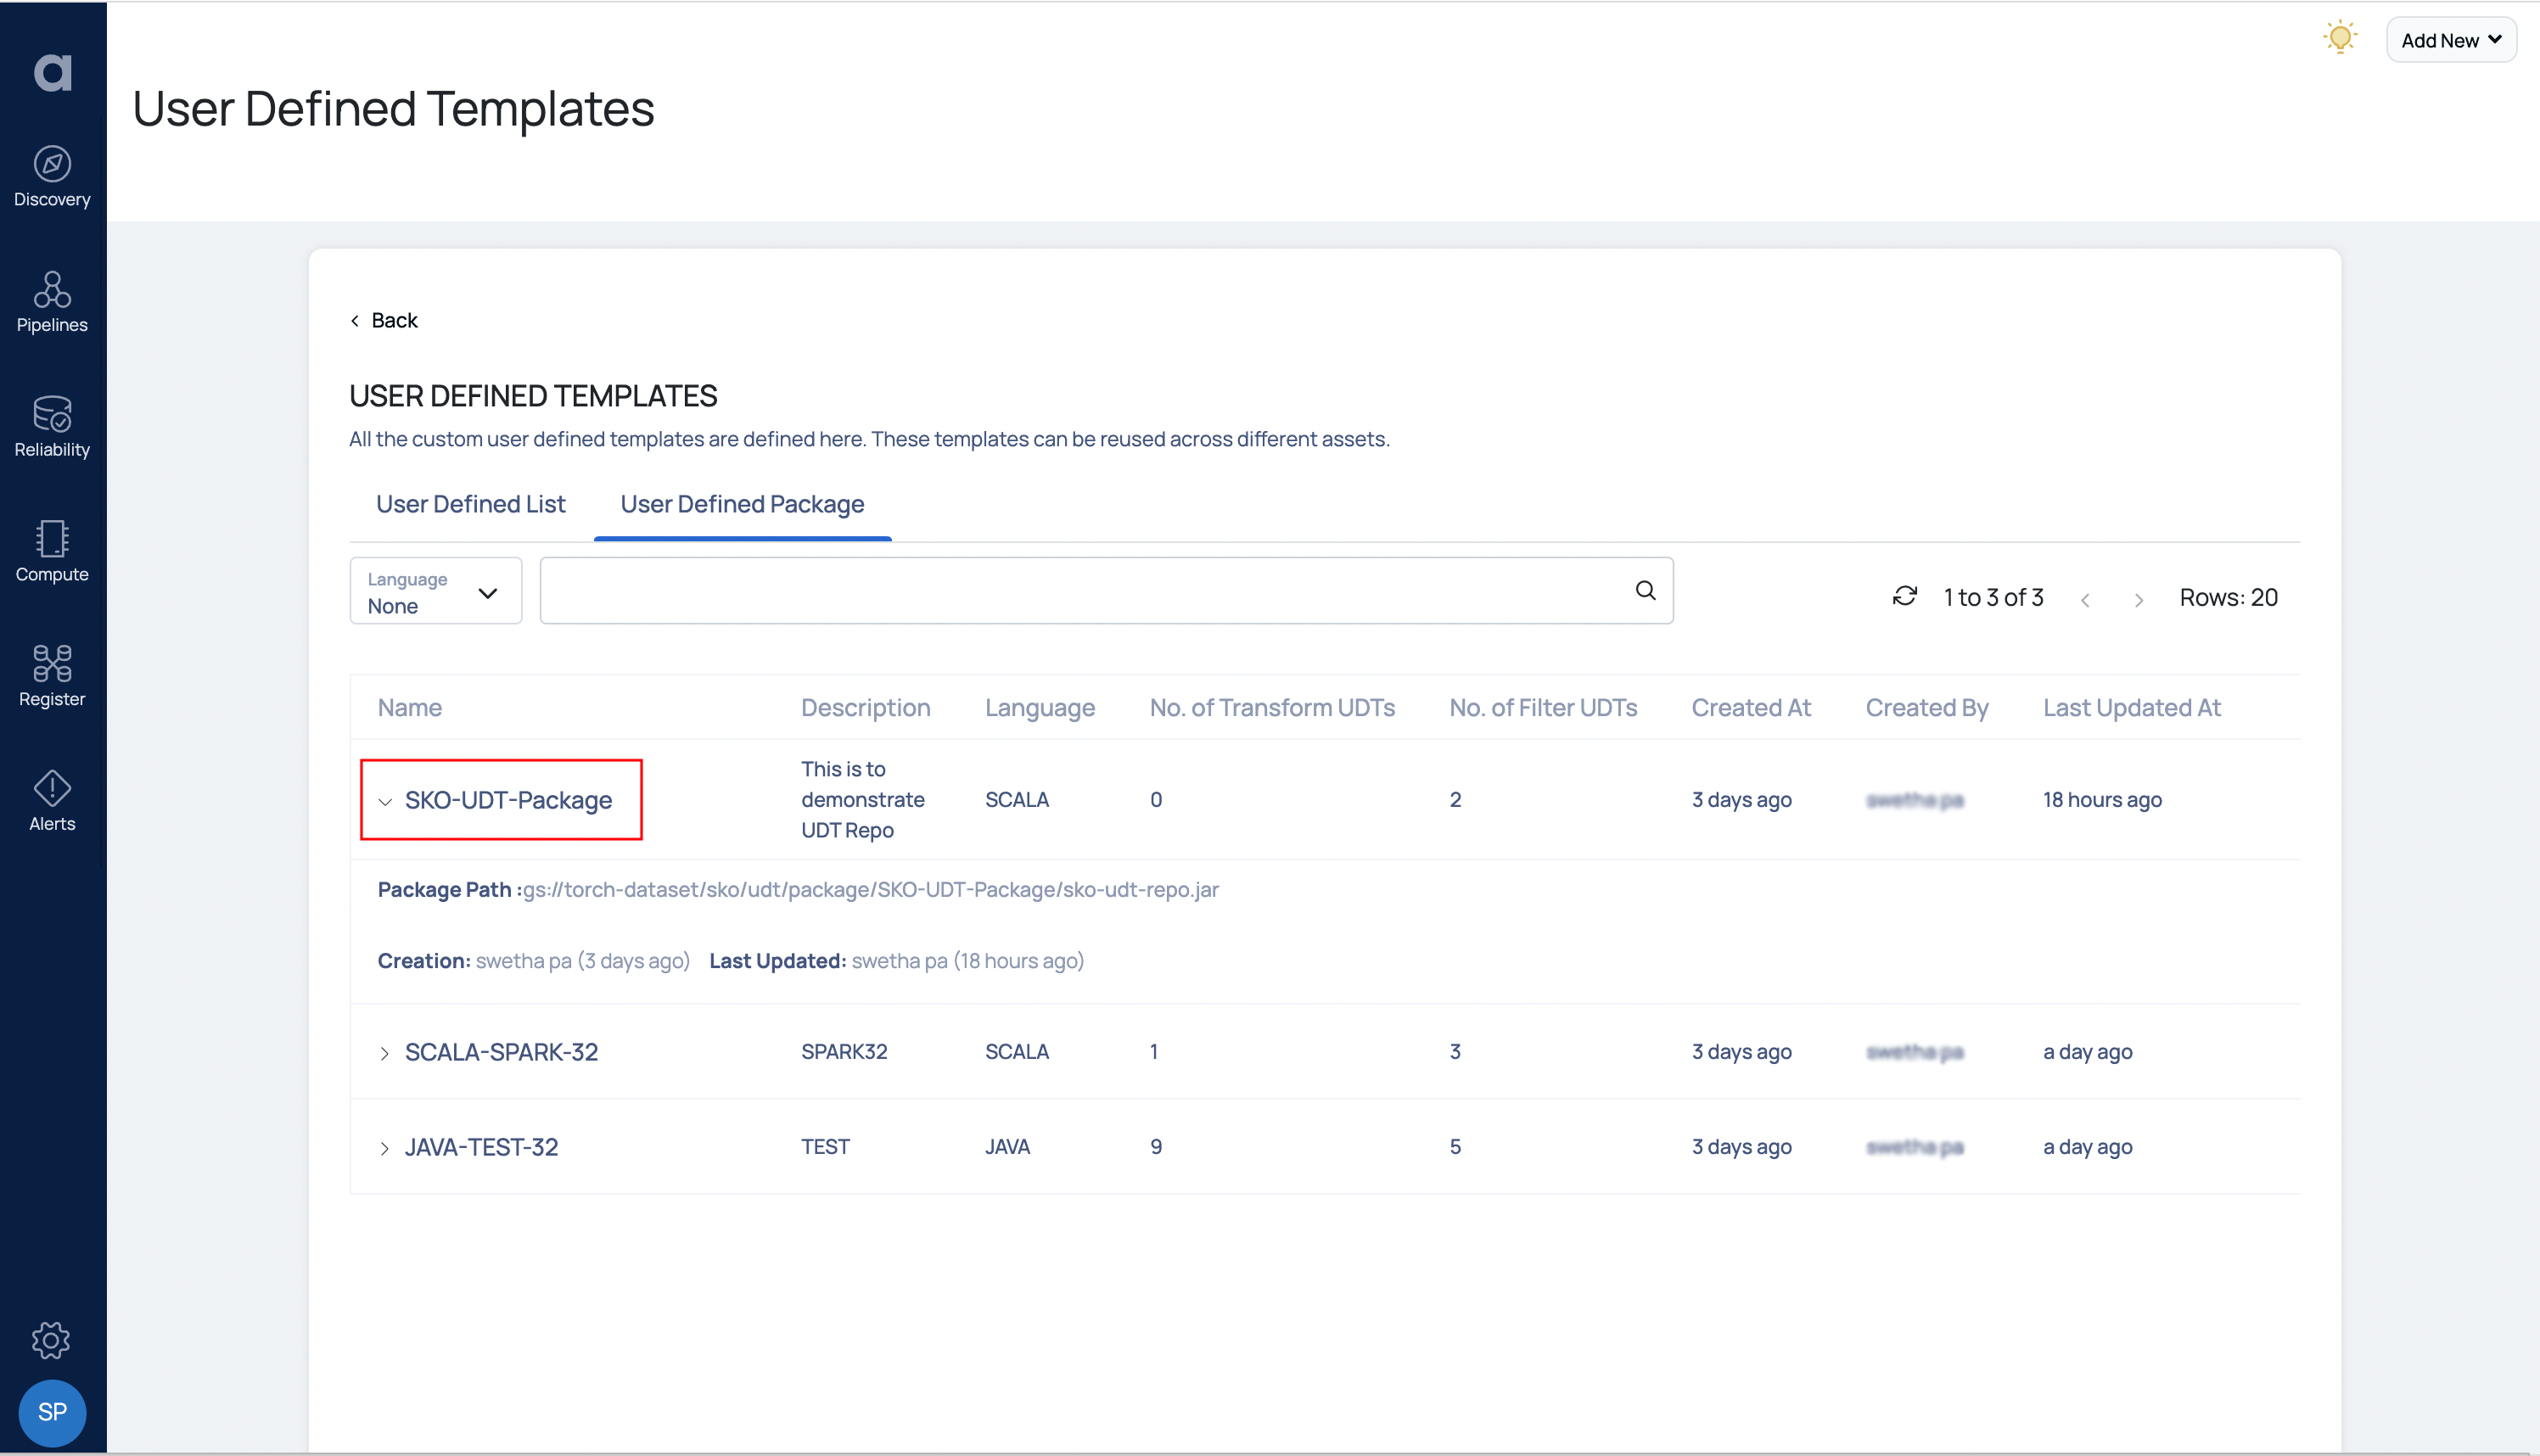
- Check UDT package list for packages
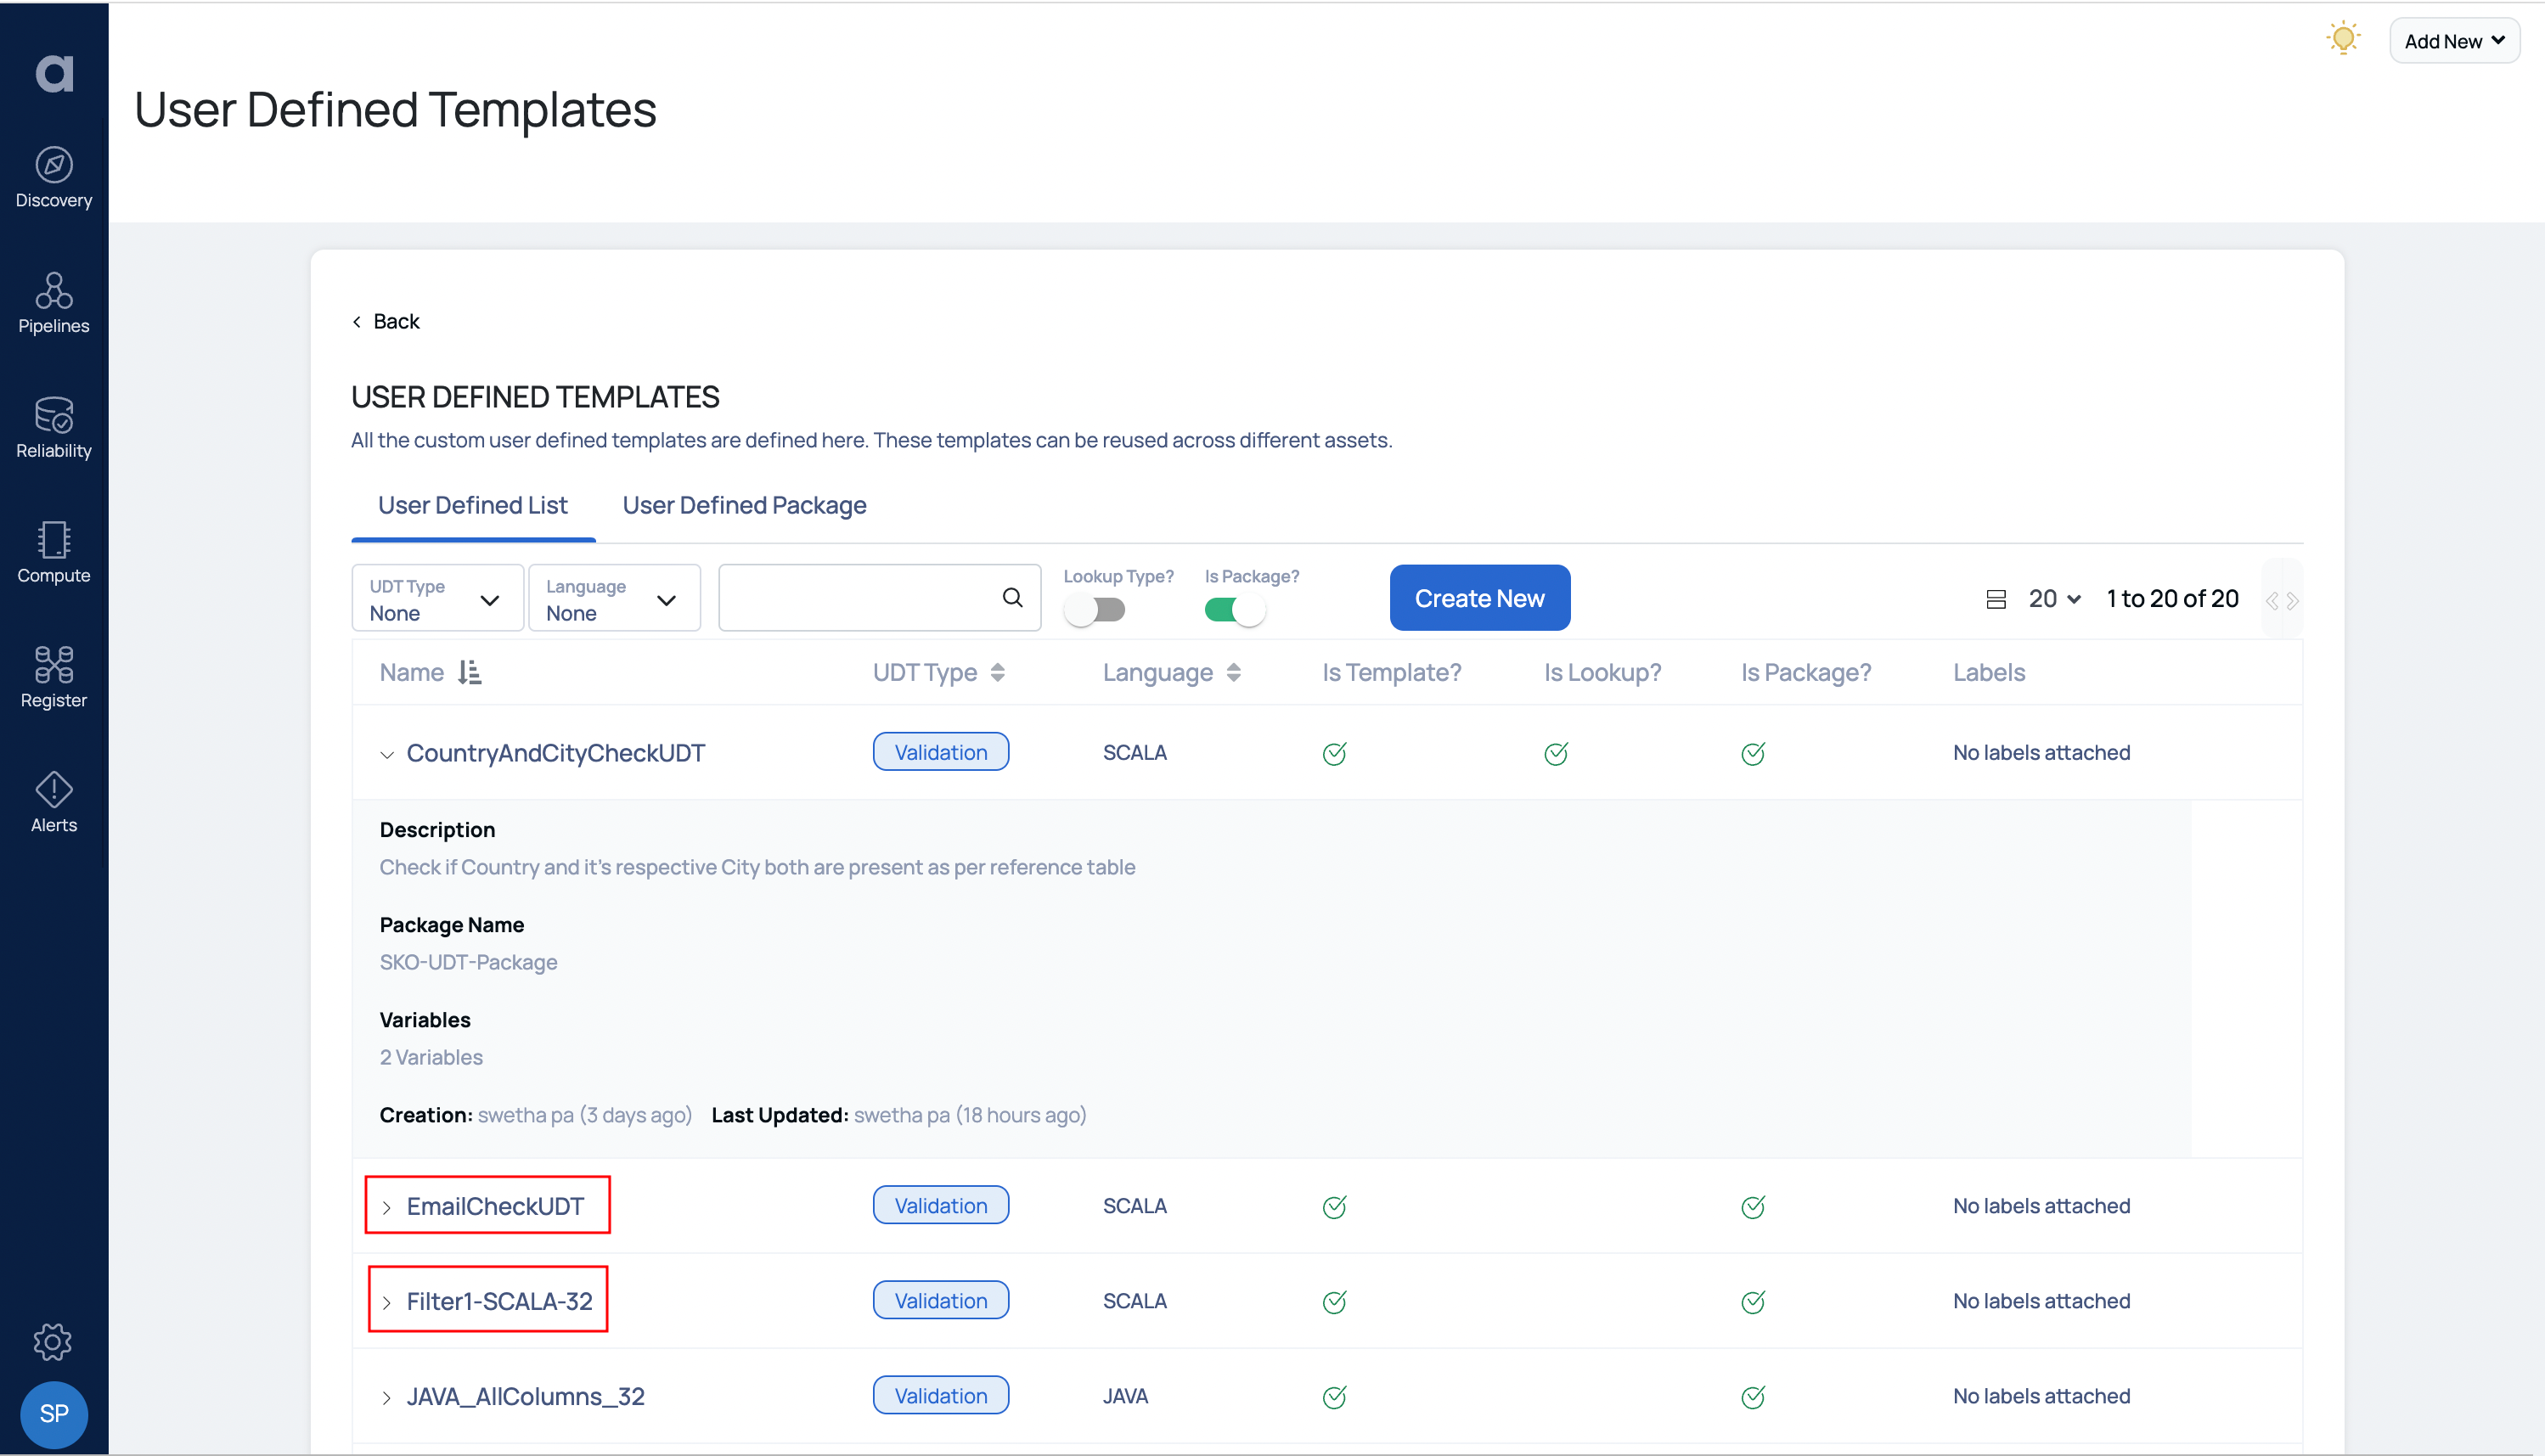
- Validate created or updated UDT for a given package in UI

UDTs that were created using the UDT CLI Repo facility cannot be updated or edited on the UI; only validation is possible.
- Finally, by using the UDTs produced by the repo facility, a Data Quality policy can be created on any asset.
The flow for UDT-driven DQ cycle remains unchanged with regards to output and usage. For more information on how to create a Data Quality policy, refer Data Quality Policy.