
Follow the below steps to upgrade the Ambari version.
Stop Infra-solr Service
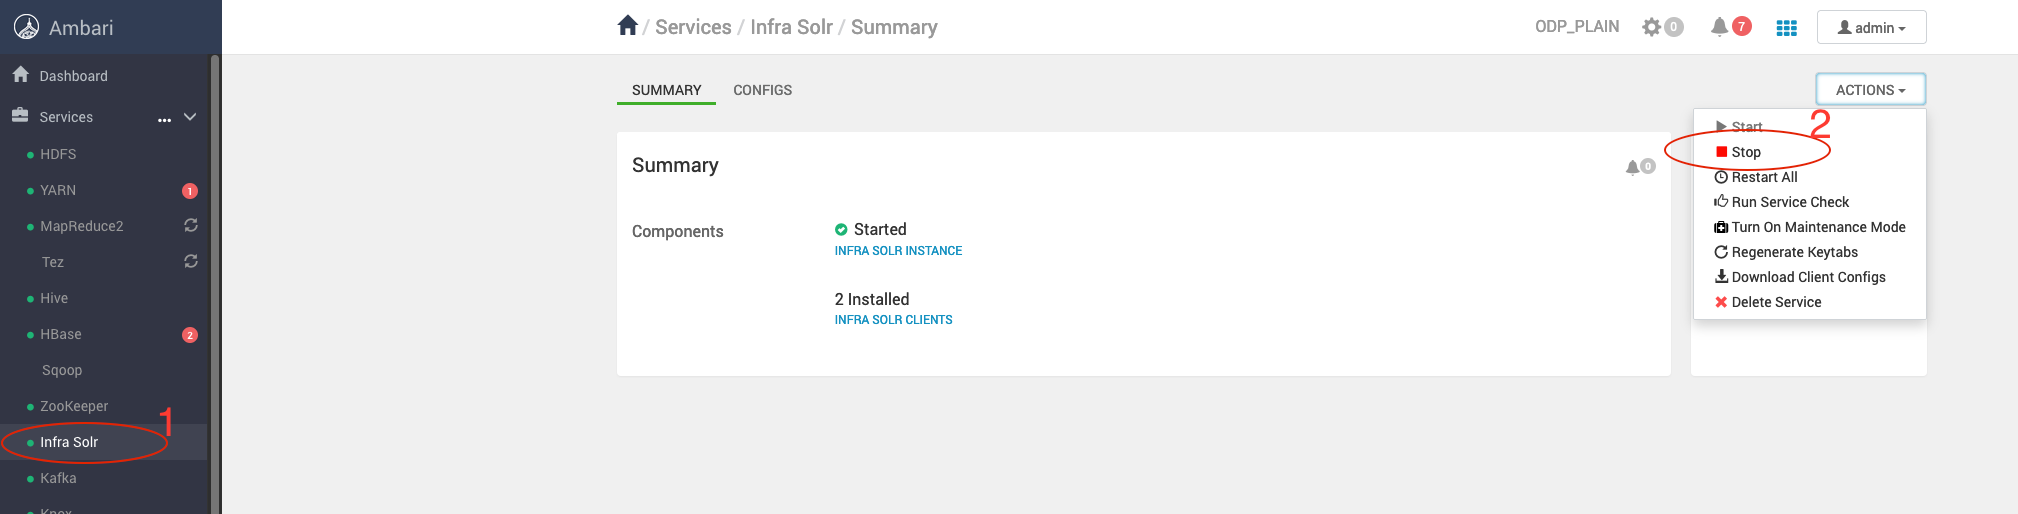
Stop the Infra-solr Service from Ambari-UI.
Stop Ambari Server and Agents
Stop Ambari Server
Take the backup of ambari-server configs.
/etc/ambari-serfver/conf/
Stop Agents
Stop Ambari-agent on every cluster nodes.
Back up Ambari Database
Take the Ambari-server backend database backup from the server host.
DB Backup Commands
The upgraded version Ambari-2.7.8.2-3 supports only Python 3.11. Please ensure Python 3.11 is installed and configured on all cluster nodes before proceeding with the upgrade.
Install Python 3.11
For RHEL
For Ubuntu
Set Python 3.11 as Default Version
Run the following command:
Response:
Verify the Python Version
Response:
Add Ambari Repo on Cluster Nodes
Back up the Old Ambari Repository
Retrieve the latest Ambari repository details from Accessing Acceldata Repositories and add it to all cluster nodes.
List the existing Ambari packages
On RHEL
On Ubuntu
Example Output (if the current Ambari version is 2.7.6.0-1):
Remove existing Ambari rpm’s
From the Ambari Server node, remove the installed packages before upgrading:
On RHEL
On Ubuntu
Note
Adjust the package names based on the installed versions on each node.
You can verify installed packages before removal using:
On RHEL
On Ubuntu
Make sure the Amabri packages are not installed.
Install Ambari packages
Important If you are upgrading from any Python 2 based ODP version, make sure to perform the below additional steps to install Python 3.11 and its dependencies on all the hosts before proceeding with the next step.
For Ubuntu 20/22
For RHEL 8
Install the latest Ambari-server only on ambari-server node.
Server Node
On RHEL
On Ubuntu
Ambari Server Configuration Files Restore
Restore the configuration files backed up at step4 (Backup Taken in step 4).
Restore ambari.properties File
When prompted, enter 'y' to confirm.
Restore passwd.dat File
Ambari Server Schema Upgrade
Before upgrading, ensure a database backup has been taken (as mentioned in Step 6).
Run the Ambari Server upgrade command:
If you encounter the following error:
Set up the Distro Module
Install the required dependencies on the ambari-server and ambari-agent nodes.
On RHEL
On Ubuntu
Retry the Upgrade again
Response when prompted:
After the successful completion, you must see the following message.
Start Ambari-server
Important Before starting the Ambari server, make sure to set the Python and Python3 alternatives.
Once started, verify that the Ambari UI is accessible using the same URL as before.
Verify Ambari Version
Verify the upgraded Ambari version in admin->about on top right corner in Ambari UI.
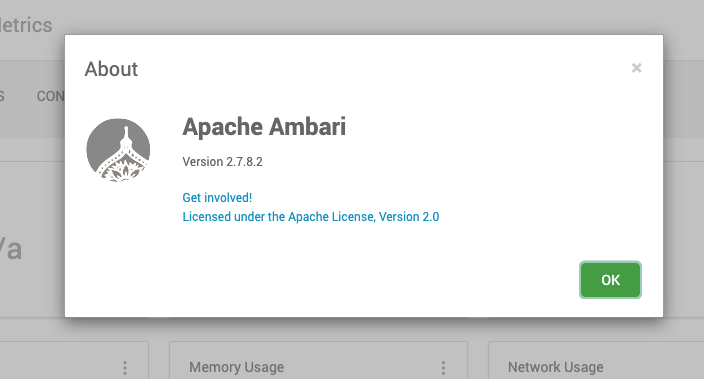
The Ambari version is upgraded successfully.
Upgrade Known Issues
During the migration, the existing GROUPS table in the Ambari database might cause conflicts due to its name. As a result, the Ambari UI might fail to start and throw the following error when attempting to log in.
To resolve this issue, rename the GROUPS table to groups_info in the Ambari backend database.
For MySQL
Log into the MySQL server hosting the Ambari database.
The response is as follows.
Verify the data.
Rename the table
groupstogroups_infousing the following command.
Verify the same data as it was in groups table earlier. It must have the same data as it was earlier in groups table.
For Oracle
Log into the Oracle server hosting the Ambari database.
Verify the existing GROUPS table.
The response is as follows.
Rename the table
groupstogroups_infousing the following command.
The successful rename operation results the output as TABLE Renamed.
Verify the data once renaming is completed.
For Postgres
Log into the Postgres server hosting the Ambari database.
Verify the existing GROUPS table.
The response is as follows.
Rename the table
groupstogroups_infousing the following command.
The successful rename operation results the output as ALTER TABLE.
Verify the data as well once rename is completed.