RHEL 8/9 Setup
Prerequisites
To establish the necessary development tools and Python packages, ensure the installation of Python packages with versions 3.11 and above. Note that while this documentation employs Python 3.11, Apache Airflow is compatible with Python versions starting from 3.11 and higher.
Database Setup
For an optimal test drive experience of Airflow, choose a robust database backend such as PostgreSQL or MySQL. By default, Airflow uses SQLite, which is mainly intended for development.
Airflow supports only specific versions of database engines. Verify that your database version is compatible as older versions might not support certain SQL features:
PostgreSQL: Versions 12, 13, 14, 15, 16
MySQL: Version 8.0, Innovation
MSSQL (experimental, support ending in version 2.9.0): 2017, 2019
SQLite: Version 3.15.0 or later
MariaDB is not a supported backend. Despite similarities with MySQL, there are known incompatibilities (for example, index handling), and our migration scripts and application workflows are not tested against MariaDB.> > Deployments using MariaDB have historically resulted in significant operational issues. As a result, its use is strongly discouraged, and no official support or compatibility guarantees should be expected.> > For reference, see Choosing Database Backend for Airflow.
Before installing Apache Airflow, set up a compatible database. Choose PostgreSQL or MySQL based on your needs and ensure that your database version meets the following minimum requirements:
MySQL: Version 8.0 or higher
PostgreSQL: Version 12 or higher
NOTE Apache Airflow does not support Oracle databases.
Refer: Setup a Database Backend-Apache Airflow
Refer to the guidelines below for your selected database to prepare and configure it for Apache Airflow.
PostgreSQL Database Setup
To integrate PostgreSQL with Apache Airflow, complete the following steps to install and configure it:
Install the psycopg2-binary Python package:
Install PostgreSQL:
Install the repository RPM:
Disable the built-in PostgreSQL module:
Install PostgreSQL:
Initialize and start PostgreSQL:
Access the PostgreSQL shell:
Inside the PostgreSQL shell, execute the following commands:
Create the Airflow database:
Create the Airflow user with a password:
Set client encoding, default transaction isolation, and timezone for the Airflow user:
Grant all privileges on the Airflow database to the Airflow user:
Exit the PostgreSQL shell:
Configure PostgreSQL settings for Airflow:
Open the PostgreSQL configuration file:
Inside the file, modify the following settings:
Change and uncomment the listen_addresses to '*':
Uncomment the following line (remove the '#' at the beginning):
Save and close the file.
Open the pg_hba.conf file:
Add this line at the end of the file:
Replace {host_IP} with the actual IP address of the machine running Apache Airflow.
Save and close the file.
Restart PostgreSQL to apply changes:
MySQL Database Setup for Airflow
To configure MySQL as the database backend for Apache Airflow, follow these steps:
Install MySQL Server:
Install the mysqlclient Python package:
Start the MySQL service:
Install MySQL Connector for Python:
Secure MySQL Installation (Optional but Recommended):
Follow the on-screen prompts to complete the security setup.
Create a database and user for Airflow:
Access the MySQL shell:
Enter the root password when prompted.
Inside the MySQL shell, execute the following commands:
Create the Airflow database:
Create a user for Airflow and set permissions:
Restart MySQL to apply changes:
With these steps, the MySQL database named 'airflow' and a user named 'airflow' are now set up with the necessary privileges. You can now proceed to configure Apache Airflow to use this MySQL database as its backend.
Ubuntu 20/22 Setup
Prerequisites
Update the package list:
Add the Deadsnakes PPA repository to install newer Python versions:
Install Python 3.11 and the Python virtual environment package:
Verify the installation of Python and pip:
Check the Python version:
Check the pip version:
Database Setup
Follow the respective instructions below to configure your chosen database system for use with Apache Airflow.
PostgreSQL Database Setup
Install the psycopg2-binary Python package:
Install PostgreSQL:
Create a PostgreSQL database and user for Airflow:
Access the PostgreSQL shell:
Inside the PostgreSQL shell, execute the following commands:
Create the Airflow database:
Create the Airflow user with a password:
Configure settings for the Airflow user:
Grant all privileges on the Airflow database to the Airflow user:
Exit the PostgreSQL shell:
Configure PostgreSQL settings for Airflow:
Open and edit the PostgreSQL configuration file:
Change and uncomment the listen_addresses to allow all connections:
Uncomment the port line to use the default port 5432:
Modify the pg_hba.conf file to allow specific connections:

Add this line to permit connections from the Airflow server:
Replace {host_IP} with the actual IP address of the machine running Apache Airflow.
Restart PostgreSQL to apply changes:
These steps have prepared your PostgreSQL database named 'airflow' and a user named 'airflow' with the necessary settings and privileges. You can now proceed to integrate this setup into Apache Airflow's configuration.
MySQL Database Setup for Airflow
Install MySQL Server:
Download and install the MySQL APT repository:
Update the package list and import the repository key:
Check the MySQL server version available and install it:
Install the MySQL Connector for Java:
Install the mysqlclient Python package:
Start the MySQL service:
Install MySQL Connector for Python:
Secure MySQL Installation (Optional but Recommended):
Run the command to secure your MySQL installation, including setting a root password:
Follow the on-screen prompts to complete the security setup.
Create a database and user for Airflow:
Access the MySQL shell:
Enter the root password when prompted.
Inside the MySQL shell, execute the following commands:
Create the Airflow database with UTF-8 encoding:
Create a user for Airflow and grant privileges:
Restart MySQL to apply changes:
With these steps completed, the MySQL database named 'airflow' and a user named 'airflow' are set up with the necessary privileges. You can now proceed to configure Apache Airflow to use this MySQL database as its backend.
Before proceeding with the Apache Airflow installation from Ambari, ensure the Apache Airflow repository is set up correctly.
Apache Airflow Installation using Mpack on Ambari
Create symbolic links for Python to use Python 3.11:
This following provides the steps for installing and setting up Apache Airflow using Management Pack (Mpack) on an Ambari-managed cluster.
Install and Configure Mpack:
Download the Airflow mpack from the Mpacks Link.
Run the following command to install Mpack:
Uninstall Previous Mpack (if needed):
Change Symlinks:
Navigate to the services directory and update the Airflow symlink for each service version:
Restart Ambari Server:
Your Apache Airflow installation is now configured and ready for use on your Ambari-managed cluster.
Steps to install Apache Airflow from the Ambari UI
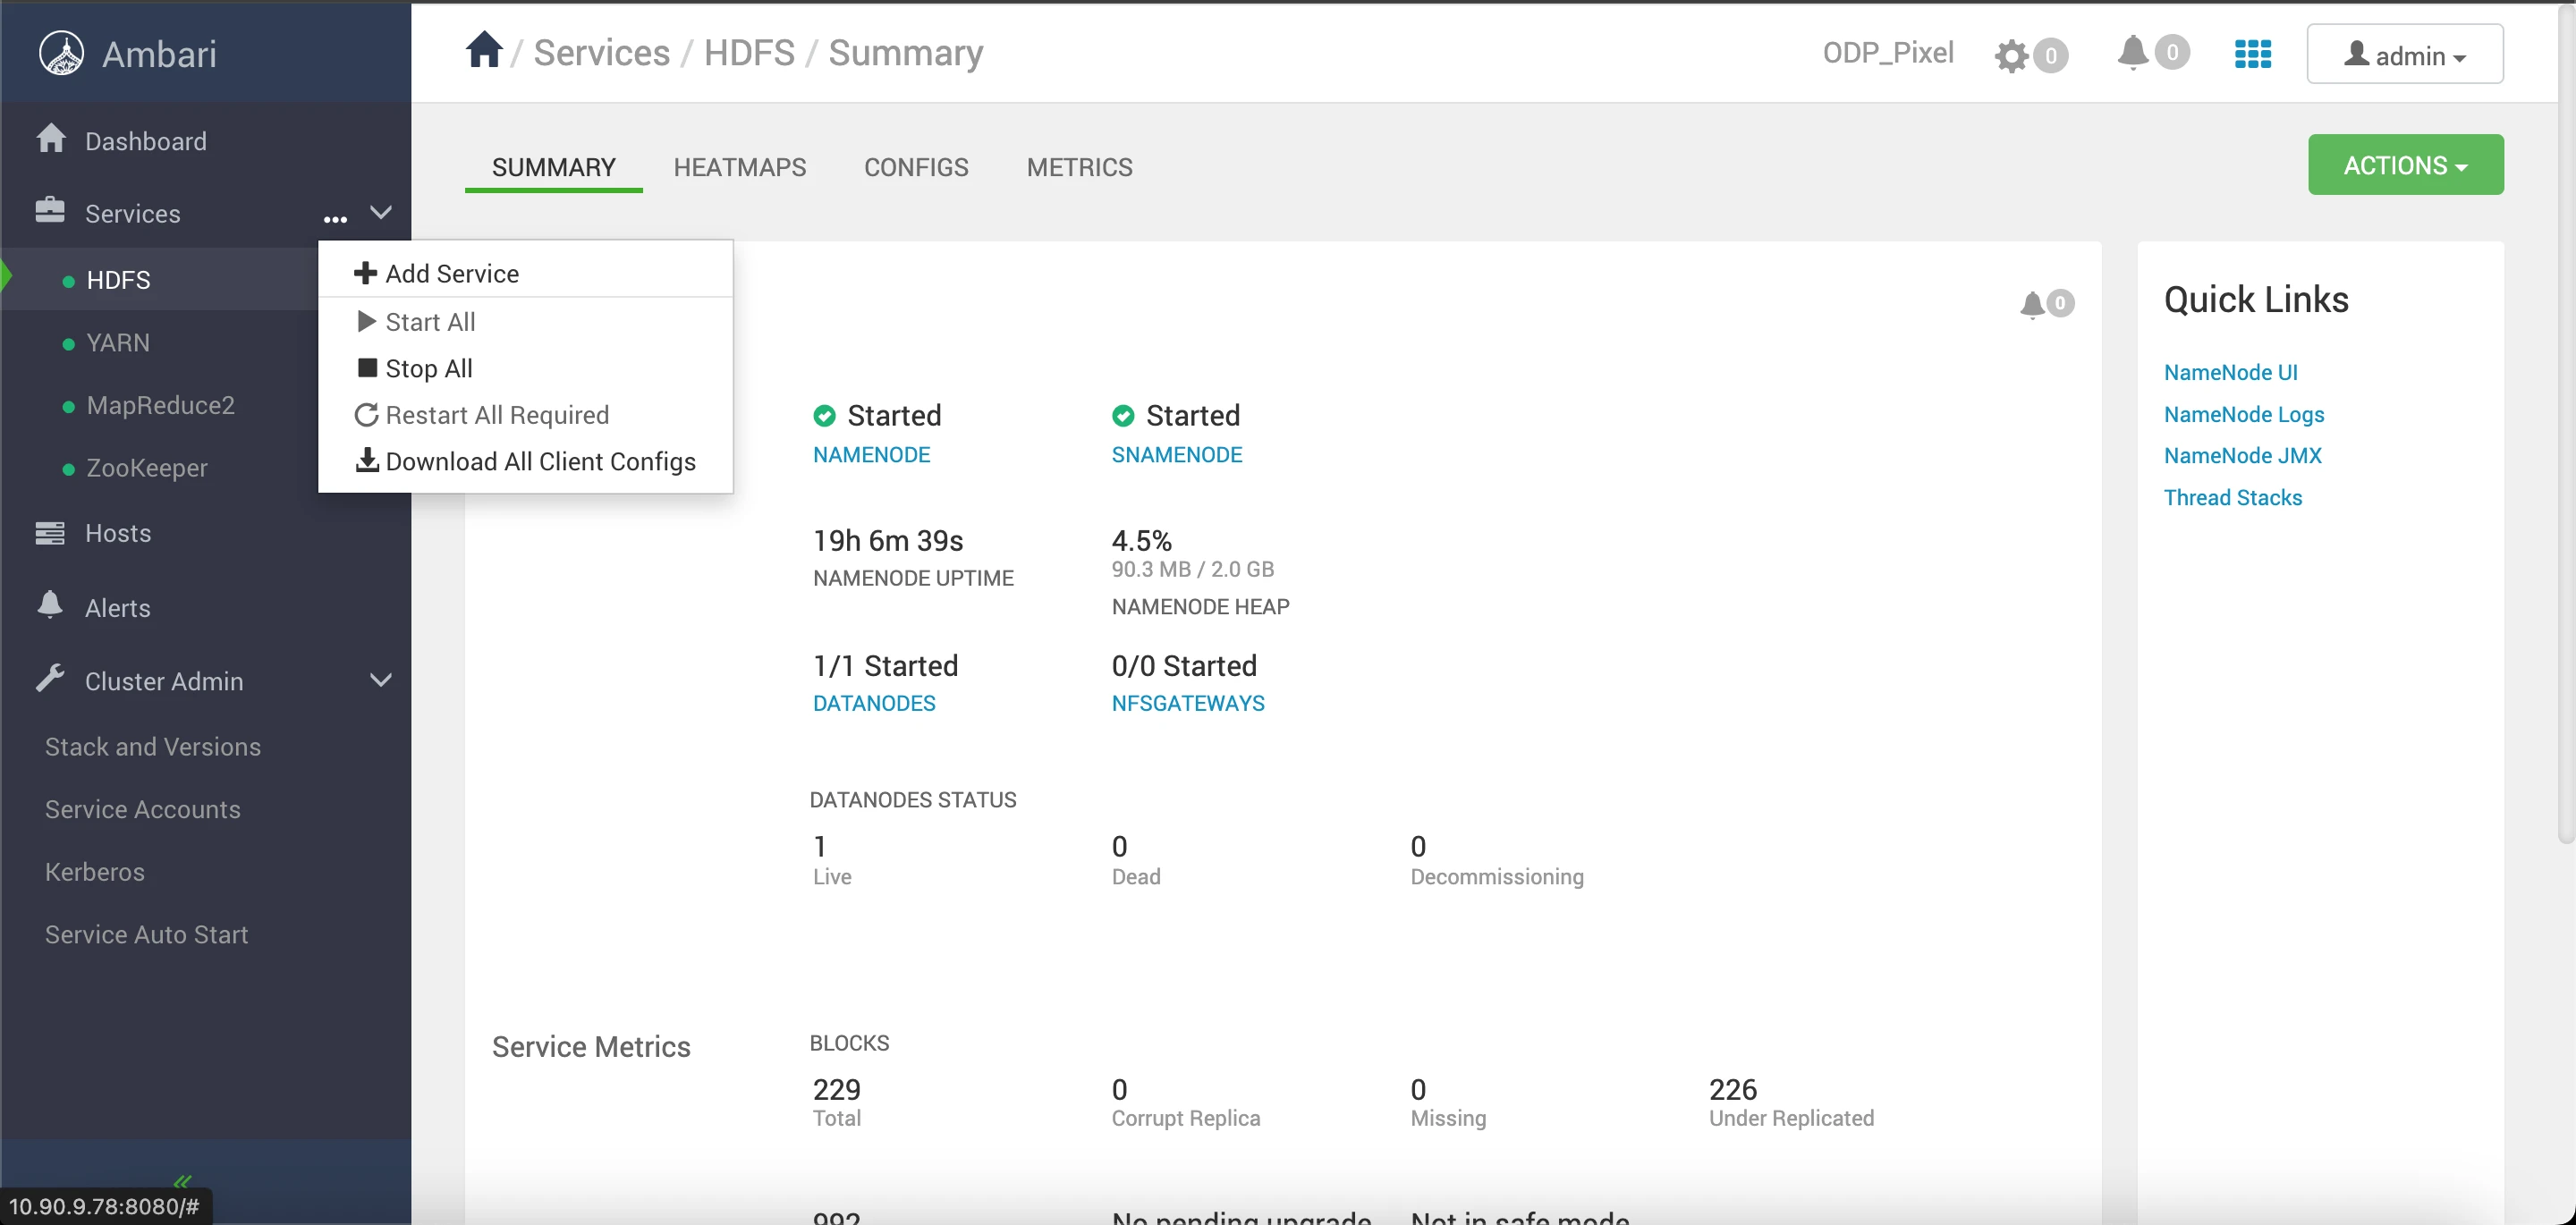
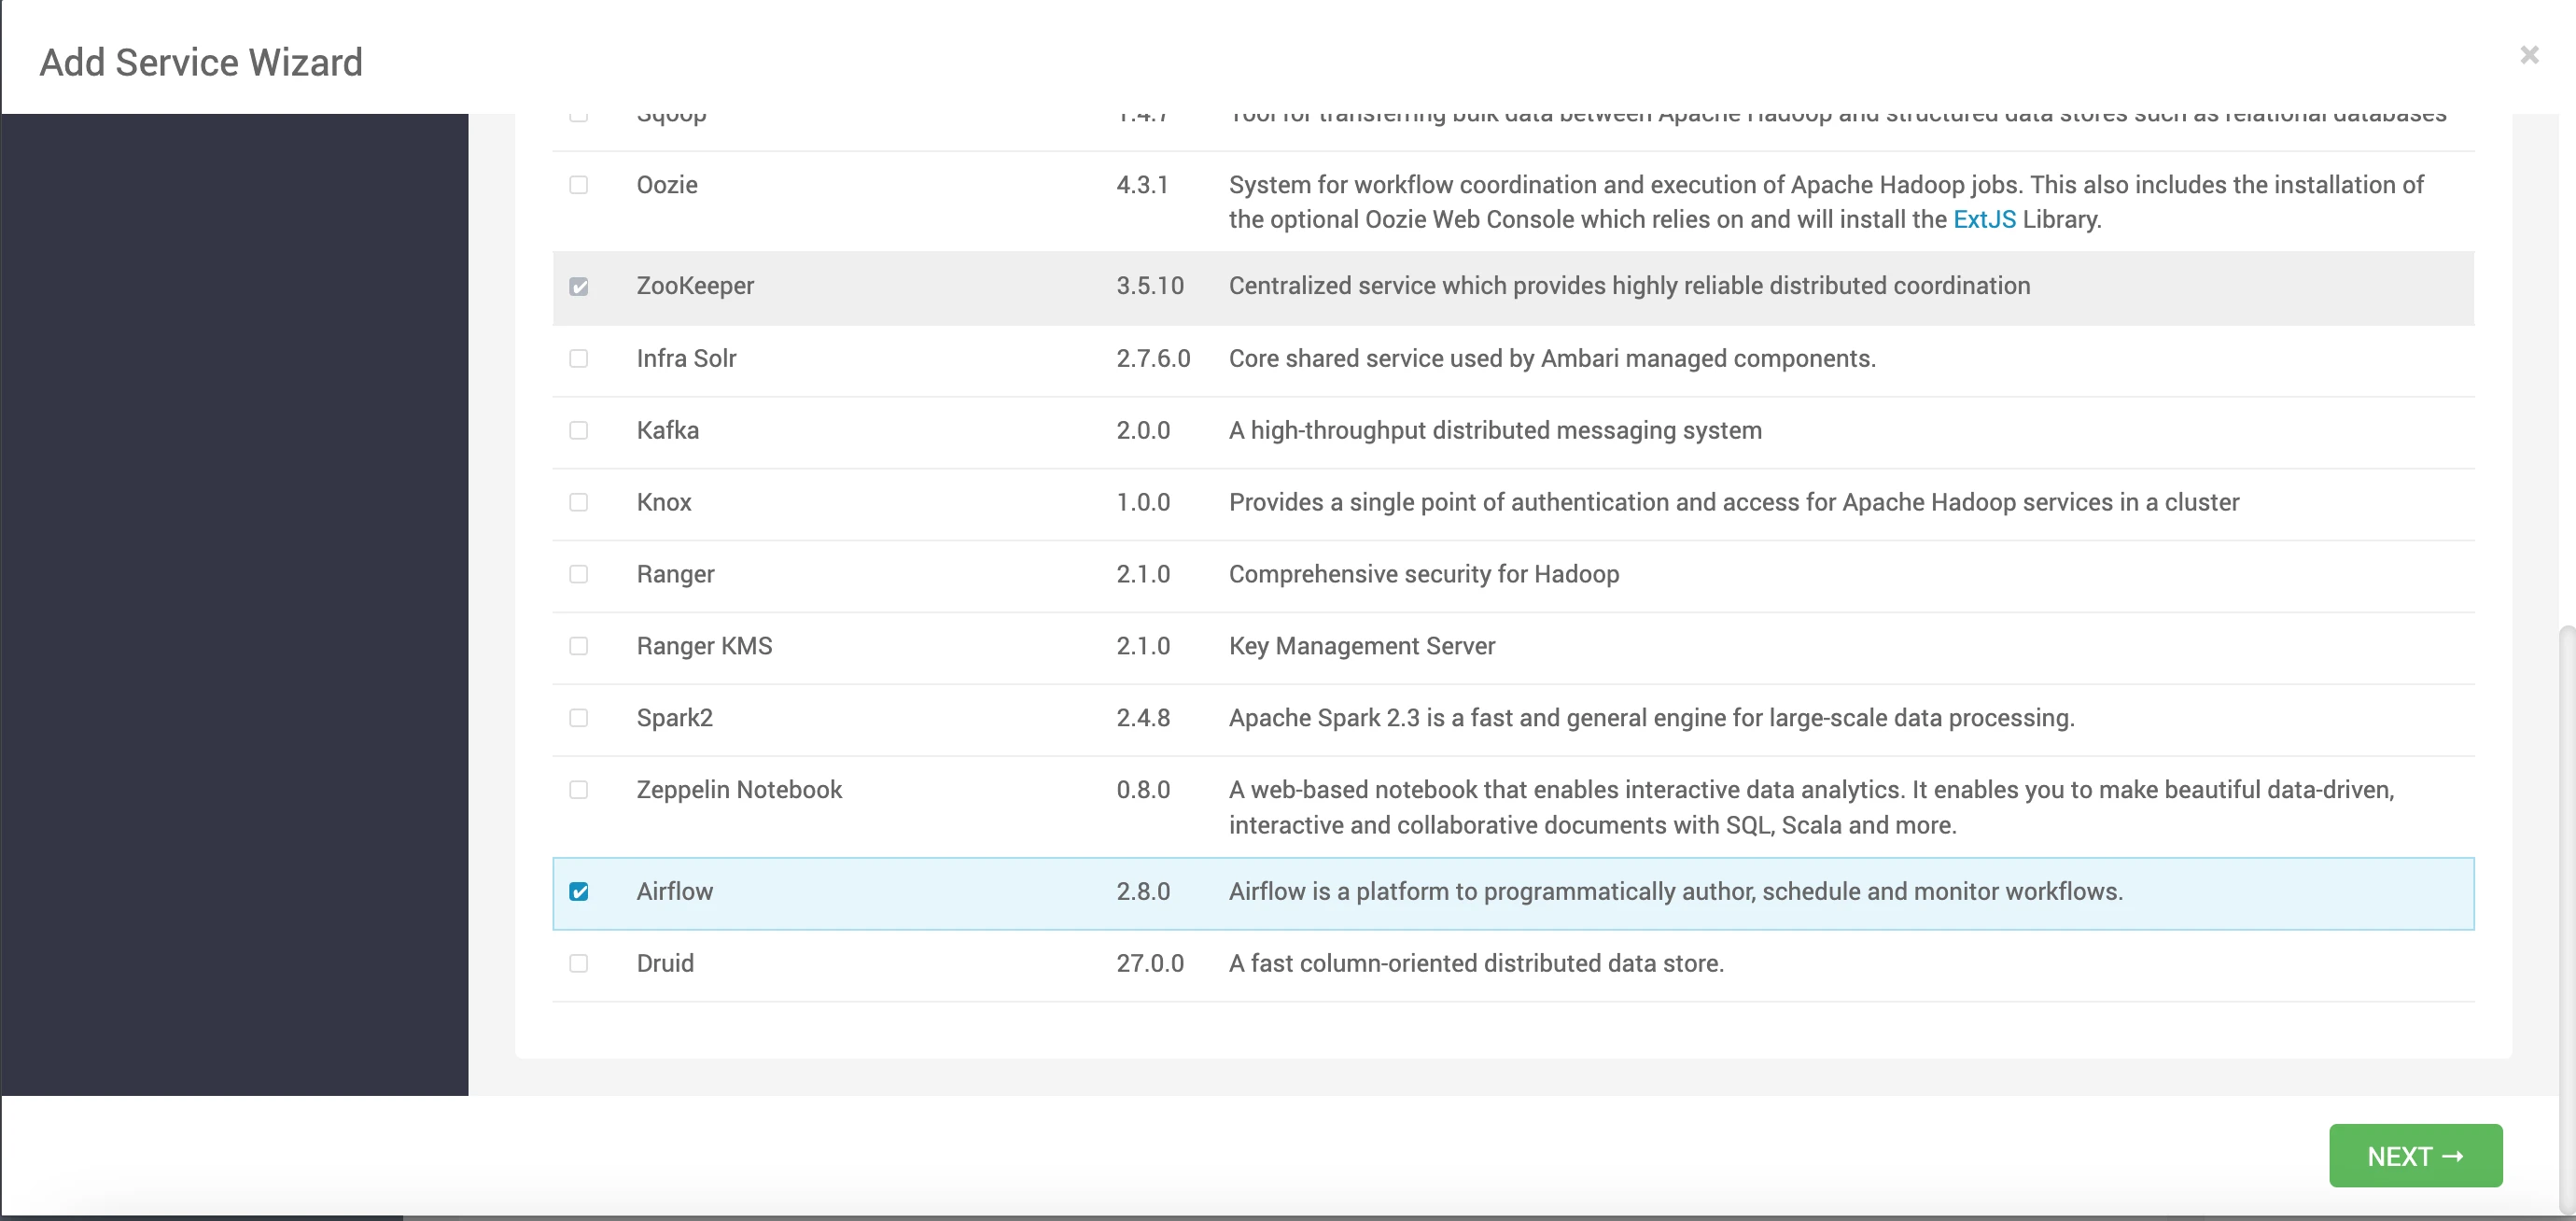
Add the Airflow service from the Ambari UI.
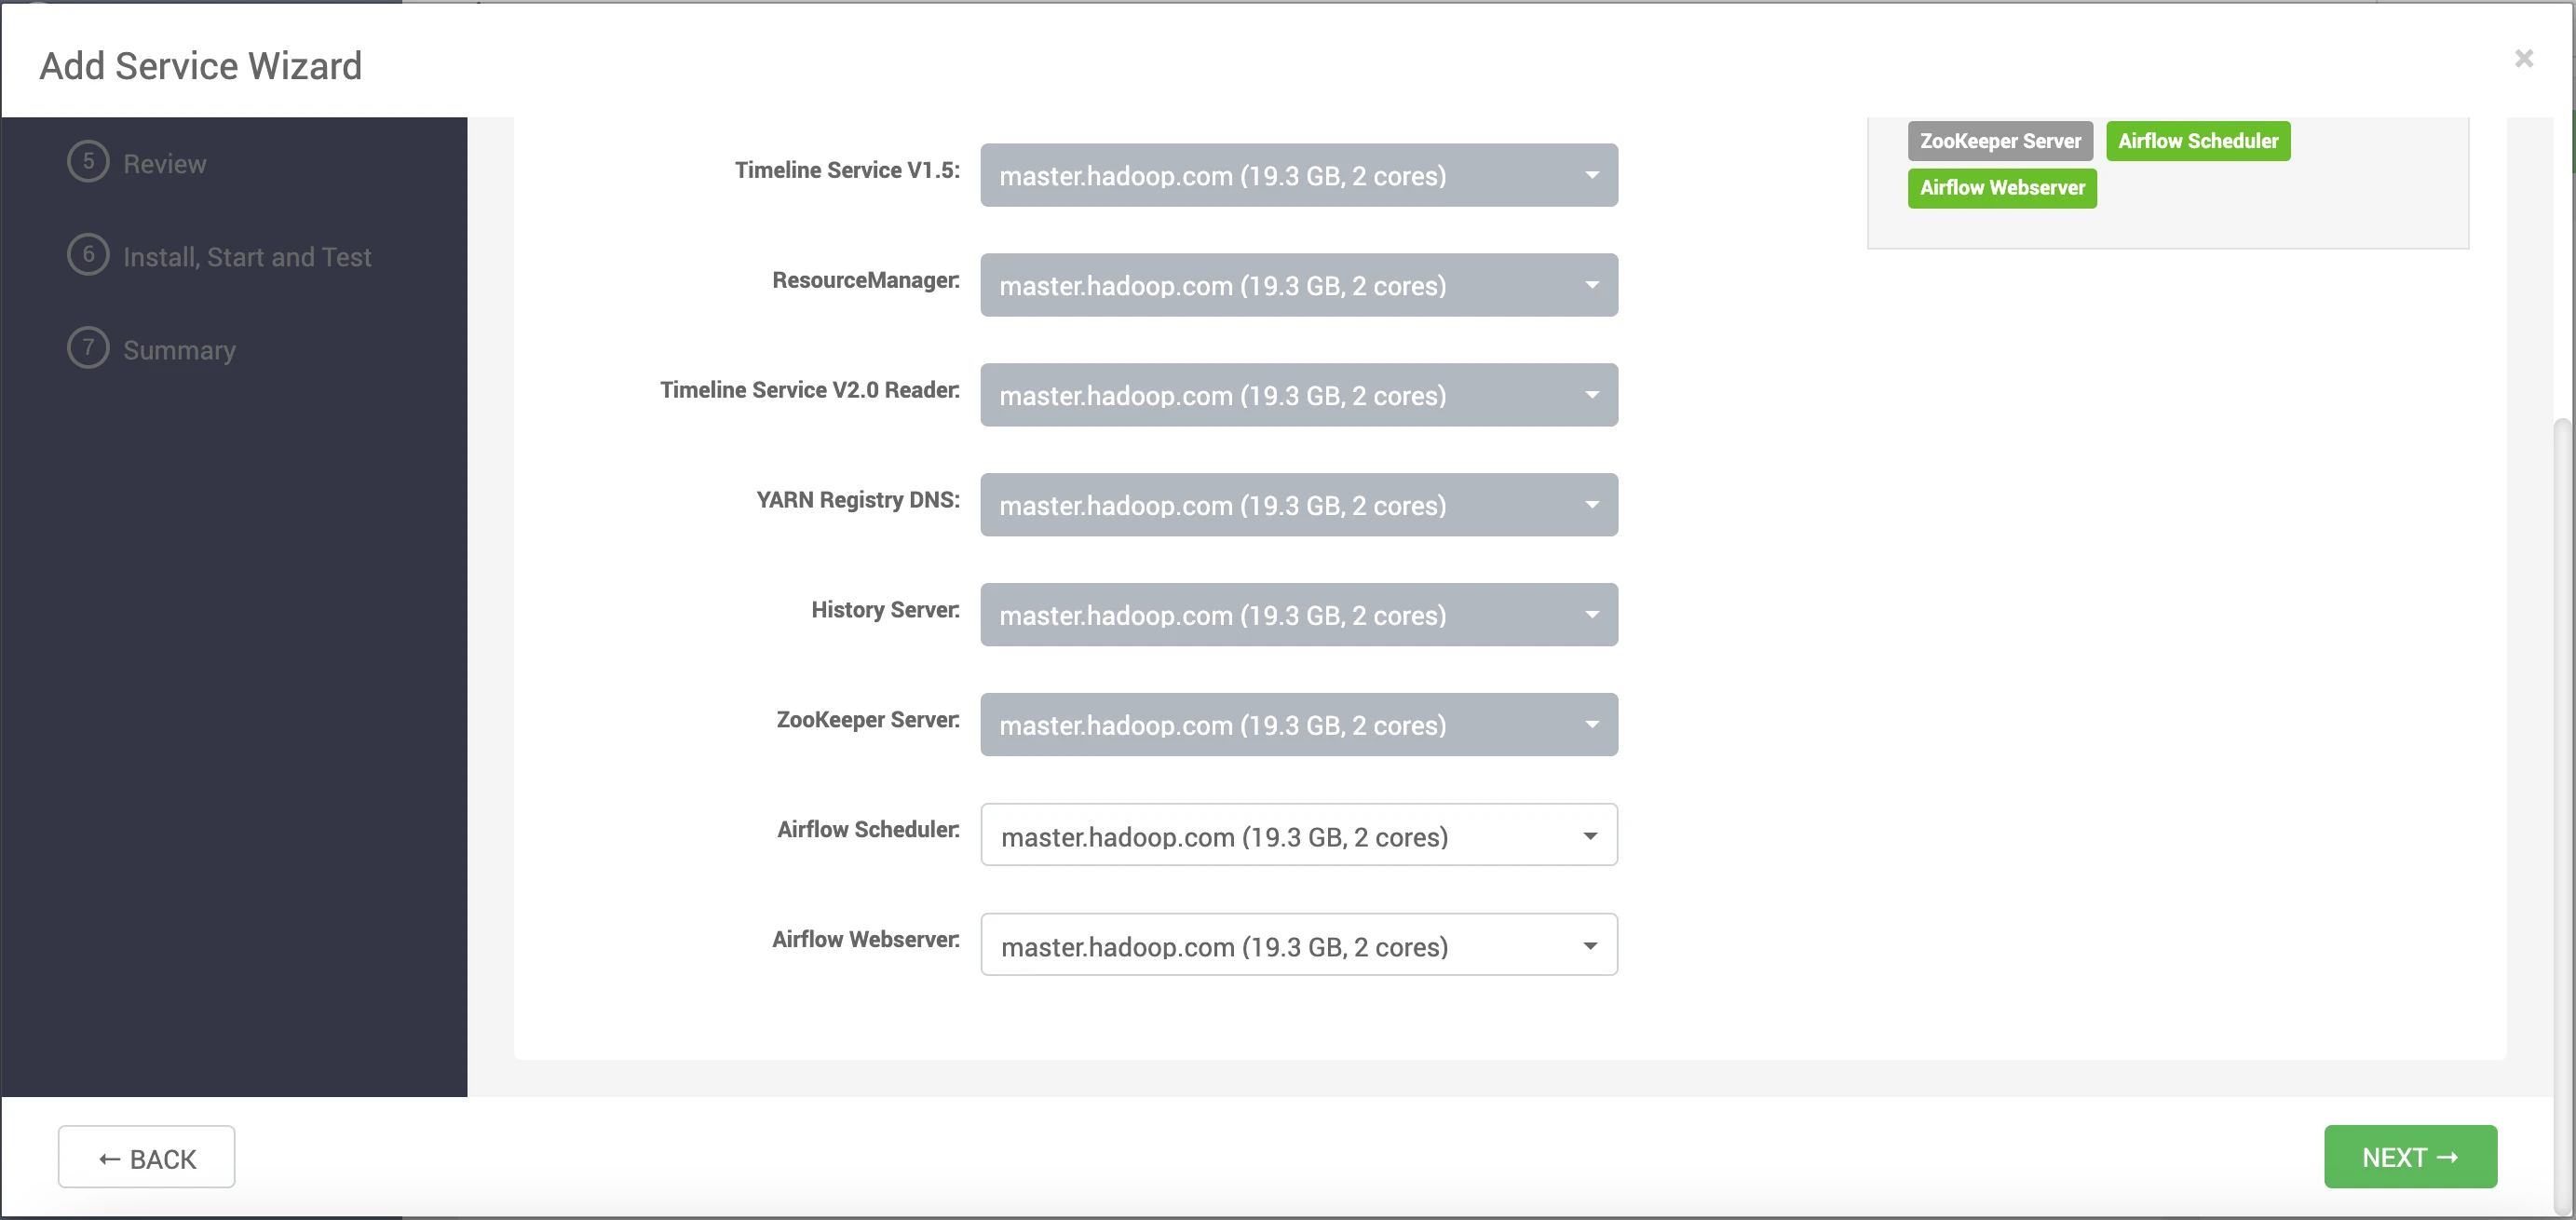
Specify the host details for the Airflow Scheduler and Airflow Webserver.
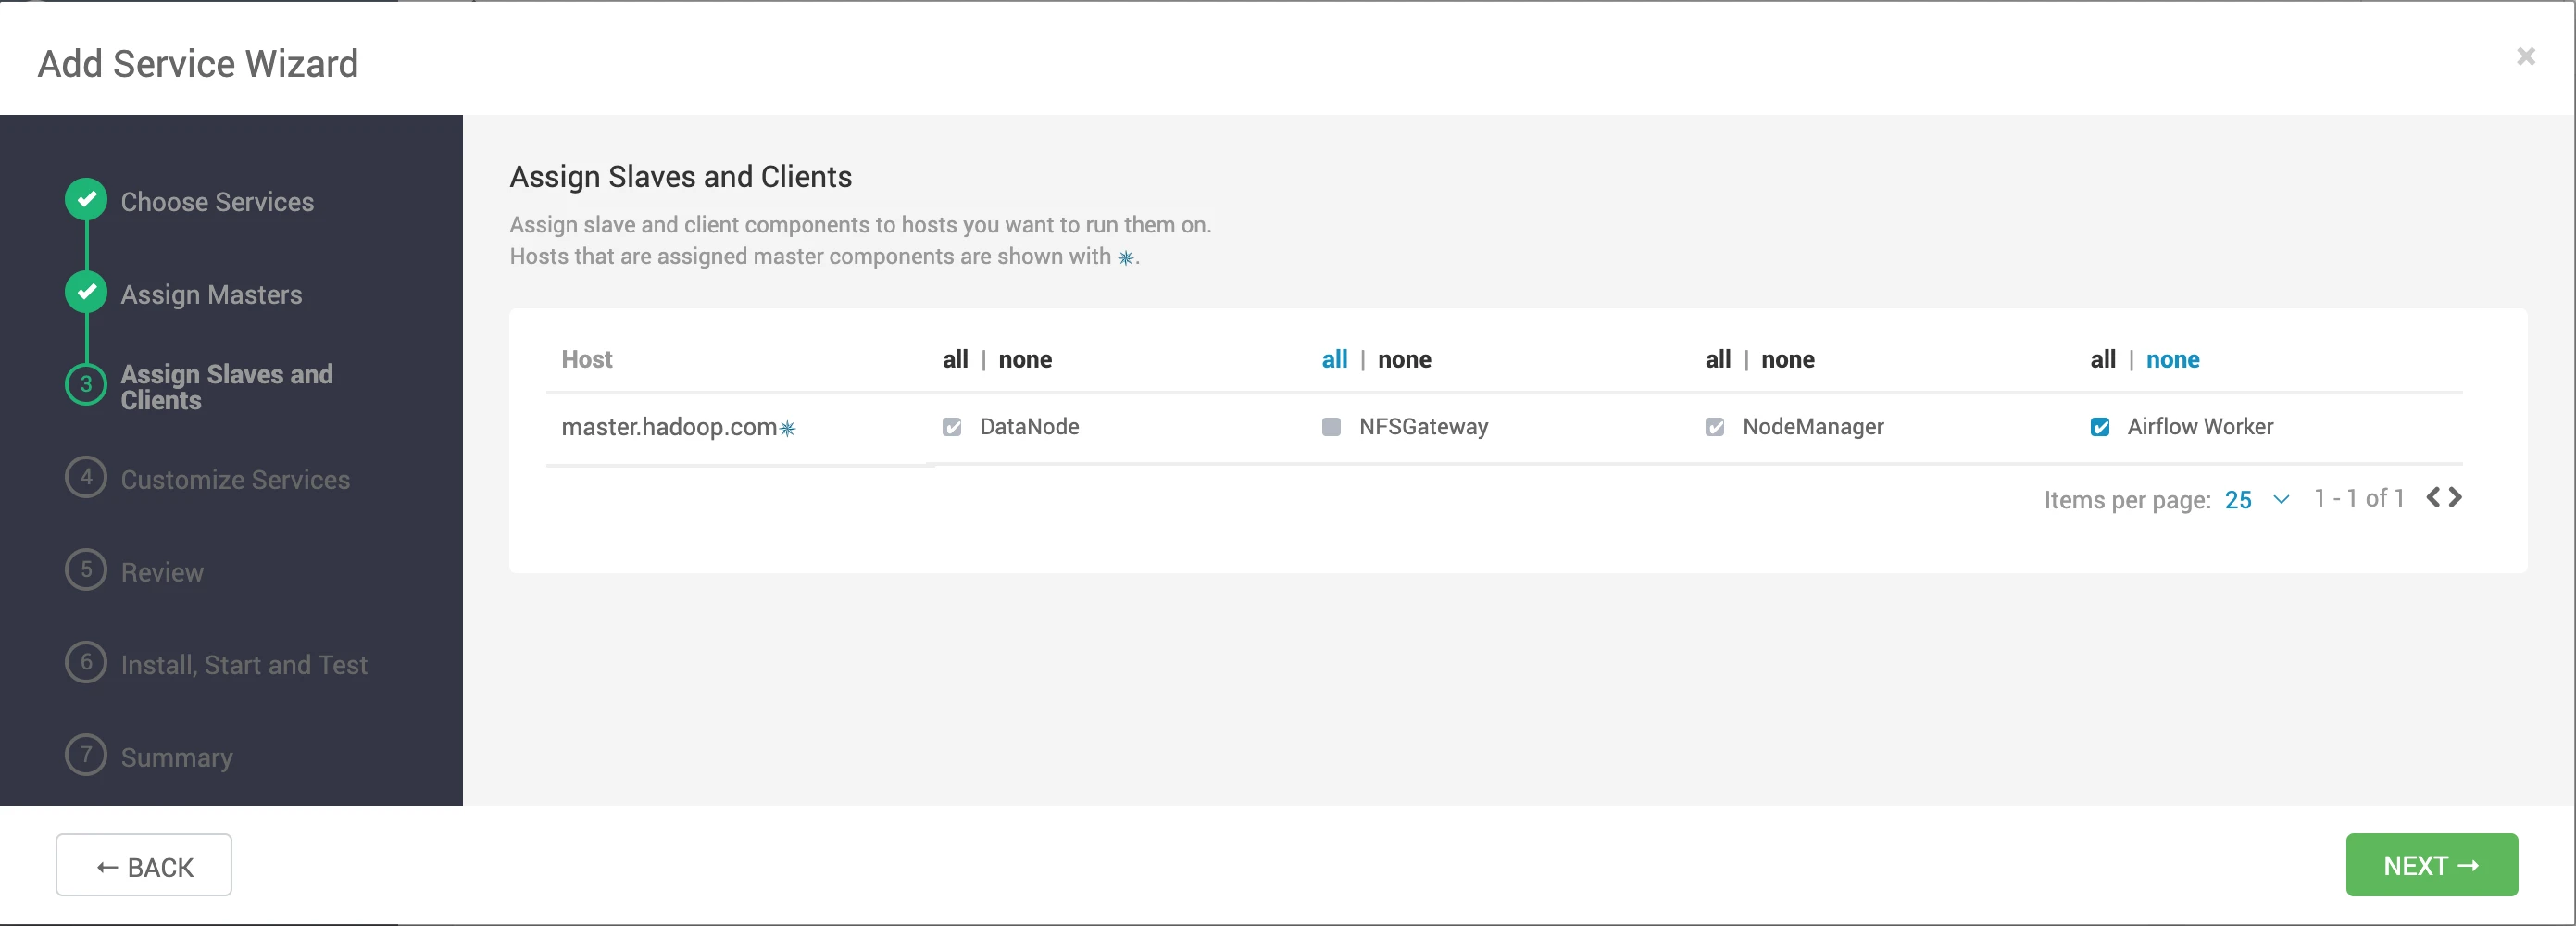
Choose the slave client configuration.
Modify or customize the fields as needed.
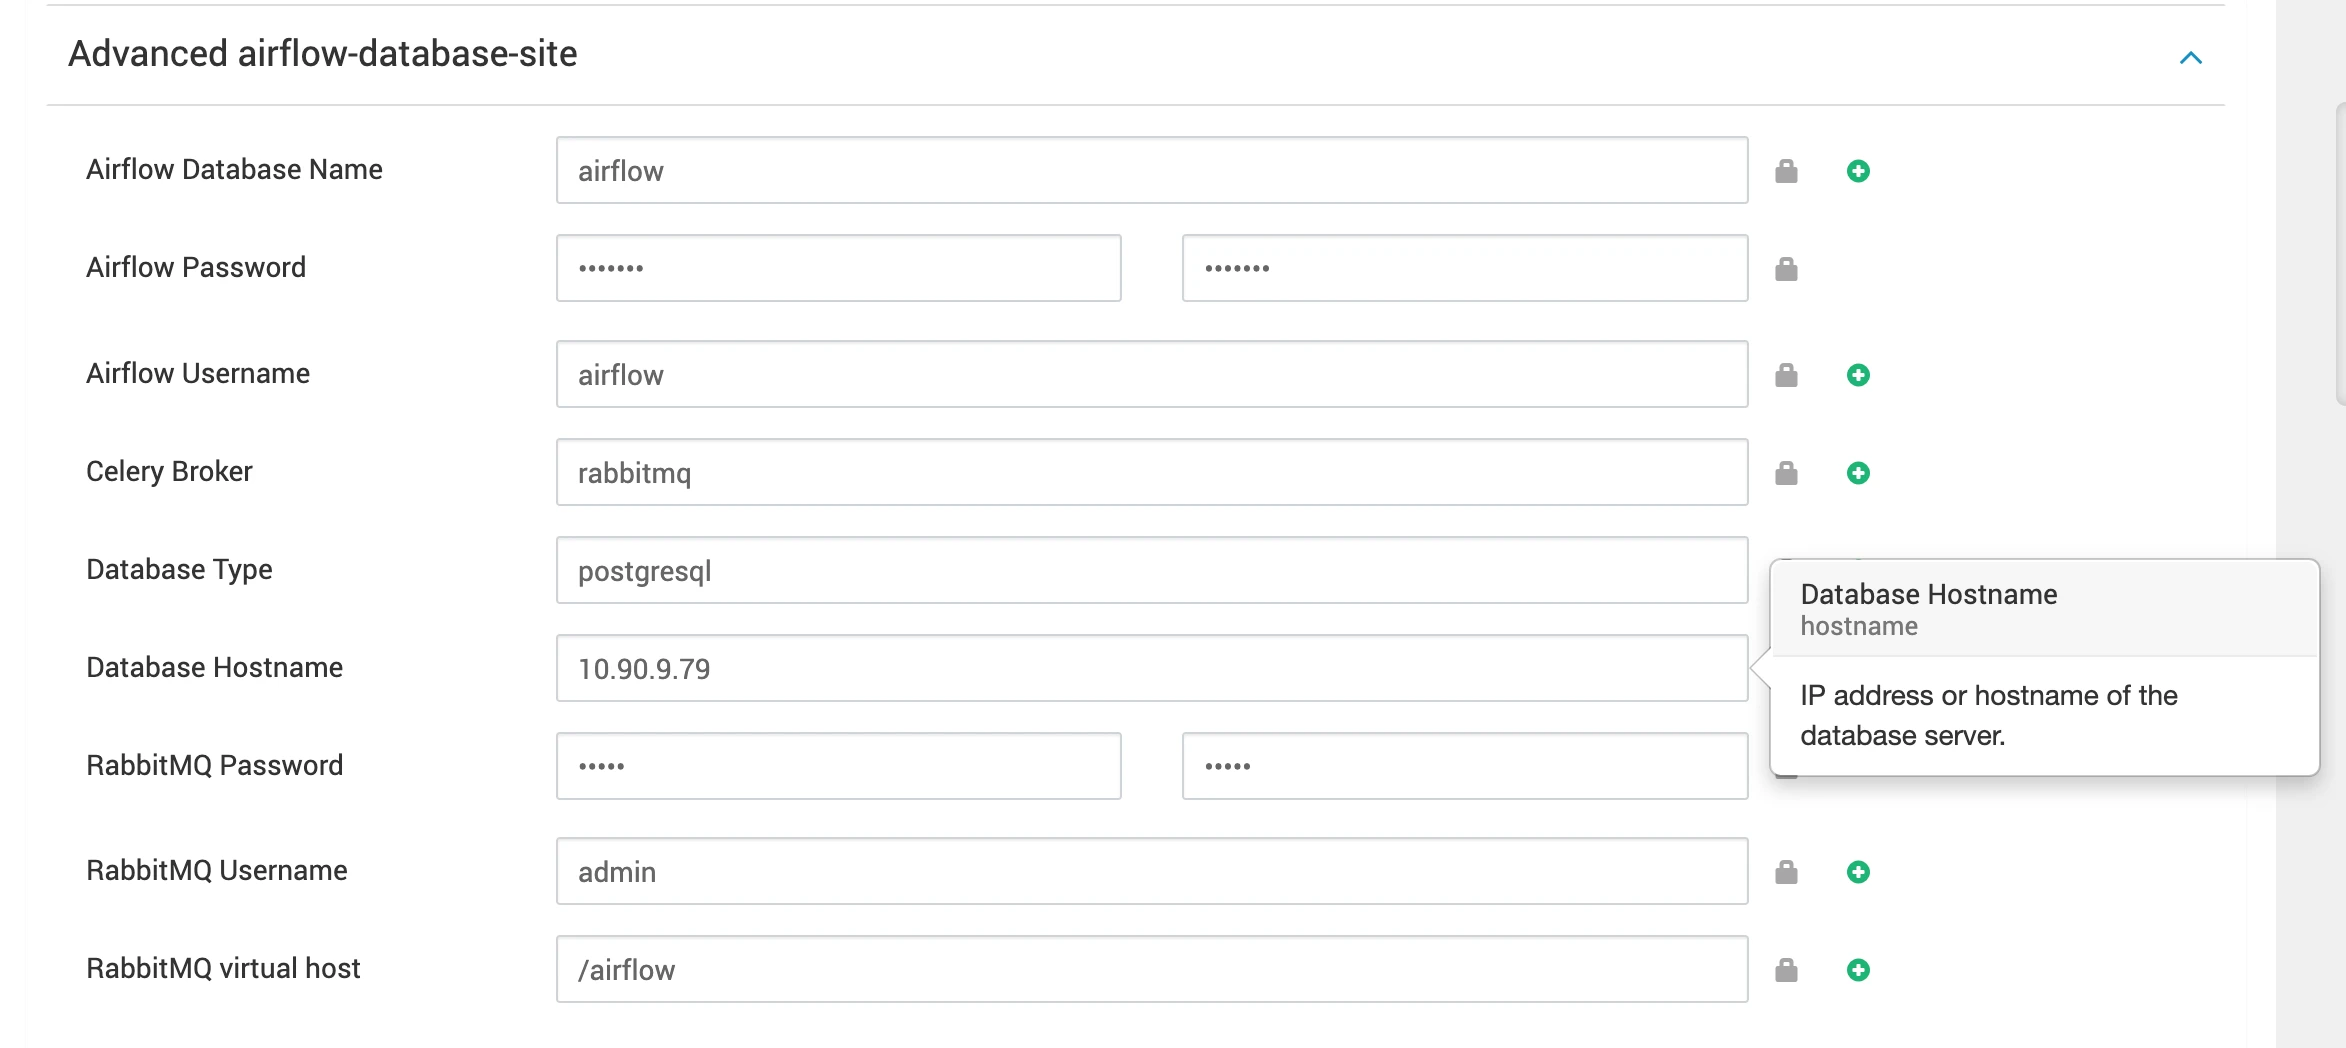
Database Options:
Choose between MySQL or PostgreSQL as the backend database:
Configuring the Airflow backend database connection string and Celery settings. Users will be prompted to input specific information, including the database name, password, username, database type (choose between MySQL or PostgreSQL), and host IP. The provided script will then automatically generate the necessary configuration details for the database connection string and Celery settings.
Enter Database Information in ambari UI.
Database Name
Password
Username
Database Type: Choose between mysql or postgresql.
Host IP
If you are using RabbitMQ then you have to setup and add RabbitMQ configurations.
RabbitMQ Username
RabbitMQ Password
RabbitMQ virtual host
Celery Broker
Once you have provided all the necessary details, click on the Next button.
Deploy the Airflow service.
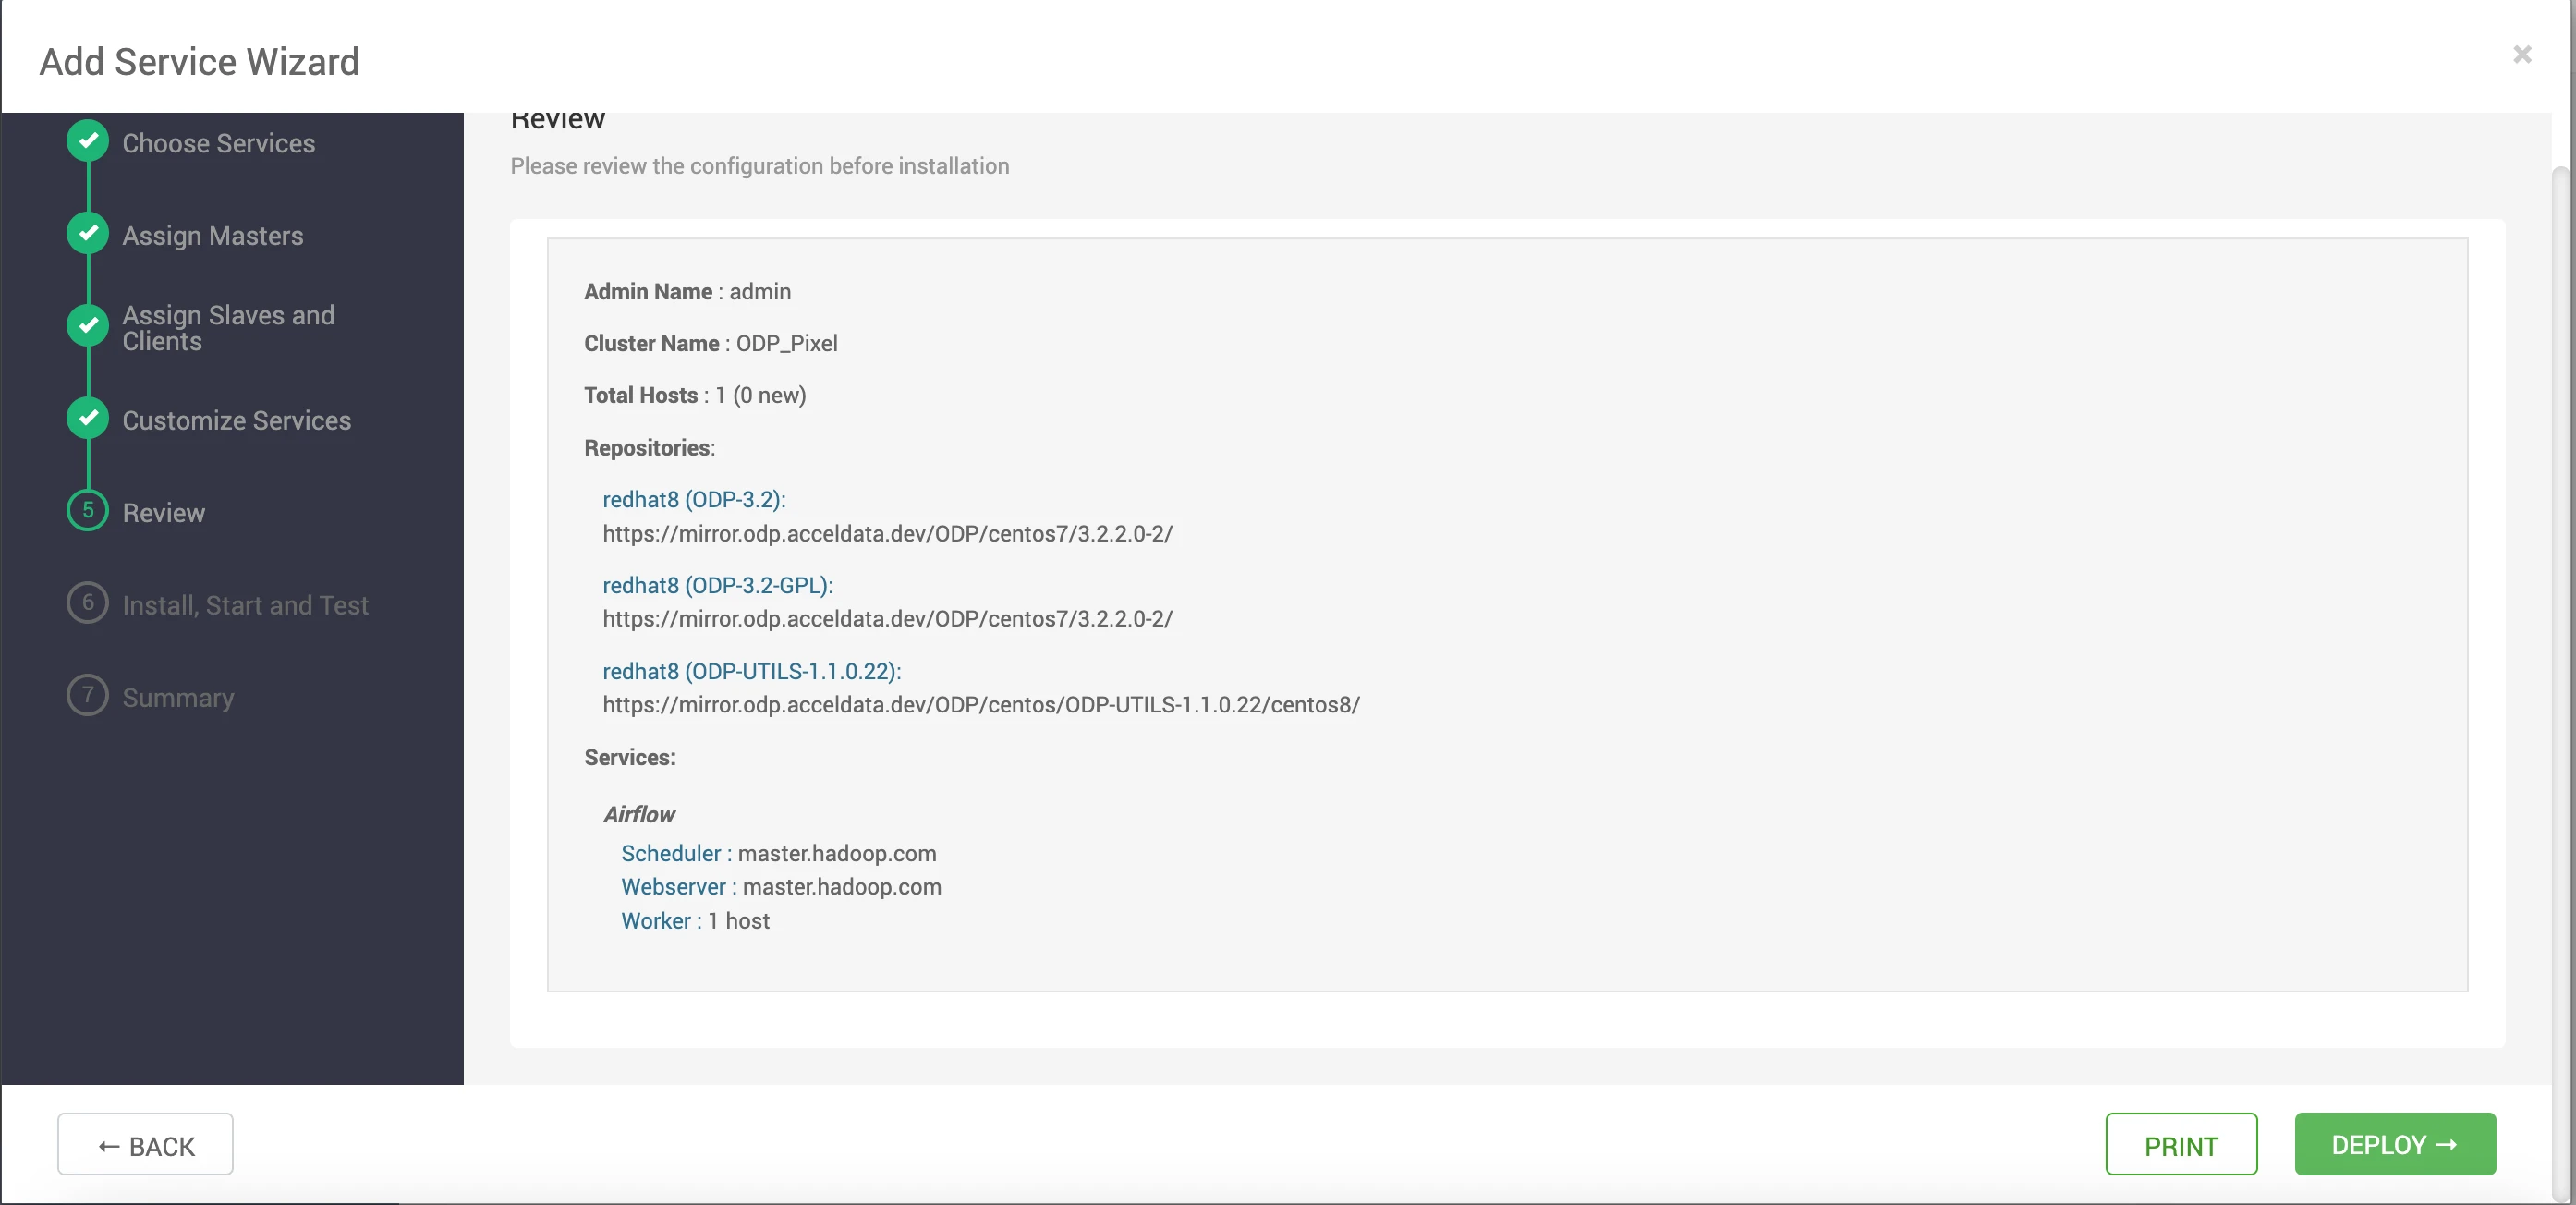
This step will install all the necessary components and initiate the service.
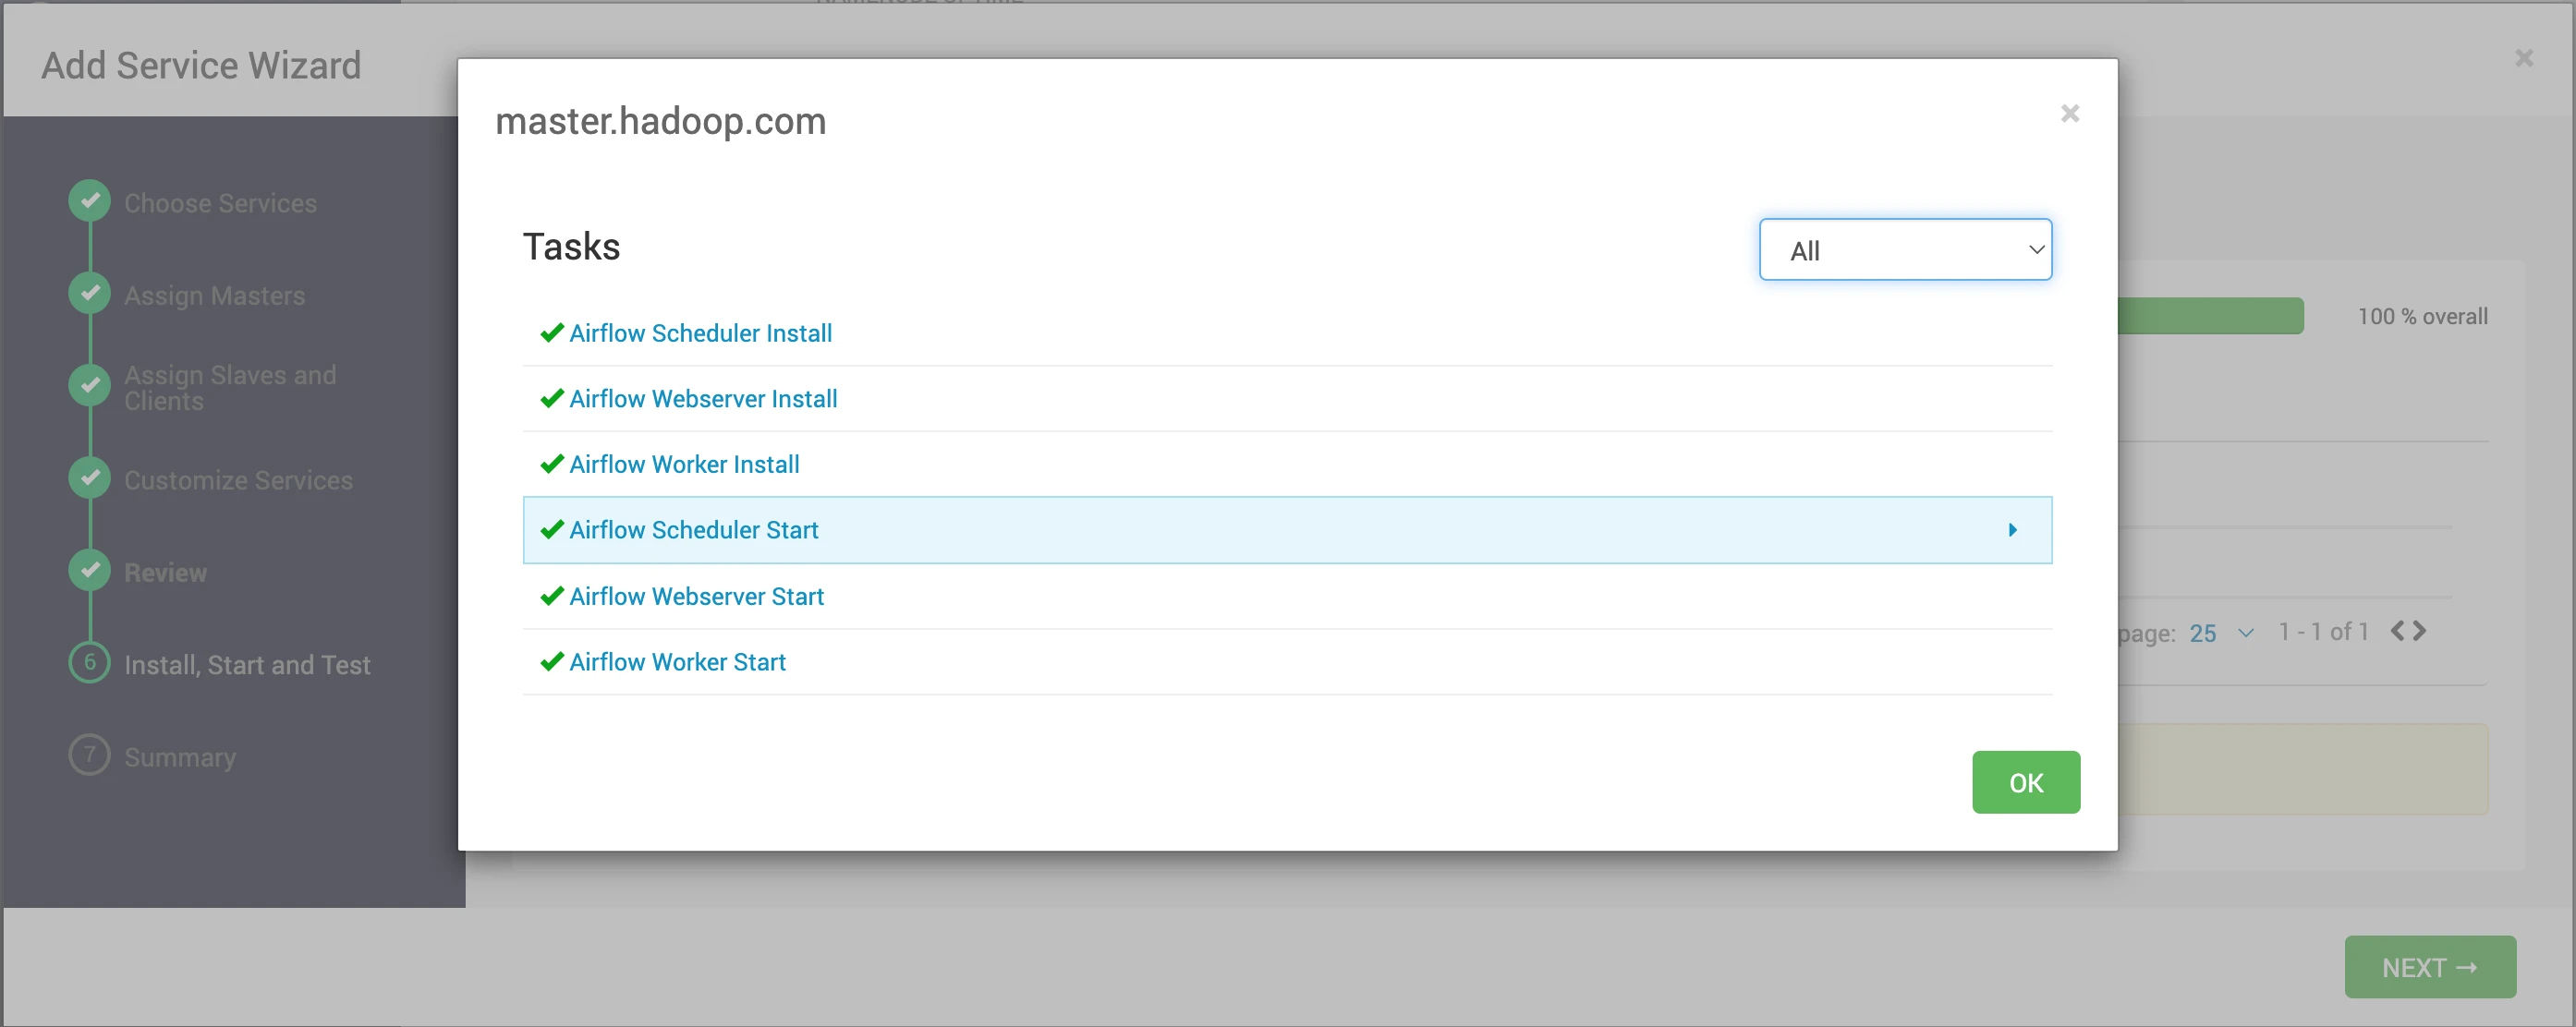
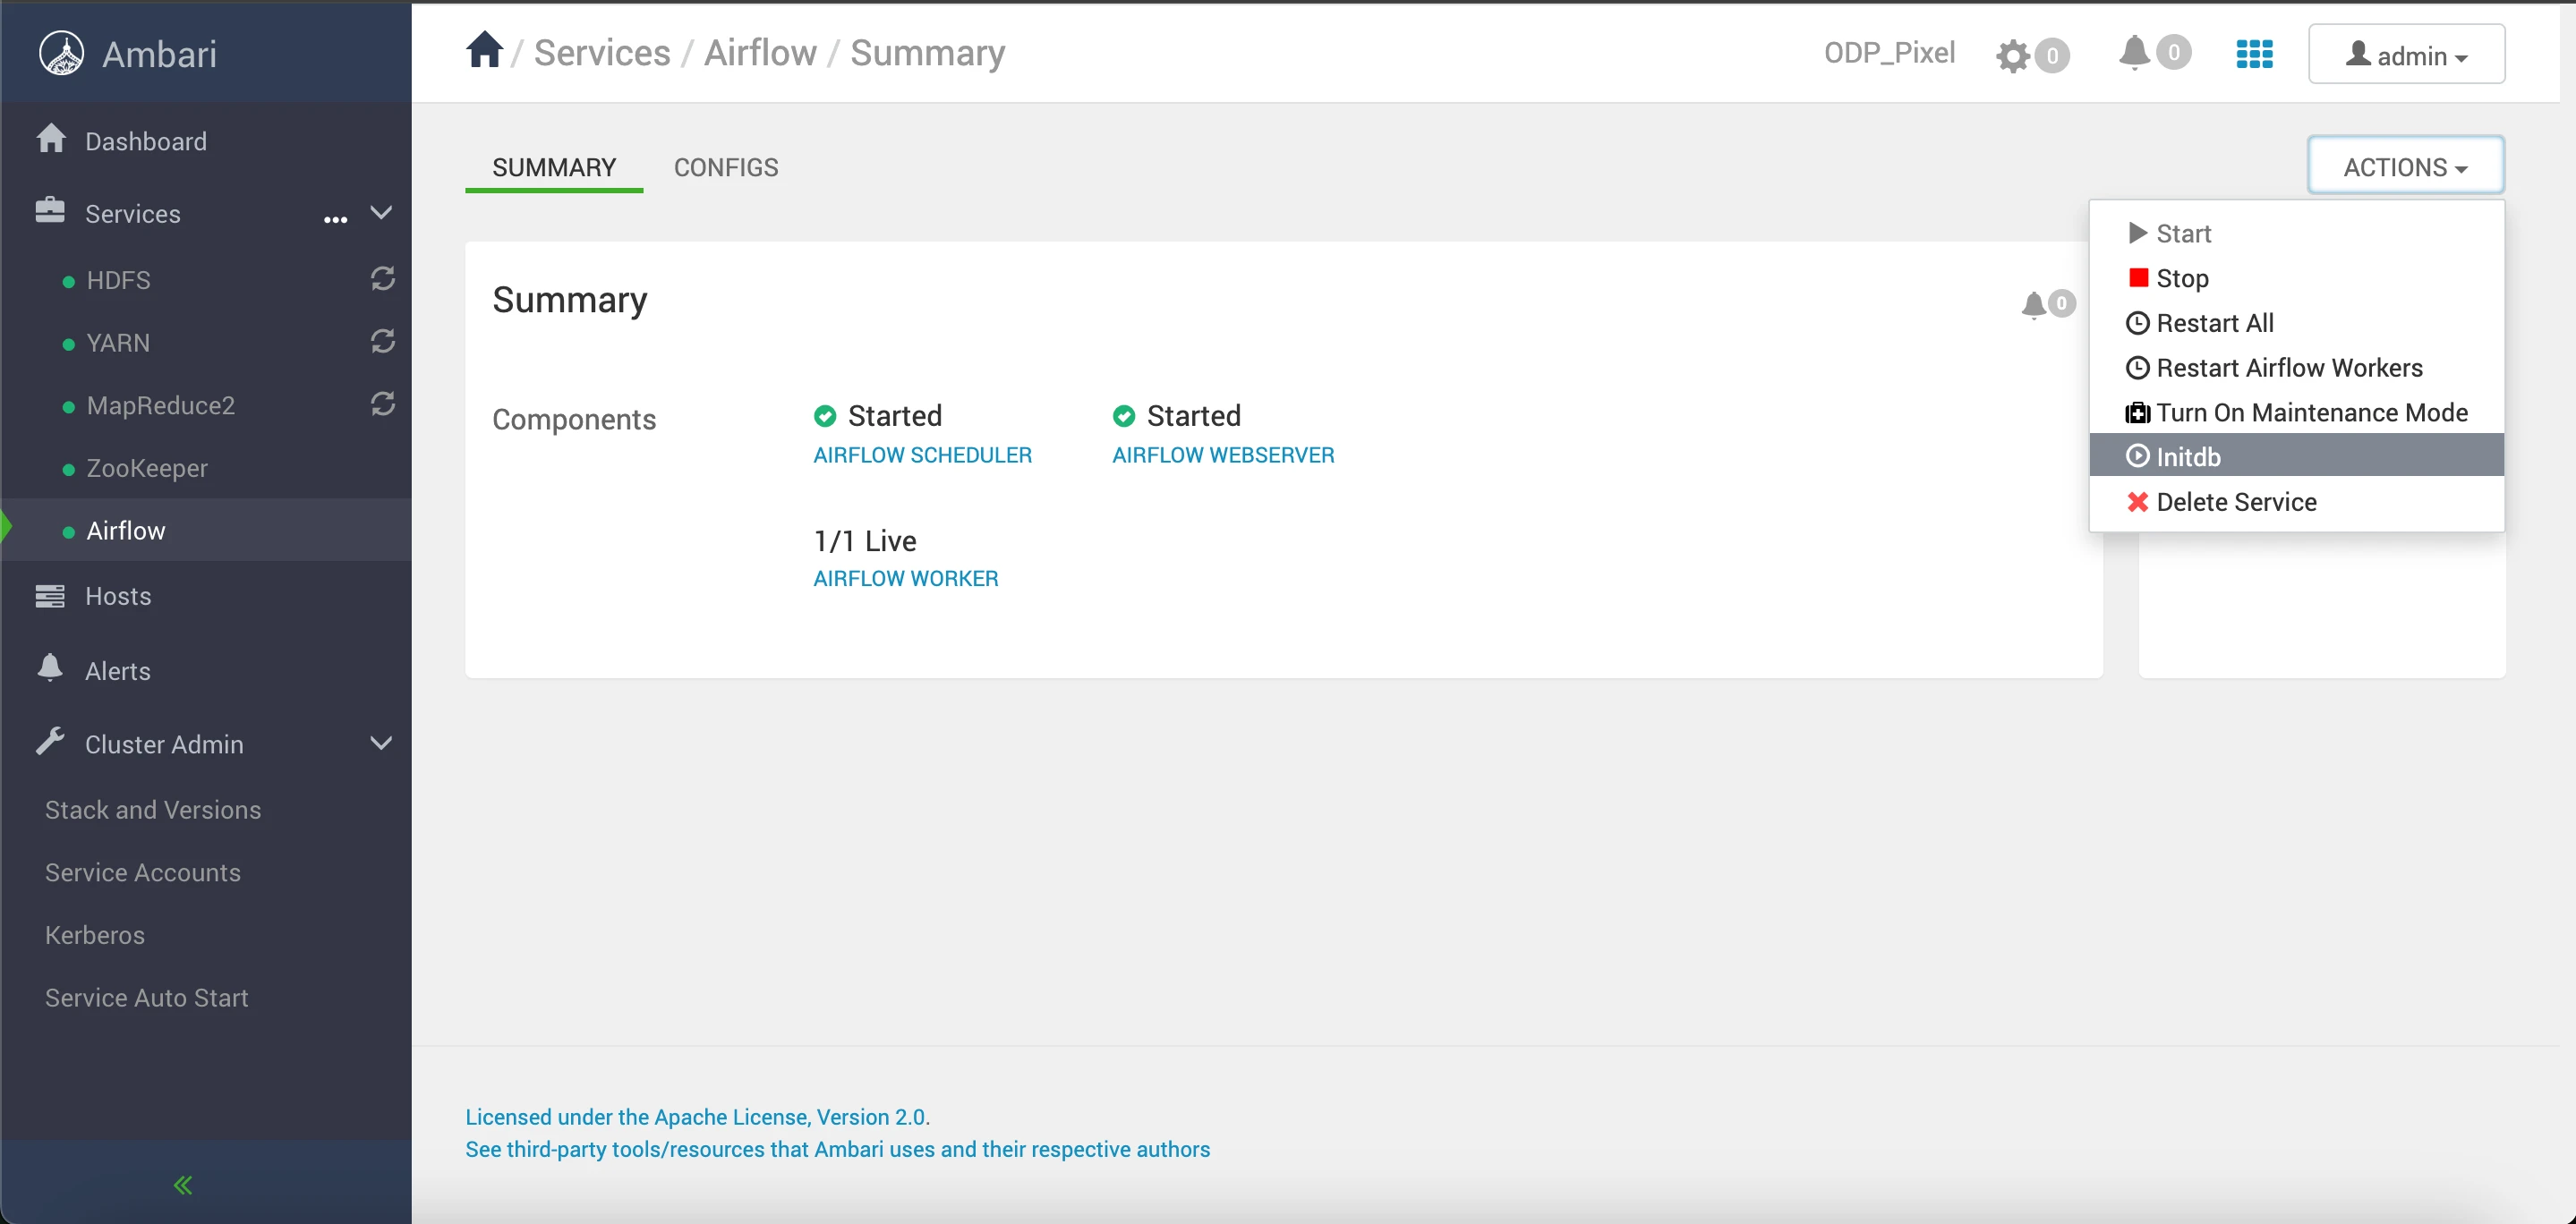
The Airflow webserver is up and running. To access the UI, you need to create a username and password. To create the admin user, you must run the
initdbcommand from the Ambari UI.
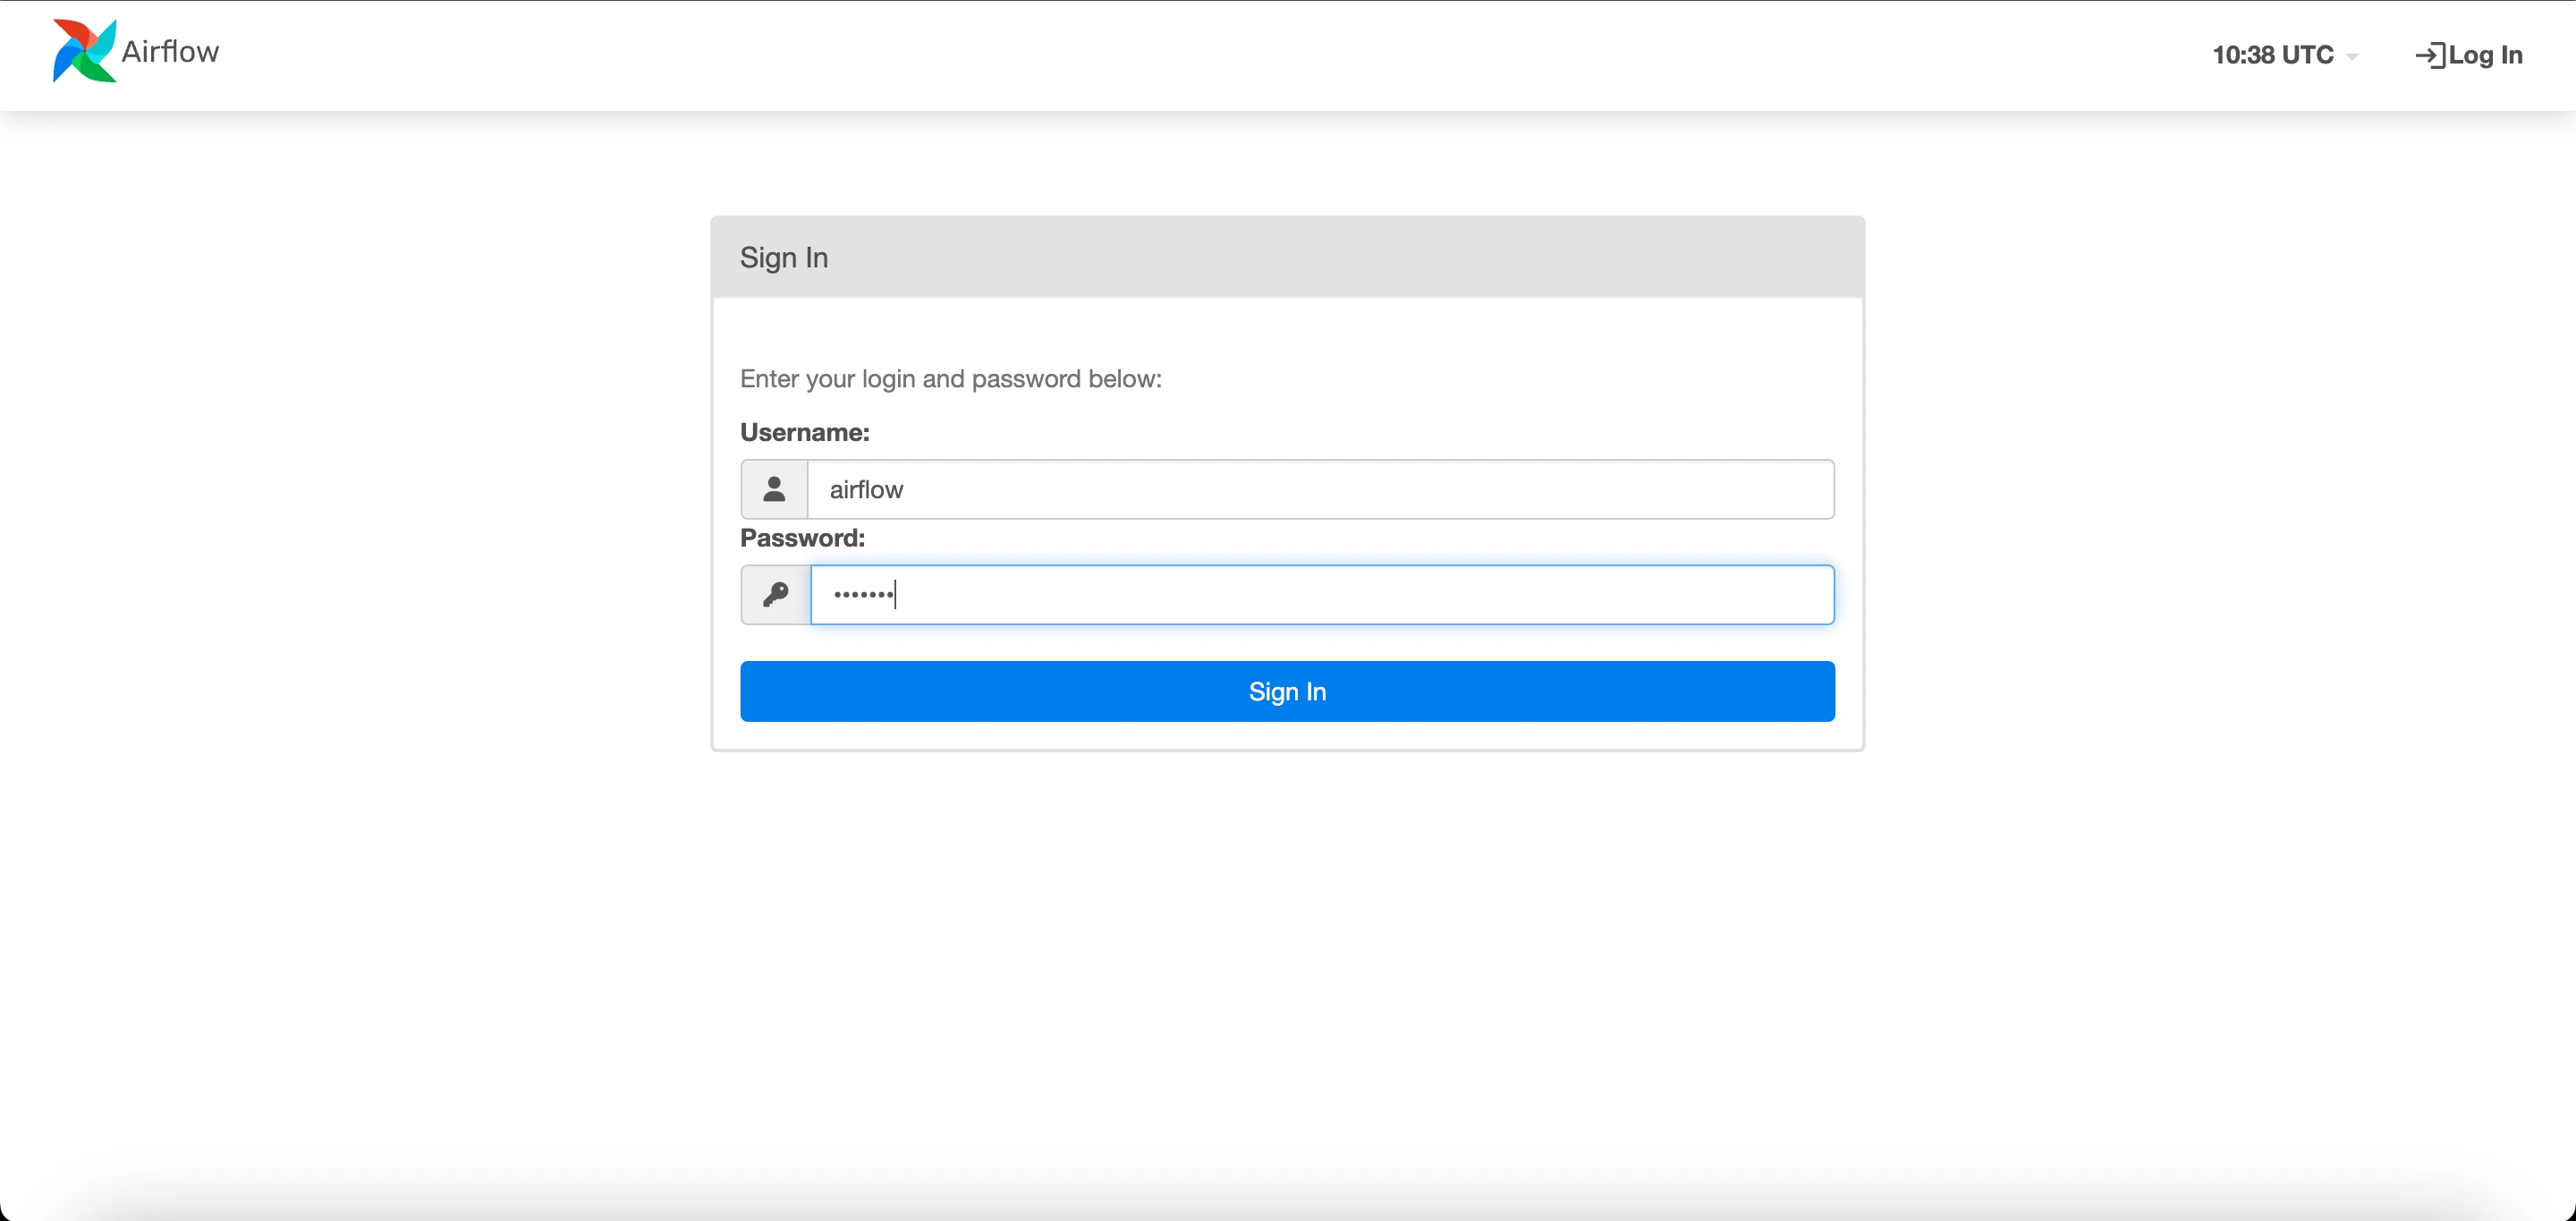
This command will generate an admin user named "airflow" with the password "airflow."> > You can utilize these credentials (username: "airflow", password: "airflow") to log in and access the Airflow webserver UI.
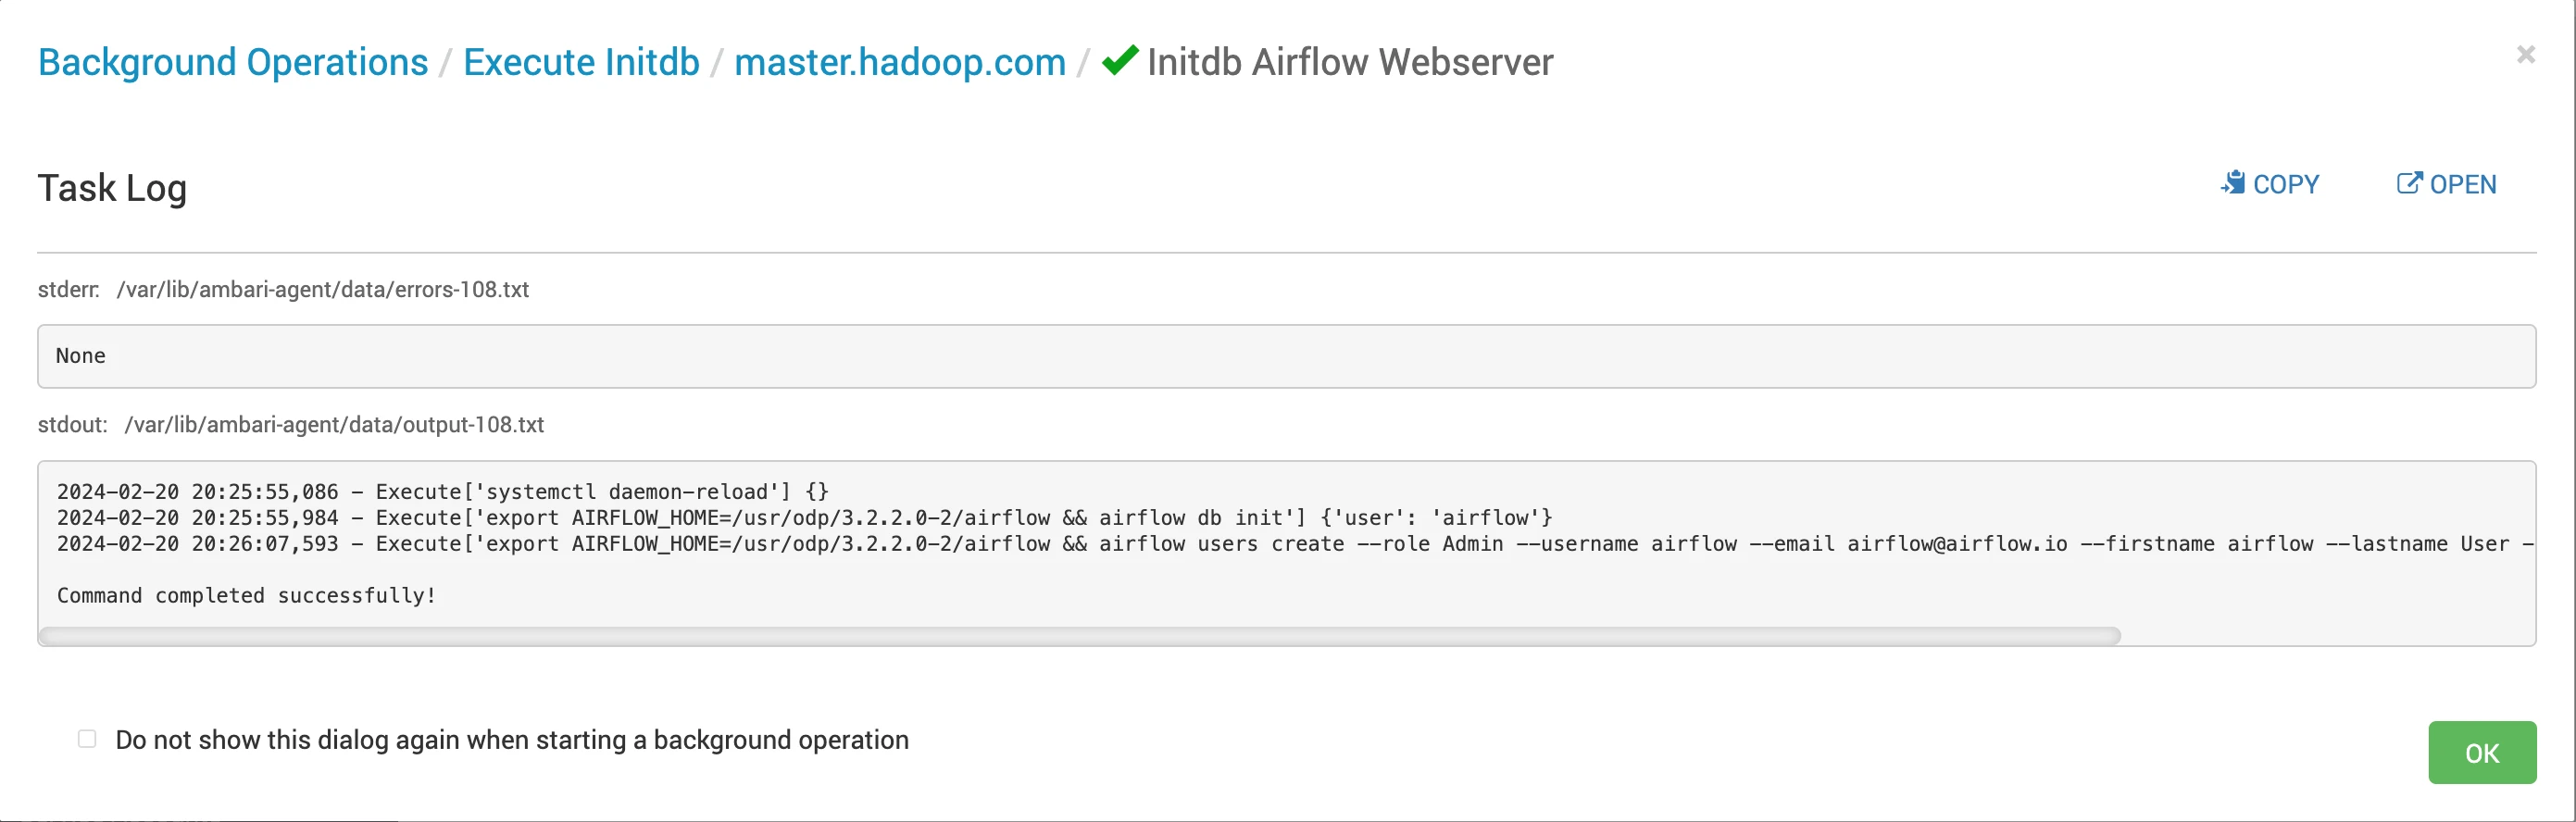
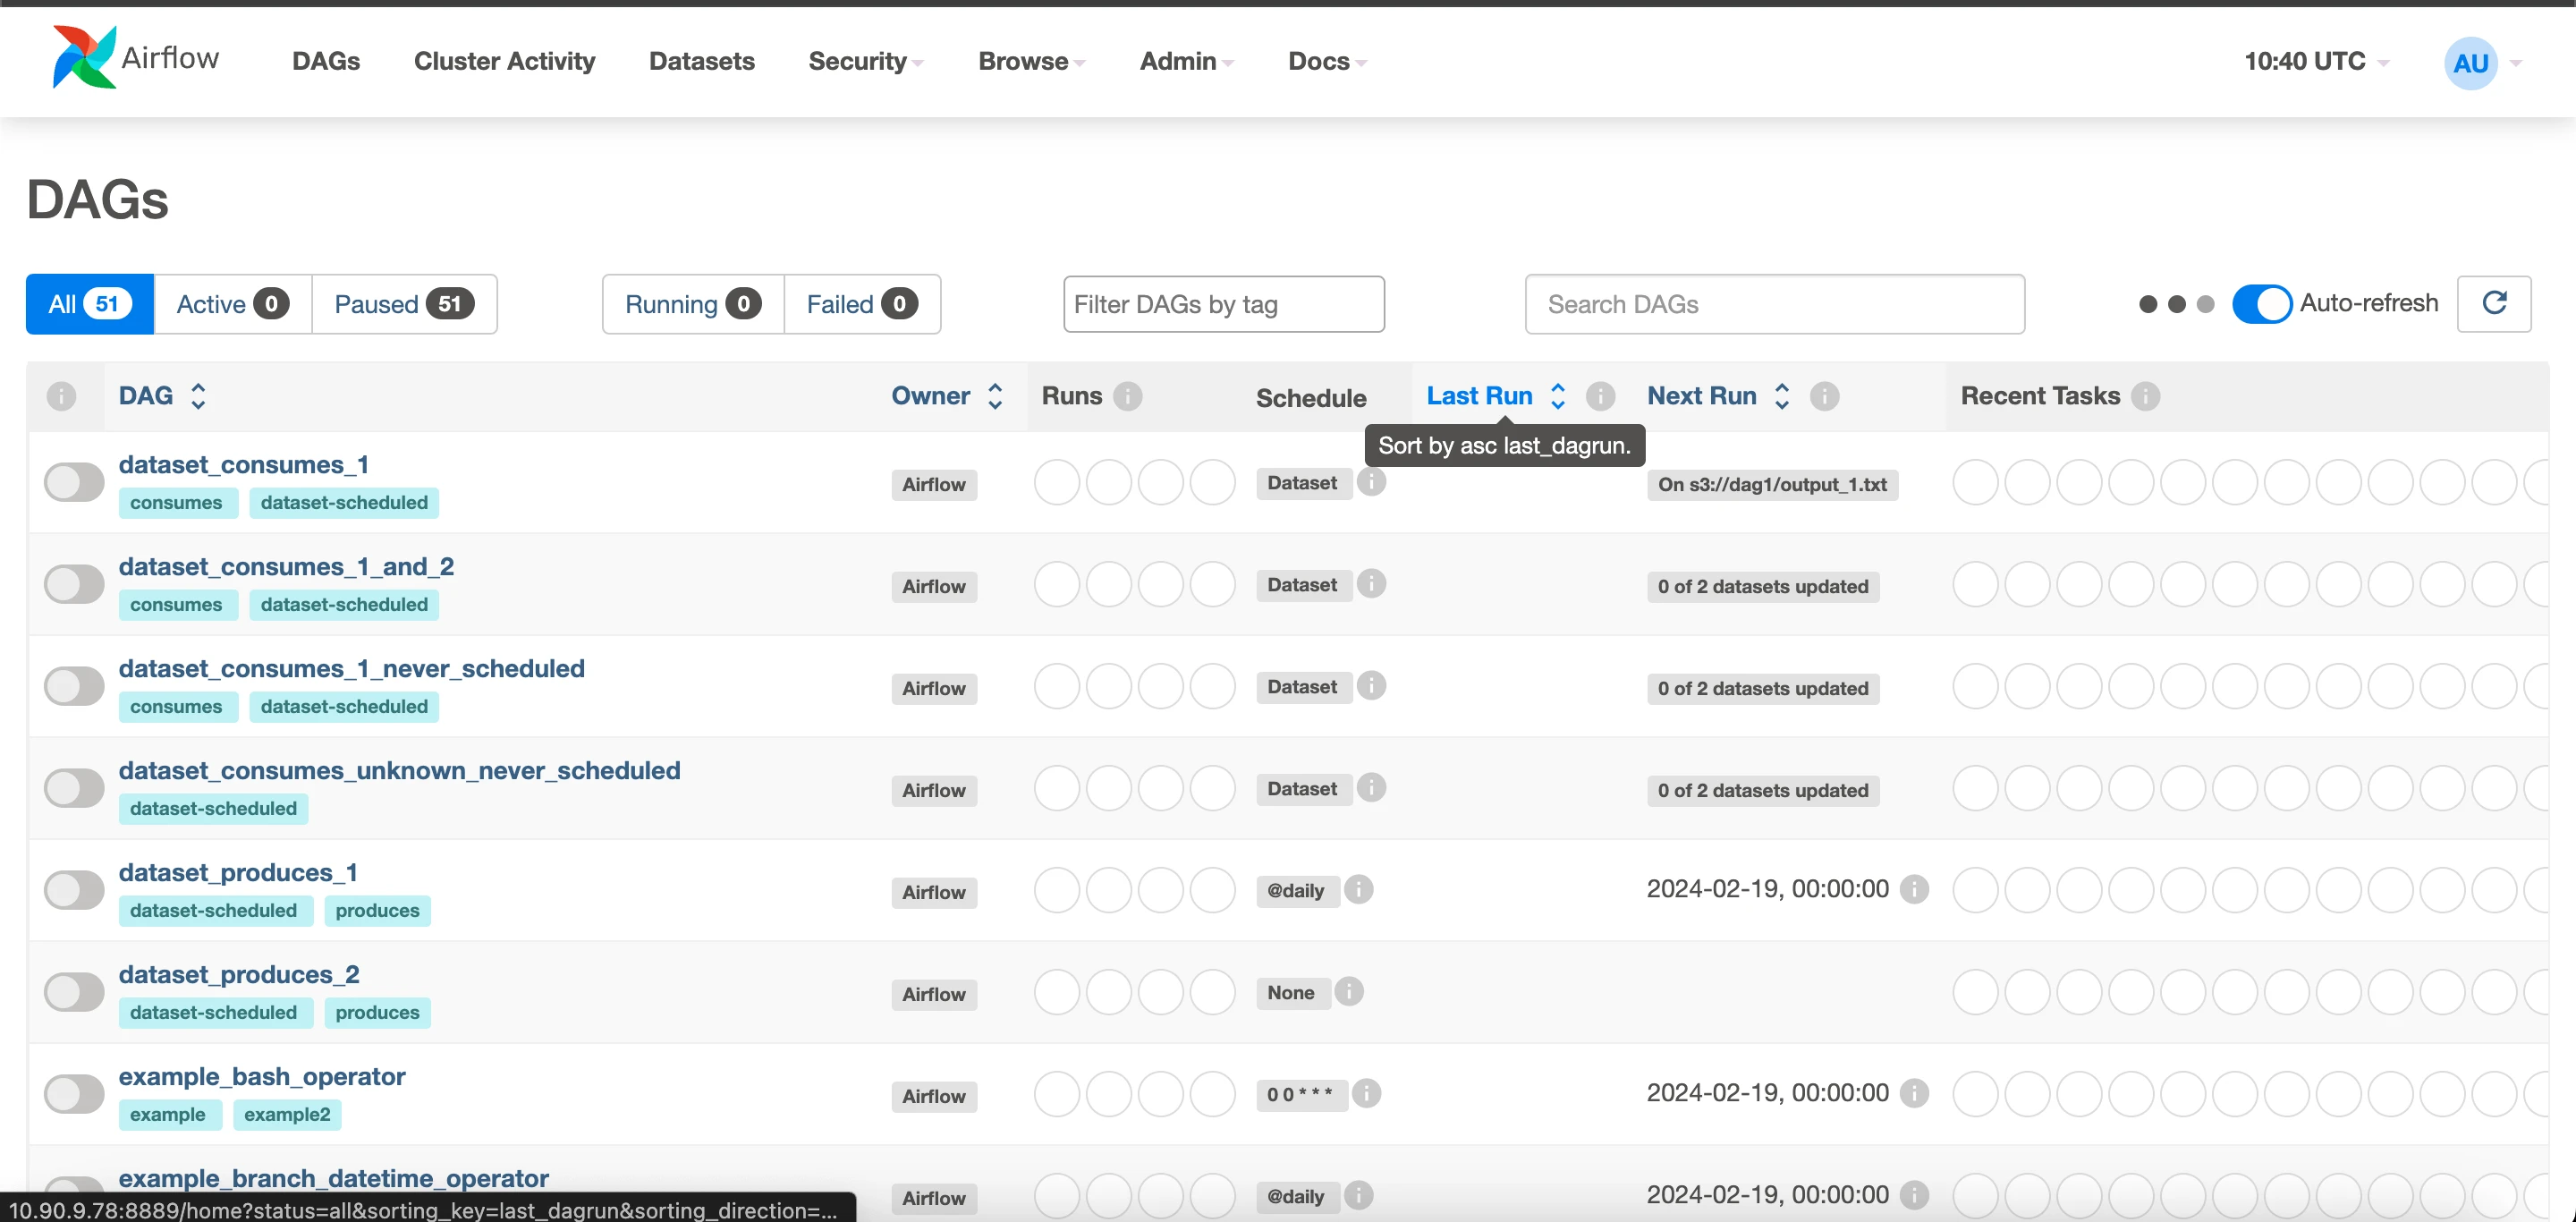
On completion of the database initialization, you can access the Airflow Webserver UI. Enter the provided credentials ("airflow" as the username and "airflow" as the password) to log in and access the Airflow webserver UI.