SSO
Single Sign on (SSO) allows you to configure authentication providers for ADOC login. Authentication providers authenticate users and provide them the access to the resources for which they are entitled to.
A user federation is a set of standards and protocols to manage and map user identities between Identity Providers across organizations.
To access the SSO page:
- Click the
Settings icon from the left pane. - Click SSO from the Users and Access settings.
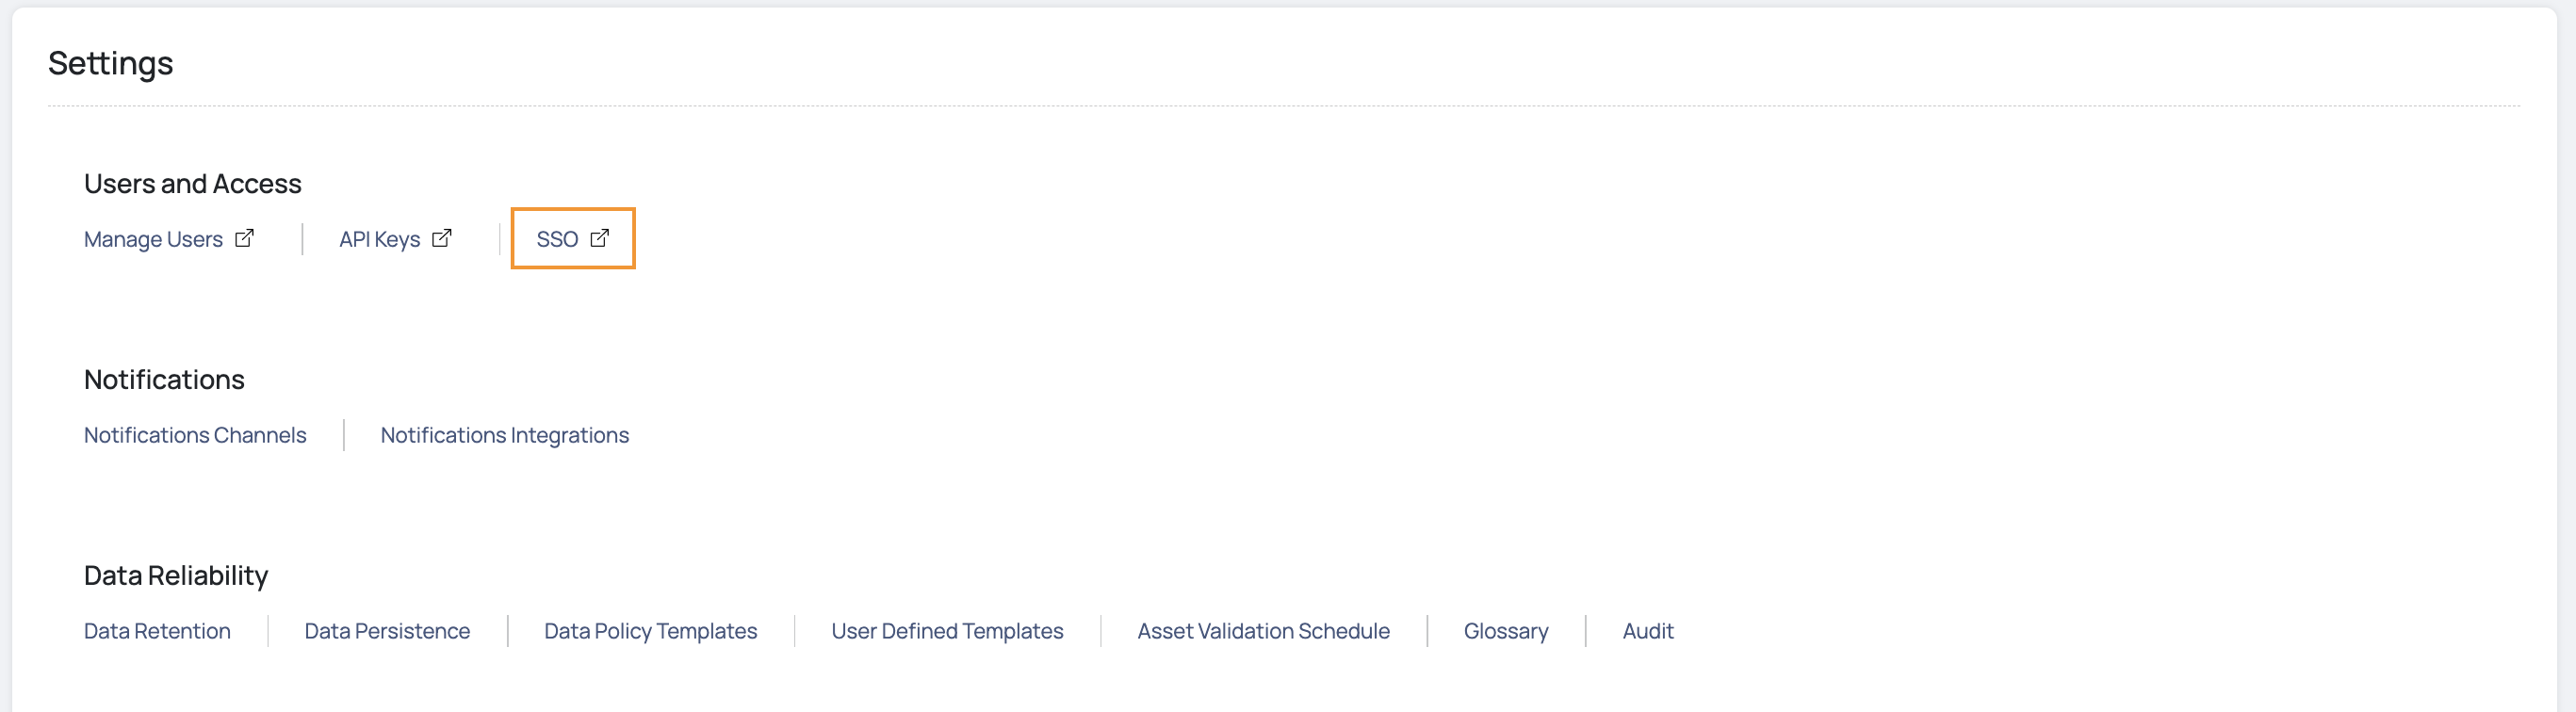
In the SSO Authentication window you can configure with the following for Single Sign On (SSO) Authentication types:
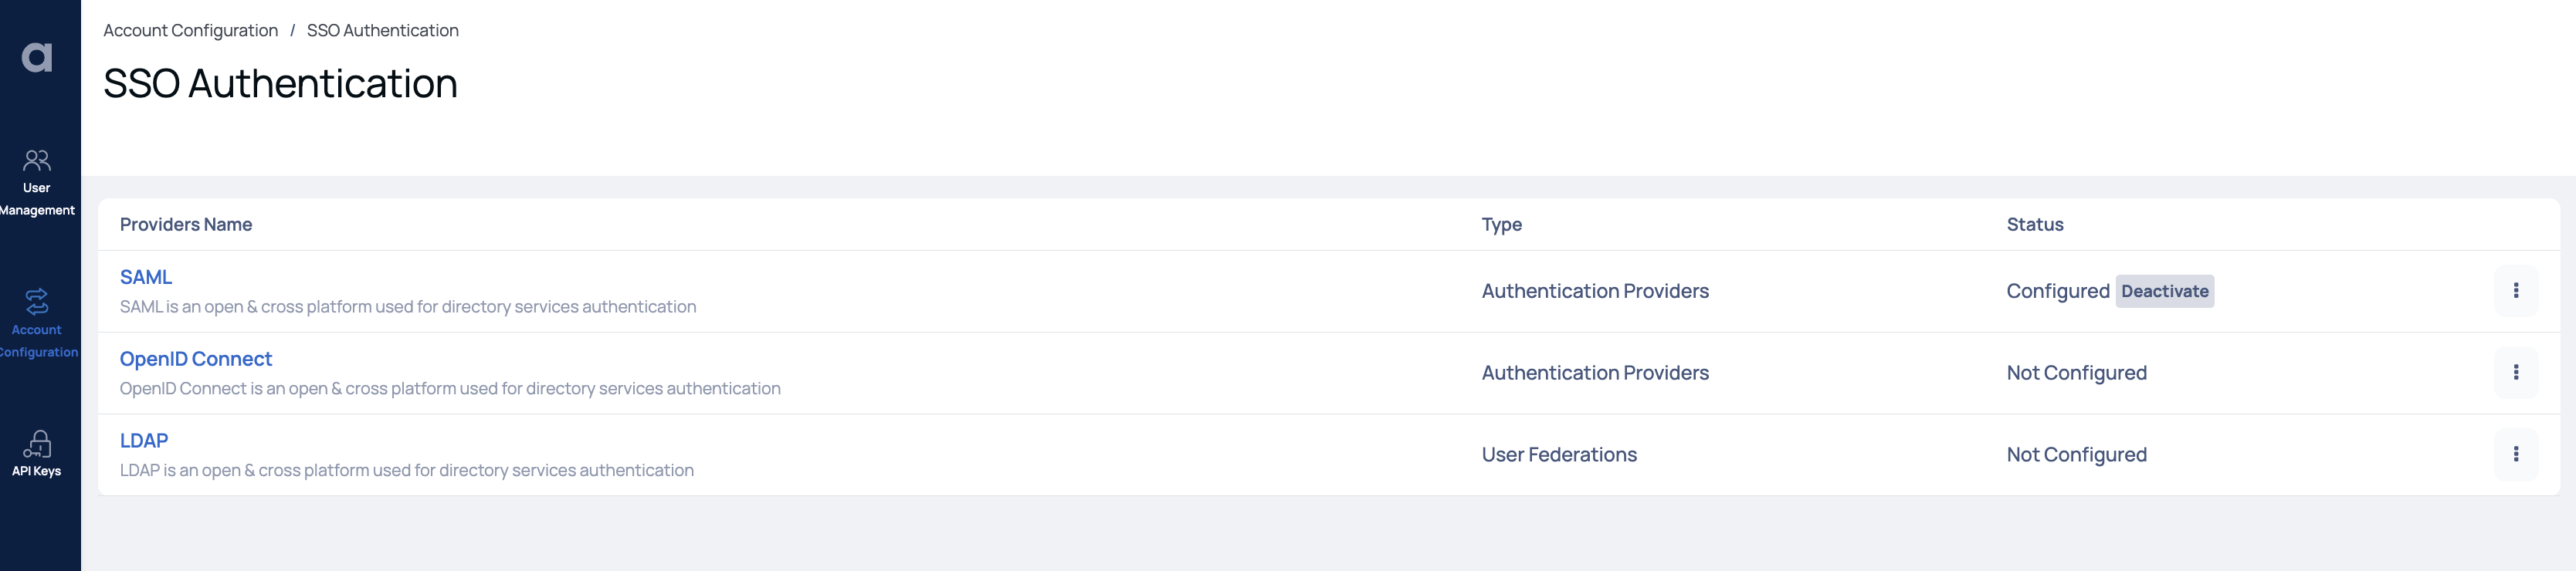
SSO-Authentications
Here, you can configure various authentication providers and authenticate users for Single Sign On (SSO). The various that you can configure are as follows:
SAML
SAML enables the user to access multiple web applications using one set of login credentials. It is an open and cross platform used for directory services authentication.
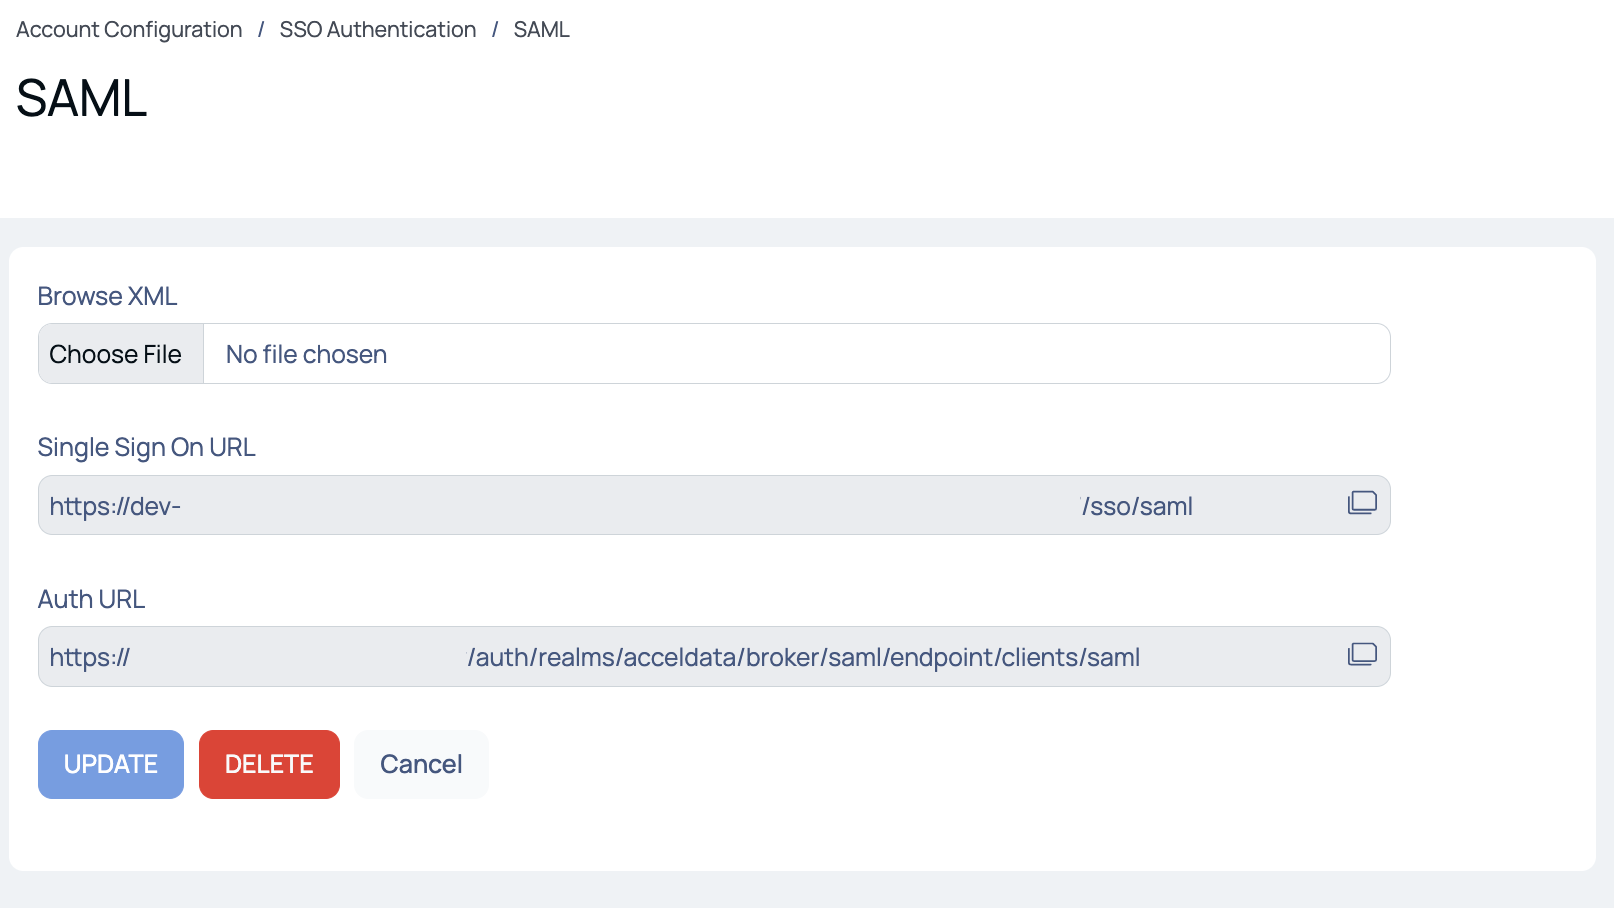
The following section describes the steps to enable SAML:
Click SAML to proceed to the SAML page.
Then, upload the SAML XML file provided to your during Okta sign up.
Provide the following URLs:
- Single Sign On URL : The SSO URL is the endpoint that initiates the authentication process and handles the communication between the identity provider and the service provider (in this case, ADOC).
- Auth URL : Auth URL stands for Authentication URL. It refers to the URL or endpoint provided by the identity provider (IdP) where the authentication process takes place. When a user attempts to authenticate, they are redirected to this URL to enter their credentials and verify their identity.
Click the Save button to save your changes.
SAML Authentication
OpenID Connect
OpenID Connect is an industry-standard authentication layer built on top of the OAuth 2.0 authorization protocol. The OAuth 2.0 protocol provides security through scoped access tokens, and OIDC provides user authentication and single sign-on (SSO) functionality. It is an open and cross platform used for directory services authentication.
Before configuring OpenIDConnect in ADOC, make sure you have met the following prerequisites:
Prerequisites
For Azure:
- Create an app registration in Azure.
- Configure authentication and add a platform in the Azure portal, selecting the web option.
- Specify the redirect URL by copying it from the ADOC OIDC settings.
- Enable Access Tokens and ID Tokens.
- Navigate to Token Configuration and add optional claims for family_name, given_name, and upn.
- Generate a new client secret in Certificates & Secrets.
- Keep the client secret, client ID, metadata document URL, and token claims handy for OIDC configuration on ADOC.
- Client Secret: This is a key that the ADOC uses to prove its identity when requesting a token. Also referred to as an application password.
- Client ID: Known in Azure as the Application ID, this is the unique identifier Azure AD assigns to your application when it's registered.
- Metadata Document URL: For Azure, this is the OpenID Connect metadata document URL provided by Azure AD that contains the information required for the client application to perform authentication.
- Token Claims: In the context of Azure, these are the user or application attributes and permissions that are packaged into the token issued by Azure AD and used by the application for authentication and authorization.
For Okta:
- Ensure you have permissions to manage an App Integration in Okta and configure token claims.
- Create an App Integration with the type Web Application and select the OIDC - OpenID Connect sign-in method.
- Provide a name for your App Integration and ensure that the Grant Type remains as the default selection, Authorization code.
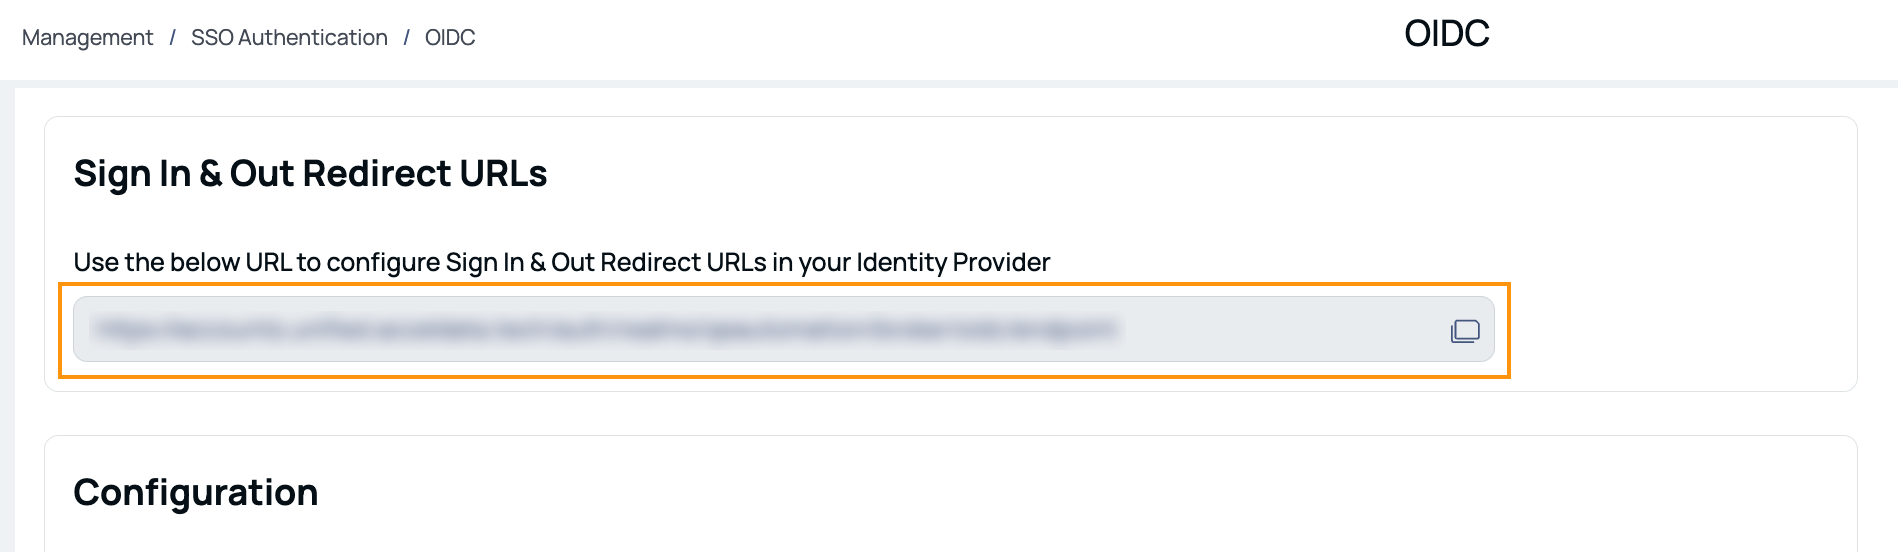
- Enter the Sign-In and Sign-Out redirect URLs copied from the ADOC SSO settings.
- Configure Access Token claims for email, firstName, and lastName by navigating to Security > API in Okta.
- Copy the Client ID and Client Secret from Okta to be used in ADOC's OIDC settings.
Enabling OIDC
Once the prerequisites are met, follow these steps to enable OpenID Connect (OIDC):
- OIDC Credentials: Copy your client ID and secret from the identity provider's (IdP) configuration application.
- OIDC Provider Metadata (Optional): If your IdP offers a metadata endpoint, enter it here. The metadata URL for the OIDC provider automatically fills in the required endpoints for you. To manually input the endpoints, omit this step. For Okta, an example of the metadata URL would be:
https://<yourOktaDomain>/oauth2/default/.well-known/openid-configuration. - Endpoints and Claims: If you enter the metadata URL in the previous step, Acceldata automatically retrieves all endpoints. If you opted to skip that step, manually input the following endpoint details:
- Authorization Endpoint
- Token Endpoint
- Logout Endpoint
- UserInfo Endpoint (optional)
For Token Claim Mapping, include these details:
- First Name
- Last Name
- Additional Information (Optional): Specify your Identity Provider's name. This facilitates signing into the ADOC application via your IdP.
- Review Configuration: Review the configuration details entered in the preceding steps.
Save: Click Save to finalize the configuration.
User Federations
Here, you can configure various user federations to sync users for Single Sign On (SSO). The various that you can configure are as follows:
LDAP
LDAP is an open, vendor-neutral, industry standard application protocol for accessing and maintaining distributed directory information services over an Internet Protocol (IP) network. It is an open and cross platform used for directory services authentication.
The following section describes the steps to enable LDAP:
Click LDAP from the SSO Authentication page.
Provide the following inputs:
- LDAP URL: This is the URL that specifies the network location of the LDAP server. It includes the protocol (ldap:// or ldaps://) followed by the hostname or IP address and the port number of the LDAP server.
- Users DN (Distinguished Name): The Users DN represents the base distinguished name under which user entries are located in the LDAP directory. It specifies the path or location where the user accounts are stored within the LDAP directory structure.
- Bind DN (Distinguished Name): The Bind DN is the distinguished name used for authenticating or binding to the LDAP server. It is the username or entry that the LDAP server uses to identify the user who is connecting to the server.
- Bind Credential: The Bind Credential is the password or credentials associated with the Bind DN. It is used to authenticate the binding process and establish a connection to the LDAP server.
- Username LDAP Attribute: This input specifies the LDAP attribute that contains the username or user identifier. It identifies the attribute in the LDAP directory that corresponds to the username used for authentication and authorization.
- RDN LDAP Attribute: RDN stands for Relative Distinguished Name, and this input specifies the LDAP attribute used as the Relative Distinguished Name for user entries. It represents the naming attribute that distinguishes one user entry from another within the LDAP directory.
- UUID LDAP Attribute: UUID stands for Universally Unique Identifier, and this input specifies the LDAP attribute that stores a unique identifier for each user entry. It provides a reliable and globally unique identifier for user records, facilitating various operations and ensuring data integrity.
- User Object Classes: Object classes define the schema or structure of an LDAP entry. This input specifies the object classes associated with user entries. It determines the set of attributes and properties that can be assigned to a user entry, such as name, email, role, etc.
- User LDAP Filter: This input allows you to specify a filter expression to retrieve specific user entries from the LDAP directory. It helps narrow down the search and retrieve only the relevant user records based on certain criteria, such as a specific attribute value or membership in a certain group.
Click Test Connection to check the connection.
Click Save to save your settings.

Provisioning
SSO Group integration enhances user management with Single Sign-On (SSO) Group Integration using protocols like SAML and OIDC. This feature streamlines user access and provisioning, improving security and convenience within the platform.
Configure Provisioning
Follow these steps to set up provisioning:
- Click the
gear icon to access the settings page. - Under User Management and Access, select the SSO option. The SSO Authentication page is displayed.
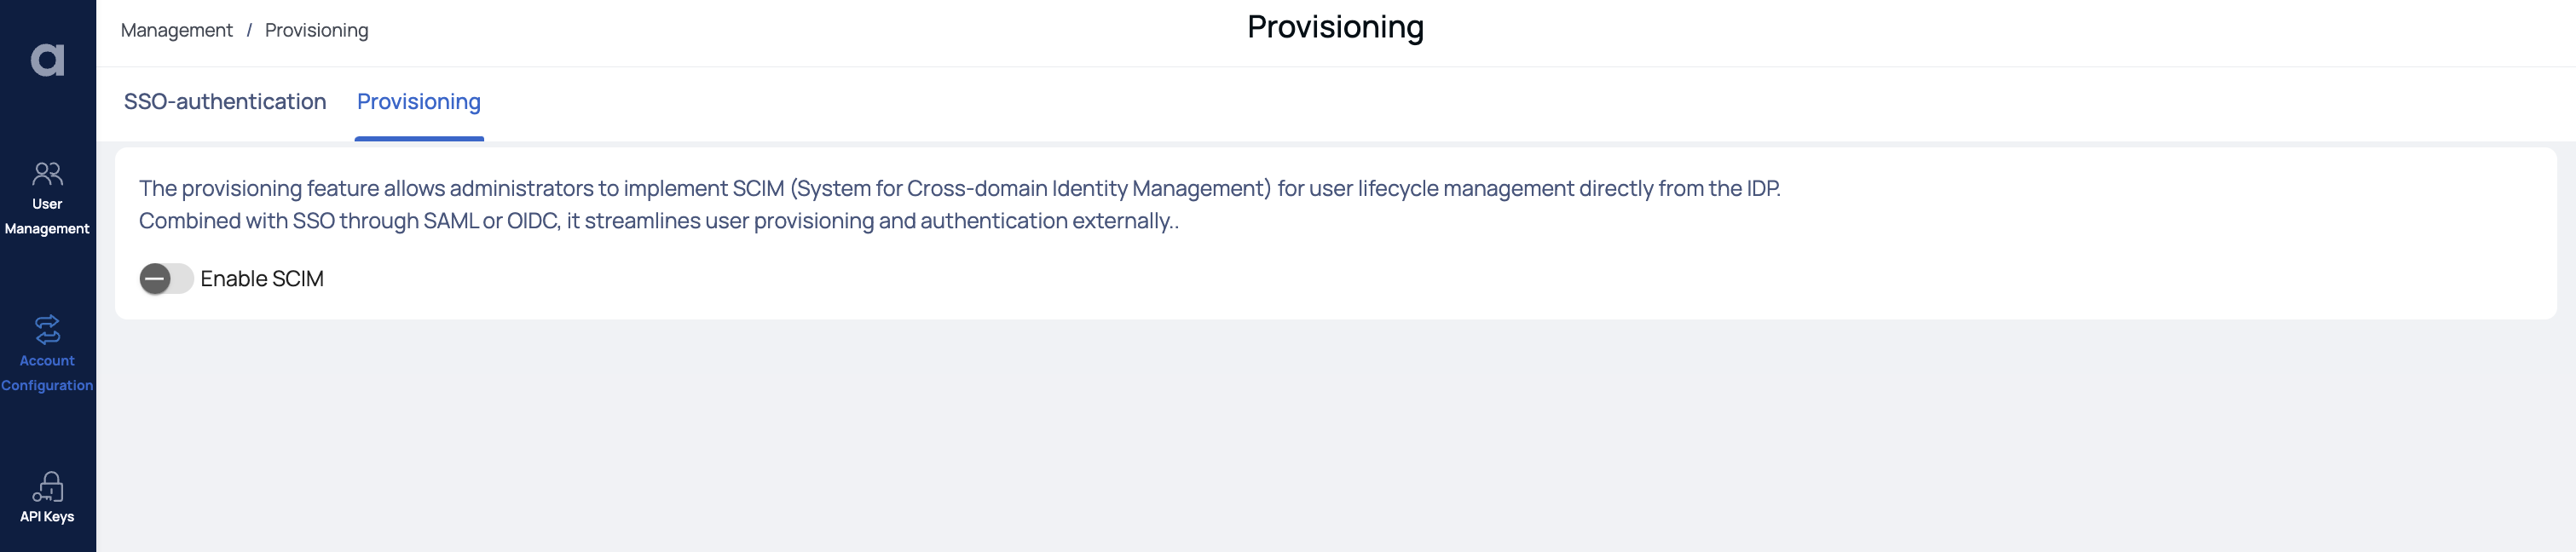
- Navigate to the Provisioning tab.
- Toggle the Enable SCIM button. Once SCIM is enabled, ADOC provides a SCIM URL and token.
- Copy the provided SCIM URL and token, and incorporate them into your identity provider's (IDP) provisioning credentials
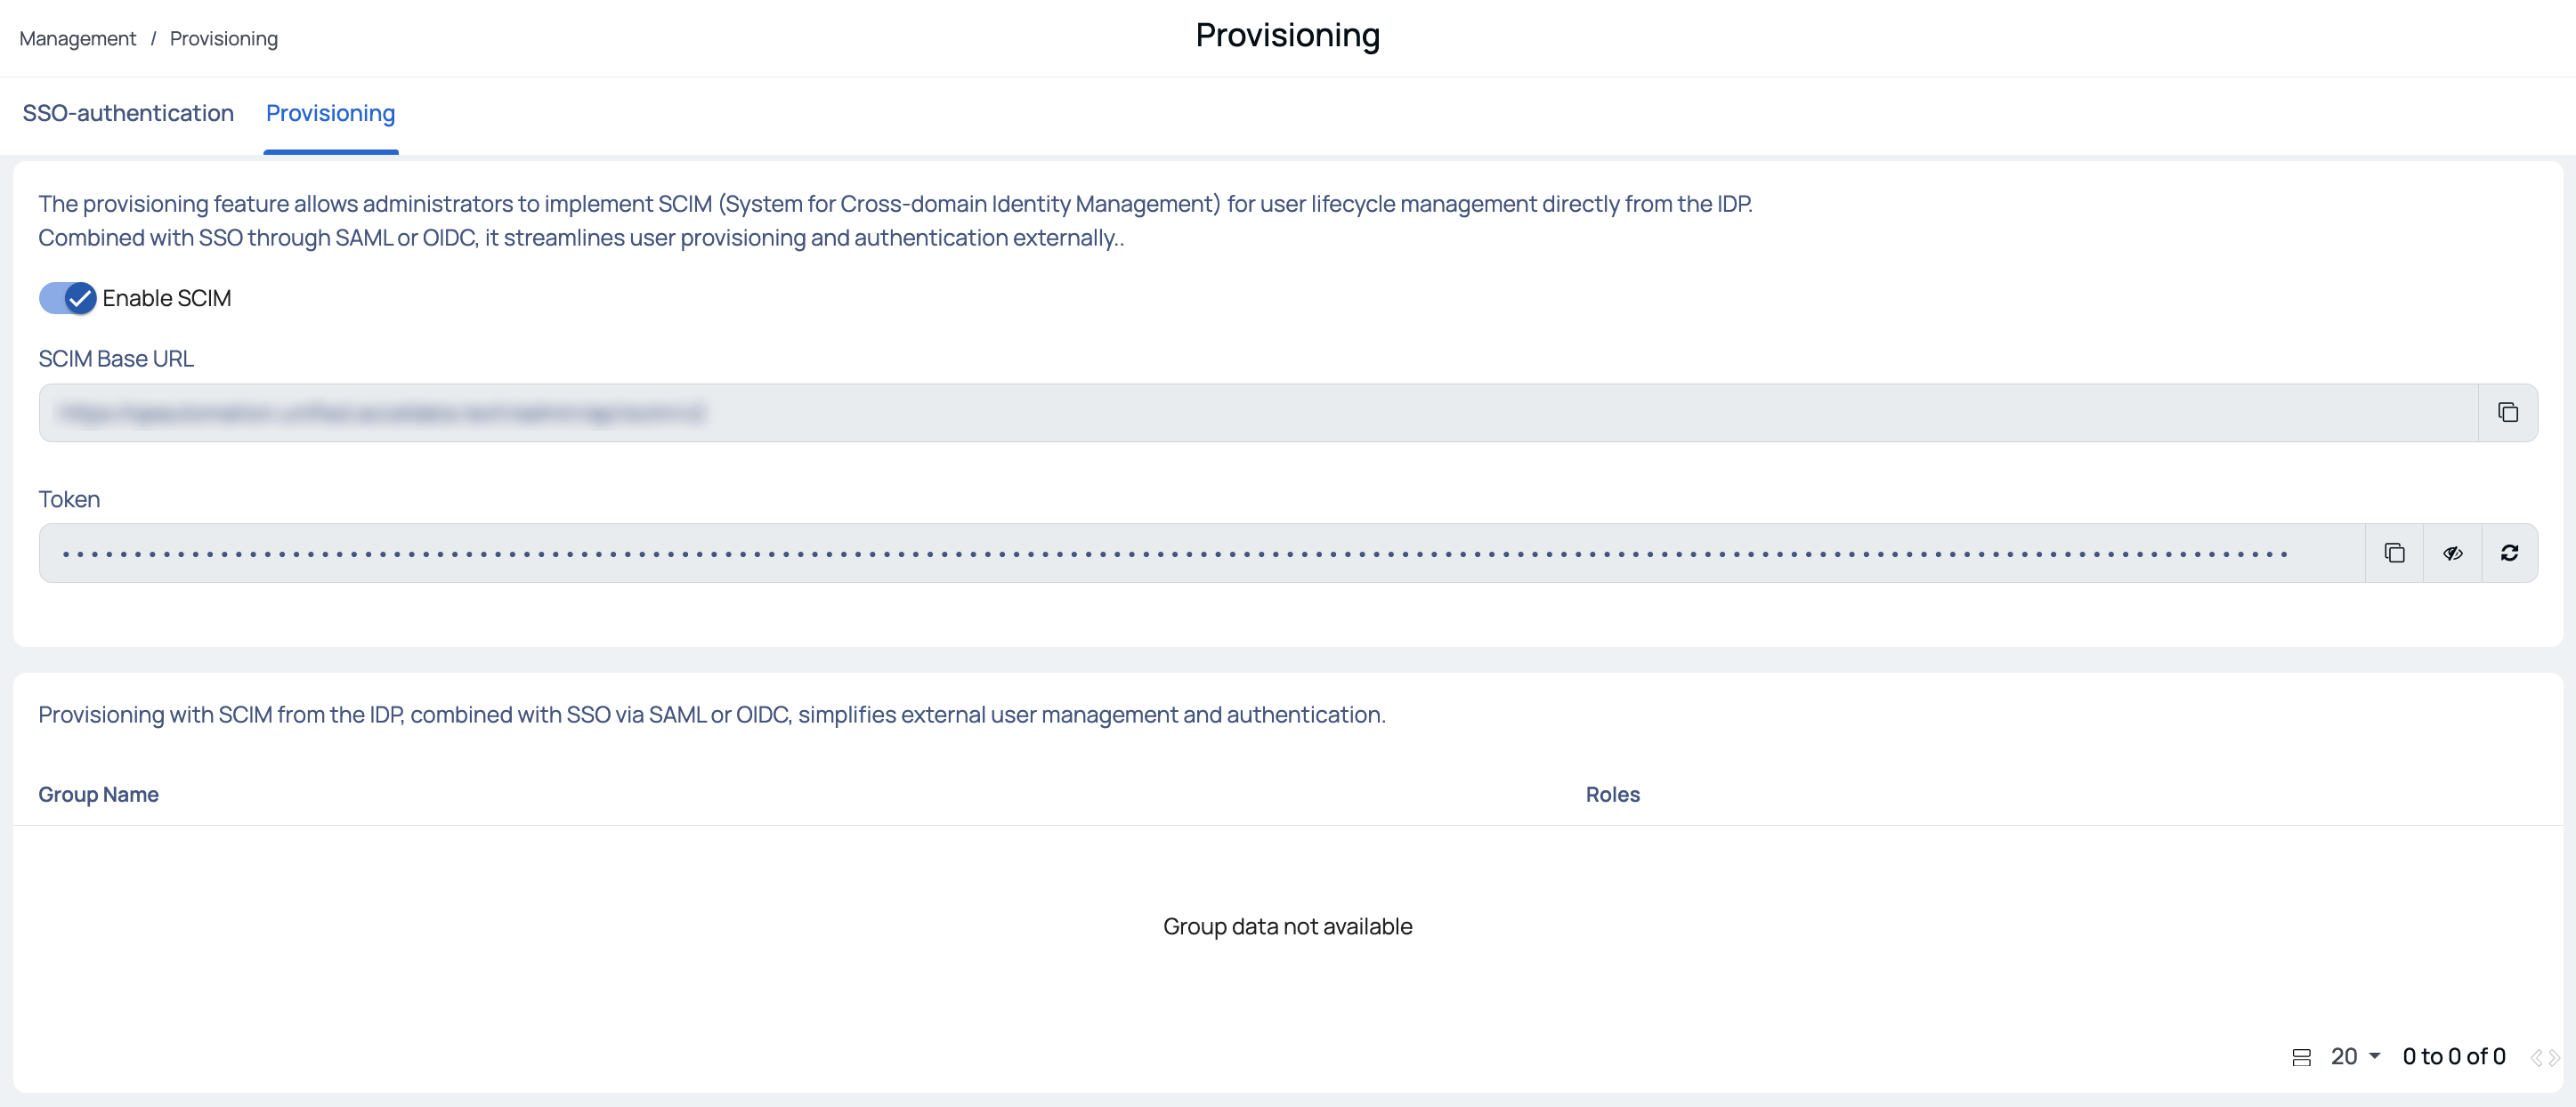
- Test the connection and save the provisioning settings on the IDP Provisioning page.
After these steps, ADOC lists the users and groups from your IDP on its Provisioning page. In the User Management page, all groups synchronized from the IDP are marked as SCIM Managed.
Assign Roles to SCIM Managed Groups
To assign roles to SCIM-managed groups, follow these steps:
- Click on the name of the group to open the Roles wizard.
- Select the desired roles.
- Click Save Roles.