NiFi Installation and SSL Enablement
NiFi automates data movement between systems. We define dataflow as the orchestrated movement of information across systems, a concept crucial since the introduction of enterprises with multiple systems—some generating and others consuming data. The challenges and solutions in this area are extensively documented, notably in Enterprise Integration Patterns, which offers a detailed guide to these practices.
Installing NiFi
To install NiFi, perform the following steps:
Download the NiFi mpack from the Mpacks Link.
Install the NiFi-Mpack on the Ambari node, then restart Ambari.
Add the NiFi service through the Ambari user interface.
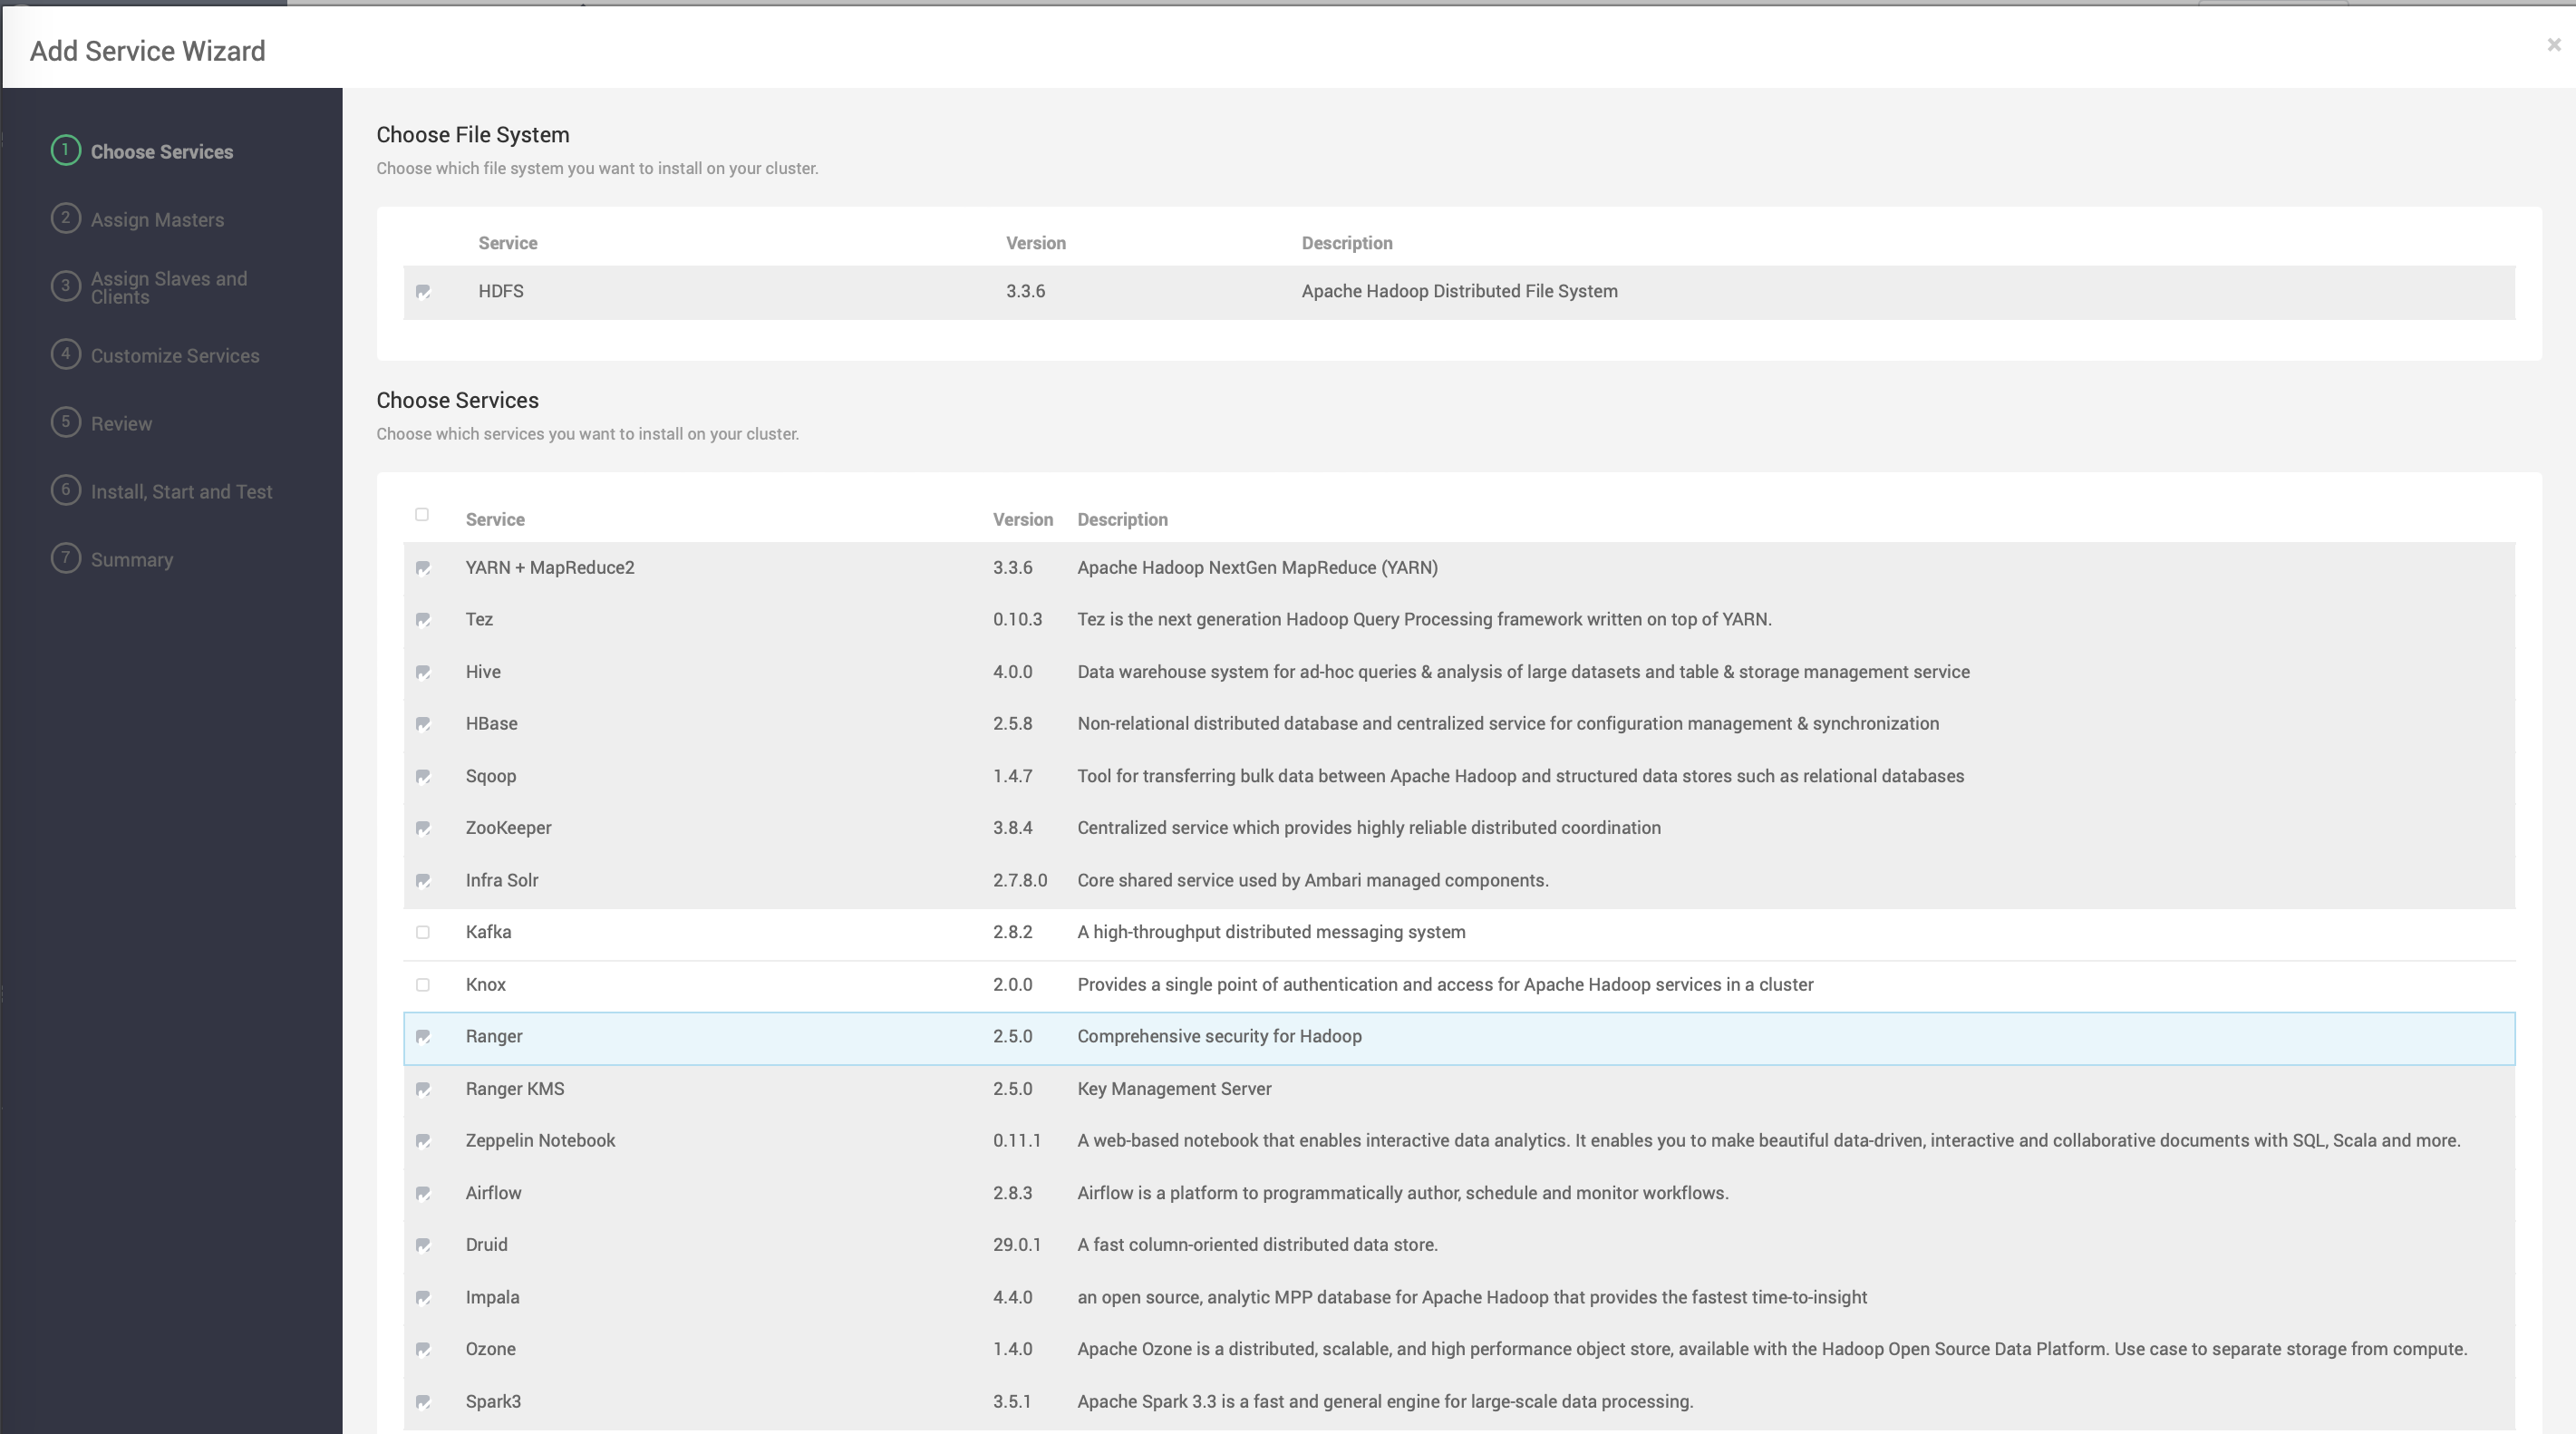
Configure the service for a seamless installation and startup.
Set the master key password.

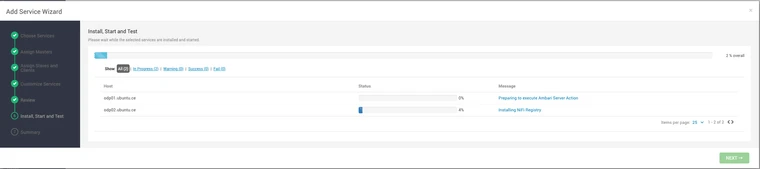
Proceed with the installation after configuring.
Verify Individual Component Installation.
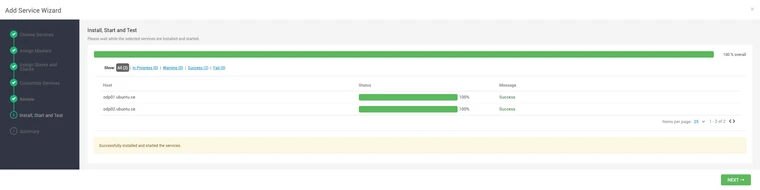
Confirm Overall Progress Completion ensuring that all components are successfully installed.
Navigate to the Summary page to review the components installed.


For encrypting the nifi.properties file in a Standalone Deployment, execute the command below within the NiFi-Toolkit directory:
./bin/encrypt-config.sh -v -b <nifi_config_dir>/bootstrap.conf -n <nifi_config_dir>/nifi.properties
Additional options can be found in the Apache NiFi Toolkit Guide.
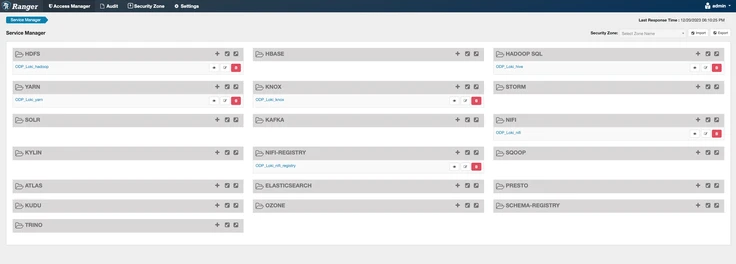
Verify the creation of the NiFi ranger policy in the Ranger-UI post-installation: Once installation concludes, check the Ranger-UI to ensure that the NiFi ranger policy has been successfully established, which is crucial for managing access control.
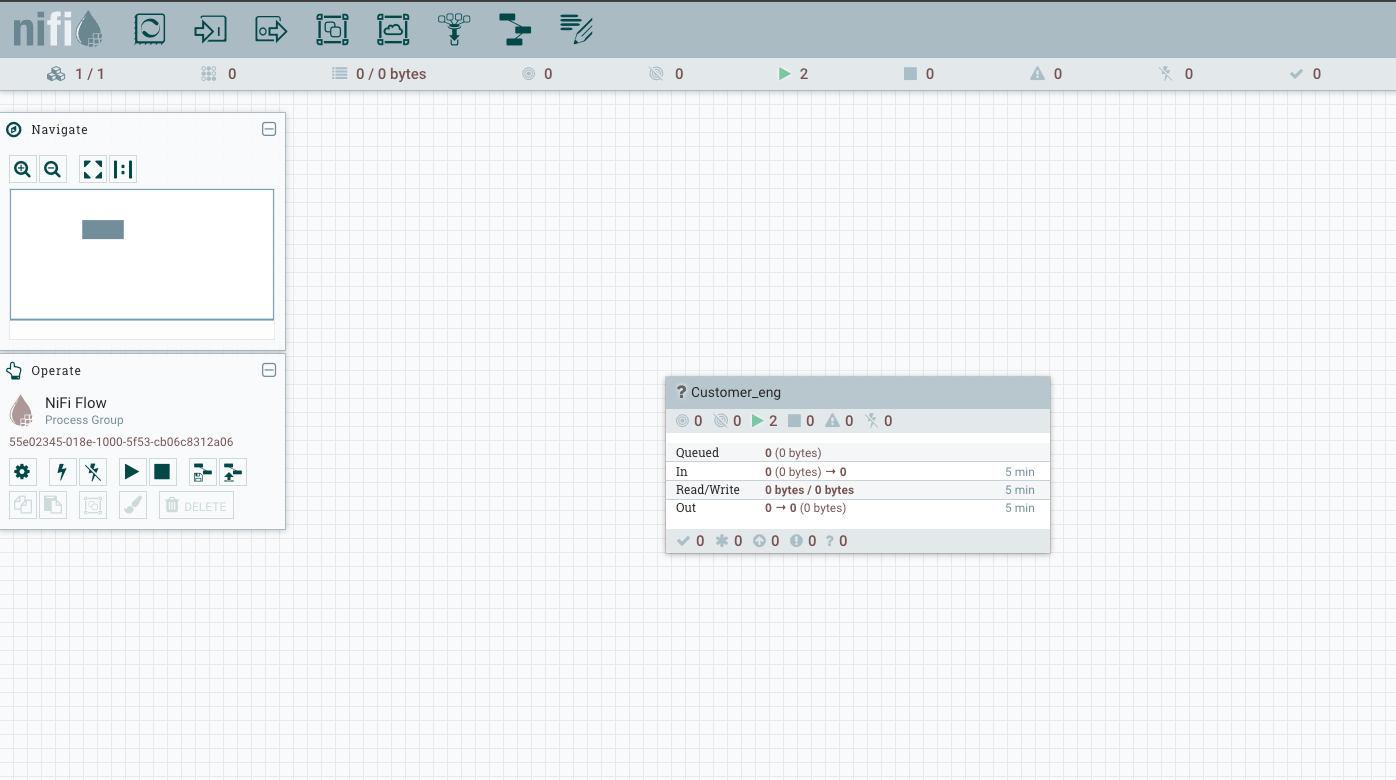
Access the NiFi UI via quick links in the Ambari UI.
Enabling SSL in NiFi
To enable SSL in NiFi, perform the following steps:
Navigate to NiFi configurations in Ambari and check the Enable SSL? checkbox.
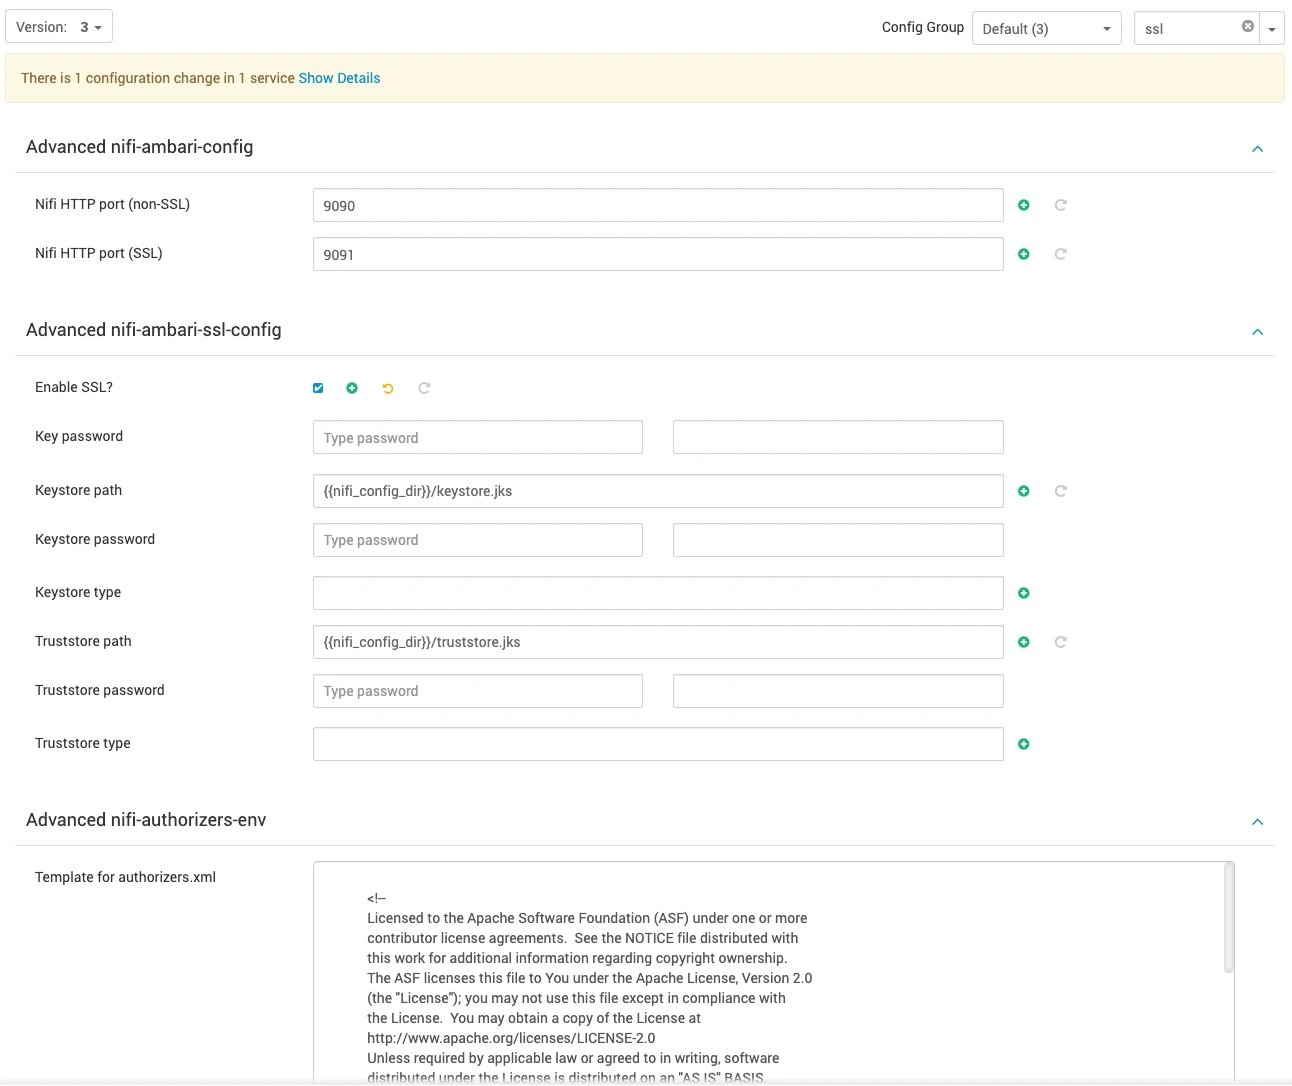
In the configuration settings, fill in the following details:
Key Password
Keystore Password
Keystore Type
Truststore Password
Truststore Type
NiFi CA Token (create a password that is between 12-16 characters in length).
To operate Nifi in a Standalone and Secure environment using a Self-signed certificate, it's essential to incorporate the following properties into the nifi.properties file:
Key Password.
Keystore Password.
Keystore Type.
Truststore Password.
Truststore Type.
Subsequently, execute the encryption command with nifi-toolkit to secure all passwords:
./bin/encrypt-config.sh -v -b <nifi_config_dir>/bootstrap.conf -n <nifi_config_dir>/nifi.properties
This step ensures the encryption of all passwords for enhanced security.
Apache NiFi includes a toolkit comprising various command-line utilities tailored for system management. Among these utilities is the TLS Toolkit, designed to act as a self-signed Certificate Authority (CA), enabling the straightforward issuance and signing of certificates in the format NiFi requires.
To generate a signed certificate for localhost in standalone mode, use the following command:
./bin/tls-toolkit.sh standalone -n "localhost"
For additional information, refer to the Apache NiFi Walkthroughs.
Save configurations and restart the NiFi service to apply the new SSL configurations.
Post restart, NiFi should be accessible on port 9091. This port is designated for HTTPS (SSL) requests and you should now be prompted with a user login page upon accessing NiFi.

Ranger Enablement
The Ranger authorization in NiFi is available with SSL enablement.
To enable Ranger for NiFi, navigate to NiFi configs and enable the Ranger plugin.
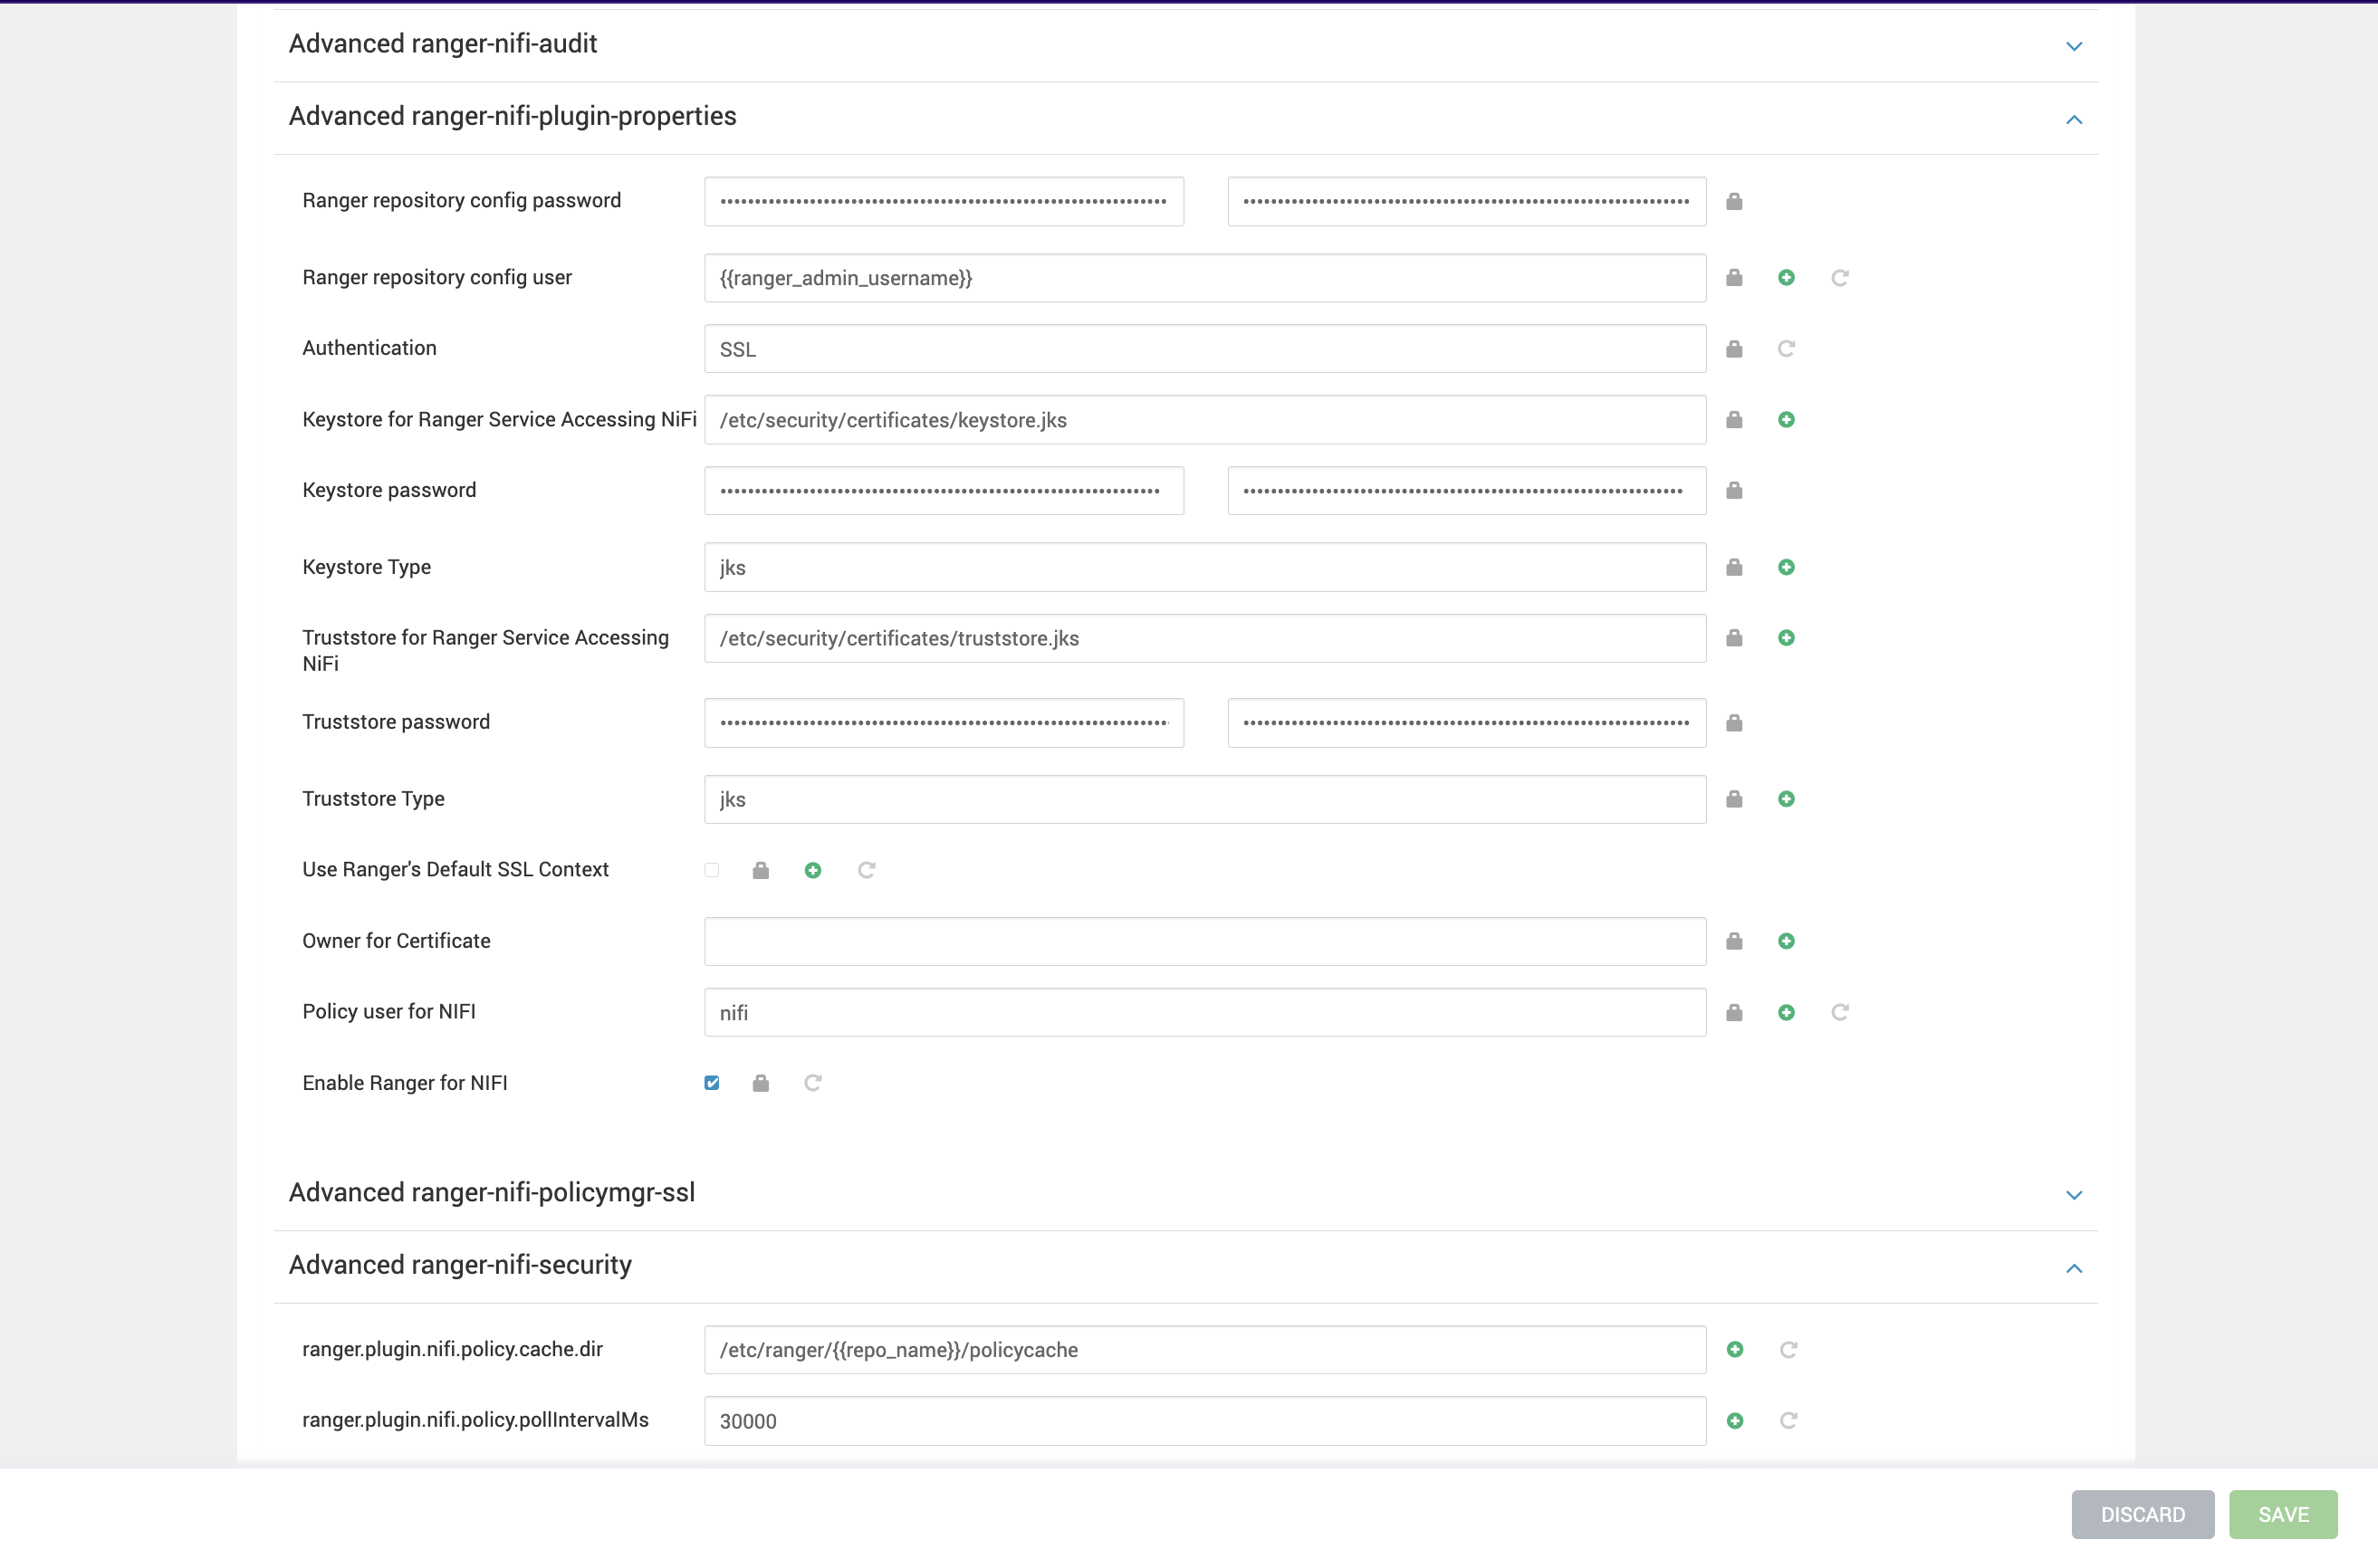
Verify the below properties.
Advanced ranger-nifi-registry-plugin-properties:
If SSL is enabled on Ranger, update the ranger-nifi-registry-policymgr-ssl:
On nodes with NiFi Registry, add slf4j-api-1.x jar and restart NiFi Registry.
The cred.jceks credential file containing the password to the Ranger keystore is created properly. Nifi Registry uses this file to connect to an SSL-enabled Ranger and access policies
Save and restart NiFi Registry. Then, navigate to Ranger UI, and the Nifi Registry Ranger service will be created.
Once the above is enabled , restart the NiFi Service. Once again, restart and login to the Ranger UI , where you are able to see the NiFi policy creation field.
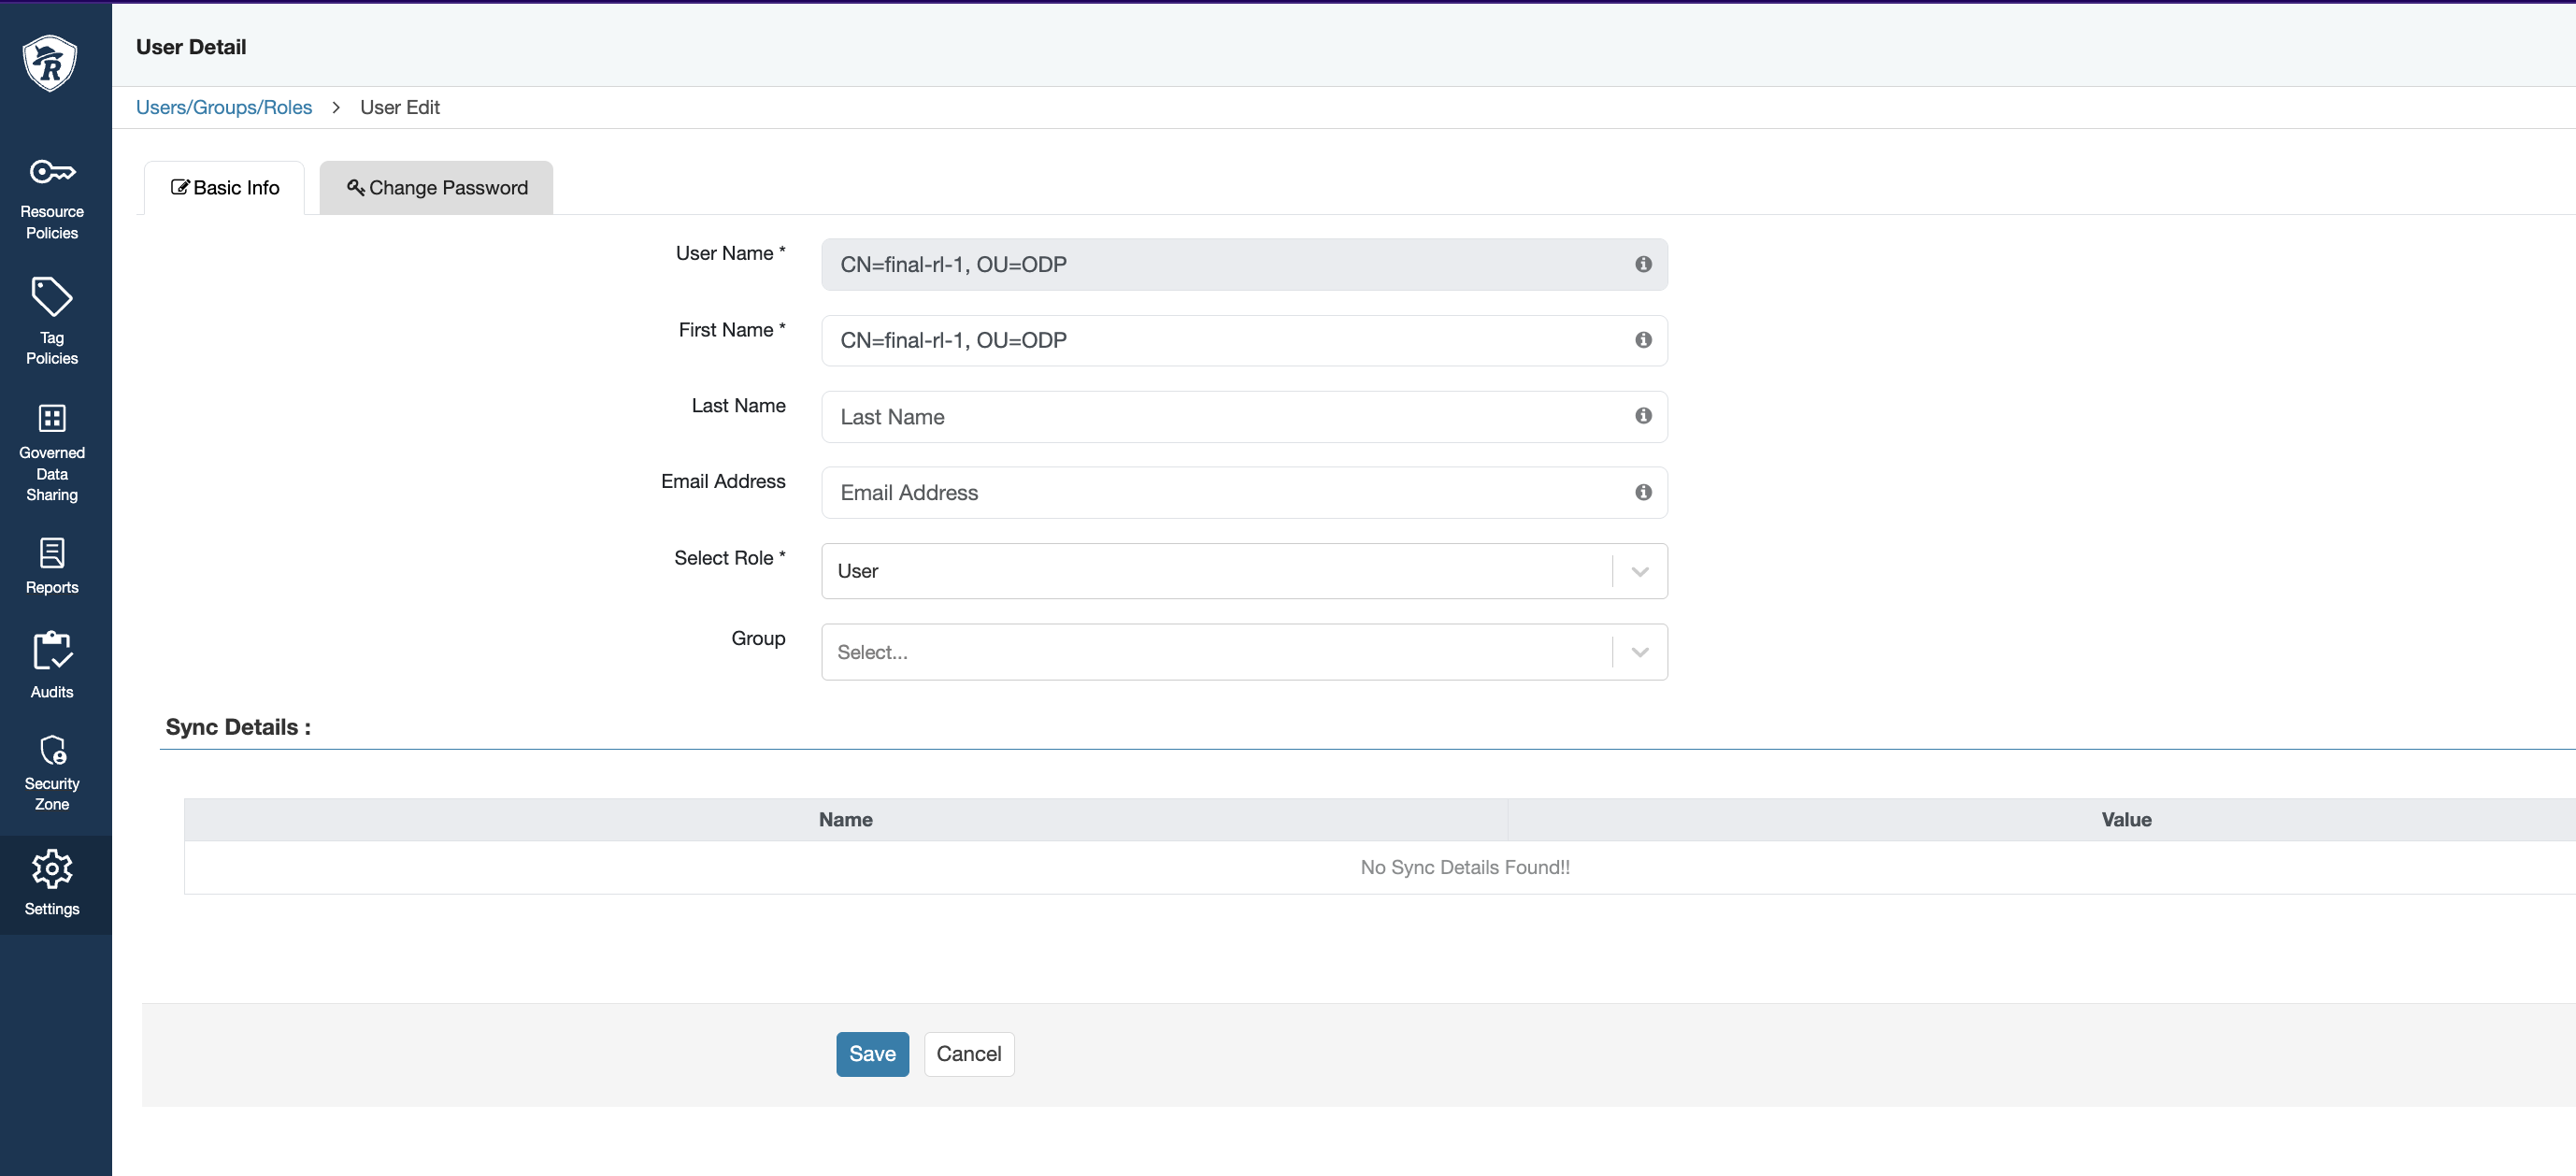
In the Ranger UI, create a new user based on the common name of NiFi-Registry certificate. Navigate to the Ranger UI > Settings > Users > Add New User.
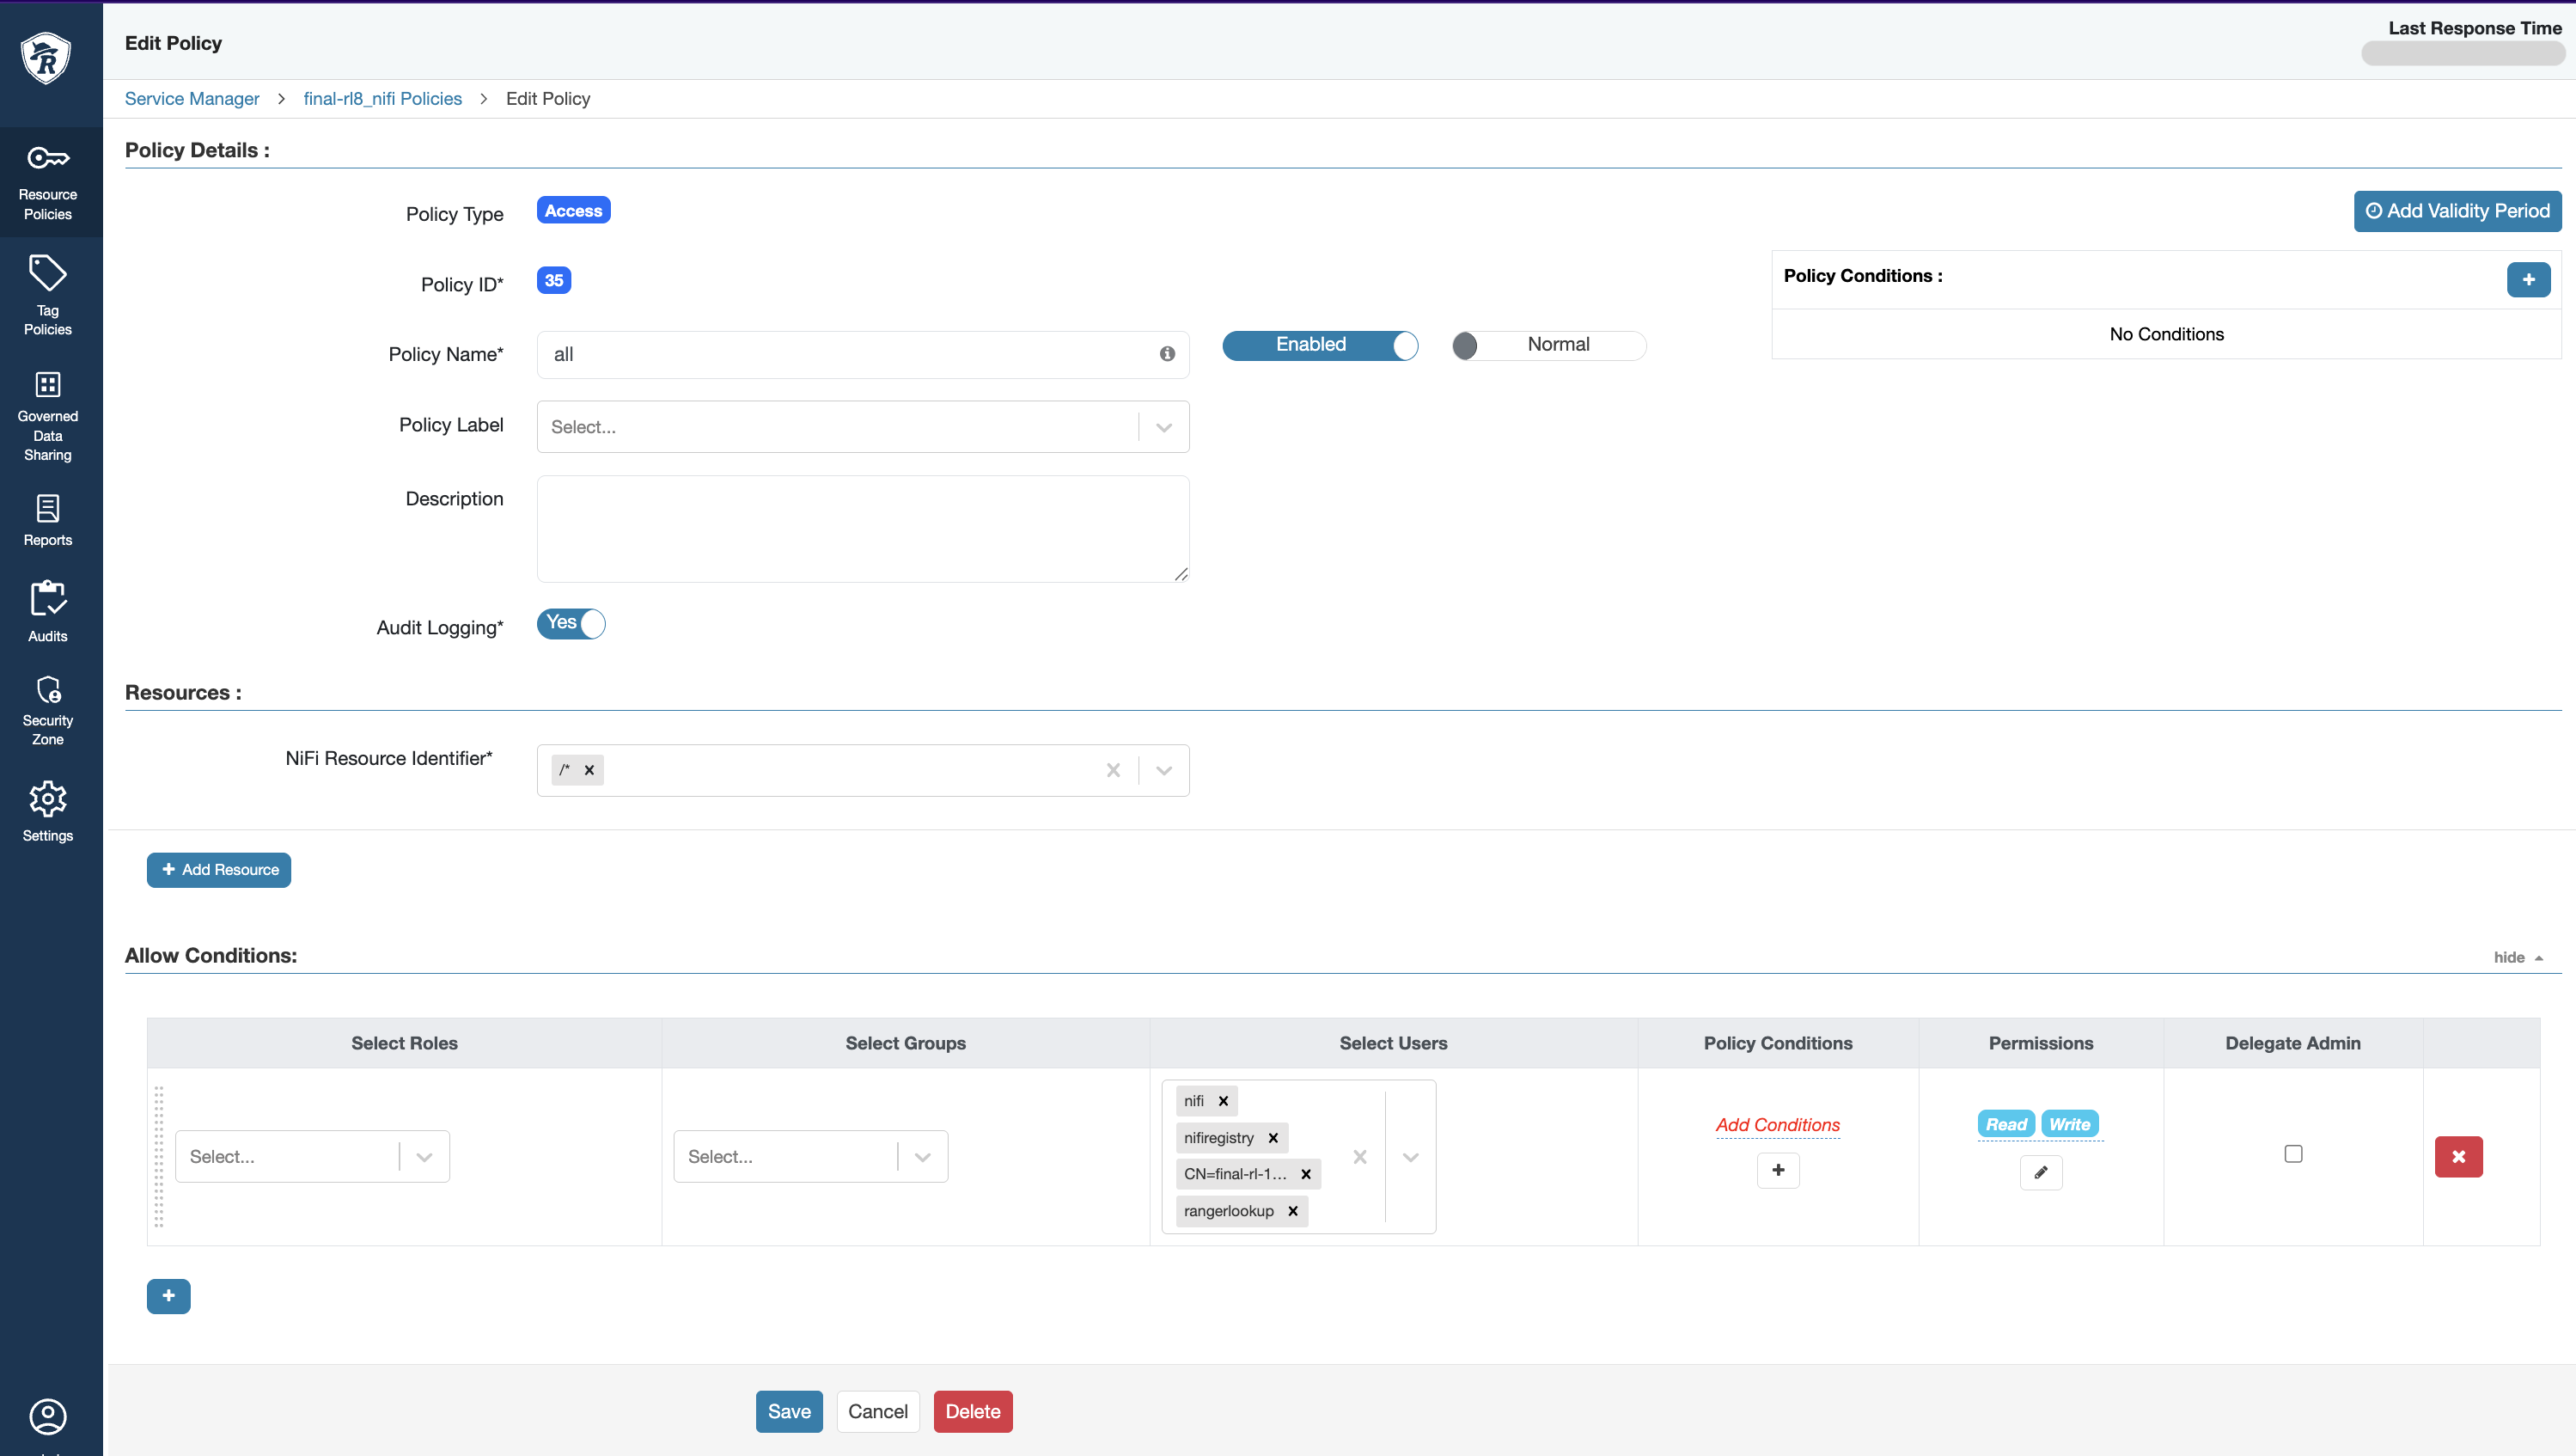
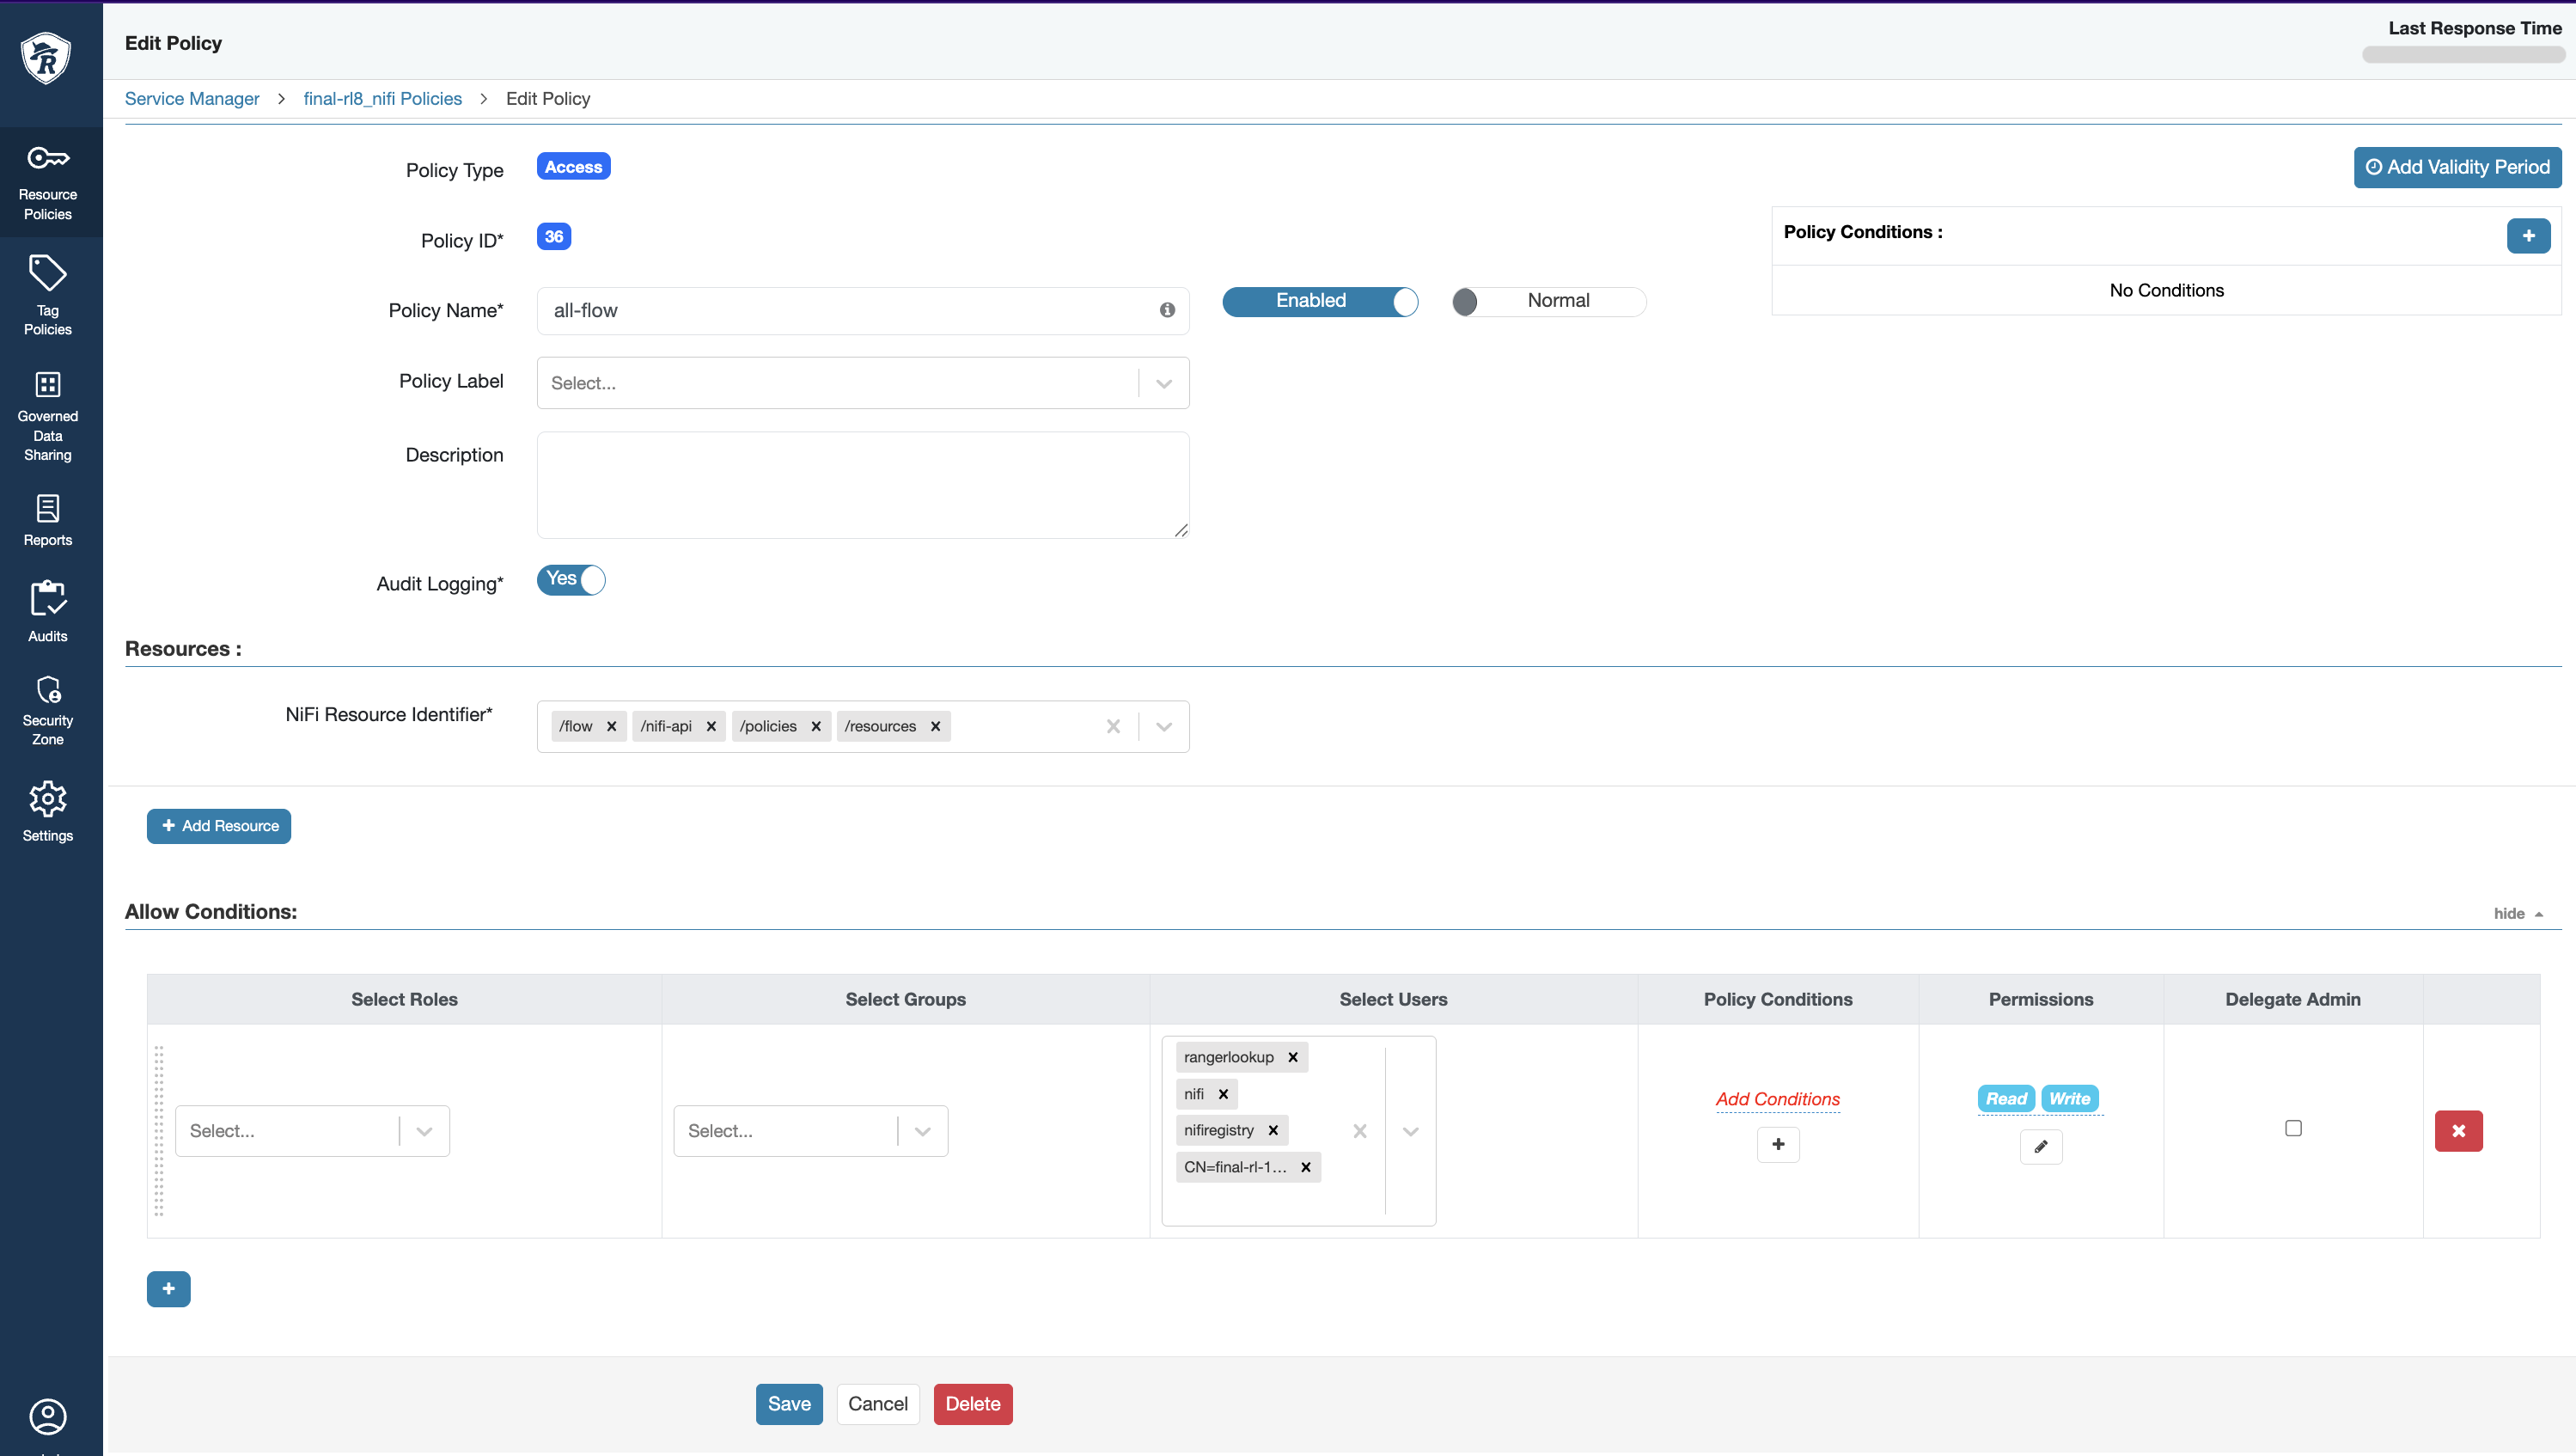
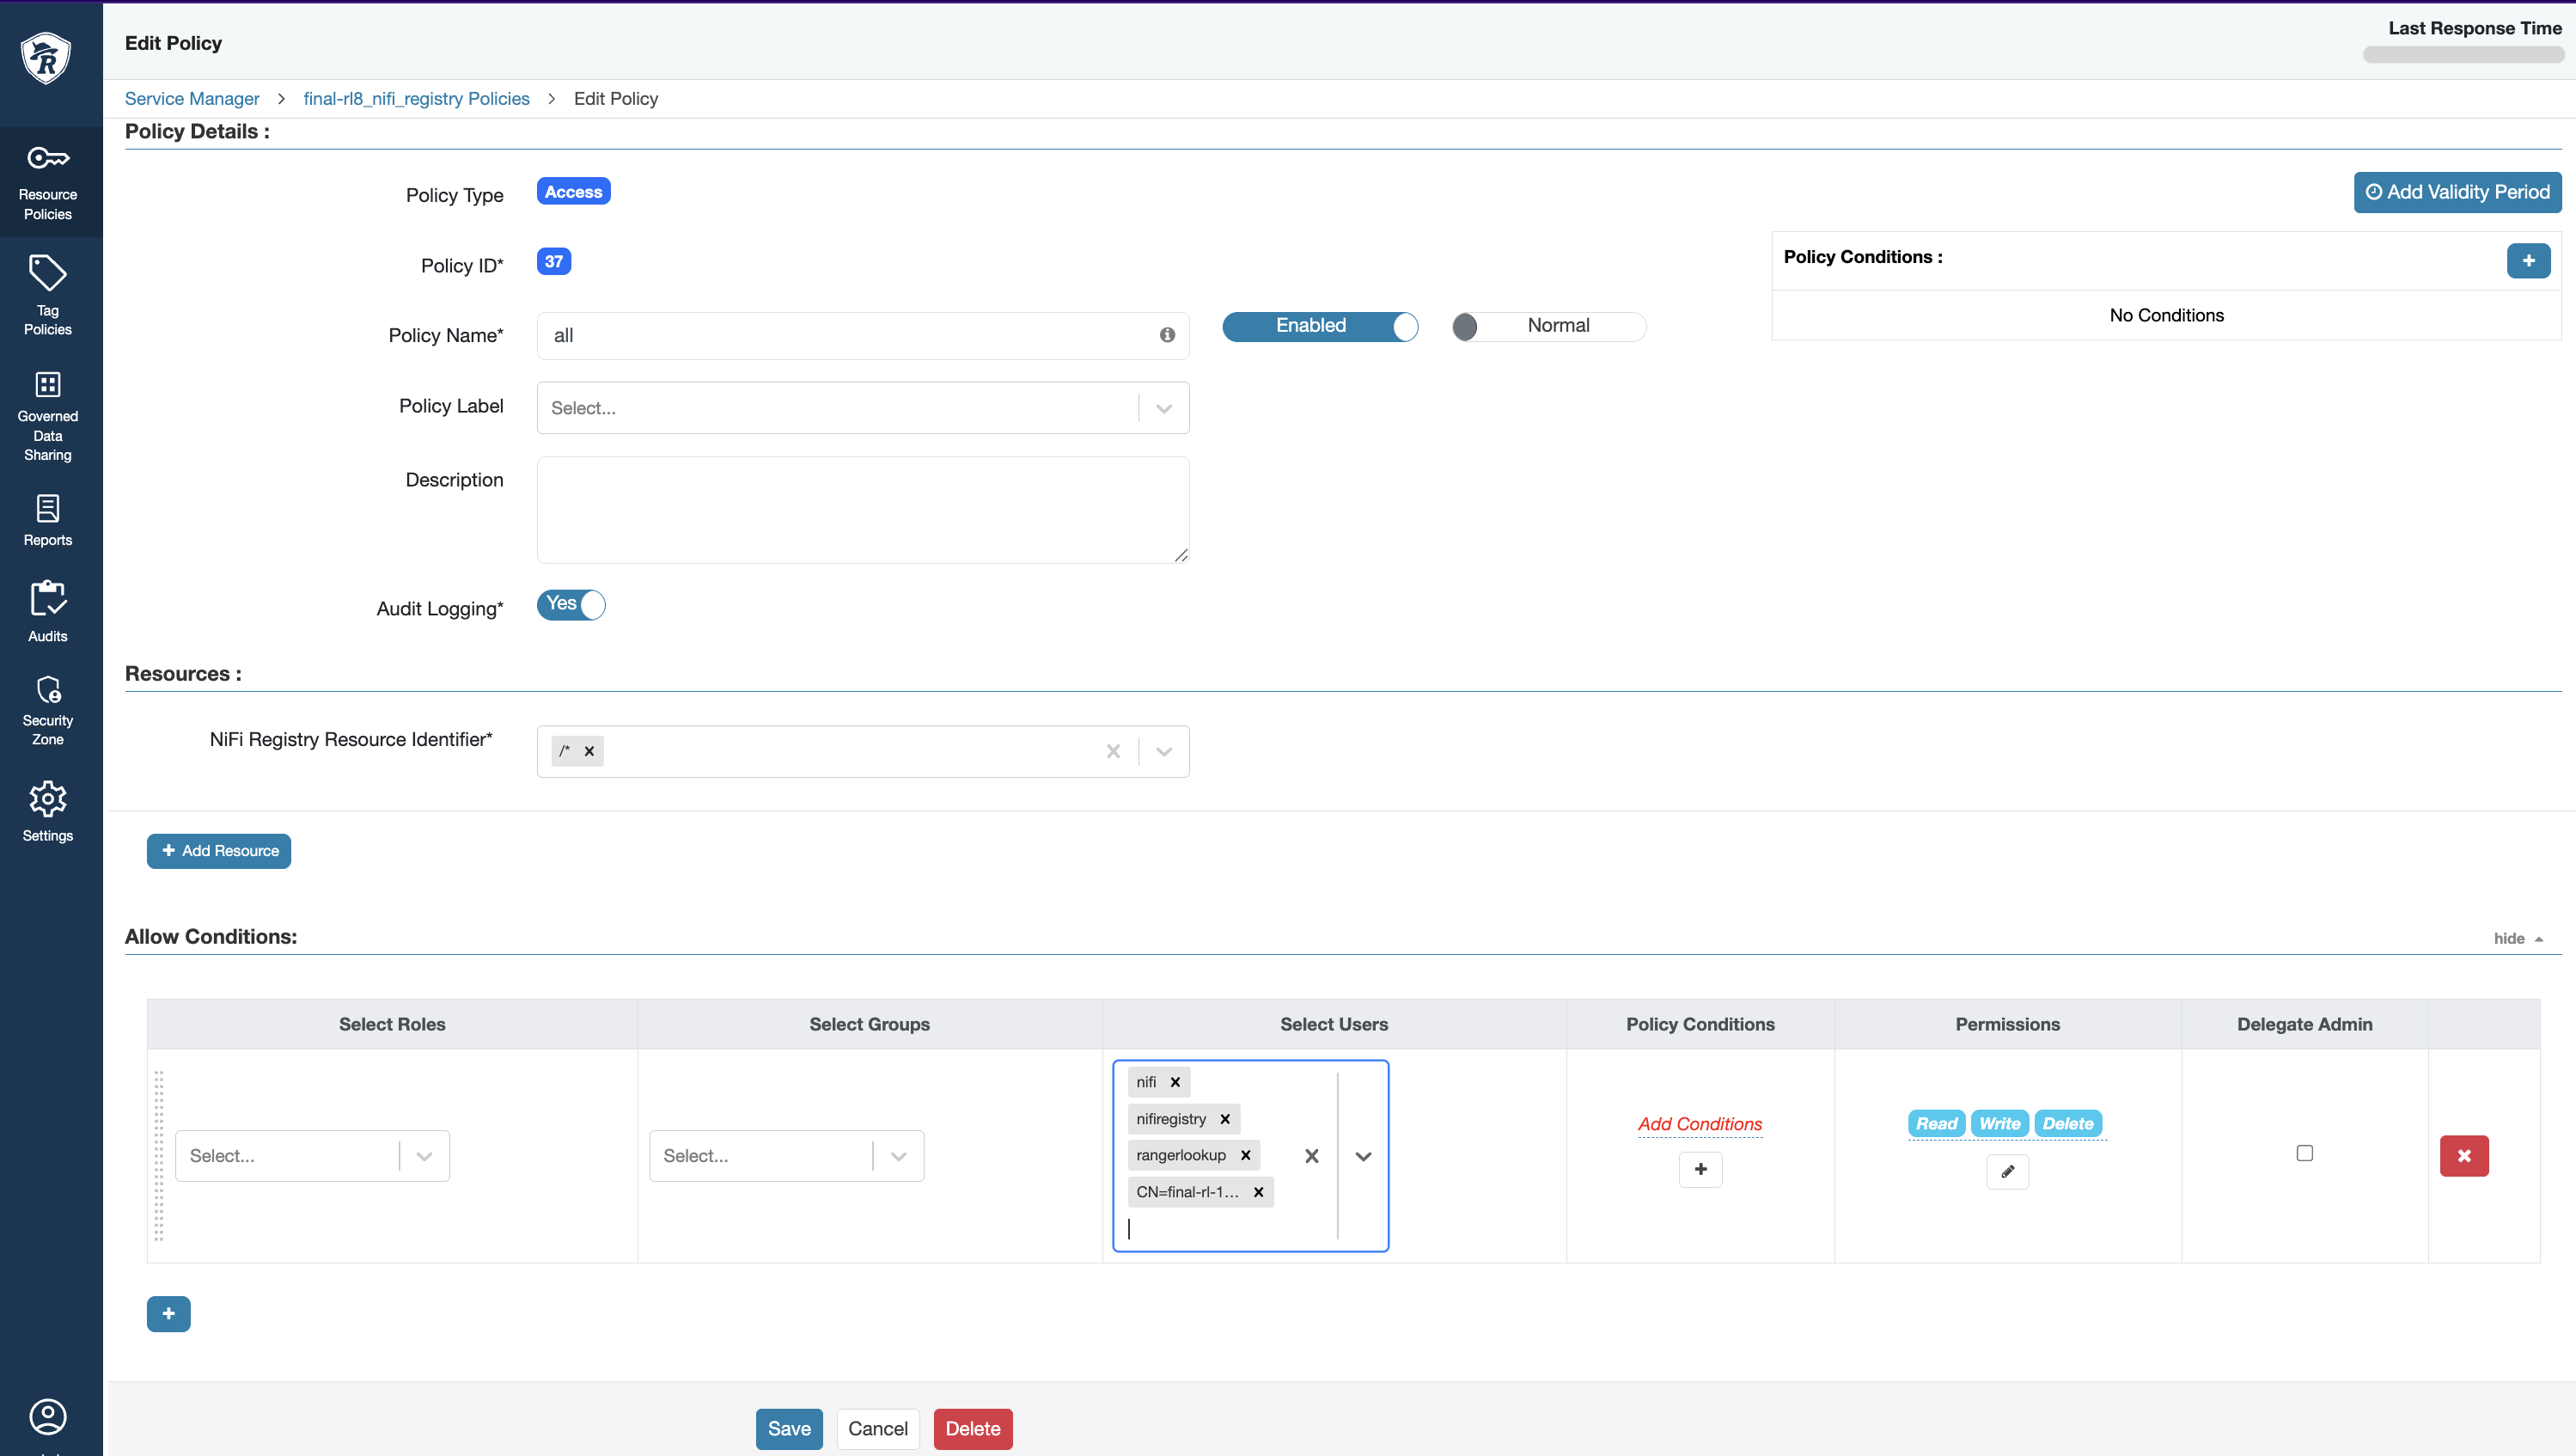
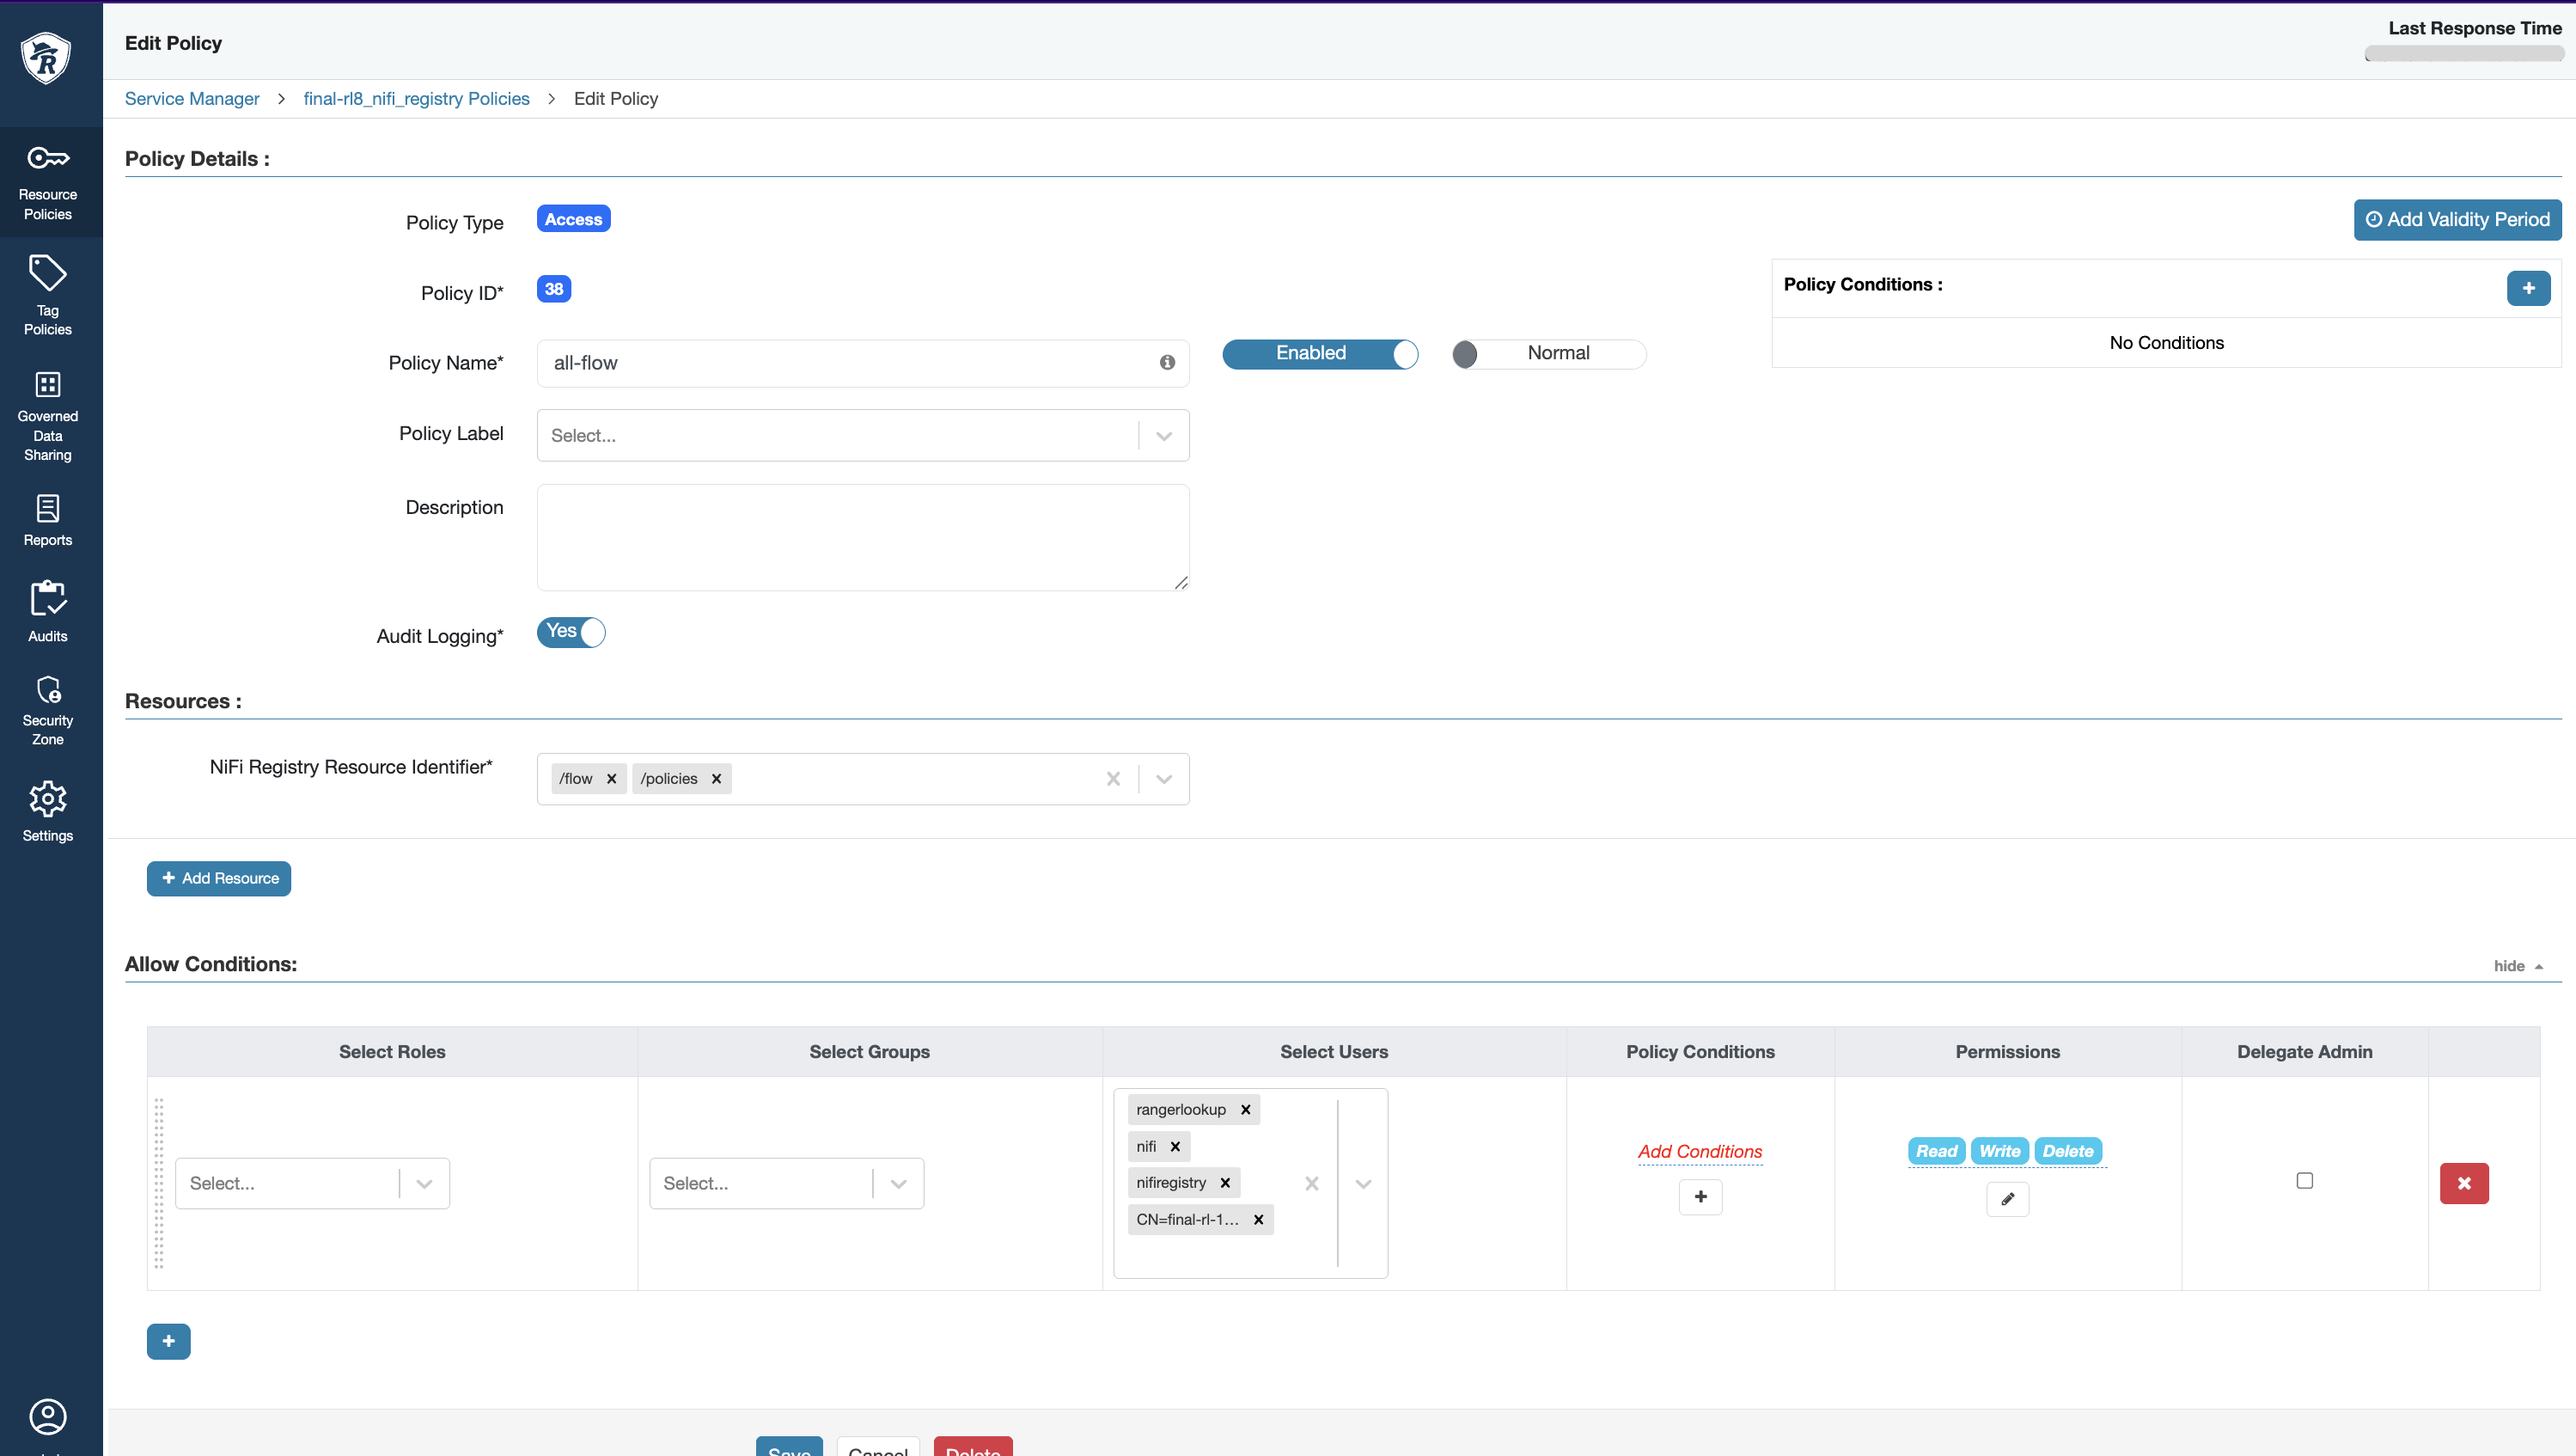
In the Ranger UI, create new policies under the NiFi-Registry service for the following resources:
/*,/flow, and/policies, as illustrated below.
Configuring Single-User Authentication for NiFi SSL
For standalone deployments using a single-user provider for authentication, perform the following:
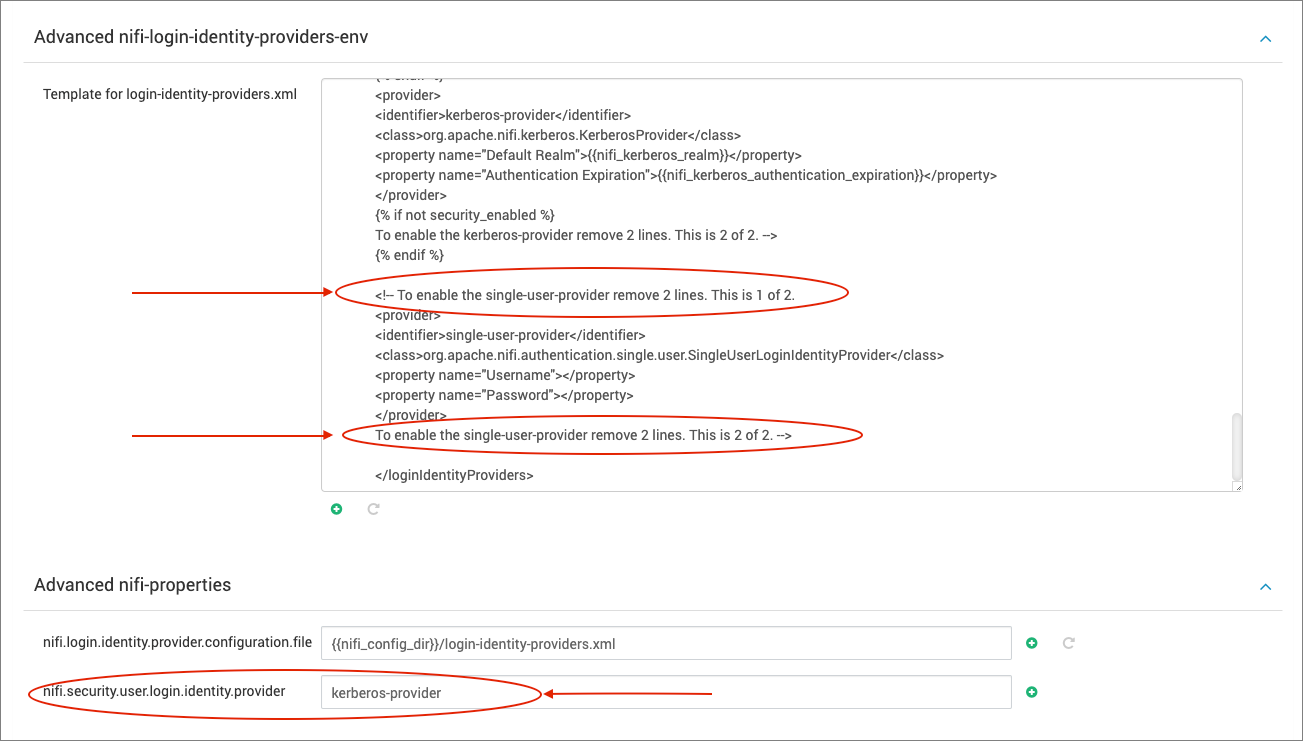
Navigate to the Advanced nifi-login-identity-providers-env section in the NiFi configurations on Ambari.
Uncomment the following lines and change nifi.security.user.login.identity.provider from
kerberos-providertosingle-user-provider.
Save your updated configurations and restart the NiFi service.
SSH into the NiFi mode and run the following command to set a username and password:
Output:
To enable Authentication in Standalone mode, the following property must be modified in the nifi.properties file:
nifi.security.user.login.identity.provider
NiFi supports three types of login providers:
single-user-provider
kerberos-provider
ldap-provider
For comprehensive details, please refer to the NiFi System Administrator’s Guide.
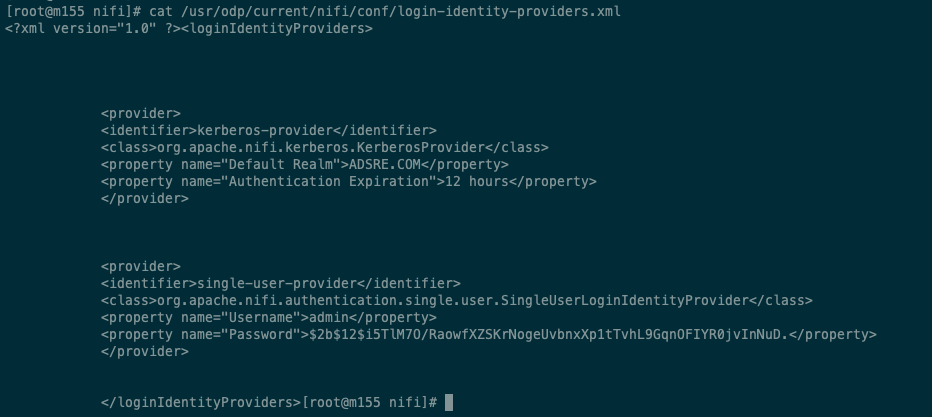
Confirm that the single user password is created, encrypted, and stored in the login-identity-providers.xml file.
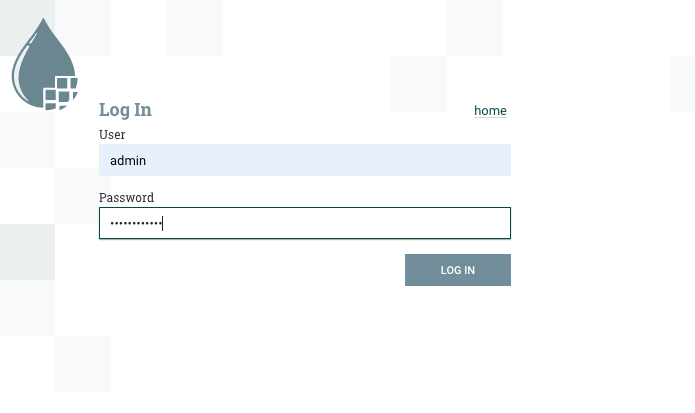
Use these credentials for authentication in the NiFi user interface.
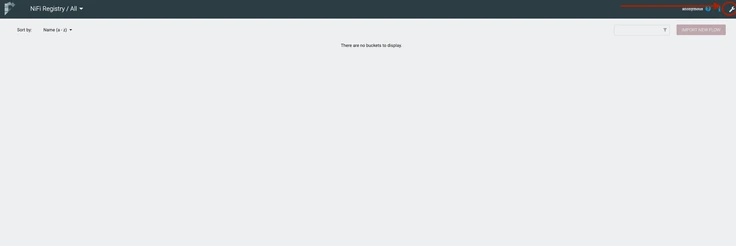
NiFi Registry
Apache NiFi Registry serves as a complementary component to Apache NiFi, offering versioning, history tracking, and a central repository for reusable components like NiFi flows, custom processors, controller services, and beyond. It functions as a centralized hub for the management, versioning, and sharing of NiFi components across various NiFi instances.
Key Functions and Use Cases of NiFi Registry
Flow Versioning and History: NiFi Registry allows you to version control flows, templates, and other components, enabling you to track changes, revert to previous versions, and collaborate effectively in a team environment.
Component Reusability: Facilitating component reuse across numerous NiFi instances, it establishes a central repository where templates and custom processors can be developed, published, and shared within the organization.
Deployment Management: It assists in overseeing the deployment of flows and components across various environments (development, testing, production) by ensuring uniform versions and configurations are maintained.
Collaboration and Governance: Facilitates team collaboration on data flows by offering a centralized platform for sharing, reviewing, and approving changes, while also assisting in enforcing governance policies related to data flows and components.
Backup and Disaster Recovery: NiFi Registry facilitates backups and prepares for disaster recovery scenarios by storing versioned configurations and history, mitigating the risk of losing critical workflows or configurations.
Integration with Continuous Integration/Continuous Deployment (CI/CD): Facilitates the integration of NiFi flows and components into CI/CD pipelines, enabling automated testing, validation, and deployment of data flows.
Components in NiFi Registry
Bucket: A logical container that stores different versions of flows, templates, and other NiFi components.
Versioned Flows: Represents the different versions of a flow or a set of NiFi components that are stored within a bucket.
Access Control: Provides fine-grained access control and permissions to manage who can view, create, modify, or delete components within a bucket.
NiFi Registry strengthens collaboration, reusability, and governance of data flows and components across diverse environments, positioning it as a valuable asset in enterprise data management and workflow orchestration.
Installing NiFi Registry
Prerequisites
Before proceeding with NiFi Registry installation, ensure the following prerequisites are met:
Install MySQL 8.
Create a dedicated database for NiFi Registry.
Establish a user with full privileges for the NiFi Registry database.
Download the NiFi Registry mpack from the Mpacks Link.
Install the NiFi Registry Mpack on the Ambari Node and restart Ambari.
Installation
Add the Nifi-Registry service from the Ambari user interface.

The following configurations must be added to ensure a smooth installation and startup of the service.
Add the master key password.
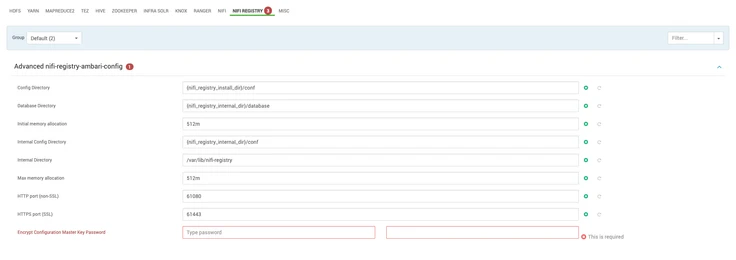
Add the Mysql Connector patch present in the machine.
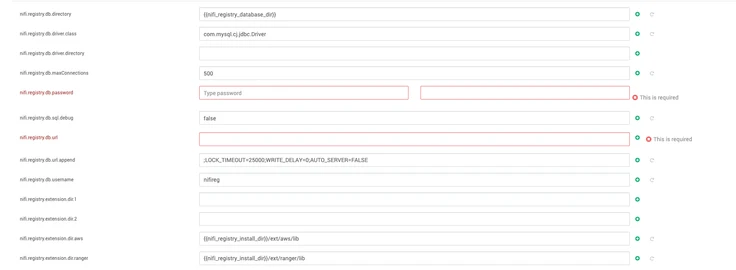
Add the NiFi-Registry database password.
Add the NiFi-Registry URL.
Note Here database for registry is - “nifi_registry“; change it according to the database you have created for storing the registry data.
Add the NiFi-Registry database user.
Note Here the user is nifireg; change it according to the user you have created for accessing the nifi-registry database.
After providing all the configurations, then proceed with the installation procedure.

Ranger Enablement
The Ranger authorization in NiFi is available with SSL enablement.
To enable Ranger for NiFi, navigate to NiFi configs and enable the Ranger plugin.
Verify the below properties.
Advanced ranger-nifi-registry-plugin-properties:
If SSL is enabled on Ranger, update ranger-nifi-registry-policymgr-ssl:
On nodes with NiFi Registry, add slf4j-api-1.x jar and restart NiFi Registry.
The cred.jceks credential file containing the password to the Ranger keystore is created properly. Nifi Registry uses this file to connect to an SSL-enabled Ranger and access policies
Save and restart NiFi Registry. Then, navigate to Ranger UI, and the Nifi Registry Ranger service will be created.
Once the above is enabled , restart the NiFi Service. Once again, restart and login to the Ranger UI , where you are able to see the NiFi policy creation field.
In the Ranger UI, create a new user based on the common name of NiFi-Registry certificate. Navigate to the Ranger UI > Settings > Users > Add New User.
In the Ranger UI, create new policies under the NiFi-Registry service for the following resources:
/*,/flow, and/policies, as illustrated below.
Connecting Nifi to Nifi-Registry
From the Ambari UI, quick links navigate you to the Nifi-Registry UI.
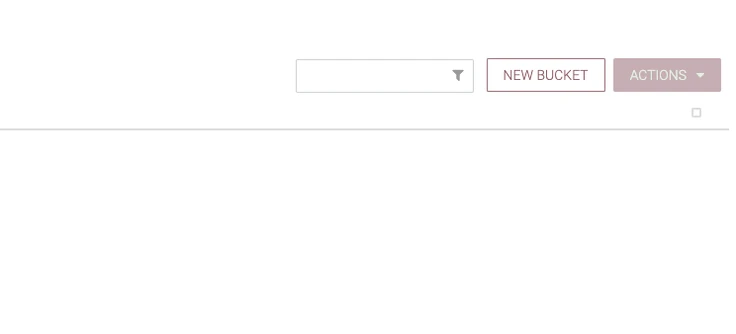
To connect Nifi-Registry to Nifi, click on the wrench icon from the top right corner.
Add a new bucket.
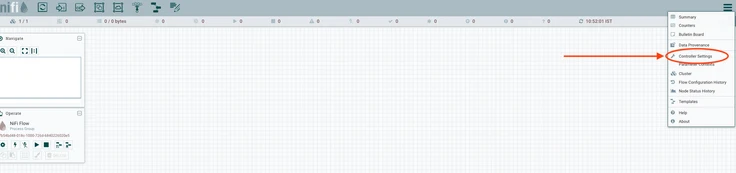
Navigate to Nifi and select Controller settings.
In Controller Settings, navigate to Registry Clients and click the plus button.

Provide a name for the Registry Client and click the add button.
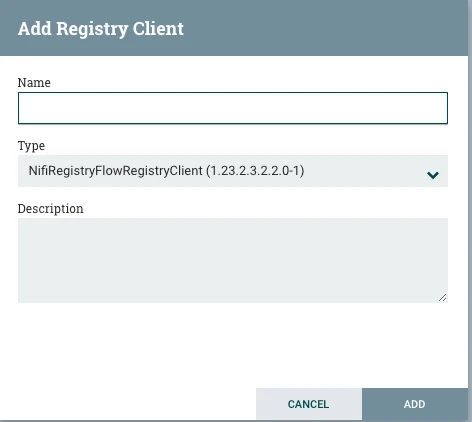
Edit the newly added registry client.

Navigate to the Properties tab and add the nifi-registry URL in the URL section.


In Nifi, enable versioning of a process group by right clicking on the process group, selecting Version and then starting a new version control.

Enter a Flow Name and save the version control.

Version controlling is now enabled for NiFi workflow and you must see a tick mark on the top left of the process group with the version control enabled.