
Overview
Migrating data between Hadoop clusters located in different Kerberos realms requires establishing cross-realm authentication. This comprehensive guide provides detailed, step-by-step instructions for the following scenarios:
Scenario 1: Cross-Realm Trust Between Clusters with Both MIT KDCs
Scenario 2: Cross-Realm Trust Between an MIT KDC and an Active Directory KDC
Scenario 3: Cross-Realm Trust Between Clusters with Both Active Directory KDCs
Scenario 4: Data Migration Between Secure and Unsecure Clusters
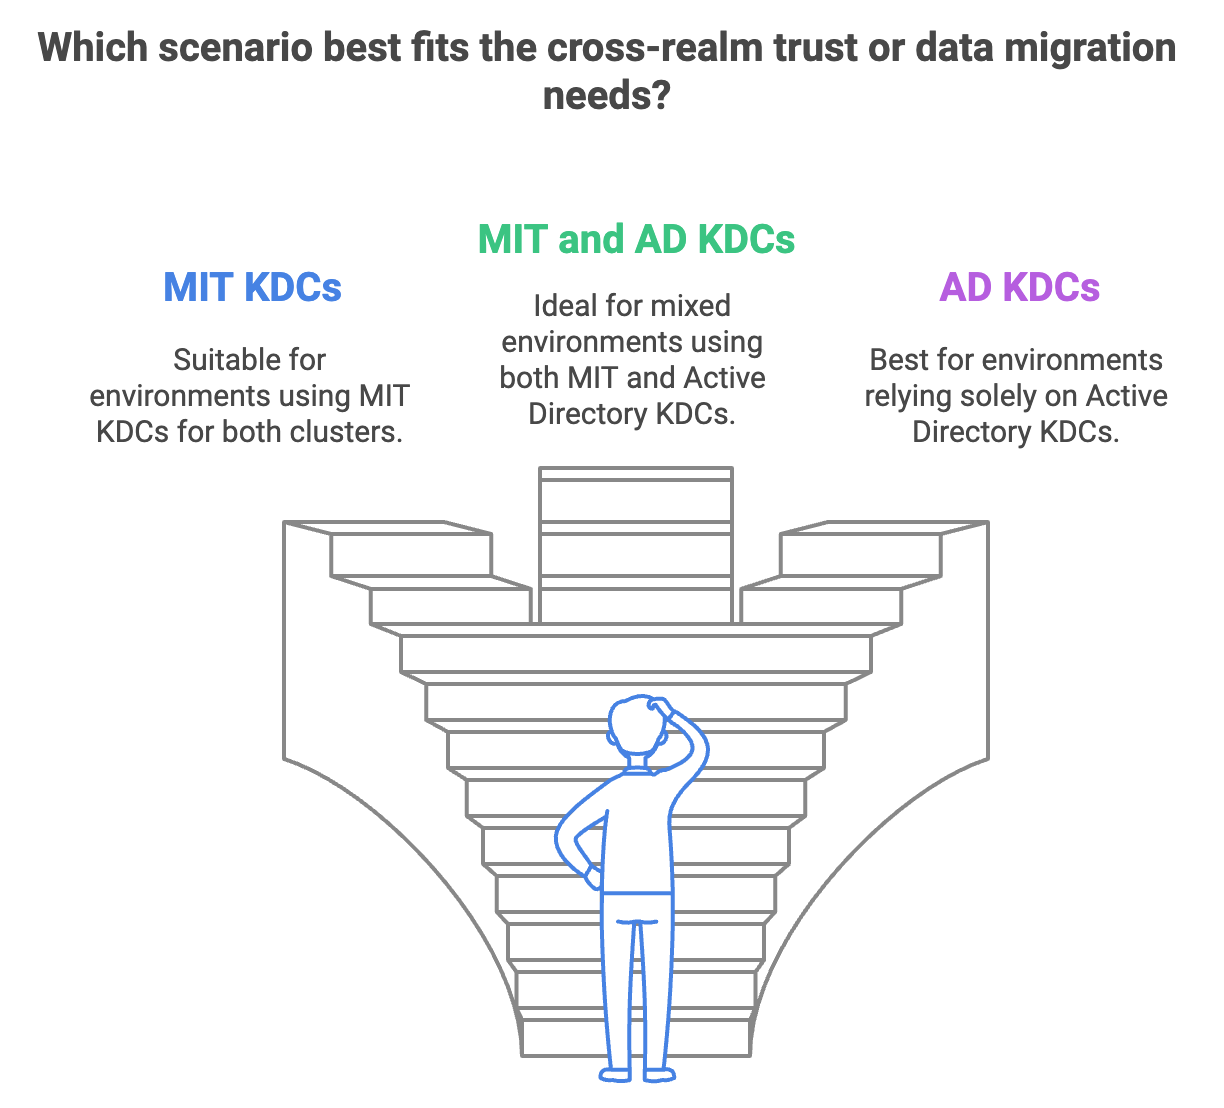
Follow the instructions provided on this page to set up cross-realm trusts, configure Kerberos and Hadoop settings, and perform data migration using distcp.
Prerequisites
Administrative Access:
For MIT KDCs: Root or administrative access to both KDC servers.
For Active Directory Domains: Domain Administrator privileges.
Network Connectivity:
Ensure all clusters and their respective KDCs or domain controllers can communicate over the network.
Consistent User and Group Identities:
Usernames and group names should be consistent across clusters for seamless access control.
DNS Configuration:
Proper DNS setup for name resolution between clusters and KDCs.
Time Synchronization:
All systems must have synchronized clocks (use NTP) to prevent Kerberos authentication failures.
Configure and Validate the DNS Settings
The correct DNS configuration is crucial for Kerberos authentication and Hadoop operations.
Configure the DNS Forwarding or Conditional Forwarders
On each domain controller and KDC:
Active Directory Domain Controllers:
DNS Forwarding:
Open DNS Manager.
Right-click on the DNS server and select Properties.
Go to the Forwarders tab and add the IP address of the DNS server from the other domain.
Conditional Forwarders:
In DNS Manager, expand the server and right-click Conditional Forwarders.
Select New Conditional Forwarder.
Enter the domain name of the other realm and the IP address of its DNS server.
MIT KDC Servers:
Update
/etc/resolv.conf:Add the nameserver entries for the other realm's DNS servers.
Configure DNS Zones:
Modify your DNS server to include zones for the other domain, if applicable.
Validate the DNS Resolution
On a node in each domain:
Test Forward Lookup
Replace
hostname.otherdomain.comwith an actual hostname from the other domain.Verify that it resolves to the correct IP address.
Test Reverse Lookup
Replace
IP_ADDRESSwith the IP address of a host in the other domain.Verify that it resolves to the correct hostname.
Verify Network Connectivity
Ping Test
Port Connectivity: Test the connectivity to critical ports (For example, Kerberos port 88):
For a cross-realm trust to function properly, both Key Distribution Centers (KDCs) must have the same krbtgt principal and password, and must be configured to use the same encryption type.
Scenario 1: Cross-Realm Trust Between Clusters with Both MIT KDCs
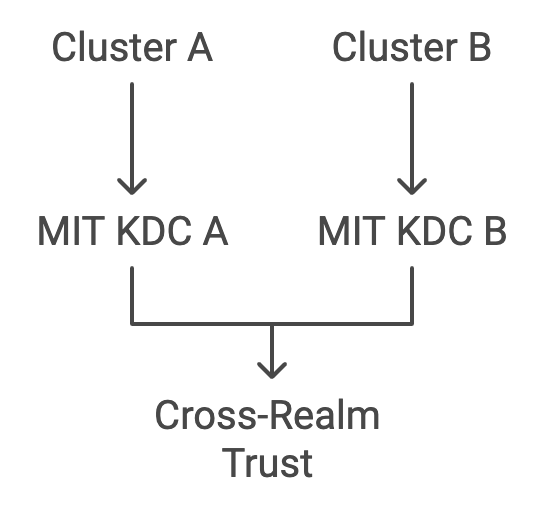
Configure each MIT KDC Server
On MIT KDC Server A (REALM_A.COM):
Create Cross-Realm Principal:
On MIT KDC Server B (REALM_B.COM):
Create Cross-Realm Principal:
Edit /etc/krb5.conf on both KDCs:
Add the following configurations:
Explanation:
The
[capaths]section defines the authentication paths between realms.The dot (
.) indicates a direct trust relationship.
Scenario 2: Cross-Realm Trust Between an MIT KDC and an Active Directory KDC
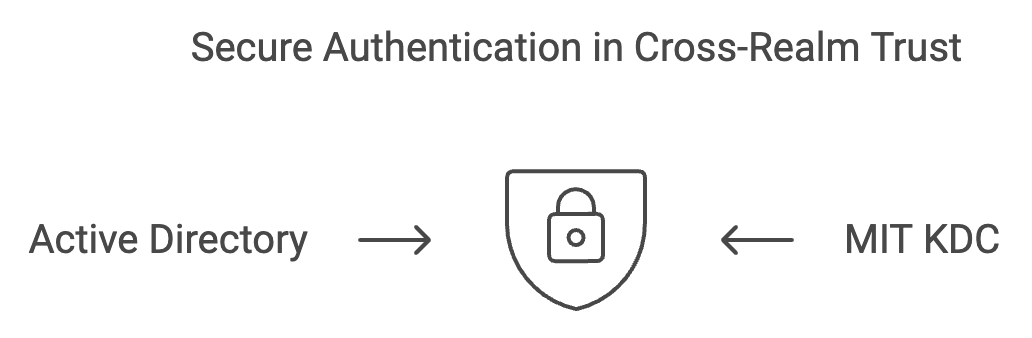
Configure the Active Directory Domain Controller
On the AD Domain Controller (ADDOMAIN.COM):
Create a User for Cross-Realm Trust:
Open Active Directory Users and Computers.
Create a user named
krbtgt/MITREALM.COM.Set a strong password and select Password never expires.
Uncheck User must change password at next logon.
Map the MIT Realm to the AD Domain:
Open Command Prompt as Administrator.
Run the following command and
- Enter the password when prompted.
Copy the Keytab to the MIT KDC Server:
Transfer
krbtgt_MITREALM.COM.keytabsecurely to the MIT KDC server.
Configure the MIT KDC Server
On the MIT KDC Server (MITREALM.COM):
Create the Trust Principal:
Use the same password set on the AD side.
Import the Keytab from AD:
Verify the Keytab Entries:
Update
/etc/krb5.conf:Add the AD realm under
[realms]and update[capaths].
Scenario 3: Cross-Realm Trust Between Clusters with Both Active Directory KDCs
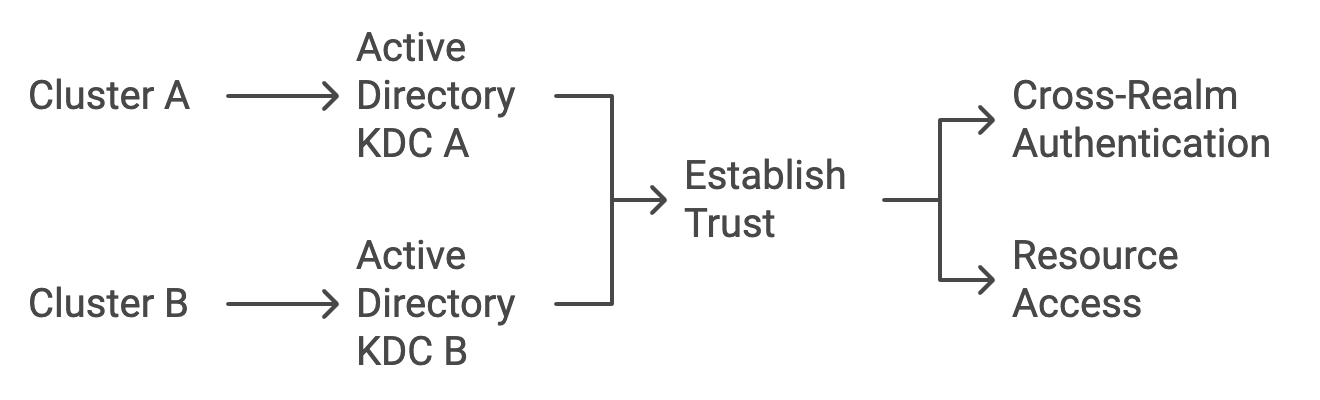
Types of Trust
External Trust: Domain-to-domain trust outside the forest.
Forest Trust: Trust between two AD forests, allowing all domains within to trust each other.
Trust Direction and Authentication Scope
Trust Direction:
One-Way Trust: Only one domain trusts the other.
Two-Way Trust: Both domains trust each other.
Authentication Scope:
Forest-Wide Authentication: All users can authenticate.
Selective Authentication: Only specified users/groups can authenticate.
Choose the Appropriate Trust Type
Recommended: Two-Way Forest Trust with Forest-Wide Authentication.
Create a Two-Way Forest Trust
Option A: Using GUI (Active Directory Domains and Trusts)
On the Domain Controller of DOMAIN_A.COM:
Open Active Directory Domains and Trusts:
Navigate to Start > Administrative Tools > Active Directory Domains and Trusts.
Create New Trust:
Right-click
DOMAIN_A.COM> Properties > Trusts tab > New Trust.
Follow the Wizard:
Enter
DOMAIN_B.COMas the trust name.Select Forest Trust.
Choose Two-way trust.
Select Both this domain and the specified domain.
Choose Forest-wide authentication.
Set a secure trust password.
Complete the wizard.
Repeat the steps on DOMAIN_B.COM Domain Controller.
Option B: Using the Command-Line (netdom)
On DOMAIN_A.COM Domain Controller:
Run the below command and enter passwords when prompted.
On DOMAIN_B.COM Domain Controller:
Option C: Using PowerShell
On DOMAIN_A.COM Domain Controller:
On DOMAIN_B.COM Domain Controller:
Validate and Confirm the Trust
Using GUI:
On both domain controllers:
Active Directory Domains and Trusts > Right-click domain > Properties > Trusts tab > Select trust > Properties > Validate.
Using Command-Line (netdom)
On DOMAIN_A.COM:
On DOMAIN_B.COM:
Using PowerShell
On DOMAIN_A.COM*: *
On DOMAIN_B.COM:
Scenario 4: Data Migration Between Secure and Unsecure Clusters
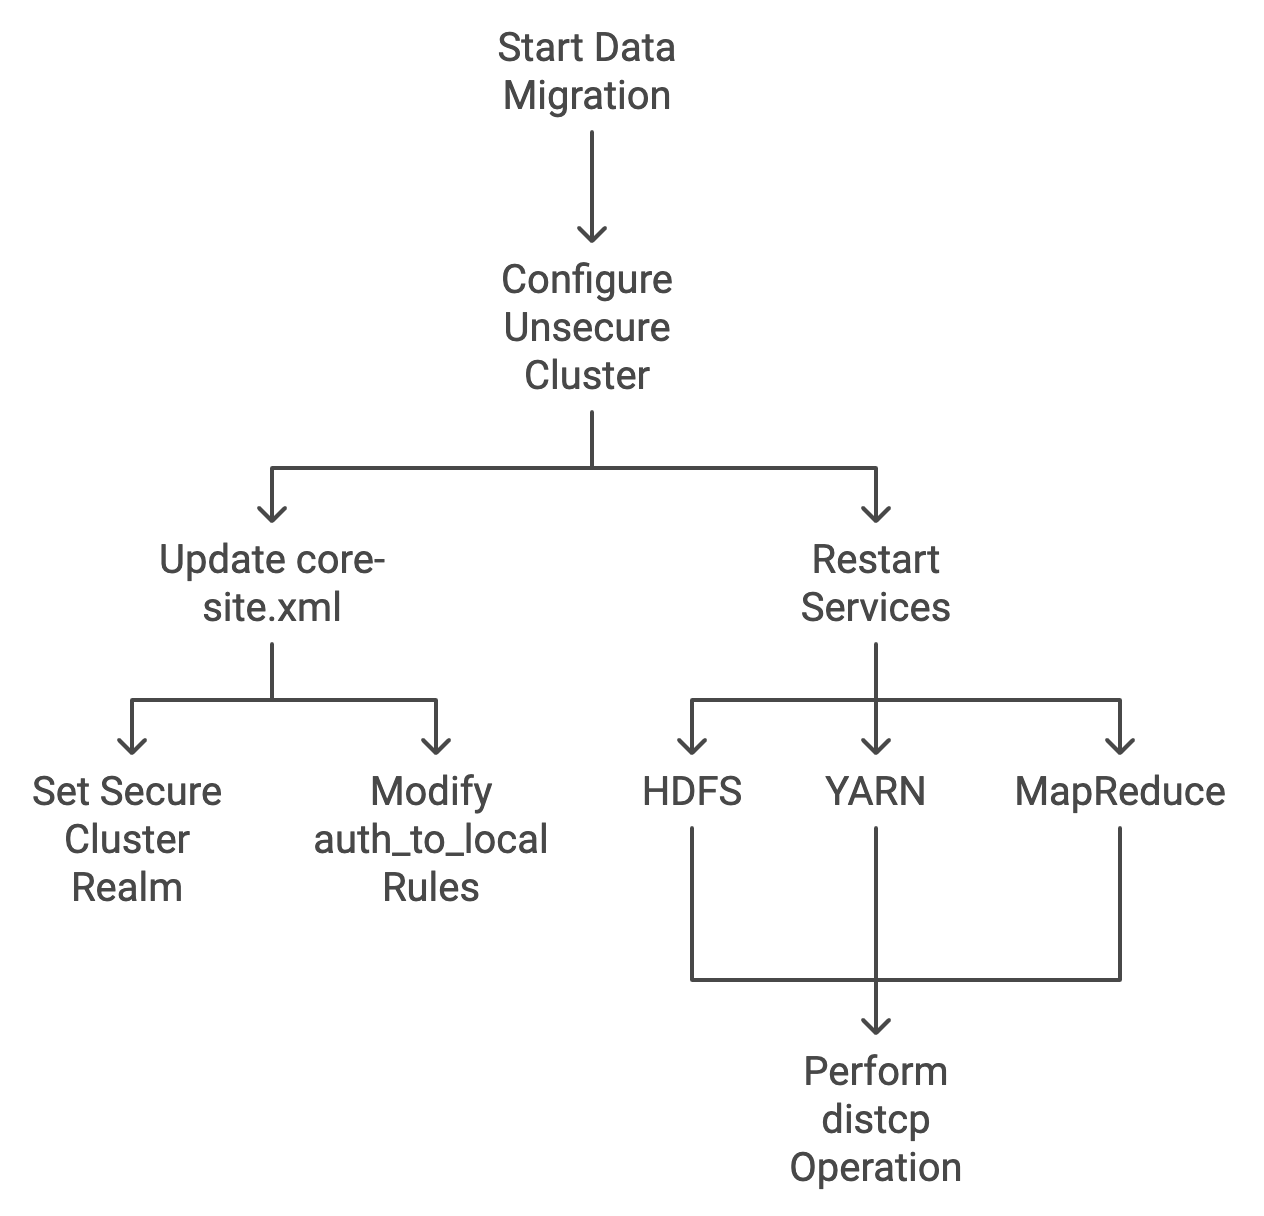
When migrating data between a secure (Kerberos-enabled) and an unsecure Hadoop cluster, specific configurations are required.
Configure the Unsecure Cluster
Replace SECURE_REALM.COM with your secure cluster's realm name.
Update the core-site.xml
Add the following properties:
Set the Secure Cluster Realm:
Modify hadoop.security.auth to local Rules.
Restart Affected Services
Restart the HDFS, YARN, and MapReduce services.
Perform the distcp Operation
From the Secure Cluster to the Unsecure Cluster:
Explanation:
The
-D ipc.client.fallback-to-simple-auth-allowed=trueflag allows the secure cluster to communicate with the unsecure cluster using simple authentication.
Common Steps for All Scenarios
Configure Kerberos (krb5.conf) on All Cluster Nodes
On all nodes in both Clusters, update /etc/krb5.conf to recognize all involved realms.
Sample /etc/krb5.conf :
Update the Hadoop Configuration
Modify **core-site.xml:** Add or update the hadoop.security.auth_to_local property.
**Update hdfs-site.xml:**Add the following property.
Synchronize Time Across Clusters
Ensure that all systems use NTP or similar services for time synchronization.
Restart Hadoop Services
Restart the Hadoop services on all clusters to apply new configurations.
Verification Steps
Test Kerberos Authentication
On a Node in Each Cluster:
Obtain a Kerberos Ticket:
Access HDFS on the Other Cluster:
Expected Result: You must see the content of the HDFS directory without authentication errors.
Troubleshooting
Check Kerberos Tickets
Review the Hadoop Logs
Check the logs under
/var/log/hadoop/for errors.
Common Issues
Clock skew between servers.
Incorrect
krb5.confconfigurations.Firewall blocking necessary ports.
Performing the Data Migration
Run distcp Between Clusters
For Secure Clusters:
For Secure to Unsecure Cluster (Scenario 4):
Additional Options:
If experiencing issues, force Kerberos to use TCP by adding to
/etc/krb5.conf:
Verify Data Migration
Use
hdfs dfs -lsto check the destination directory.Verify file integrity and permissions.
Summary of Steps
DNS Configuration:
Configure DNS forwarding or conditional forwarders.
Validate DNS resolution and network connectivity.
Establish Cross-Realm Trust:
Scenario 1: Configure cross-realm principals on MIT KDCs.
Scenario 2: Set up trust between AD DC and MIT KDC.
Scenario 3: Create a two-way forest trust between AD domains.
Scenario 4: Configure an unsecure cluster to accept connections from the secure cluster.
Kerberos Configuration:
Update
/etc/krb5.confwith realm and KDC details.Define
[capaths]for authentication paths.
Hadoop Configuration:
Modify
core-site.xmlandhdfs-site.xmlwith necessary properties.Distribute configurations across all nodes.
Time Synchronization:
Ensure all systems have synchronized clocks using NTP.
Restart Services:
Restart Hadoop services to apply changes.
Verification:
Test Kerberos authentication.
Access HDFS across clusters.
Data Migration:
Use
hadoop distcpfor data transfer.Verify successful data migration.
This guide assumes familiarity with Kerberos and Hadoop administration. Always ensure you have backups before making significant changes to production systems. Consult with your organization's security policies before implementing cross-realm trusts.