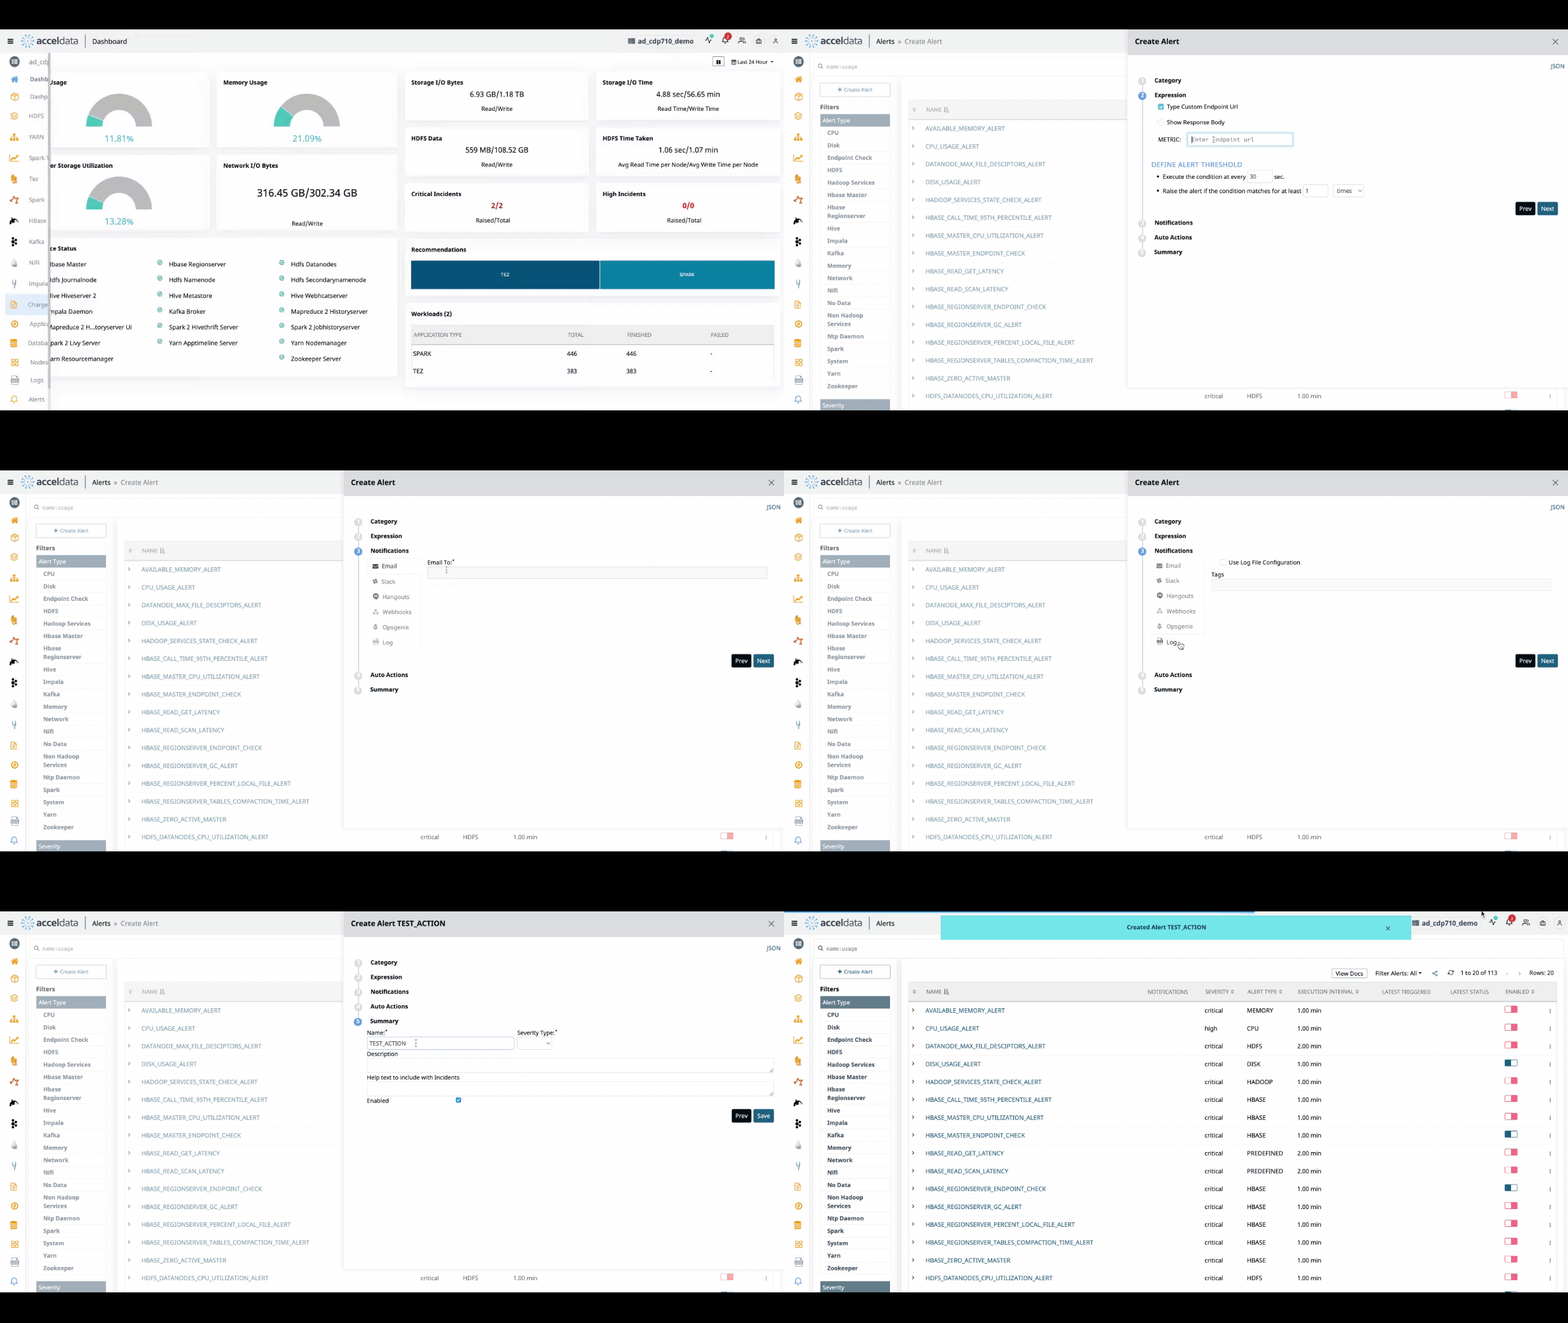
Enabling Notifications for All Channels
Setup SMTP Notifications
- Create ad-notification YAML to edit and update details
accelo admin makeconfig ad-notifications- Add or modify the following details as per your environment:
EMAIL_SMTP_HOST=<SMTP_HOST>EMAIL_SMTP_PORT=<SMTP_PORT>EMAIL_SMTP_USERNAME=<username, leave blank if not set>EMAIL_SMTP_PASSWORD=<password, leave blank if not set>EMAIL_SMTP_USE_TLS=<true/false>EMAIL_FROM_EMAIL=<default_sender_mail_addr>Configure Pulse Notifications
- Go to the CLI command and type the command
accelo config alerts notifications- Add the JODA timeline value here, use this link to know the right value based on your timezone.
✔ Enter the JODA Timezone value (Example: Asia/Jakarta): : Asia/Kolkata█- Select the required additional metric groups that you want to enable. Use the arrows to move and space to select the metric group. Example: To select ntpd or chrony here use the space key in your keyboard.
[] druid[] nifi[] ntpd[] anomaly[] chrony[x] customapp- You are now prompted to select the notifications you would like to enable. Use the arrows to move and space to select the notifications type. Each notification requirements has been shared section Notification Channel Requirements
[x] slack[] papaerduty[x] hangouts[x] webhook[] filelog[] email[] action[] opsgenie[x] telegram[x] line[x] service now- Depending on the above selected options you can provide required default options such as default slack webbook URL or default receiver mail distribution list.
- Select default snooze and other threshold options.
- Enable the notifications for the cluster in the alert types.
- Once configure setup is complete restart the following components.
accelo restart ad-alertsaccelo restart ad-notifications- Perform a notification test by selecting respective notification channel in Pulse UI

Notification Channel Requirements
As updated above in the SETUP SMTP notifications, the following details are required to be updated in the ad-notifications yaml.
EMAIL_SMTP_HOST=<SMTP_HOST>EMAIL_SMTP_PORT=<SMTP_PORT>EMAIL_SMTP_USERNAME=<username, leave blank if not set>EMAIL_SMTP_PASSWORD=<password, leave blank if not set>EMAIL_SMTP_USE_TLS=<true/false>EMAIL_FROM_EMAIL=<default_sender_mail_addr>INFO: Configuring Email Notifications: Enter Email DefaultToEmailIds (comma separated list): : Enter Email DefaultSnoozeIntervalInSecs: : 0✔ Enter Email MaxEmailThreshold: : 1Slack
CLI will prompt the following details to configure the Slack notifications.
| Configuration Entry | Example |
|---|---|
| Enter Slack Default Incoming Web Hook URL's | Add Webhook URL (comma separated multiple URLs are allowed) |
| Enter Slack Default Snooze Intervals in Secs | 0 |
| Enter Slack MAX Slack message Threshold | 1 |
INFO: Configuring Slack Notifications: ✔ Enter Slack DefaultIncomingWebhookUrls: : Enter Slack DefaultSnoozeIntervalInSecs: : 0Enter Slack MaxSlackMessageThreshold: : 1PagerDuty Notifications
Enter the routing key obtained from PagerDuty.
INFO: Configuring PagerDuty Notifications: Enter Pagerduty RoutingKey: : Enter Pagerduty DefaultSnoozeIntervalInSecs: : 0Enter Pagerduty MaxPagerdutyIncidentThreshold: : 1Telegram
- Enter the default BotToken from Telegram.
- Enter the default ChatIds from Telegram. You can enter multiple ChatIds separated by a comma.
INFO: Configuring Telegram Notifications: Enter Telegram MaxTelegramMessageThreshold: : 1Enter Telegram DefaultSnoozeIntervalInSecs: : 0Enter Telegram DefaultBotToken: : Enter Telegram DefaultChatIds (comma separated list): :Line
Enter the API Keys obtained from Line
INFO: Configuring Line Notifications: Enter Line MaxLineMessageThreshold: : 1Enter Line DefaultSnoozeIntervalInSecs: : 0Enter Line API Keys (comma separated list): :ServiceNow
- Enter the ServiceNow Table Names; you can enter multiple ServiceNow Table Names separated by commas.
- Enter the BearerToken that you received from ServiceNow.
- Enter the ServiceNow-provided Caller ID.
INFO: Configuring ServiceNow NotificationsEnter ServiceNow MaxServiceNowMessageThreshold: : 1Enter ServiceNow DefaultSnoozeIntervalInSecs: : 0Enter ServiceNow Table Names (comma separated list): : ✔ Enter ServiceNow BearerToken: : ✔ Enter ServiceNow Caller: :Webhooks
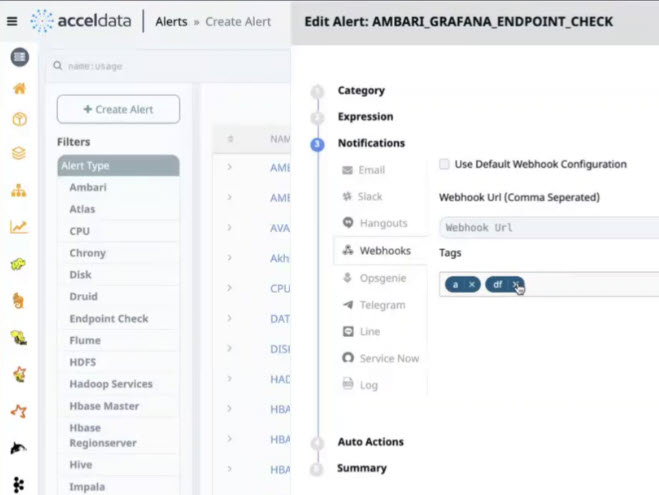
Webhooks are automated messages sent from the application about incidents. It contains tags that can be added for the incidents as displayed in the following image.

CLI will prompt the following details to configure the Webhook notifications.
| Configuration Entry | Example |
|---|---|
| Enter Webhook Default Web Hook URL | Add Webhook URL (comma separated multiple URLs are allowed) |
| Enter Webhook Default Snooze Intervals in Secs | 0 |
| Enter Webhook Max message Threshold | 1 |
? Select the metric groups you would like to enable: [Use arrows to move, space to select, type to filter][] druid[] memsql[] nifi[] ntpd[] anomaly[] chrony[] customAppWebhook Notifications
INFO: Configuring Webhook Notifications: ✔ Enter Webhook DefaultWebhookUrls: : ✔ Enter Webhook DefaultSnoozeIntervalInSecs: : 0Enter Webhook MaxMsgThreshold: : 1Actions
INFO: Configuring Action Notifications: Enter Action MaxMessageThreshold: : 1✔ Enter Action DefaultSnoozeIntervalInSecs: : 0Opsgenie
Enter the API key obtained from Opsgenie
INFO: Configuring Opsgenie Notifications✔ Enter Opsgenie MaxMessageThreshold: : 1✔ Enter Opsgenie DefaultSnoozeIntervalInSecs: : 0✔ Enter the Opsgenie API KEY: :File Log
All the raised incidents are recorded in the file logs.
1.Save the notifications as a log files on your server. Perfect for individuals or organizations for better control.
- Enter the Log file Name and Directory.
- Rolling Files Size supports automatic log file rollover. This means that a log file of a certain size shuts its existing collection of log files and opens new log files.
- Enter the Index of the log file.
INFO: Configuring FileLog Notifications: Enter FileLog LogFileName: : Enter FileLog LogDirectory: : ✔ Enter FileLog LogFileUpperIndex: : Enter FileLog RollingFileSizeInStr: : Enter FileLog DefaultSnoozeIntervalInSecs: : Enter FileLog MaxMsgThreshold: :Hangouts
CLI will prompt the following details to configure the Hangout notifications.
| Configuration Entry | Example |
|---|---|
| Enter Hangouts Chatroom Web Hook URL | Add webhook URL (comma separated multiple URLs are allowed)) |
| Enter Slack Default Snooze Intervals in Secs | 0 |
| Enter Hangouts Max message Threshold | 1 |
INFO: Configuring Google Hangouts Notifications: Enter Hangouts Chatroom WebhookURL: : Enter Hangouts DefaultSnoozeIntervalInSecs: : 0Enter Hangouts MaxMsgThreshold: : 1Jira
- Issue Types allowed by the Jira Plugin are: Bug, Story, and Task.
- Alert Snooze Manager - The notification sender communicates with this actor to determine whether or not to transmit an alert. It manages the alert incident count and snoozes the wait duration.
- Enter the URL you got from Jira.
- Enter the Project key.
- Enter your User Name.
- Enter the user's Jira token.
- Enter Jira as a priority.
- Add the Jira Label.
INFO: Configuring Jira NotificationsEnter Jira MaxJiraMessageThreshold: : 1Enter Jira DefaultSnoozeIntervalInSecs: : 0Enter Jira Issue Type [Bug / Story / Task]: : BugEnter Jira URL: : ✔ Enter Jira Project Key: : Enter Jira Username: : Enter Jira Token:: ✔ Enter Jira Priority: Enter Jira Label (comma separated list)::