What is a Compute Cluster?
A Compute Cluster is a dedicated, single-tenant runtime environment that executes all your data workloads within your own Kubernetes infrastructure. It acts as the secure bridge—a Data Plane—that connects the Acceldata-hosted Control Plane to your private data sources and compute engines. This architecture ensures that your data never leaves your network boundary, providing maximum security and governance.

Key Concepts
Control Plane vs. Data Plane: xDP operates on a hybrid architecture. The Control Plane is the multi-tenant Acceldata cloud service where you manage users, design pipelines, and configure clusters. The Data Plane (your Compute Cluster) is the single-tenant execution engine that you deploy inside your own Kubernetes environment, which runs all jobs and queries.
Kubernetes Namespace: Each Compute Cluster is fully isolated within a dedicated Kubernetes namespace. This prevents resource conflicts and allows you to apply distinct security policies, quotas, and network rules for different teams or environments (e.g.,
dev,staging,prod).Manifest File: When you create or update a cluster, xDP generates a Kubernetes manifest (
manifest.yaml). This file contains all the necessary resource definitions (Deployments, Services, ConfigMaps, etc.) required to bootstrap and run the Data Plane services in your environment.Cluster Registration: After you apply the manifest to your Kubernetes cluster, the newly created Data Plane services perform a health check and securely register themselves with the Control Plane. This automated handshake confirms the cluster is operational and ready to accept workloads.
Capabilities
Provisioning and Lifecycle Management: Create, update, and delete isolated runtime environments for different projects or teams directly from the xDP UI.
Centralized Configuration: Manage all cluster settings, from basic properties to advanced service configurations, using a friendly form-based editor or a raw YAML editor for full control.
Health and Status Monitoring: Gain immediate visibility into the operational status of all your deployed Compute Clusters from a single dashboard.
Simplified Upgrades: Receive notifications when new versions are available and follow a guided workflow to apply updates securely and efficiently.
Tutorial (Getting Started)
This tutorial guides you through creating and deploying your first Compute Cluster.
Prerequisites
Before you begin, ensure you have the following:
A running Kubernetes cluster (version 1.19 or higher).
Administrative privileges for the Kubernetes cluster.
kubectlcommand-line tool configured to access your cluster.
Your First Compute Cluster
Follow these steps to configure, deploy, and register a new cluster.
From the sidebar, navigate to Platform > Compute Clusters.
Click Add New Cluster.
The Prerequisites screen summarizes the requirements. Review them and click Next.
On the Cluster Details screen, configure the basic settings for your cluster.
Cluster Name: A unique, descriptive name (e.g.,
analytics-prod-cluster).Namespace: The Kubernetes namespace where the cluster will be deployed. This namespace will be created if it does not exist.
Version: Select the desired xDP version for the cluster.
Note You can optionally expand Registry Settings to specify a private container registry or Endpoint Configuration to define a custom external URL for the cluster.
Click Create Cluster.
You are now on the YAML Configuration screen. This step allows you to review and modify advanced settings before deployment.
Form Mode: A user-friendly interface for editing common parameters.
YAML Mode: A raw text editor for full control over the configuration manifest.
Review the default configuration and click Save Configuration. A confirmation message appears.
On the Install Cluster screen, xDP provides the commands to deploy the cluster into your environment. You must run these from your own terminal.
Click the copy icon to copy the
curlcommand. Paste and run it in your terminal to download themanifest.yamlfile.Click the copy icon to copy the
kubectlcommand. Paste and run it in your terminal. This command creates the namespace and applies the manifest to your Kubernetes cluster.
In your terminal, you can monitor the pods as they are created and become ready.

Return to the xDP UI. The Setup Complete screen automatically checks the installation status. Once the Data Plane services are healthy, the status will update to "Cluster Successfully Registered!".
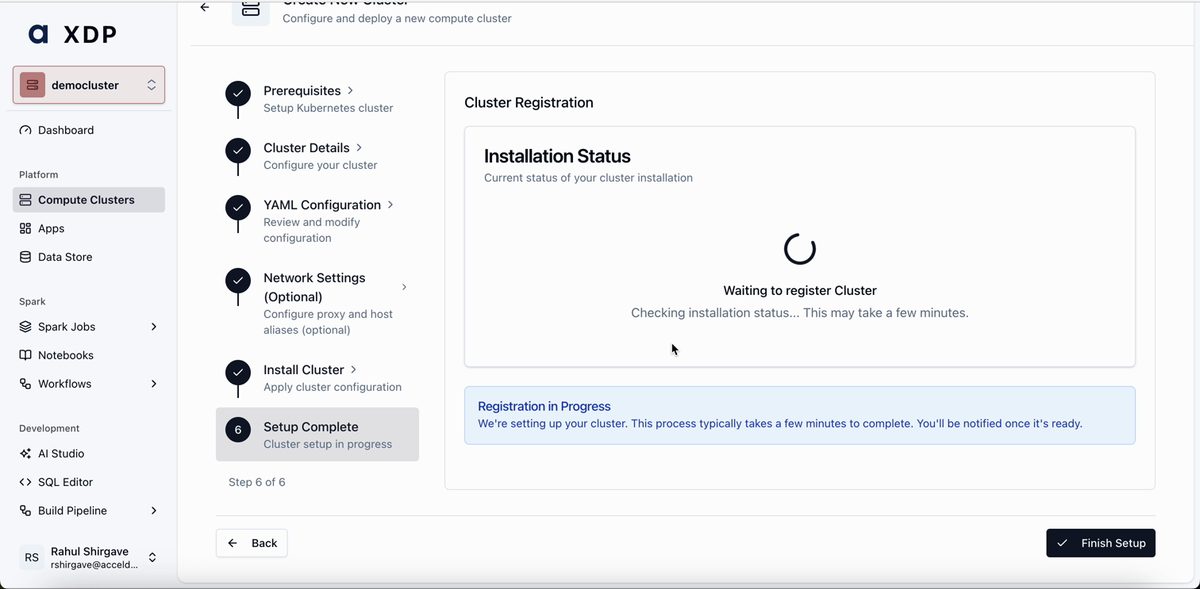
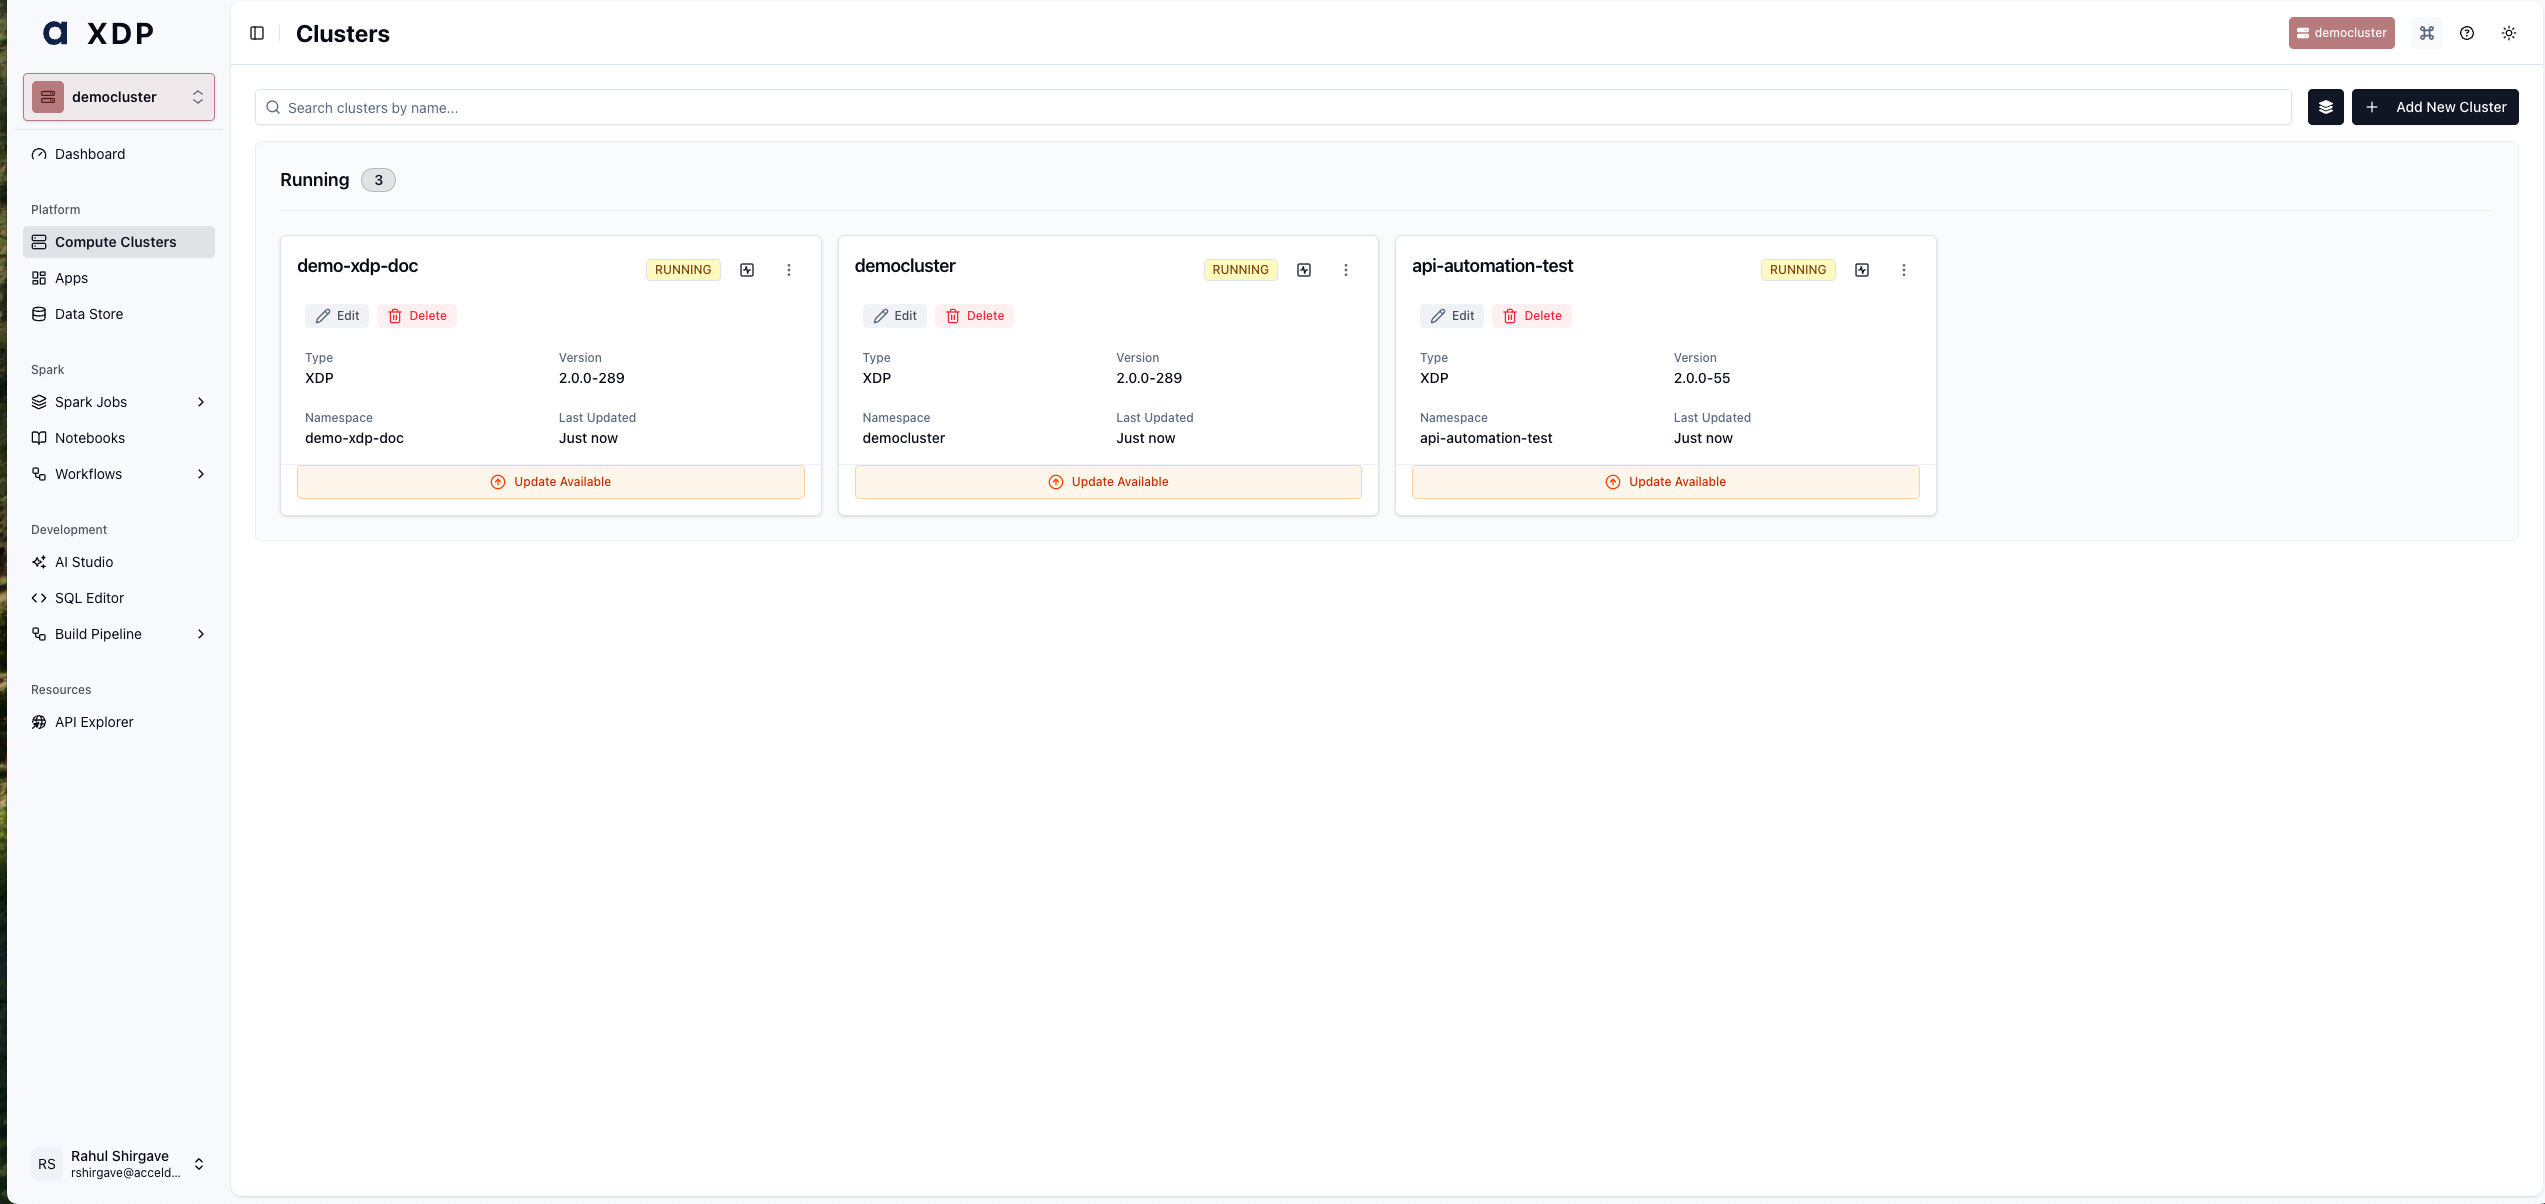
Click Finish Setup. You are returned to the main overview, where a success notification appears and your new cluster is listed with a RUNNING status.
How-to Guides
Modify an Existing Cluster's Configuration
Use this guide to change settings, such as resource limits or service properties, for an already-deployed cluster.
Navigate to Compute Clusters.
Find the cluster you want to modify and click Edit.
In the stepper on the left, click YAML Configuration.
Use either Form or YAML mode to make your desired changes. For example, you might increase the memory limits for a specific service.
Click Save Configuration.
Navigate to the Install Cluster step.
Copy the updated
curlandkubectl applycommands and run them in your terminal. Kubernetes performs a rolling update to apply your changes to the running pods.Verify the update by inspecting the relevant pods or resources in your Kubernetes cluster.
Upgrade a Compute Cluster
When a new version of xDP is available, you can easily upgrade your cluster.
On the Compute Clusters overview page, locate the cluster marked with an Update Available banner.
Click the Update Available button.
The Cluster Details screen appears with the new Version pre-selected. Review the details and click through the steps.
At the Install Cluster step, copy and run the new
curlandkubectl applycommands. This deploys the updated manifest to your environment.Monitor the rolling update of your cluster's pods in your Kubernetes terminal. Once complete, the cluster will be running the new version.
Reference
Configuration Options
The following parameters are available when creating or editing a Compute Cluster.
Parameter | Description | Default | Required |
|---|---|---|---|
| A unique, user-friendly name for the cluster. | Yes | |
| The Kubernetes namespace for deployment. Must be a valid DNS-1123 label. | Same as Cluster Name | Yes |
| The xDP Data Plane version to deploy. | Latest stable | Yes |
| The version of the Helm chart used for deployment. |
| Yes |
| (Optional) The URL of a private container registry. | Acceldata public registry | No |
| (Optional) The prefix or organization name within the private registry. |
| No |
| (Optional) A custom URL for accessing services within the cluster. | Auto-generated | No |
| (Optional) A boolean to enable custom TLS certificates for the external endpoint. |
| No |
Best Practices
Use Environment-Specific Clusters Create separate Compute Clusters for your development, staging, and production environments. This provides strong isolation, prevents development workloads from impacting production, and allows you to test upgrades in a safe environment first.
Naming Conventions: Adopt a consistent naming convention for your clusters and namespaces (e.g.,
<team>-<env>-cluster) to make them easily identifiable.Resource Quotas: After deployment, consider applying Kubernetes ResourceQuotas and LimitRanges to the cluster's namespace to control resource consumption and prevent noisy neighbor problems.
YAML as Code: For production environments, download the
manifest.yamlfrom the Install Cluster step and commit it to a version control system (like Git). This enables you to track changes, perform reviews, and integrate deployment into a CI/CD pipeline.Monitor Your Infrastructure: While xDP monitors the health of its own services, you are responsible for monitoring the underlying Kubernetes nodes, storage, and networking. Use standard cloud-native monitoring tools to ensure the health of your infrastructure.