Installation of Dataplane on Azure
This document explains how to create Data Plane on Microsoft Azure. ADOC uses Azure's container service to install Data Plane. Azure's container service deploys ADOC's scripts on the Kubernetes clusters. Once the Azure container deploys scripts on the Kubernetes clusters, it terminates. If you need to upgrade the Data Plane or perform any modifications, the container becomes active again and you can execute your tasks.
Installation Procedure
You must first perform the basic setup steps in ADOC by providing the details. Once you complete the setup process in ADOC, you are redirected to Azure and also a file called Azure-values.yaml is downloaded in your system. When you navigate to Azure, you must first upload the Azure-values.yaml file in an Azure container which must exist in an Azure Storage account. Once you upload the Azure-values.yaml file to a container, you must enter the various details on the deployment page for ADOC to perform the Data Plane deployment. Once you provide the details and submit the page, ADOC performs the deployment on Azure.
The deployment is divided into three stages
- ADOC Setup - This stage describes the setup details to be performed in ADOC.
- Upload YAML File to Azure Container- This stage describes the process of uploading the values.yaml file to Azure container.
- Data Plane Deployment- This stage describes the process of deploying the Data Plane on Azure.
- You must have access to the Azure container and storage account in which you want to store the YAML file.
- You must have the Contributor and User Access Administrator roles in the Azure Resource group in which you want to install the Data Plane. To learn more about Azure roles, see this Microsoft document.
Before you start installing Acceldata data plane on Azure, you could take a quick look at the video explaining the procedure:
ADOC Setup
The installation process starts in ADOC. Once you complete the steps in ADOC, you are automatically redirected to Azure.
- Click Register from the left pane.
- Click Data Plane.
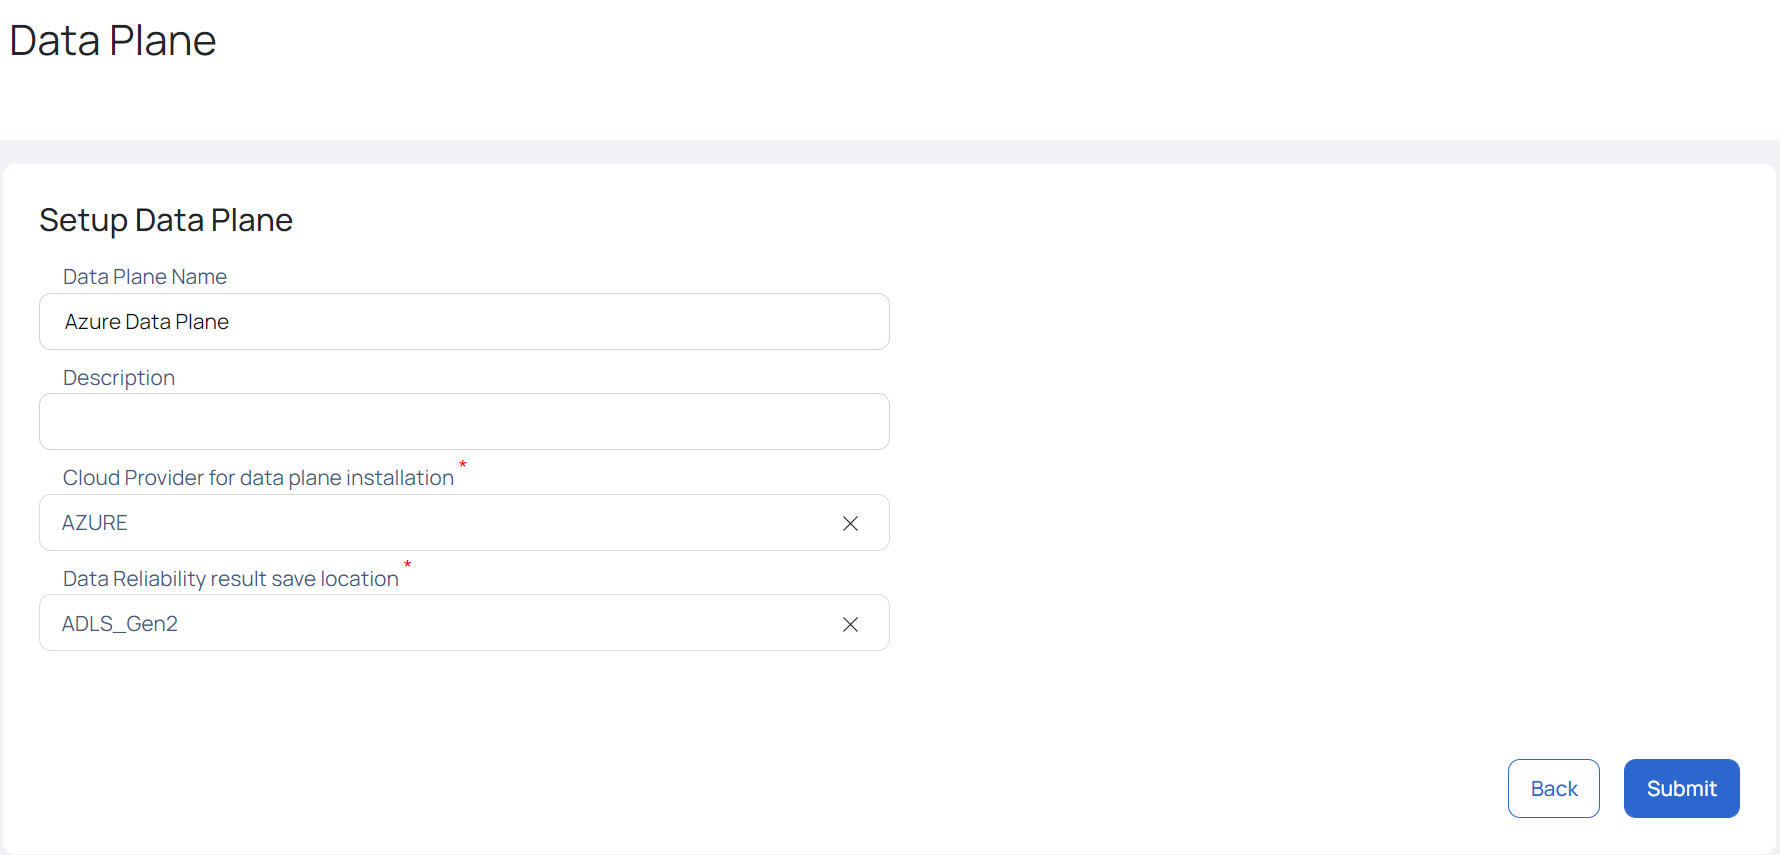
- Click Setup Data Plane.
- Enter a name for your Data Plane in the Data Plane Name field.
- (Optional) Enter a description for the Data Plane in the Description field.
- Select Azure as the cloud provider Cloud Provider for data plane installation field.
- Select the storage location type (ADLS_Gen1 or ADLS_ Gen2) in the Data Reliability save location field.
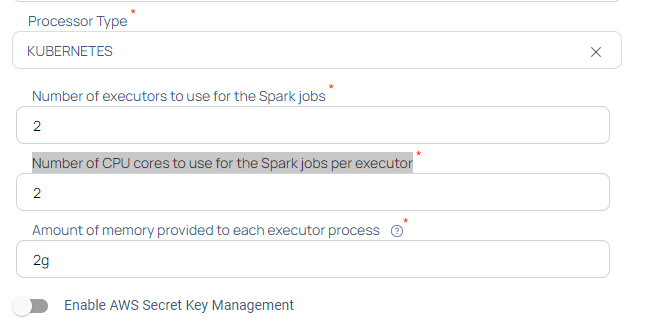
- Select the Processor Type.
8.1. Enter the Number of executors to use for the Spark jobs. The default value is 2.
8.2. Enter the Number of CPU cores to use for the Spark jobs per executor.The default value is 2.
8.3. Enter the Amount of memory provided to each executor process. The standard value is 2g. It should be in the same style as JVM memory strings, with a suffix indicating the size unit (e.g 512m,2g)
- Click Submit.
- When you click Submit, the dataplane .yml file is downloaded. Ensure that you configure service accounts with Azure active directory, grant the roles required for any Azure data sources.
Example: Azure ADLS, Azure MsSQL.
Apart from this, the Azure-values.yaml file is also downloaded in your system.
Once you click Submit, navigate to the Upload YAML File to Azure Container section to upload the Values.yaml file to the Azure container.
Once you click Proceed on the pop-up window, you are redirected to the Azure deployment page to install Data Plane.
ADOC uses Spark 3.2 for Azure Deployment on both ADLS Gen 1 and ADLS Gen 2 storage locations.
Upload YAML File to Azure Container
This stage describes how to upload the Azure-values.yaml file to the container.
- Navigate to the Azure Services page.
- Select an Azure Storage account. You can also create a new Azure storage account.
- Select the container in which you want to store the values.yaml file.
- Upload the file to the container and note down the file name.
Navigate back to ADOC and click the Proceed button to continue the data plane deployment.
Data Plane Deployment
This stage describes the deployment page in Azure. You must provide the required details in the fields before submitting the deployment. Once you submit the deployment, ADOC starts the process of installing Data Plane.
| Field Name | Description |
|---|---|
| Subscription | Select the Azure subscription in which you want to create the Data Plane. |
| Resource Group | Select or create the resource group in which you want to create the Data Plane. |
| Region | Choose the region which is most appropriate to you and your customers (all the Azure regions do not have all the resources). |
| AKS Cluster Name | Enter the name of your Azure Kubernetes cluster (AKS). |
| Location | The location in which the AKS resources are hosted. |
| Virtual Network Create | If you select True, the template creates virtual network and subnets and deploy the AKS cluster in the newly created virtual network. If you select False, you must provide the Virtual Network name, Subnet name where the init container must be created and it's resource group name. The Virtual Network you provide must have 2 subnets. One subnet is used by AKS cluster and other one is used by init container. |
| Availability Zones | Enter the availability zones for your Azure account. |
| Agent VM Size | Select the size of Azure virtual machine. |
| Agent Count | The number of nodes to be deployed on cluster. ADOC recommends you to have a minimum of three nodes for production environments. A single node is enough for development and testing environments. |
| Max Scale Node Count | Enter the maximum number of nodes that ADOC can deploy in your cluster. |
| Min Scale Node Count | Enter the minimum number of nodes that ADOC can deploy in your cluster. |
| OS Disk Size GB | Enter the disk size for OS (minimum disk size needed is 30 GB) |
| VNET Resource Group Name | Enter the name of the virtual network resource group. |
| VNET Name | Enter the name of the virtual network name. |
| VNET Subnet Name | Enter the name of the virtual network subnet. |
| Control Plane SKU | Select if your Control Plane is free or paid version. |
| Admin Groups | Enter the AAD group object IDs that must be added to the Kubernetes cluster admin role. |
| IP Whitelist | Enter the IP addresses from which you would access the AKs API server endpoint. |
| Private Cluster | Select false if the AKS API server endpoint must have a public IP address. Else select true. |
| Managed Identity Name | ADOC creates a role name for installing data plane. Enter the name of the role. |
| AKS Role Assignment Name | GUID for managed identity role assignment. |
| Init Container Name | Name of the init container that deploys helm scripts. |
| Initcontainer-subnet | Name of the init container subnet that deploys helm scripts to cluster. |
| Name Of Helm Chart Bucket | S3 bucket name in which the helm charts are stored. |
| Location Of Values YAML | Name of the YAML file uploaded to container. |
| Storage Account Name | Name of the storage account in which the YAML file was uploaded. |
| Storage Container Name | Name of the storage container in which the YAML file was uploaded. |
| Storage Access Key | Access key for ADLS storage. |
| Kubernetes Spark Driver Memory | Amount of memory required by the Spark driver. |
| Kubernetes Spark Driver Cores | Number of cores required by the Spark driver. |
| Kubernetes Spark Executor Cores | Number of CPU cores that the Spark executors will use. |
| Kubernetes Spark Executor Memory | Amount of memory required by the Spark executor. |
| Kubernetes Spark Executor Memory Overhead | Amount of memory overhead that the Spark executors can have. |
| Kubernetes Dynamic Allocation Executors Initial | Initial dynamic memory to be allocated to Kubernetes executors. |
| Kubernetes Dynamic Allocation Executors Max | Maximum memory that can be dynamically assigned to Kubernetes executors. |
| Kubernetes Dynamic Allocation Executors Min | Minimum memory that can be dynamically assigned to Kubernetes executors. |
| Kubernetes Gang Scheduling Enabled | Select True to enable Gang scheduling in Kubernetes (required by ADOC) |
| Kubernetes Gang Scheduling Driver Min Memory | Minimum amount of memory required for scheduling gang driver. |
| Kubernetes Gang Scheduling Executor Min Memory | Minimum amount of memory required for scheduling gang executor. |
| Kubernetes Gang Scheduling Placeholder Timeout | Default timeout for gang scheduling. |
| AKS Cluster Version | Set the version number to 1.22.11 |
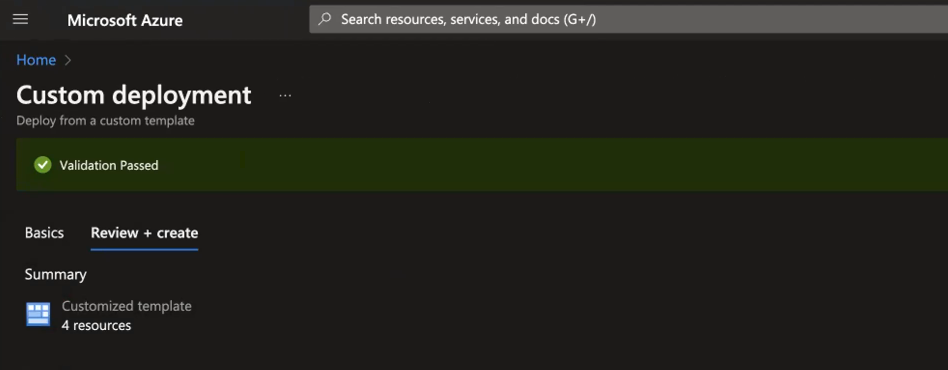
Once you enter the values in the above fields, click Review + Create. If all the field values are correct, the validation is successful.
Once the deployment is successful, you can view the results in ADOC environment in the Data Plane page.
With the Azure AD integration - Managed identities, ADOC now uses Azure AD identities for secure and streamlined authentication, reducing the reliance on traditional credentials and enhancing security.
Upgrading Azure Data Plane
You must upgrade the Azure data plane to get the latest updates from ADOC. This section explains the process of upgrading the Azure data plane.
To upgrade Azure data plane:
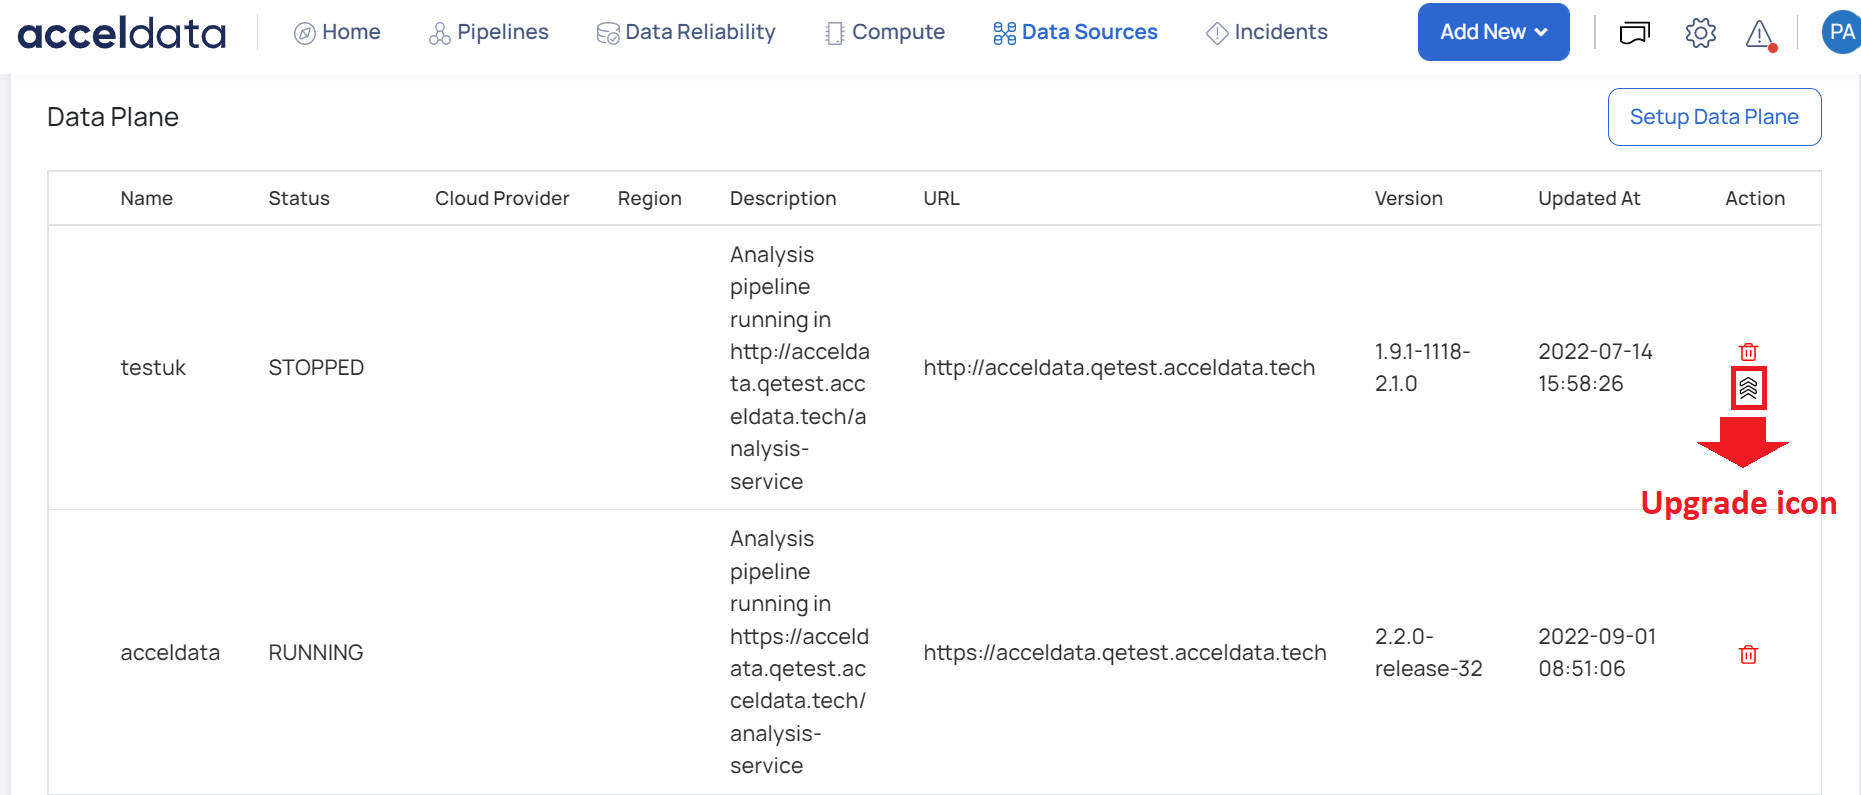
- Click Register from the left pane.
- Click Data Planes.
- Click the upgrade icon on the right corner.
You are navigated to the Setup Data Plane page. You must follow the steps 4-8 of the ADOC Setup section of this document. The latest YAML file is downloaded. You must now navigate to Azure.
Azure Upgrade Setup
- Navigate to the Resource Group in which the data plane is deployed.
- Click Deployments from the left pane.
- Select the latest successful deployment.
- Click Redeploy.
- Duplicate the browser tab in which you are using Microsoft Azure.
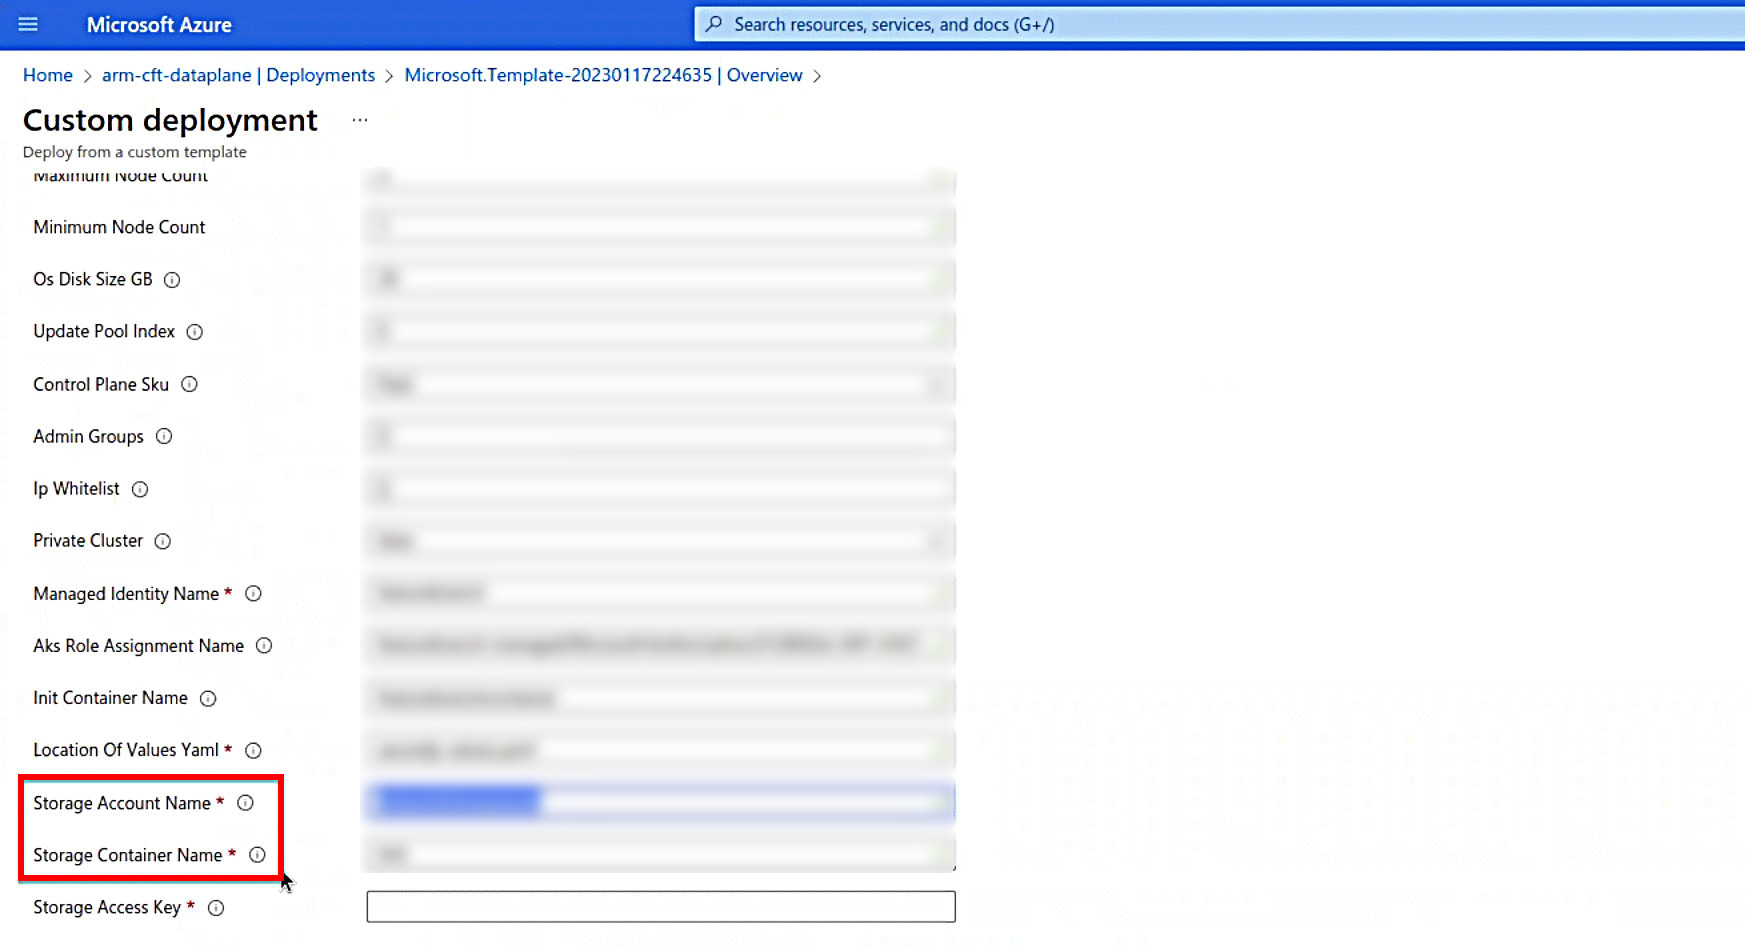
- Note down the values of the Storage Account Name and Storage Container Name fields.
- Copy the Storage Account Name and navigate to the duplicated browser tab.
- Navigate to Storage Accounts.
- In the search bar, paste the name of the copied Storage Account Name and search for the same.
- Once the Storage account is found, open the storage account.
- Click Containers from the left pane.
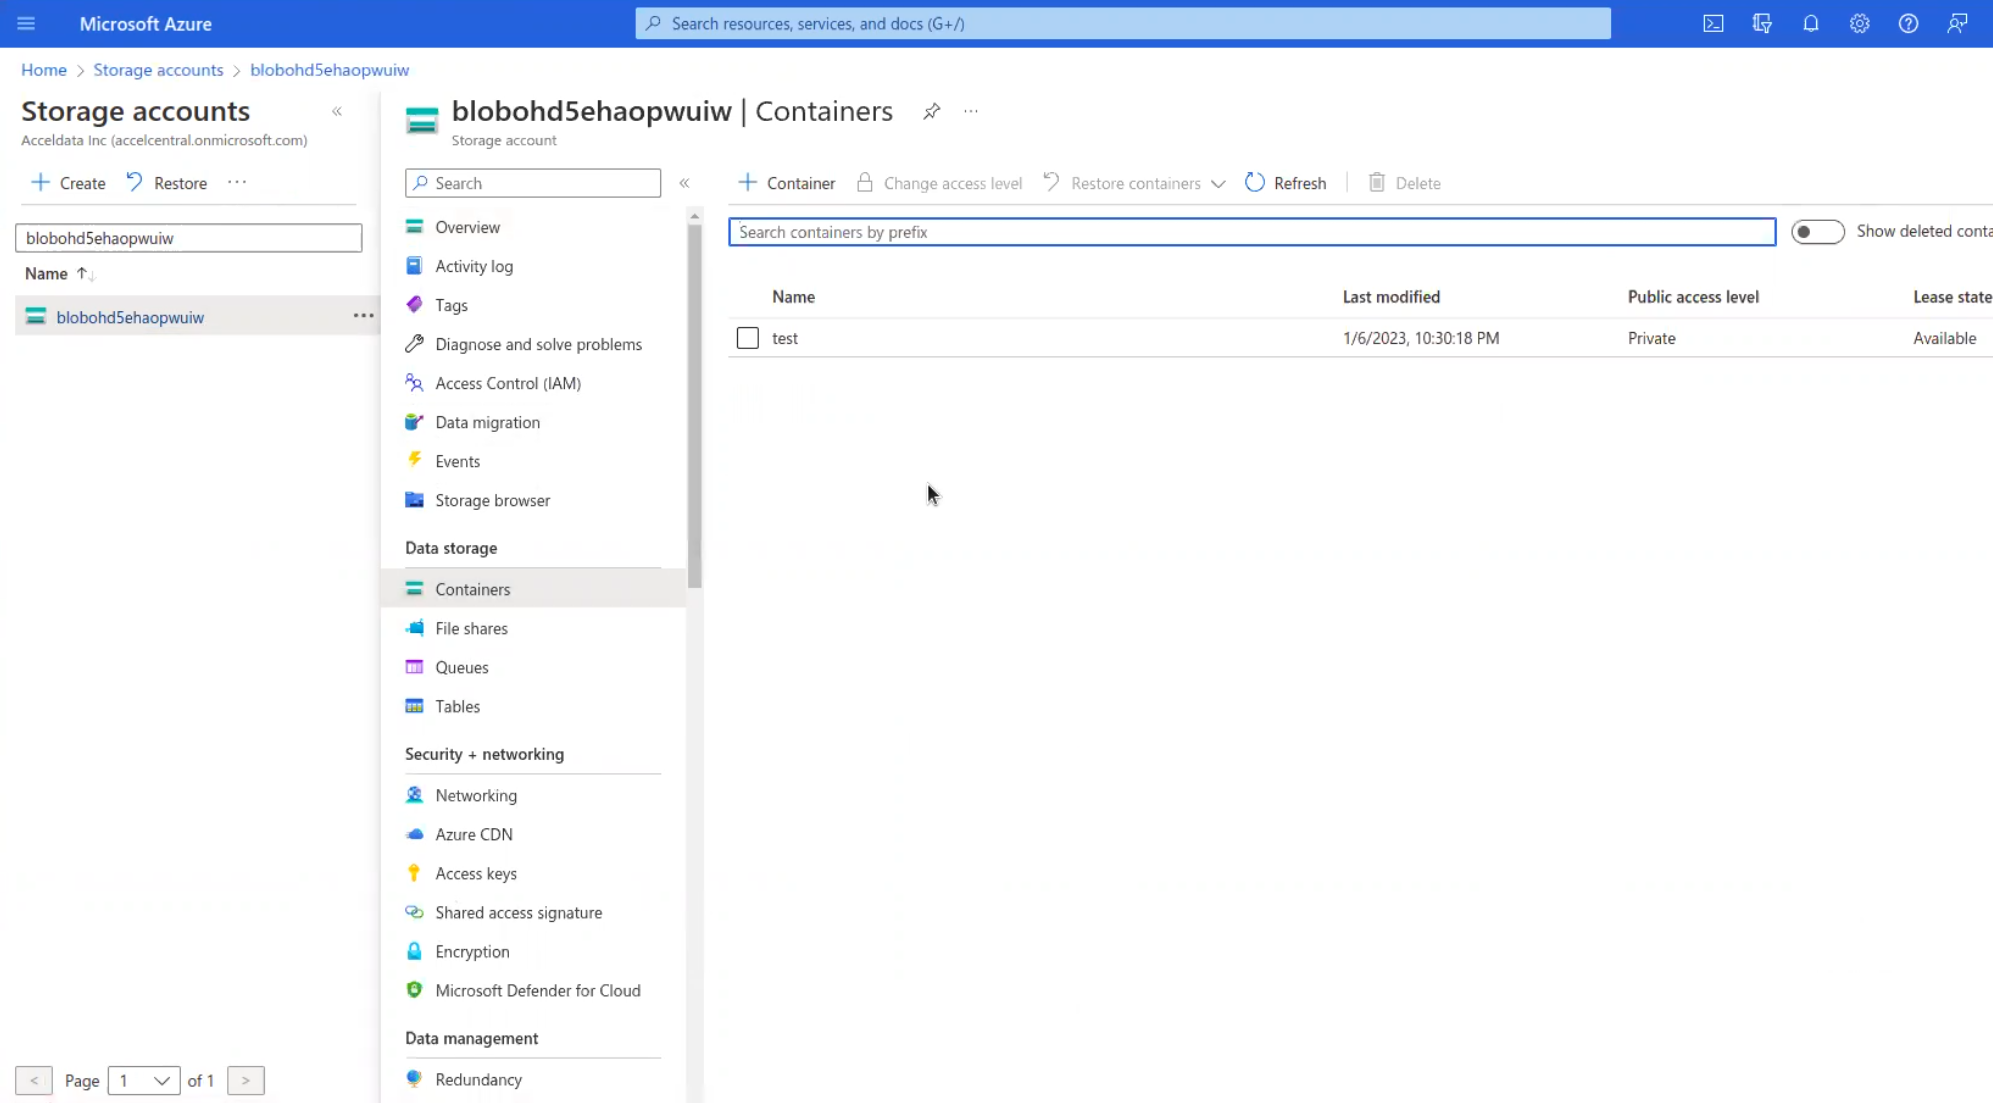
- Search the Storage Container Name and open the container once you find it.
- Upload the latest YAML file to the storage container and note down the name of the YAML file.
- Return to the Azure browser tab which has the Container page.
- Update the name of the latest YAML file in the Location of Values Yaml file field.
- Change the name in the Init Container Name field.
- Provide the values in the Storage Access Key field. To learn more about how to find the access key, refer to this Microsoft documentation.
- Click Next Review+Create.
- Click Create.
The Azure data plane is upgraded.
Service Principal Support for Azure Data Sources
This guide provides detailed instructions on using the new Service Principal support for Azure data sources. This feature enhances the authentication methods available for connecting to Azure Data Lake and Azure SQL data sources, providing a secure and flexible alternative to traditional username and password authentication.
Authentication Methods
From V3.6.0 onwards now supports three authentication methods for Azure data sources:
- Username and Password
- Managed Identity
- Service Principal
1. Username and Password Authentication
The username and password authentication method provides the JDBC URL, username, and password for the Azure data source.
Navigate to the Connection Details page.
Enter the following details:
- JDBC URL: The JDBC URL for the Azure SQL server.
- JDBC Username: The username for the database.
- JDBC Password: The password for the database.
Click on Test Connection to verify the connection.
If successful, click Next to proceed with setting up the data source.
2. Managed Identity Authentication
Managed Identity authentication allows you to connect to the Azure data source without the need for explicit credentials. This method leverages Azure's managed identities for Azure resources.
- Navigate to the Connection Details page.
- Enter the JDBC URL for the Azure SQL server.
- Select Use Managed Identities option.
- Click on Test Connection to verify the connection.
If successful, click Next to proceed with setting up the data source.
3. Service Principal Authentication
Service Principal authentication introduces a secure way to authenticate using a service principal created in Azure AD. This method requires a client ID, tenant ID, and a client secret.
Navigate to the Connection Details page.
Enter the following details:
- JDBC URL: The JDBC URL for the Azure SQL server.
- Service Principal - Client ID: The client ID for the service principal.
- Service Principal - Client Secret: The client secret for the service principal.
- Azure Tenant ID: The tenant ID of your Azure AD.
Select Use Service Principal option.
Click on Test Connection to verify the connection.
If successful, click Next to proceed with setting up the data source.
- Enhanced Security: Service principals provide a secure method to access Azure resources without exposing credentials.
- Flexibility: Service principals can be used across multiple resources and can be managed centrally in Azure AD.
- Scalability: Suitable for environments with numerous Azure resources, reducing the complexity of managing individual credentials.
- Rotation and Expiry Management: Service principal secrets can be rotated and managed through Azure AD, enhancing security posture.
The Service Principal support enhances the flexibility and security of connecting to Azure data sources. Organization can improve the security and simplify credential management by implementing controlled identities and service principals.
When configuring a file-based data source, like Azure Data Lake Storage (ADLS), you can profile a file monitoring channel. However, this functionality is limited when using managed identity or service principal authentication methods for that data source.