Installation of Dataplane on GCP
The Data plane installation on Google Cloud Platform (GCP) allows you to use the Google platform for ADOC Data plane installation. Once you install the Data Plane on GCP, you can use it for adding Reliability Data Sources in ADOC.
Installation Procedure
- ADOC Setup - This stage describes the setup details to be performed in ADOC.
- Uploading Values YAML File to GCP - This stage describes the process of uploading the values.yaml file to GCS.
- Configuring the Cluster and Virtual Machine (VM) Settings - This stage describes the settings to be made for cluster and VM configuration.
- Creating Stack - In this stage, you execute commands on the Google Cloud CLI to create the data plane stack.
Prerequisites
- Downland and install the Google Cloud CLI tool from the official Google site.
ADOC Setup
The installation process starts in ADOC. The following steps describe the ADOC setup.
- Click Register from the left pane.
- Click Data Plane.
- Click Setup Data Plane.
- Enter a name for the data plane in the Data Plane Name field.
- (Optional) Enter a description for the data plane in the Description field.
- Select GCP in the Cloud Provider for data plane installation field.
- Select GCS in the Data Reliability result save location field.
- Enter the project ID of your GCP in the GCP Project Id field.
- Enter the bucket name of storage location in the GCS Bucket field.
- Enter the client email ID in the GCS Client Email field.
- Enter the private key ID of your GCS in the GCS Private Key Id field.
- Enter the private key in the GCS private Key field.
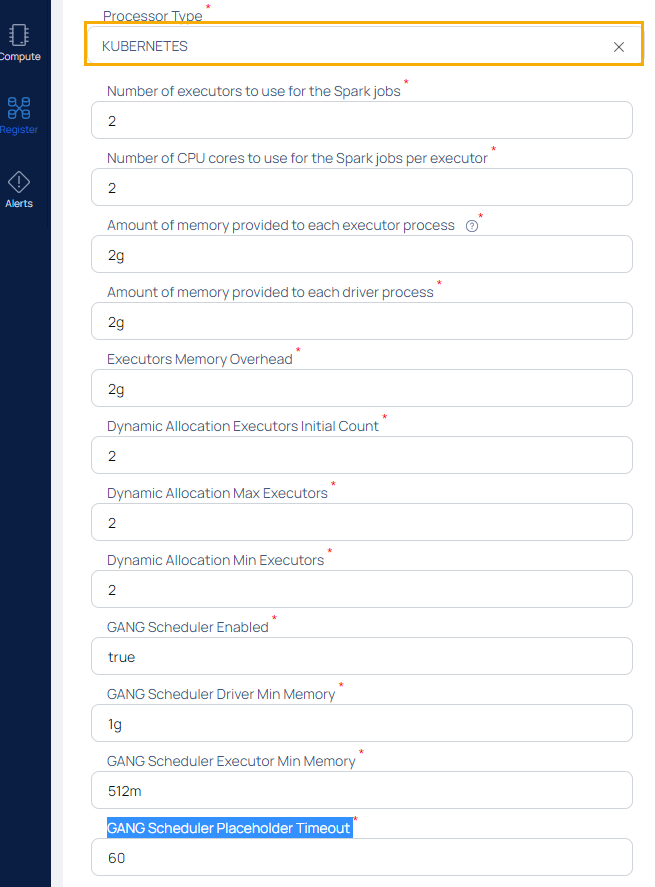
- Select the Processor Type.
13.1. Enter the Number of executors to use for the Spark jobs. The default value is 2.
13.2. Enter the Number of CPU cores to use for the Spark jobs per executor.The default value is 2.
13.3. Enter the Amount of memory provided to each executor process. The default value is 2g.
13.4. Enter the Amount of memory provided to each driver process. The default value is 2g.
13.5. Enter the Executors Memory Overhead. The default value is 2g.
13.6. Enter the Dynamic Allocation Executors Initial Count. The default value is 2.
13.7. Enter the Dynamic Allocation Max Executors. The default value is 2.
13.8. Enter the Dynamic Allocation Min Executors. The default value is 2.
13.9. Select the GANG Scheduler Enabled as True.
13.10. Enter the GANG Scheduler Driver Min Memory. The default value is 1g.
13.11. Enter the GANG Scheduler Executor Min Memory. The default value is 512m.
13.12. Enter the GANG Scheduler Placeholder Timeout. The default value is 60.
- Click Submit.
Once you click Submit, the values.yaml file is downloaded. You must upload this file to the GCP.
Uploading Values YAML File to GCP
This section describes how to upload the values.yaml file to GCP.
- Log in to your GCP account.
- Navigate to Cloud Storage in the left pane and select Buckets.
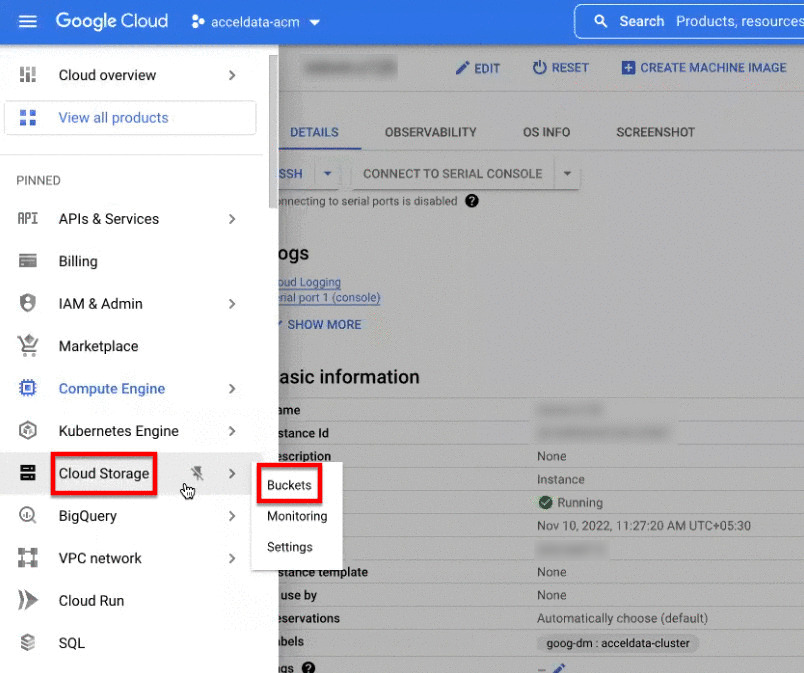
- Select a bucket to upload the YAML file. To create a new bucket, Click CREATE. To learn more about how to create buckets, refer to this GCP document.
- Click UPLOAD FILES.
- Browse the location where the values.yaml file is stored and select the file.
- Note down the file name and the bucket name. These are required at later during configuration.
Configuring the Cluster and Virtual Machine (VM) Settings
In this stage, you first download an ADOC zipped folder. This folder has files which are required to configure the Cluster and VM. You must configure the cluster and VM before installing data plane.
- Launch the Command Prompt tool.
- Download the Google Deployment templates zip folder called gcp.zip by executing the following command.
curl https://eks-cft-helm-chart.s3.us-west-2.amazonaws.com/dataplane-template/gcp/gcp-<docker-tag>.zip --output gcp.zip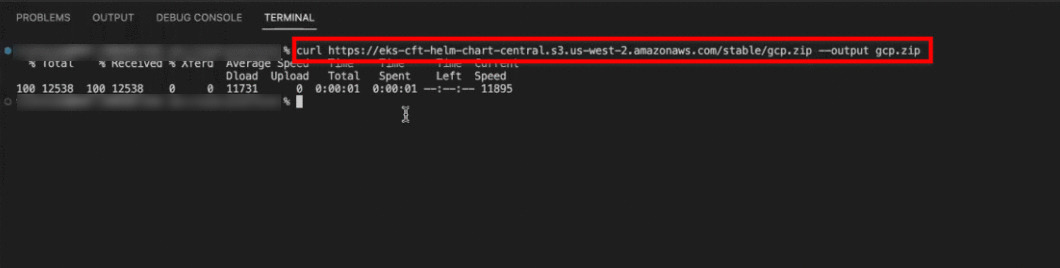
- Navigate to the location where the gcp.zip zipped folder is downloaded.
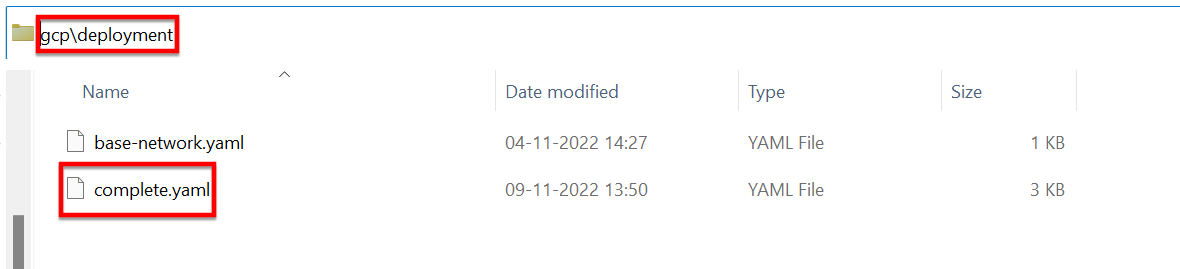
- Extract the zipped folder. You get two folders and a readme markdown (MD) file. The folder names are deployment and templates. The readme file has all the commands to be executed and also the instructions.

- Navigate to the deployment folder and open the complete.yaml file. You must open the file with a text editor (like Notepad++).
- Navigate to the resources section in the complete.yaml file. This section deals with cluster creation. You must specify the details to create the cluster.
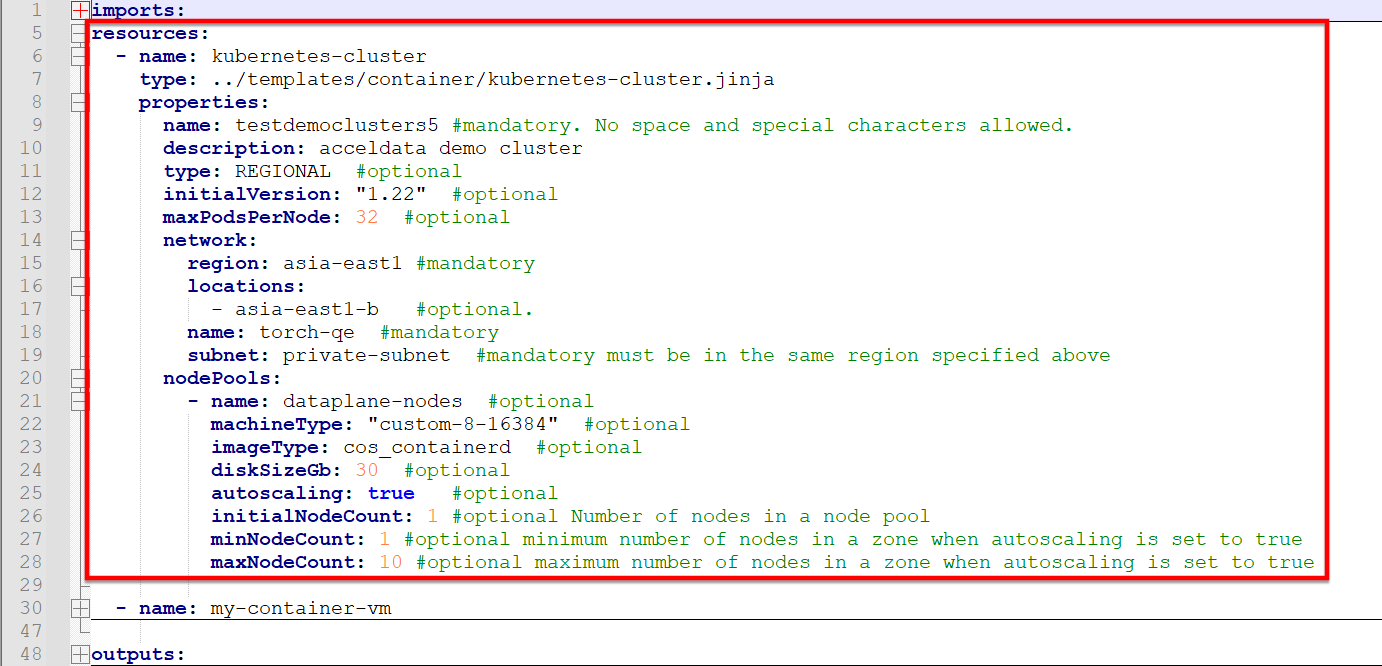
You must edit the values for the fields set as mandatory. You can also edit the fields set as optional, if required. The mandatory fields to be edited are described as follows.
| Field Name | Description |
|---|---|
| Name | Enter a name for the cluster to be created in the GCP account. |
| Region | The region in which the cluster must be deployed. |
| Location | This is an optional field. However, you must ensure that the location zone is present within the Region mentioned in the previous field. You can deploy the cluster in multiple zones. |
| VPC Name | The name of the Virtual Private Cloud (VPC) to which the cluster must be deployed. The VPC must be in the same region as that of the cluster. |
| Subnet | The subnet to which the cluster must be deployed. |
Add Pods and Services
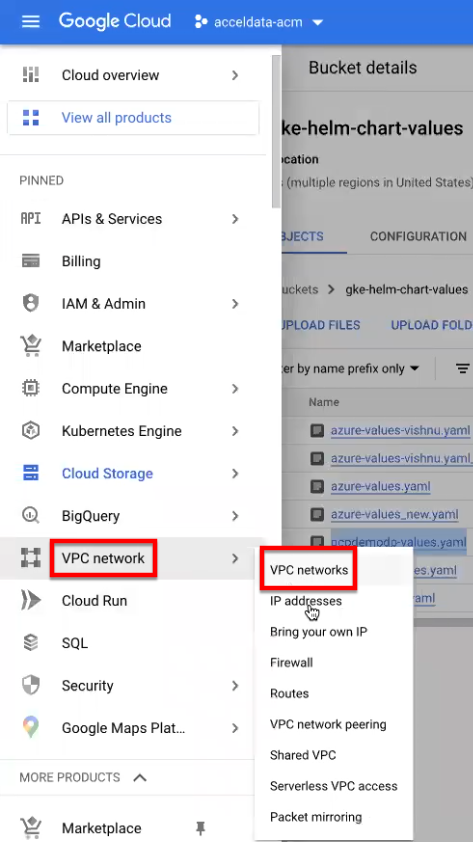
- In GCP, navigate to VPC network and select VPC networks.
- Select the VPC which you have specified in the above table in the VPC Name field.
- Select the subnet which you have selected in the Subnet field in the above table.
- Click EDIT and add the secondary ranges under the Secondary IPv4 ranges section (in the following images the private ranges are already created).
Configuring the Container
The next section to be configured in the complete.yaml file is the my-container-vm section. This section creates a Virtual Machine (VM) for the cluster.
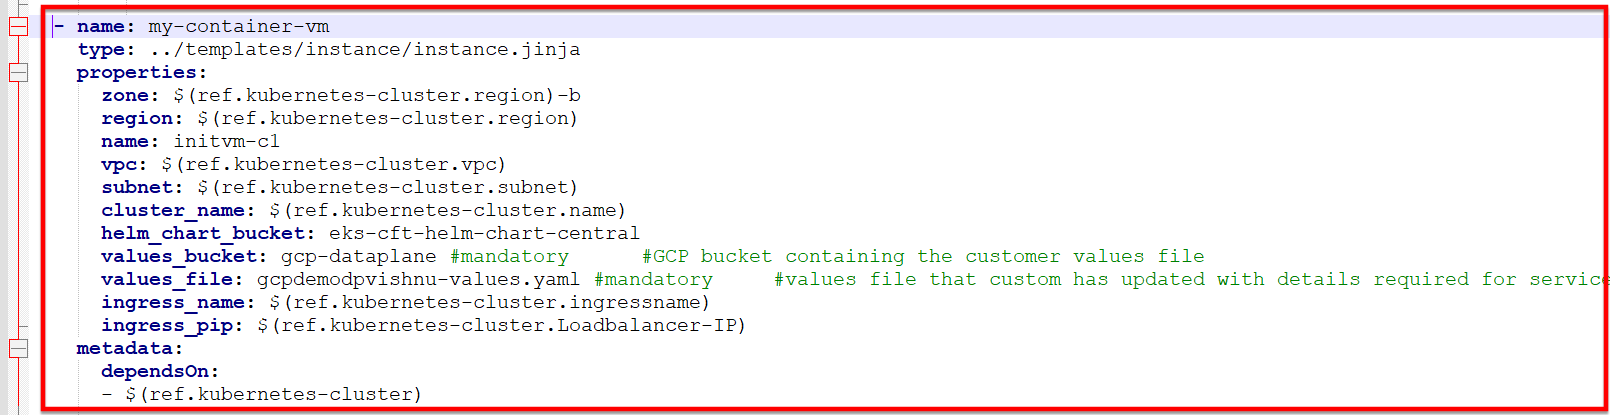
This section also has a few mandatory fields and a few optional fields. You must edit the mandatory fields' values. You can edit the optional fields' values if required. The mandatory fields to be edited are described as follows.
| Field Name | Description |
|---|---|
| Values_bucket | Enter the name of the bucket in which you uploaded the values.yaml file. |
| Values_file | Enter the name of the values.yaml file (if you renamed the file) uploaded to the bucket. |
You must save the complete.yaml file after making these changes.
Creating Stack
To create the Data Plane Stack, you must execute a set of commands in the Google Cloud CLI. This section explains the commands to be executed in the Google Cloud CLI.
- Launch the Google Cloud CLI.
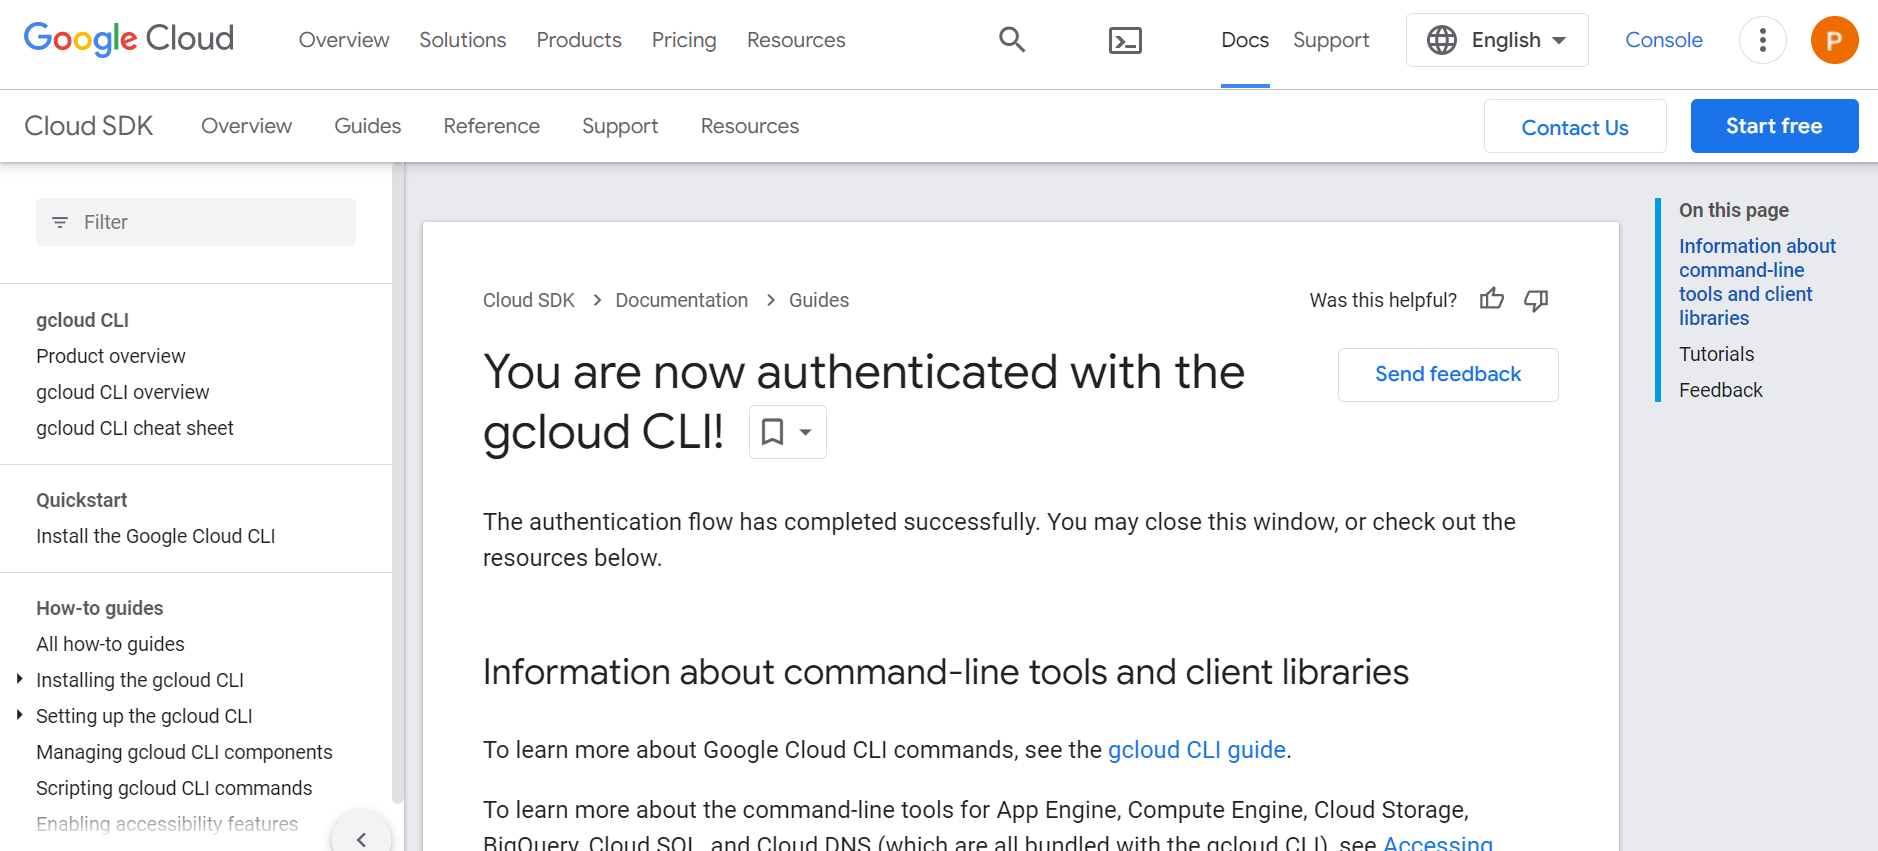
- Enter the following command to login to Google Cloud.
gcloud auth loginYou are navigated to the browser. You must select a Google cloud account to login to GCP. Once the authentication is successful, you can see the GCP screen, as shown in the following image. You must return to the Google Cloud CLI.
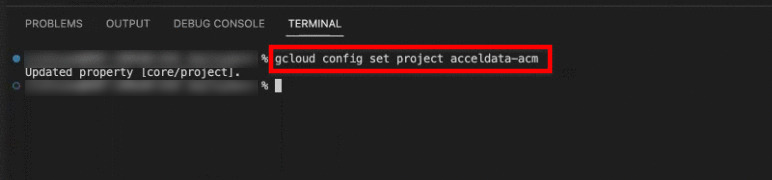
- Select the project in your GCP to which the cluster must be deployed, by executing the following command.
gcloud config set project <project-name>Replace <project-name> with the name of your project in GCP.
- In Google Cloud CLI, navigate to the location in which the complete.yaml file is located.
- Create the data plane by executing the following command.
gcloud deployment-manager deployments create <name-of-the-deployment> --config complete.yamlReplace <name-of-the-deployment> with a deployment name for the data plane. You can use the same name which you used to create the cluster.

Wait some time for the Stack to be created.
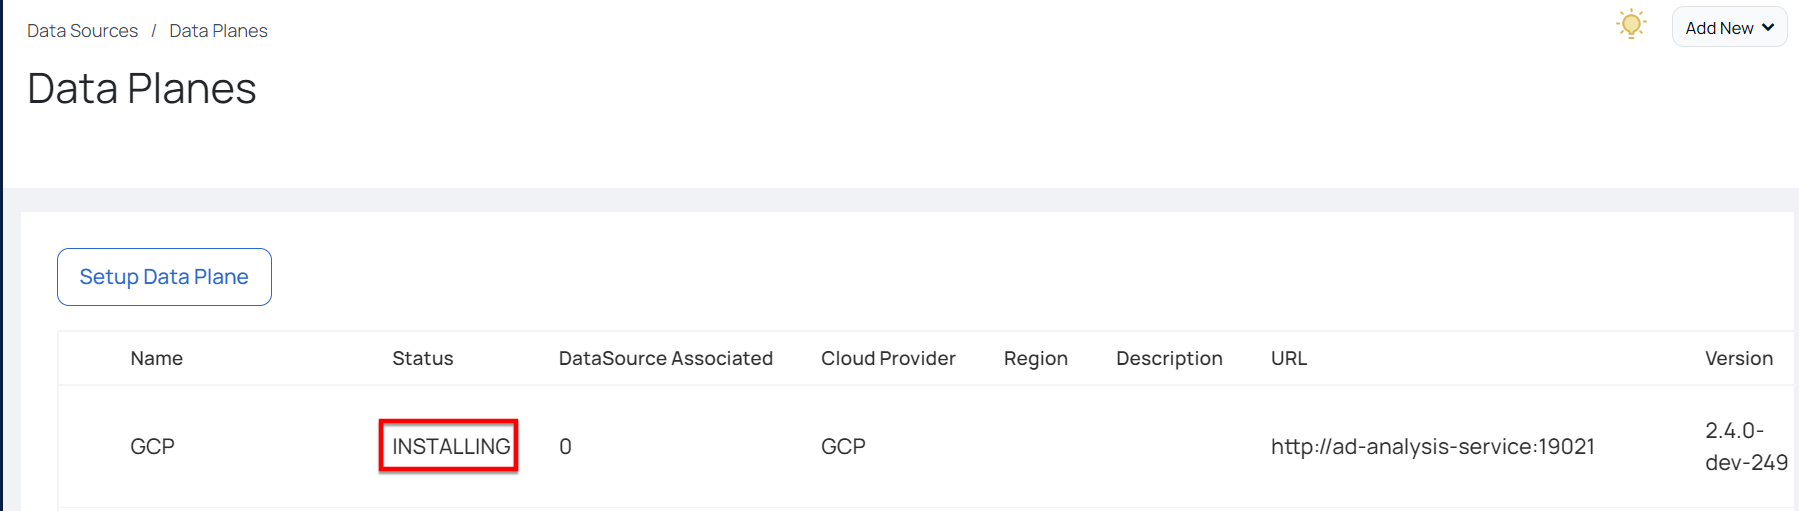
In ADOC, the status of the GCP Data Plane changes to Installing. Once the installation is complete, the status changes to Running.
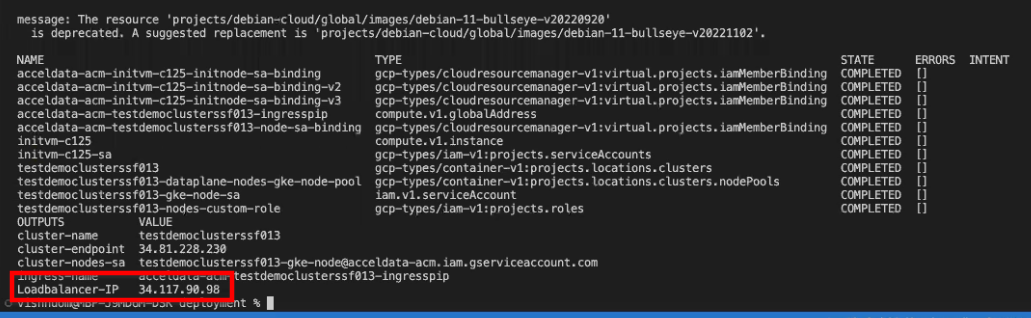
Once the stack is created, you get a load balancer Internet protocol (IP) address.
Map Load Balancer IP with Domain Name
You must map the load balancer IP address received after Stack creation, with the URL that you provided in step 14 of the ADOC Setup section, in your Domain Name Systems (DNS). This is mandatory to get an SSL certificate from GCP. This sub-section explains how to perform the mapping. In this document, AWS is used as the DNS location. Your DNS server may exist in an another environment.
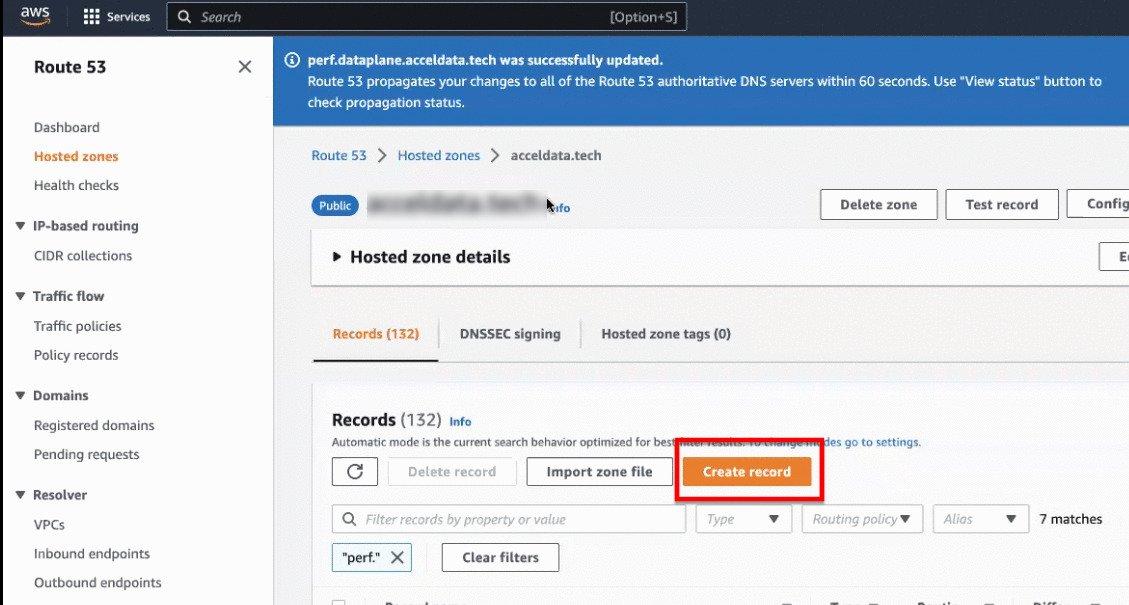
- Open your zone in AWS.
- Click Create Record.
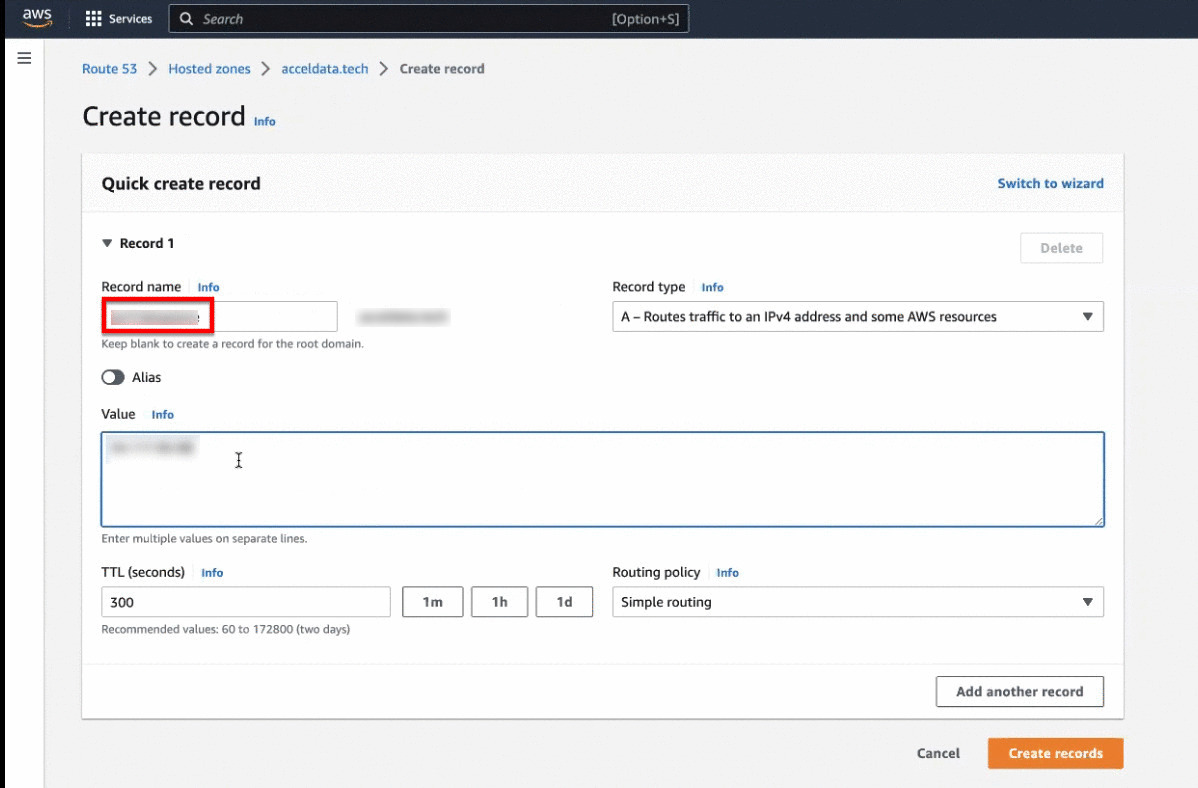
- Enter the domain name provided in step 14 of the ADOC Setup section, in the Record name field.
- Enter the load balancer IP address in the Value field.
- Click Create records.
Acceldata recommends you to set a low Time to live (TTL) value for this configuration.
Once the mapping is completed, you can navigated back to ADOC to check the status of the data plane installation. If the status displays Running, it implies that the data plane creation is completed.