Add Data Source
When you have completed the basic setup, ADOC will redirect you to the Data Sources page. ADOC continuously monitors your Data Source after you configure it and displays information on how you are utilizing it as well as other vital information.
ADOC requires the addition of data sources. To take advantage of ADOC's features, you must add at least one data source.
The following steps will guide you through the process of adding your first datasource, in this case, Snowflake.
To go directly to this page in ADOC, use the Register button from the ADOC Menu.
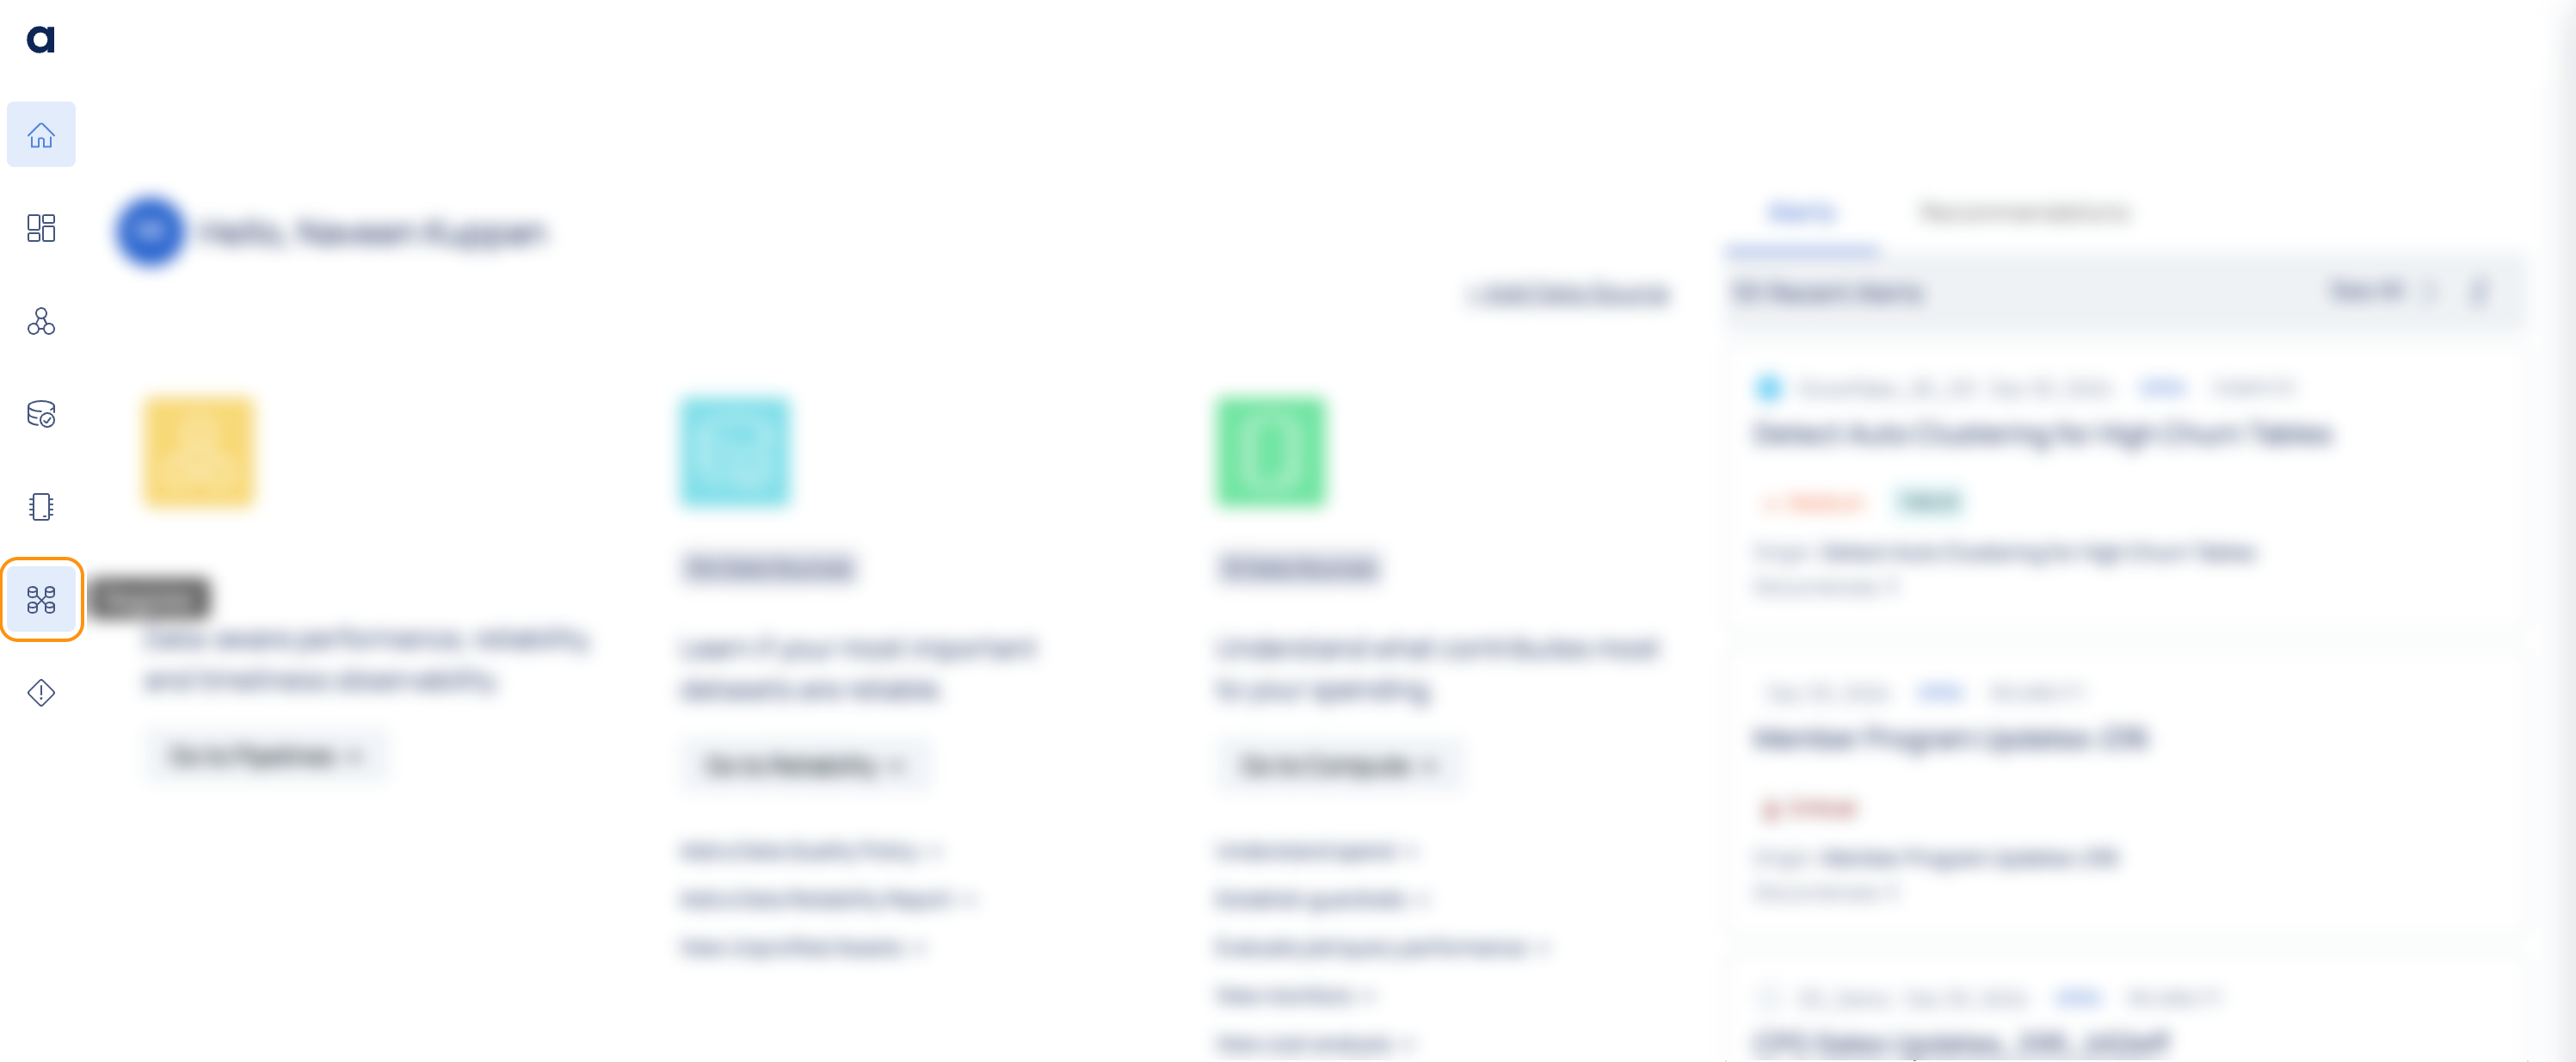
Register
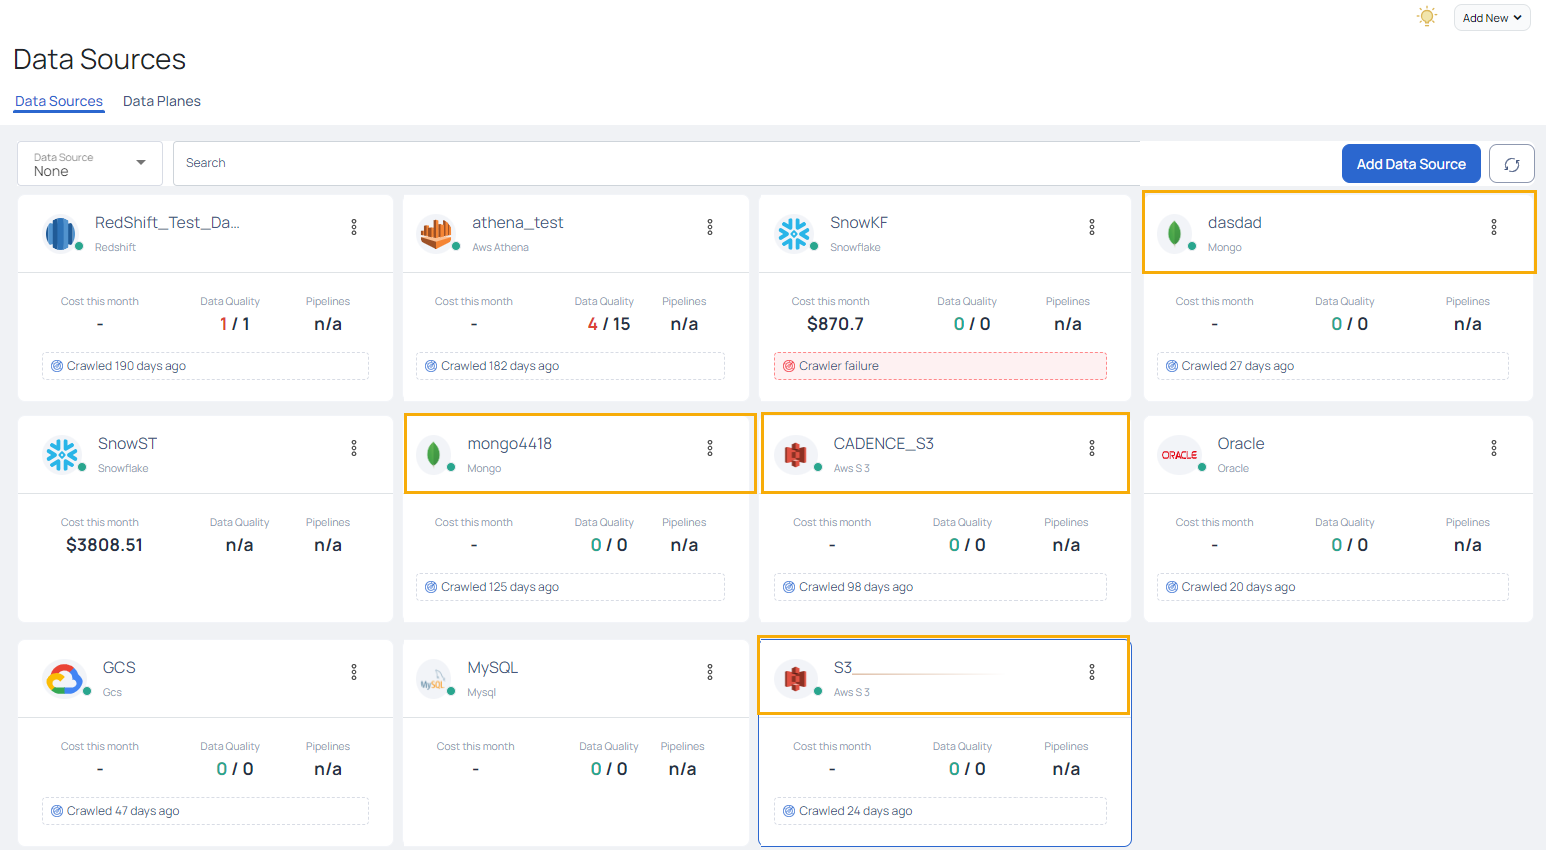
You can add and configure data sources in ADOC using the Data Sources page. It is possible to construct many instances of the same Data Source. If you have multiple Snowflake or other accounts, you can create multiple instances of any data source (one for each), as seen in the following image below.
Add Snowflake as a Data Source
1. Prerequisites
Before you can add Snowflake as a datasource in ADOC, you must first run the Access Credential Management script on your Snowflake UI.
Perform the following prerequisites depending on whether you have a new or existing snowflake connection.
2. Steps to Set Snowflake as DataSource
To add a Snowflake as a Data Source, perform the following steps:
- Click the Add Data Source button in the Data Sources tab.
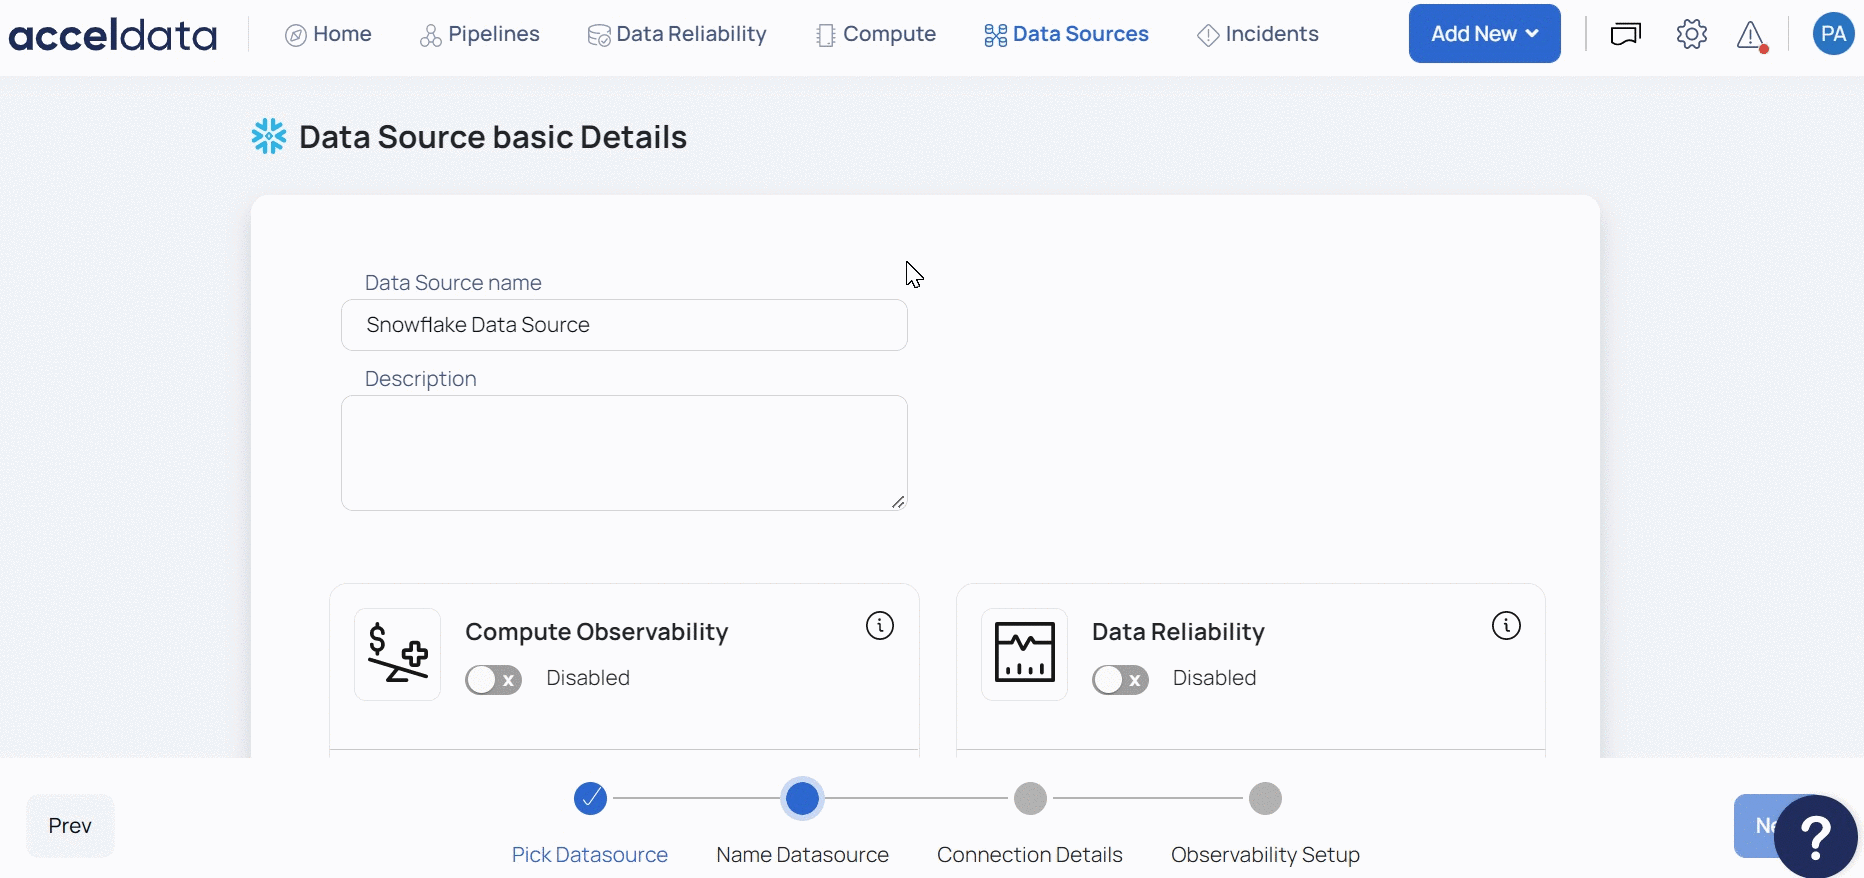
- Select the Snowflake Data Source. The Snowflake Data Source basic Details page is displayed.
- Enter a name for the data source in the Data Source name field.
- (Optional) Enter a description for the Data Source in the Description field.
- (Optional) Enable the Compute capability by switching on the Compute toggle switch.
- Either the Compute or Data Reliability capability must be enabled. You cannot add Snowflake as a data source until at least one of these capabilities is enabled.
- Select a Data Plane from the Select Data Plane drop-down menu. To create a new Data Plane, click Setup Dataplane.
You must either create a Data Plane or use an existing Data Plane to enable the Data Reliability capability.
- Click Next. The Snowflake Connection Details page is displayed.
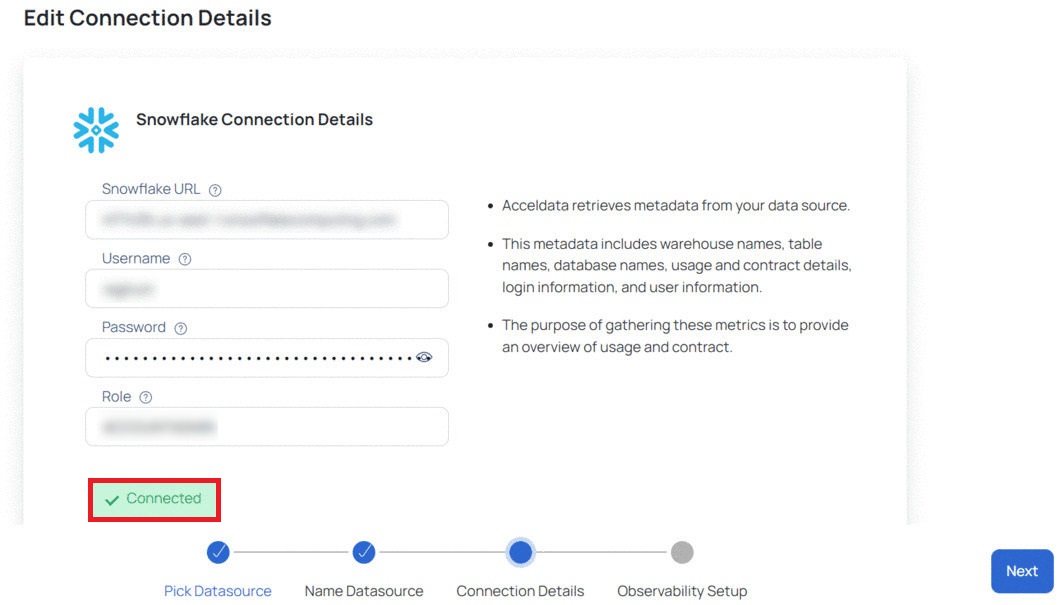
- Specify the Snowflake URL which is used to locate the database schema in the Snowflake URL field.
- Specify the username with access to the Snowflake account in the Username field.
You must have a default warehouse assigned on Snowflake and access to the databases intended to be connected from ADOC, as well as everything in their hierarchy (including information schema). You must not add a user who has multi factor authentication enabled in Snowflake. ADOC is unable to retrieve data from such user accounts.
- Specify the password to connect to the Snowflake database in the Password field.
- Enter the user role in the Role field.
- Click Test Connection to check if the connection created is working.
If the connection is successful, you can view a Connected message, as shown in the following image. If there is an error, you must verify the Snowflake details provided and enter the correct details.
3. Setup Observability
The Set Up Observability page allows you to setup Compute and Data Reliability capabilities. These sections are active only if you enabled them on the Snowflake Data Source basic Details page.
This section has the following panels:

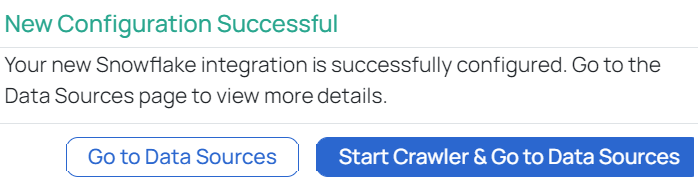
- Click the Submit button.
Snowflake is now added as a Data Source. You can choose to crawl your Snowflake account now or later.
Additional Support
Adding other Data Sources
Adding Snowflake as a datasource is one way to get started with ADOC. However, you may have other data sources that you need to include.
Click on the relevant data source to learn how to integrate it with ADOC.

Alation
Data Catalog Integration
AutoSys
Data Reliability
AWS Athena
Data Reliability
AWS S3
Data Reliability
Azure Data Factory
Compute & Data Reliability
Azure Data Lake
Data Reliability
Azure MSSQL
Data Reliability
Azure Synapse
Data Reliability
BigQuery
Data Reliability
Databricks
Compute & Data Reliability
DB2
Data Reliability
GCS
Data Reliability
HDFS
Data Reliability
Hive
Data Reliability
Kafka
Data Reliability
MongoDB
Data Reliability
MySQL
Data Reliability
Oracle
Data Reliability
PostgreSQL
Data Reliability
Power BI
Data Reliability
Redshift
Data Reliability
SAP HANA
Data Reliability
Snowflake
Compute & Data Reliability
Tableau
Compute & Data Reliability
Teradata
Data Reliability
Virtual Data Source
Data Reliability