On selecting the data plane installation, the data plane will be installed.

The following settings and configuration parameters are displayed for complete installation:
- Torch installation Versions
- Torch Control Plane Multitenancy Configurations
- Data Plane Settings (Single Tenant) and Data Plane Settings (Multi Tenant)
- Kerberos Settings
- HDFS Configuration
- Hive Configuration
- Hbase Configuration
- Settings for Spark Support
- Configurations for saving the results of jobs
The following section explains the configuration parameters along with the required inputs:
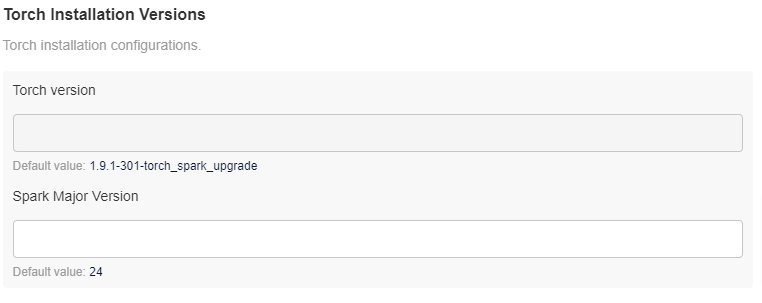
Torch Installation Versions
This tab displays the current Acceldata Torch version that is to be installed. This is a read-only configuration for reference. It also displays the Spark Major Version.
There are two working modes of Torch control plane, namely:

The Data plane Settings vary depending on the tenancy.
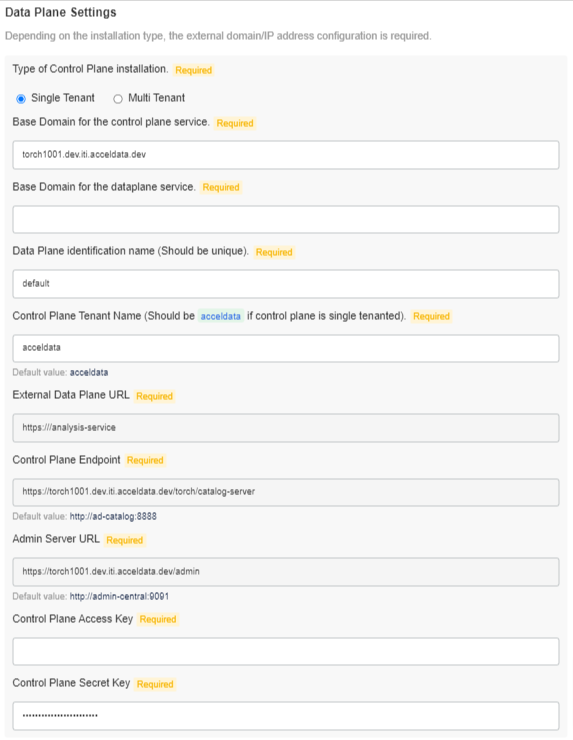
Single Tenant
The following section describes the Data plane Settings for a Single Tenant:
Data Plane Settings
Provide the following external domain/IP address configuration:
- Base Domain for the control plane service: Control Plane’s FQDN. Data Plane will register itself to the Control Plane available at this URL
- Base Domain for the dataplane service: Data Plane’s FQDN. Data Plane will use this to generate the External Data Plane URL. External Data Plane URL will be used by external services such as Livy, Databricks or Control Plane to communicate with the Data Plane
- Data Plane identification name: The name with which Data Plane will register itself to Control Plane
- Control Plane Tenant Name: Tenant name under which the Data Plane will be registered
- External Data Plane URL: External Data Plane URL generated using base domain of the data plane service (read-only)
- Control Plane Endpoint: Control Plane endpoint to which Data Plane will register itself(read-only)
- *_Admin Server URL: *_This URL will be used for user management(read-only)
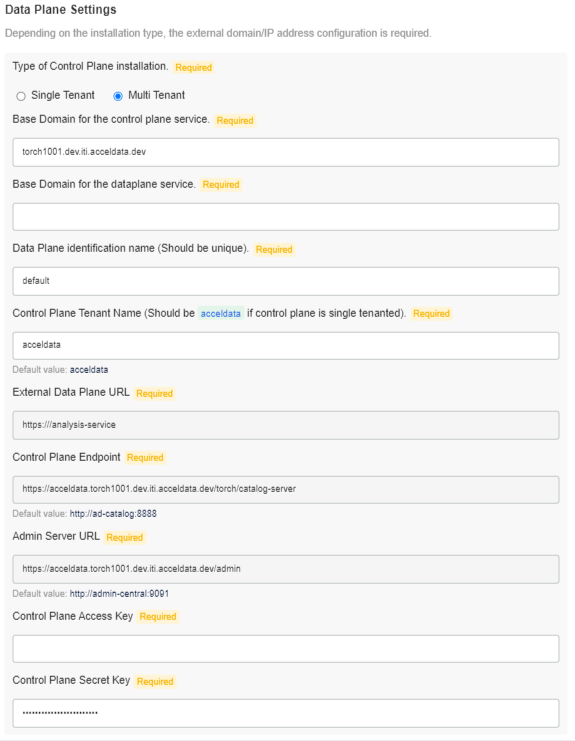
Multi Tenant
The following section describes the Data plane Settings for a Multi Tenant:
Data Plane Settings
Provide the following external domain/IP address configuration:
- Base Domain for the control plane service: Control Plane’s FQDN. Data Plane will register itself to the Control Plane available at this URL
- Base Domain for the dataplane service: Data Plane’s FQDN. Data Plane will use this to generate the External Data Plane URL. External Data Plane URL will be used by external services such as Livy, Databricks or Control Plane to communicate with the Data Plane
- Data Plane identification name: The name with which Data Plane will register itself to Control Plane
- Control Plane Tenant Name: Tenant name under which the Data Plane will be registered
- External Data Plane URL: External Data Plane URL generated using base domain of the data plane service (read-only)
- Control Plane Endpoint: Control Plane endpoint to which Data Plane will register itself(read-only)
- *_Admin Server URL: *_This URL will be used for user management(read-only)
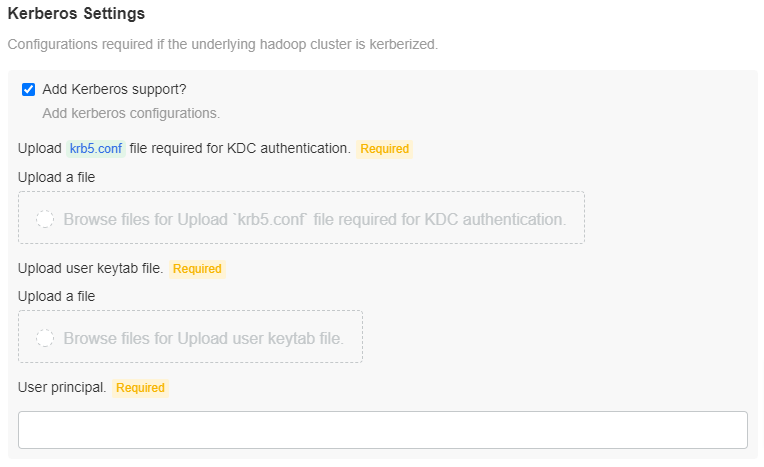
Kerberos Settings
Check the Add Kerberos support? checkbox, to add Kerberos support. You must upload the krb5.conf file for KDC authentication and the user keytab file. Enter the User principal.
HDFS Configuration
Check the Enable HDFS support? checkbox, to enable Torch support for HDFS.
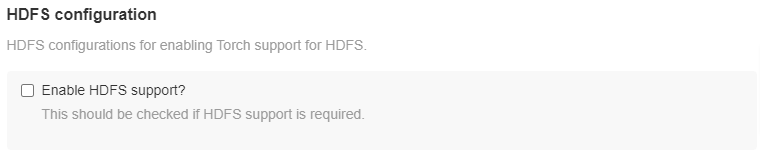
If HDFS support is enabled, upload the configuration files i.e., core-site.xml file, hdfs-site.xml file, and the yarn-site.xml file in the specified locations. Also, if the job result is to be saved in HDFS, then this configuration is required.

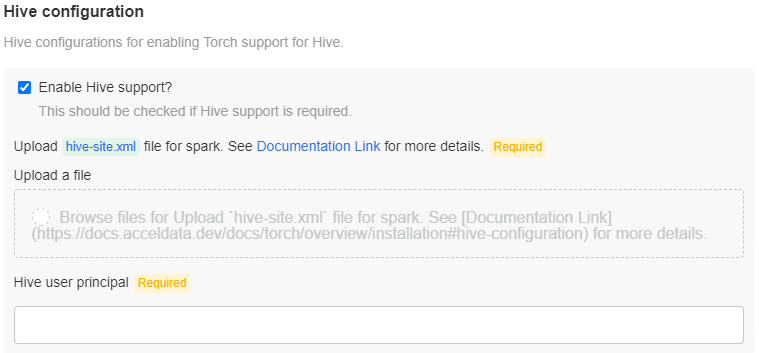
Hive Configuration
Check the Enable Hive support? checkbox, if Hive support is required. Upload the hive-site.xml file to the specified location. Also, enter the Hive user principal.
Hbase Configuration
Check the Enable Hbase support? box, if Hbase support is required. Upload the hbase-site.xml file in the specified location.

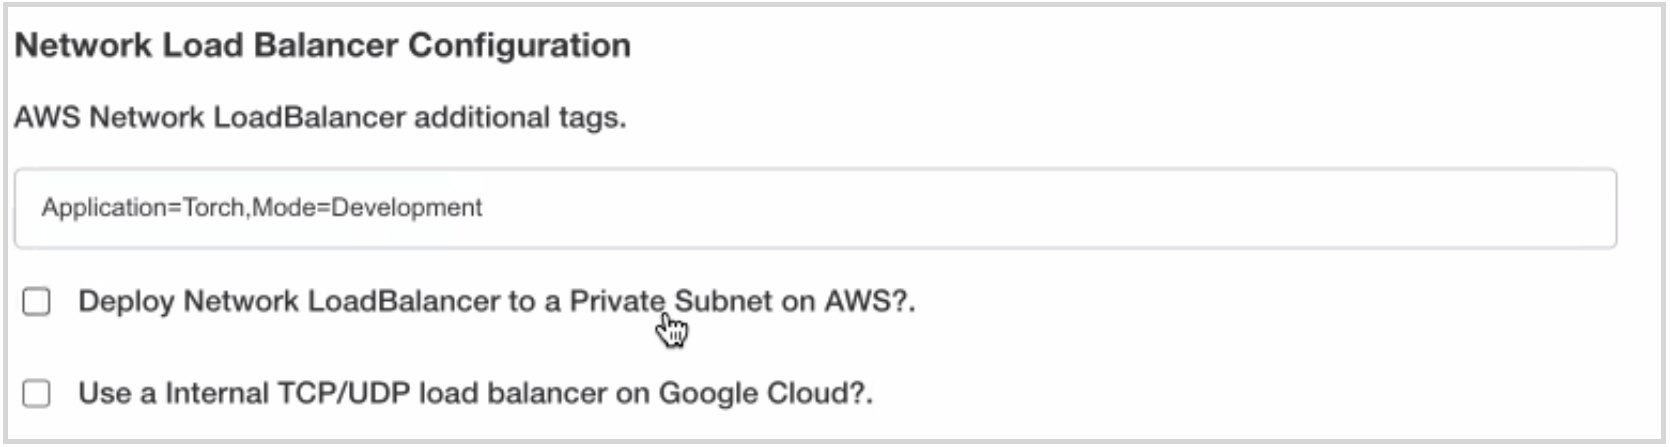
Network Load Balancer Configuration
Torch deployment requires you to configure the network load balancer. In order to deploy the network load balancer, the following options are provided:
- AWS Network Load Balancer additional tags: This is specific to Amazon Elastic Kubernetes Service (EKS) which is a managed service that can be used to run Kubernetes on AWS without needing to install, operate, and maintain your own Kubernetes control plane or nodes. The input box provided is for you to add additional tags to your load balancer. For example, if you have a specific tag to track all the resources used in the Torch application, that tag can be entered in the provided input box.
- Deploy Network Load Balancer to a Private Subnet on AWS? : Click the checkbox to deploy the network load balancer to a private subnet on AWS. If this checkbox is not selected then the network load balancer is deployed to a public subnet.
- Use a Internal TCP/UDP load balancer on Google Cloud? : Click the checkbox to deploy the internal TCP/UDP load balancer on Google Cloud Platform.
Pre-requisites
Following are the pre-requisites for deploying the network load balancer on a EKS cluster:
- Tag all public and private subnets that your cluster uses for load balancer resources with the following key-value pair:
Key: kubernetes.io/cluster/cluster-name
Value:
shared
Replace cluster-name with your Amazon EKS cluster's name. The shared value allows more than one cluster to use the subnet.
- To allow Kubernetes to use your private subnets for internal load balancers, tag all private subnets in your VPC with the following key-value pair:
Key:
kubernetes.io/role/internal-elbValue:1 - To allow Kubernetes to use only tagged subnets for external load balancers, tag all public subnets in your VPC with the following key-value pair:
Key:
kubernetes.io/role/elbValue:1
Settings for Spark Support
Torch uses Apache Spark for running jobs. Torch can deploy a Spark cluster on Kubernetes or you can also connect to an existing Apache Livy cluster in your existing Hadoop infrastructure or you can connect to your databricks cluster. Currently, Torch supports the following four modes of deployment:
- ** Use Embedded Spark: In this mode, Torch runs jobs locally inside a service. No separate installation of configuration is required.
**
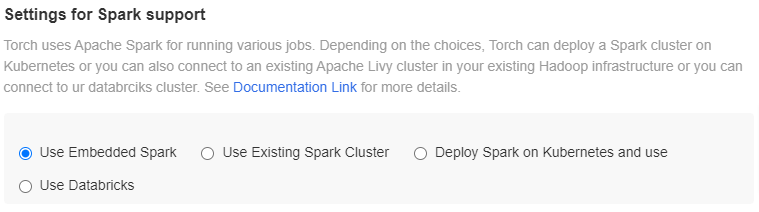
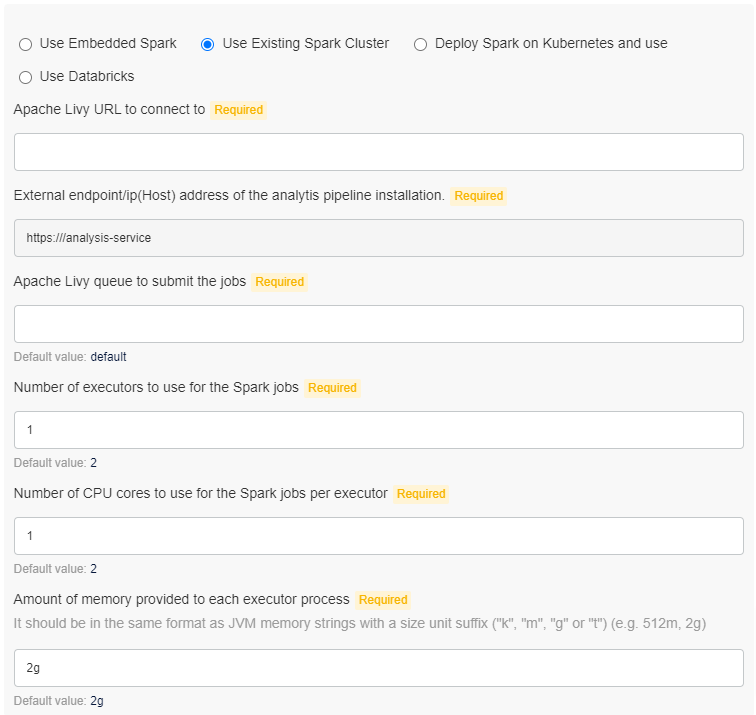
- Use Existing Spark Cluster: If there is an existing Hadoop cluster with Apache Spark installed, then Torch can run the jobs inside the cluster. It is required to have Apache Livy installed as well. Torch connects to Livy using HTTP and submits the Spark jobs. Inputs required:
- Apache Livy URL: HTTP endpoint for Livy
- External endpoint: External endpoint or the ip(Host) address of the analytics pipeline installation
- Apache Livy Queue: The queue name to which the jobs are submitted
- Number of executors: Number of executors that are spawned for each job
- Number of CPU cores: Number of CPU cores per executor
- Memory per executor: Amount of memory to be allocated to each executor
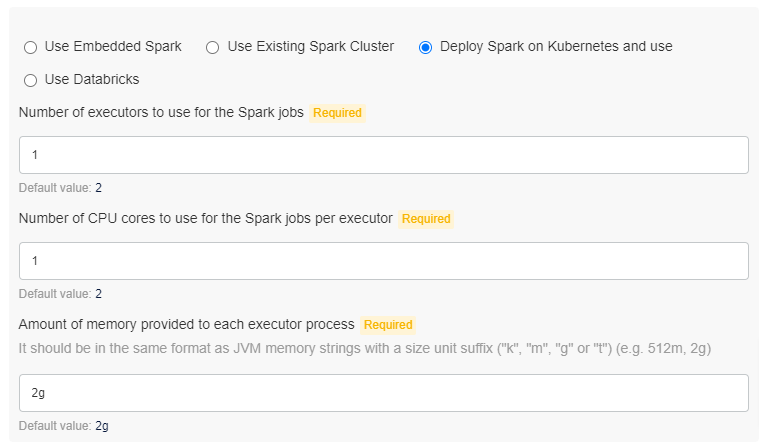
- Deploy Spark on Kubernetes: In this mode, the installer deploys Spark on Kubernetes and that is used for running the jobs. Inputs required:
- Number of Executors: Number of executors to be spawned for each job
- Number of CPU cores:; Number of CPU cores per executor
- Memory per executor: Amount of memory to be allocated to each executor
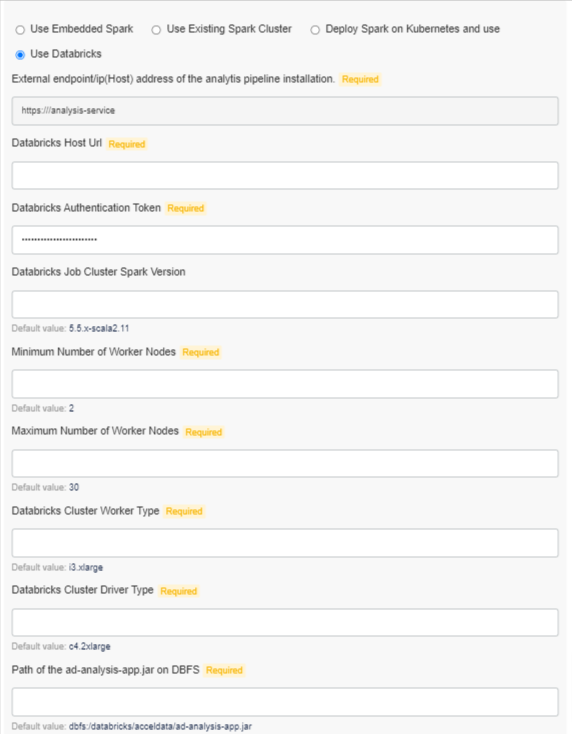
Use Databricks: Inputs required:
- External endpoint: External endpoint/ip(Host) address of the analytics pipeline installation.
- Databricks Host Url: Host URL
- Databricks Authentication Token: Access token
- Worker Nodes: Minimum and maximum number of worker nodes
- Databricks Cluster Worker Type: The type of worker node i.e., Standard, High Concurrency, and Single Node
- Databricks Cluster Driver Type: The type of driver node.
Configurations for Saving the Job Results???
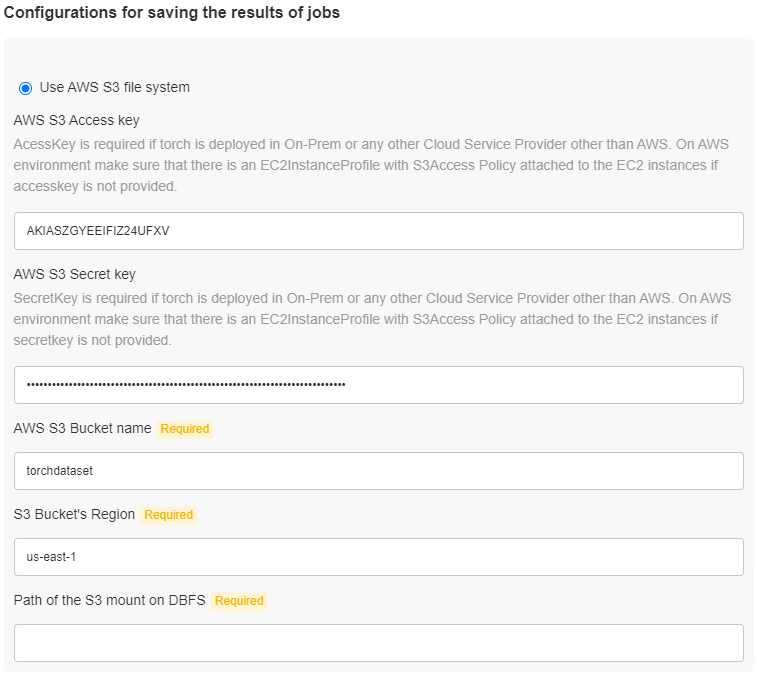
Torch stores the job results in few distributed file systems. Currently, it can be stored in HDFS or AWS S3. Select one of the following options:
- ** Use HDFS file system: The only input required is the HDFS directory where job results will be stored (Default: /tmp/ad/torch_results).
**

Use S3 File System: Inputs required:
- AWS S3 Access key: Access Key for the bucket
- AWS S3 Secret key: Secret Key for the bucket
- AWS S3 Bucket name: Bucket name for where the job results are to be stored
- S3 Bucket’s Region: Mention the S3 bucket’s region
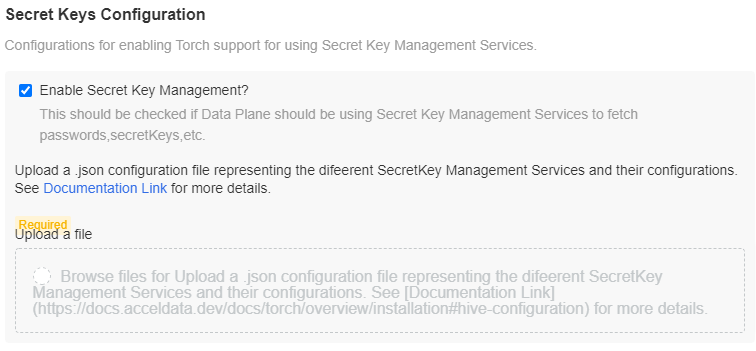
Secret Keys Configuration
Airgap Registry Settings

Click the Save Config button.