In the Data Sources window, click the Create Data Source button and select the Oracle option to create a data source. The user can either Create New Connection , or Use Existing Connection to connect to the Oracle database.
Create New Connection
Oracle connection type is used to connect to an Oracle database. To create a new connection, enter the following parameters:
| Parameter | Description |
|---|---|
| Connection Name | Specify a name for the connection. It is a required field which is not case sensitive and must be unique in the domain. It should not exceed 128 characters and can contain special characters as well. |
| Description | Describe the purpose of the connection. The description cannot exceed 4000 characters. |
| Use Secret Manager | Click the checkbox to use secret manager and then select a secret manager identifier. In the secret field, provide the key name which you have stored in AWS Secrets Manager that contains the actual password value. For more information, see Use Secret Manager. |
| JDBC URL | Specify the Java Database Connectivity (JDBC) URL is used to locate the database schema. The JDBC URL has the following format:
|
| JDBC Username | Specify the username to connect to the Oracle database. |
| JDBC Password | Specify the login password. |
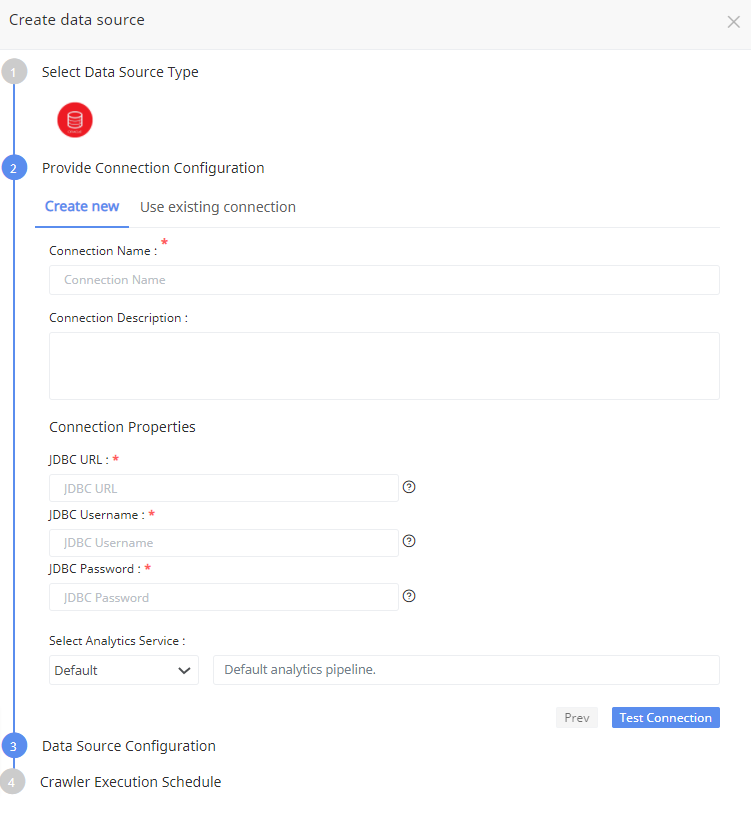
Click Test Connection to check if the connection created is working.
Use Secret Manager
AWS Secrets Manager is a secrets management service that helps you protect access to your applications, services, and IT resources. This service enables you to easily rotate, manage, and retrieve database credentials, API keys, and other secrets throughout their lifecycle. We are enabling torch to make use of AWS Secrets Manager to store your secrets. Acceldata provides the option to store integration credentials in your AWS account using Secrets Manager.
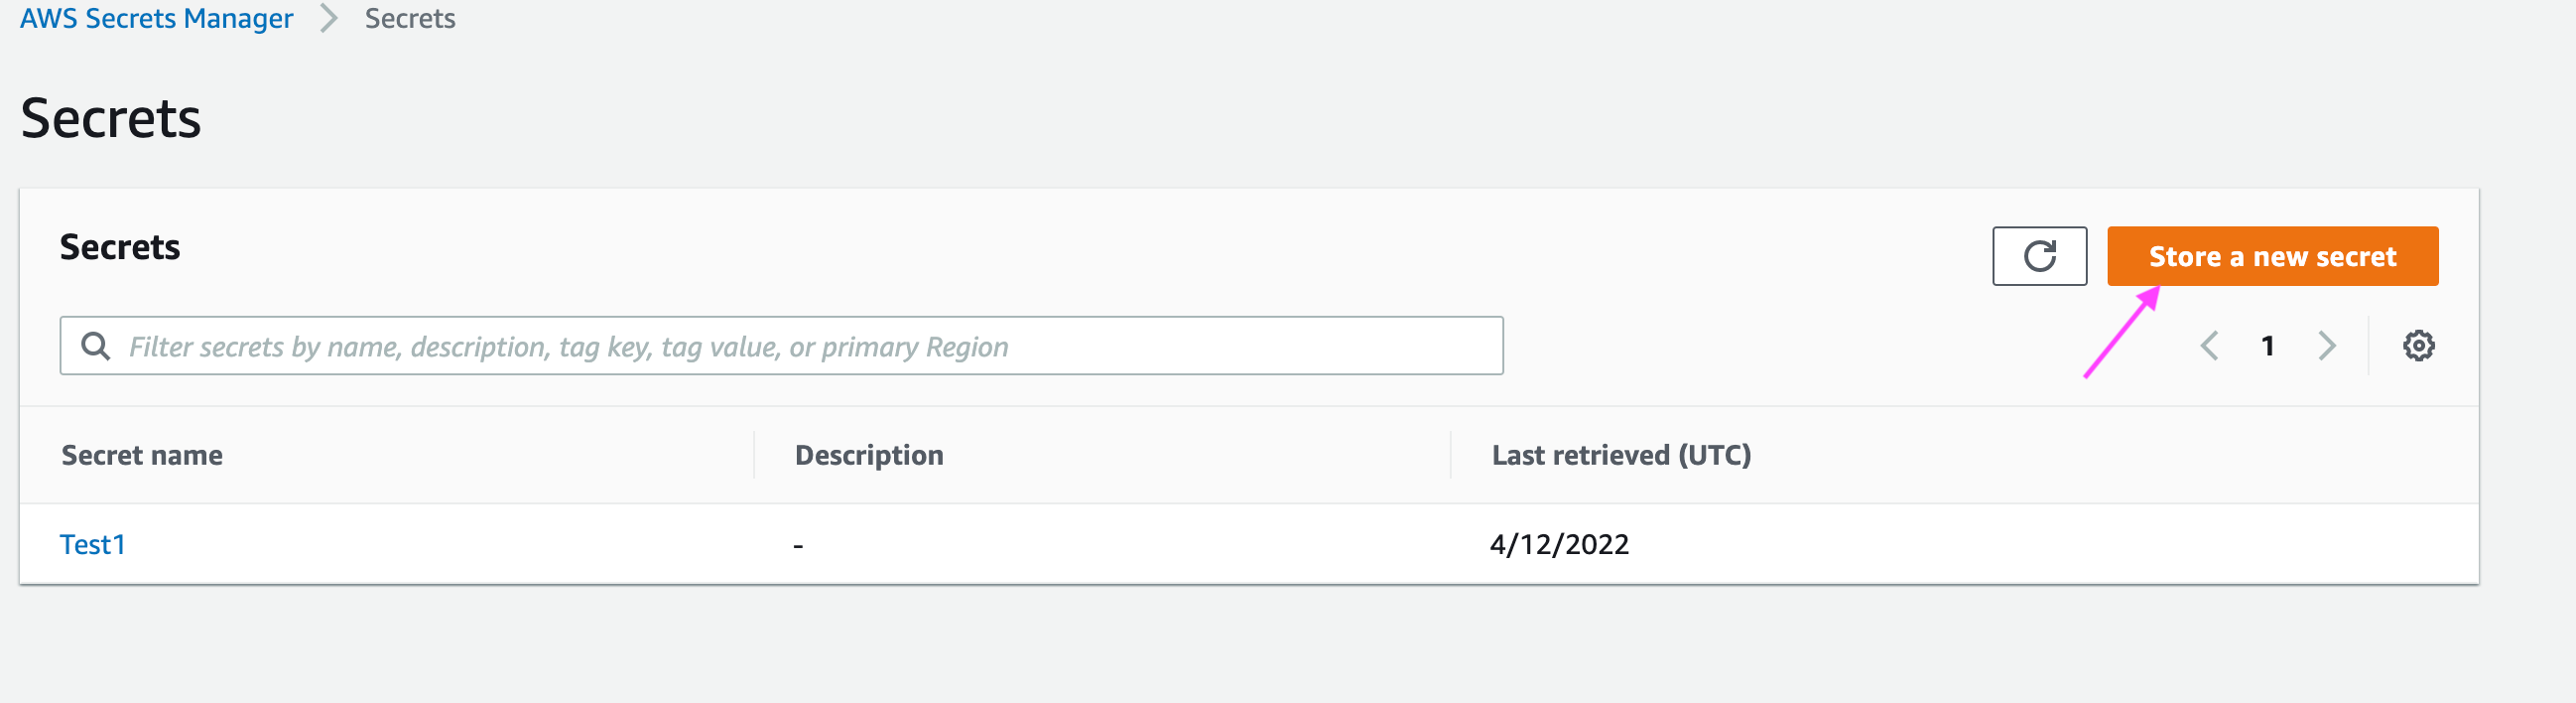
Follow the below steps to create secrets in AWS:
- Login to your AWS account.
- Search for Secrets Manager.
- Click Store a new secret.
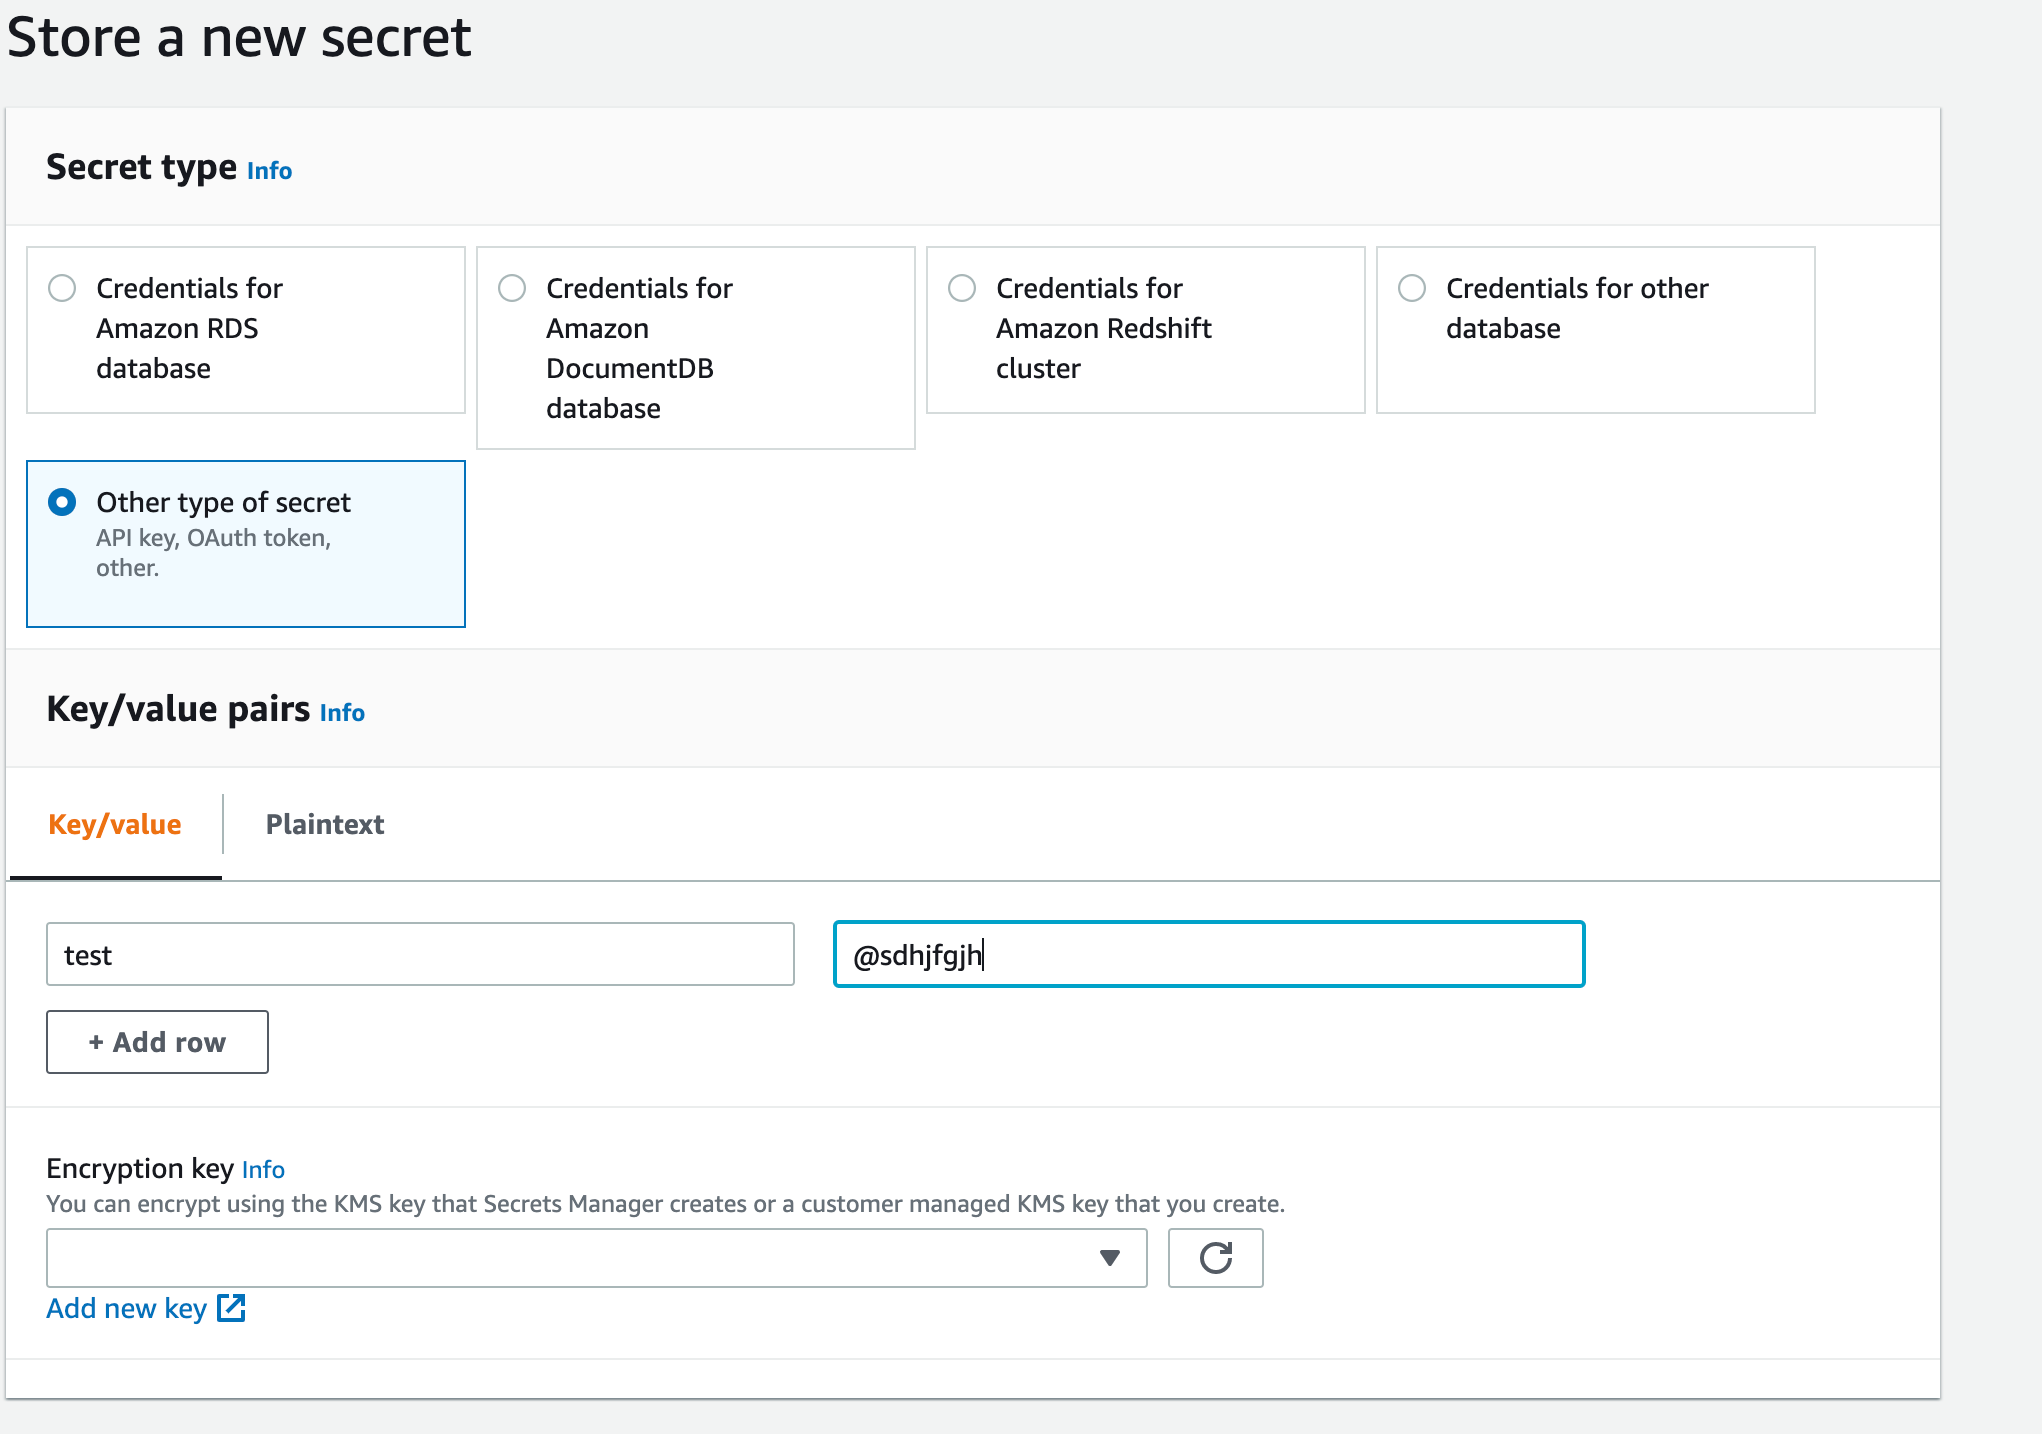
- Select Other type of secrets and add a key with a value representing the actual secret value like a password of a database user and click Next.
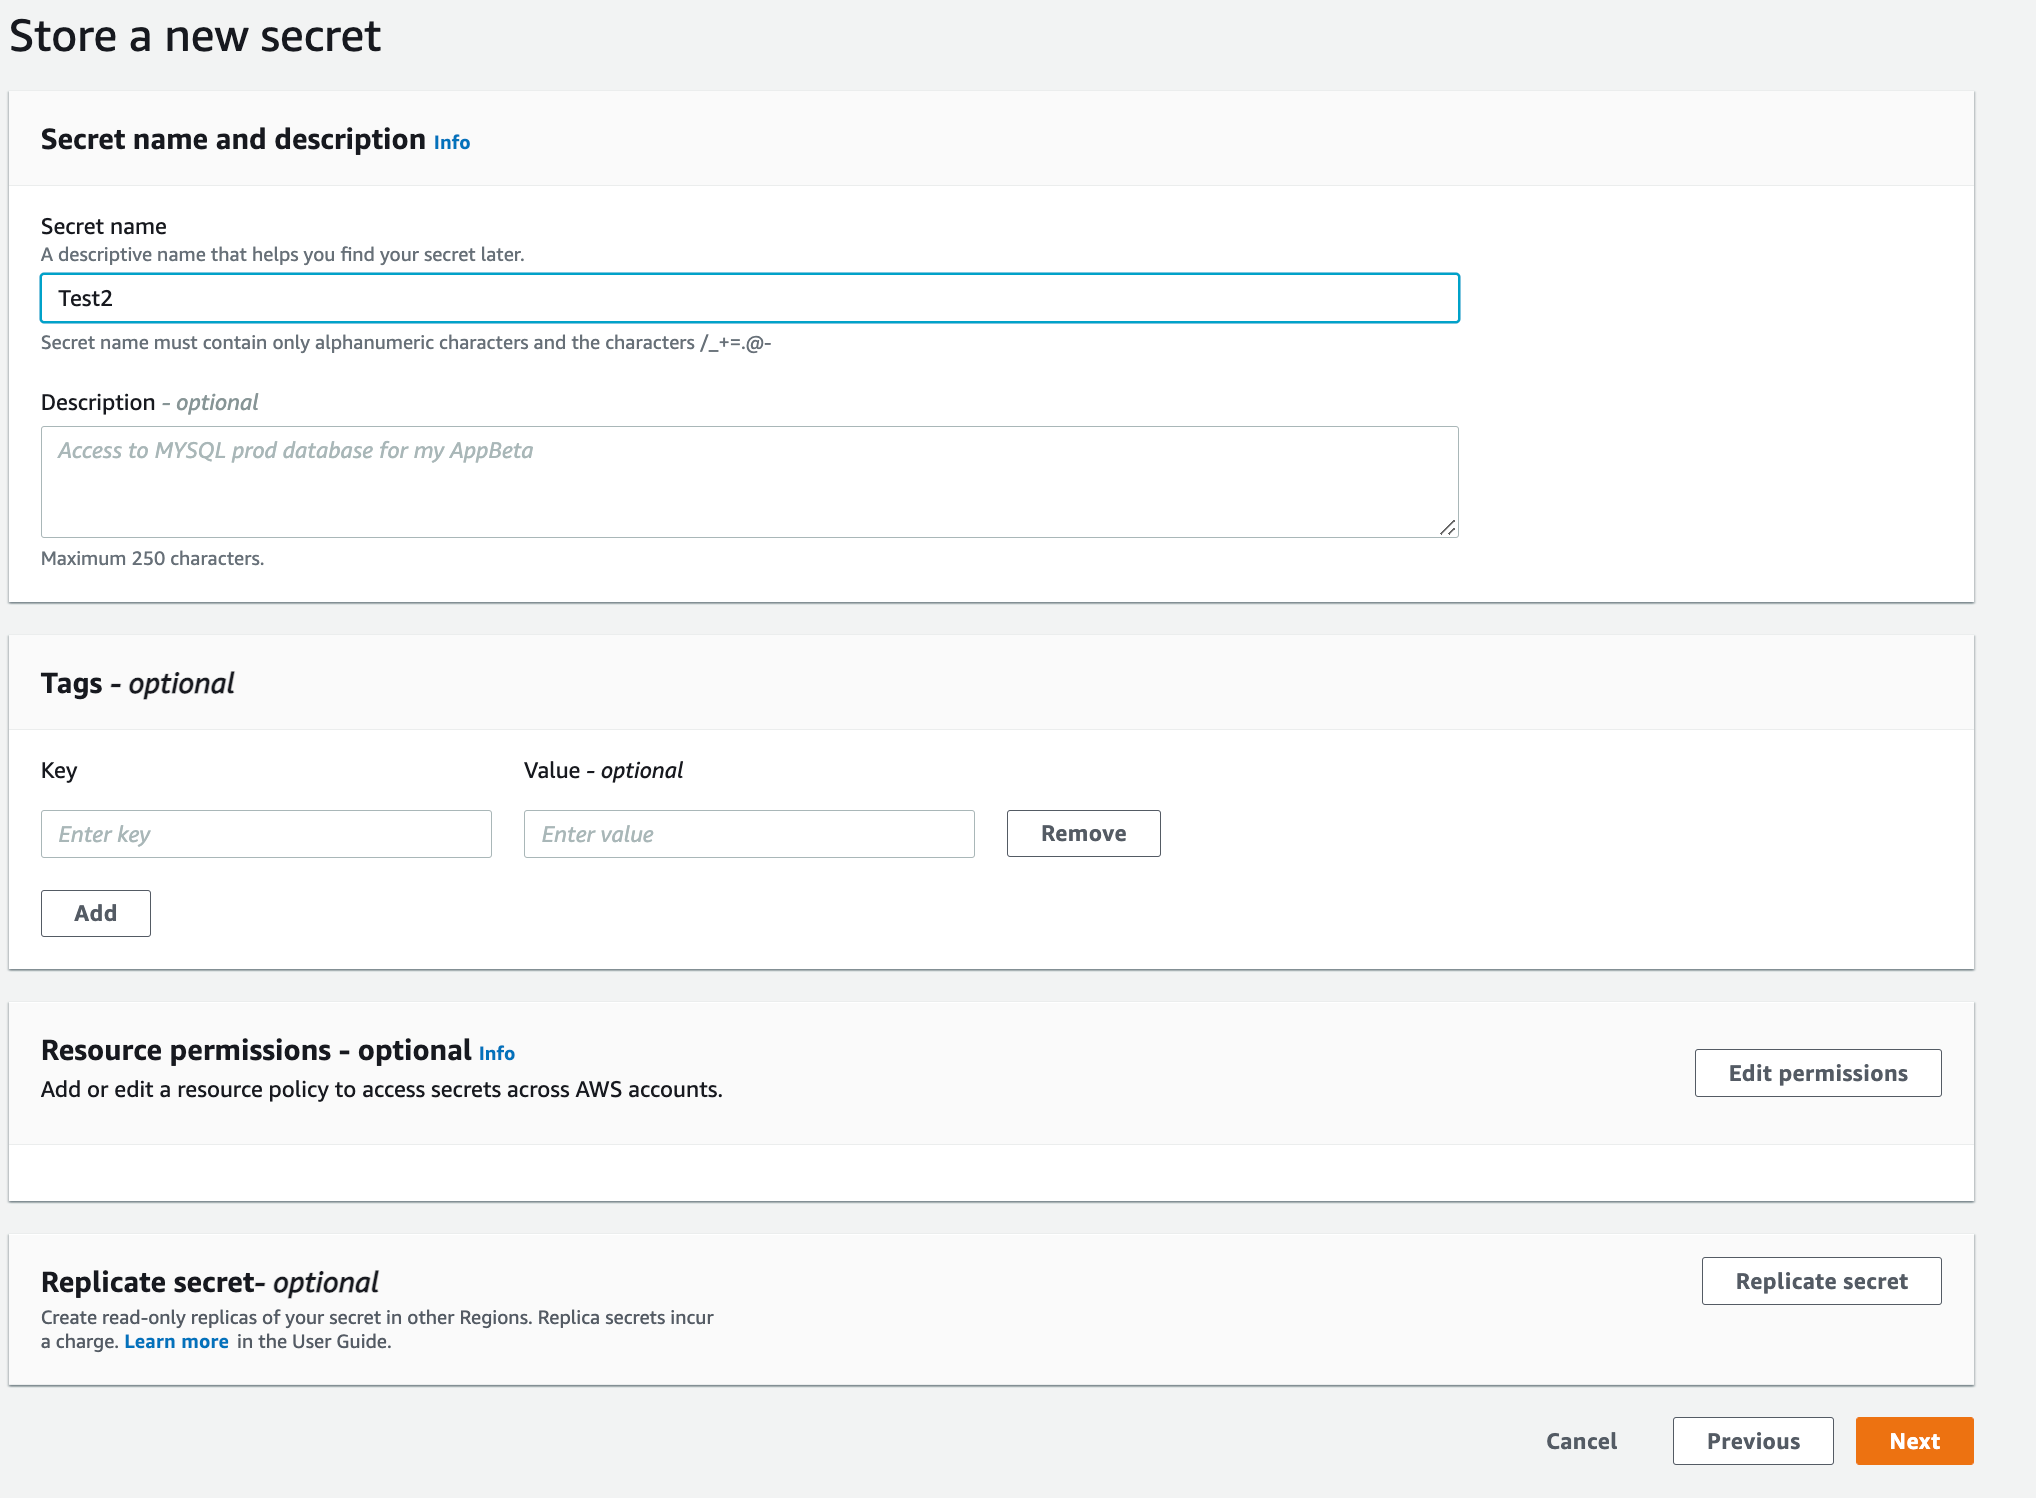
- Give the secret a meaningful name, description and add any tags. Then click Next.
How do I enable Torch to read from AWS Secret Manager?
While Deploying Data Plane or Complete Installation, you are provided with an option to configure secrets manager configuration
- Under Secret Keys Configuration > Click the Enable Key Management checkbox.
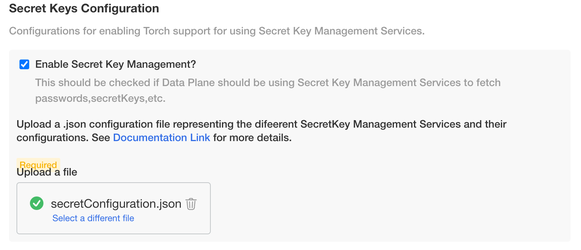
- Upload the following secret manager configuration file in JSON format:
[ { "name": "<Name to identify the secret manager to use in torch>", "type": "AWS_SECRETS_MANAGER", "details": { "secretName": "<Secret Name which is created in AWS Secret Manager>", "accessKey": "<AWS access Key>", "secretKey": "<AWS Secret Key>", "region": "<AWS Region where secret is created>" } }]The above configuration file is a JSON array, where each element represents a secret configuration. There are 2 ways in which Torch can authenticate itself to AWS Secrets Manager.
i) Providing the accessKey details of an IAM User who has the permission to read the Secret
ii) Leaving the accessKey and secretKey fields as empty and Torch assumes that there is a IAM Role attached to the NodeGroup of EKS Cluster which has the permission to read the Secret(EC2InstanceProfile).
Refer to the following document for IAM Policies to be attached to the NodeGroups https://docs.aws.amazon.com/mediaconnect/latest/ug/iam-policy-examples-asm-secrets.html.
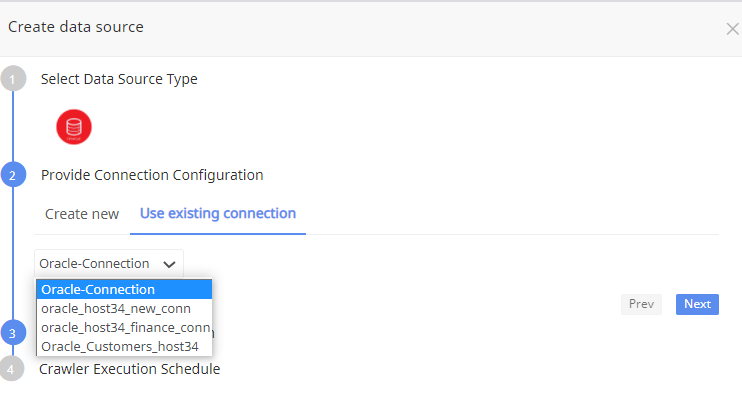
Use Existing Connection
To use an existing connection, click Use Existing Connection tab to select an existing connection from the drop-down list.
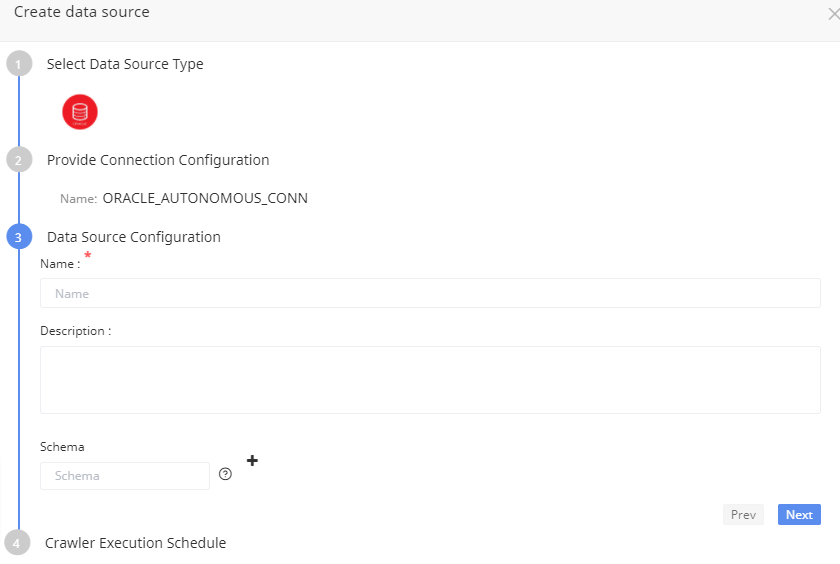
Data Source Configuration
Specify a name and description for the data source configuration. Also, enter the Schemas to crawl, multiple schemas can be added. Click Next.
Crawler Execution Schedule
Click Use automated execution checkbox to schedule a time for Torch to run metadata crawlers to fetch meta information of the data source. To schedule, select any tag like minute, hour, day, week, month, or year.
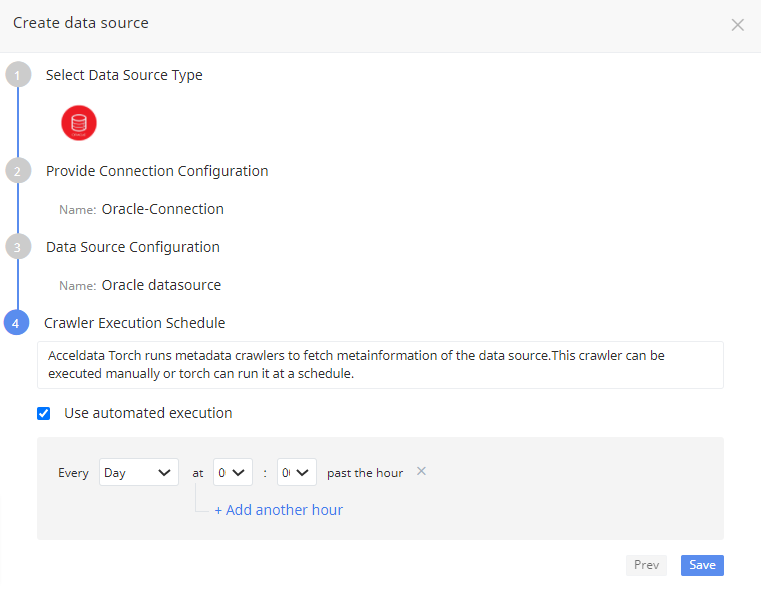
Click Save button. The data source is saved.
Required User Permissions for Oracle
The following code ensures that the user has privileges to connect to the database and create a session. The second line of code is used to grant the SELECT object privilege to a user.
GRANT CREATE SESSION TO <user_name>GRANT SELECT ON <table_name> to <user_name>