Kafka 3 is a distributed event streaming platform designed to handle real-time data feeds with enhanced scalability, performance, and resilience. It introduces new features like KRaft mode and provides a more flexible configuration to improve broker management and fault tolerance. Additionally, Kafka3 focuses on improving replication, monitoring, and security features to support large-scale, enterprise-level event streaming use cases.
Key Concepts
Kafka3 includes several core components that enhance its ability to deliver distributed real-time event streaming:
Producer: Sends messages to Kafka topics by writing them to specific partitions. It supports batching and compression to optimize performance.
Consumer: Reads data from Kafka topics, supporting different consumption models such as at-least-once, at-most-once, and exactly-once delivery semantics.
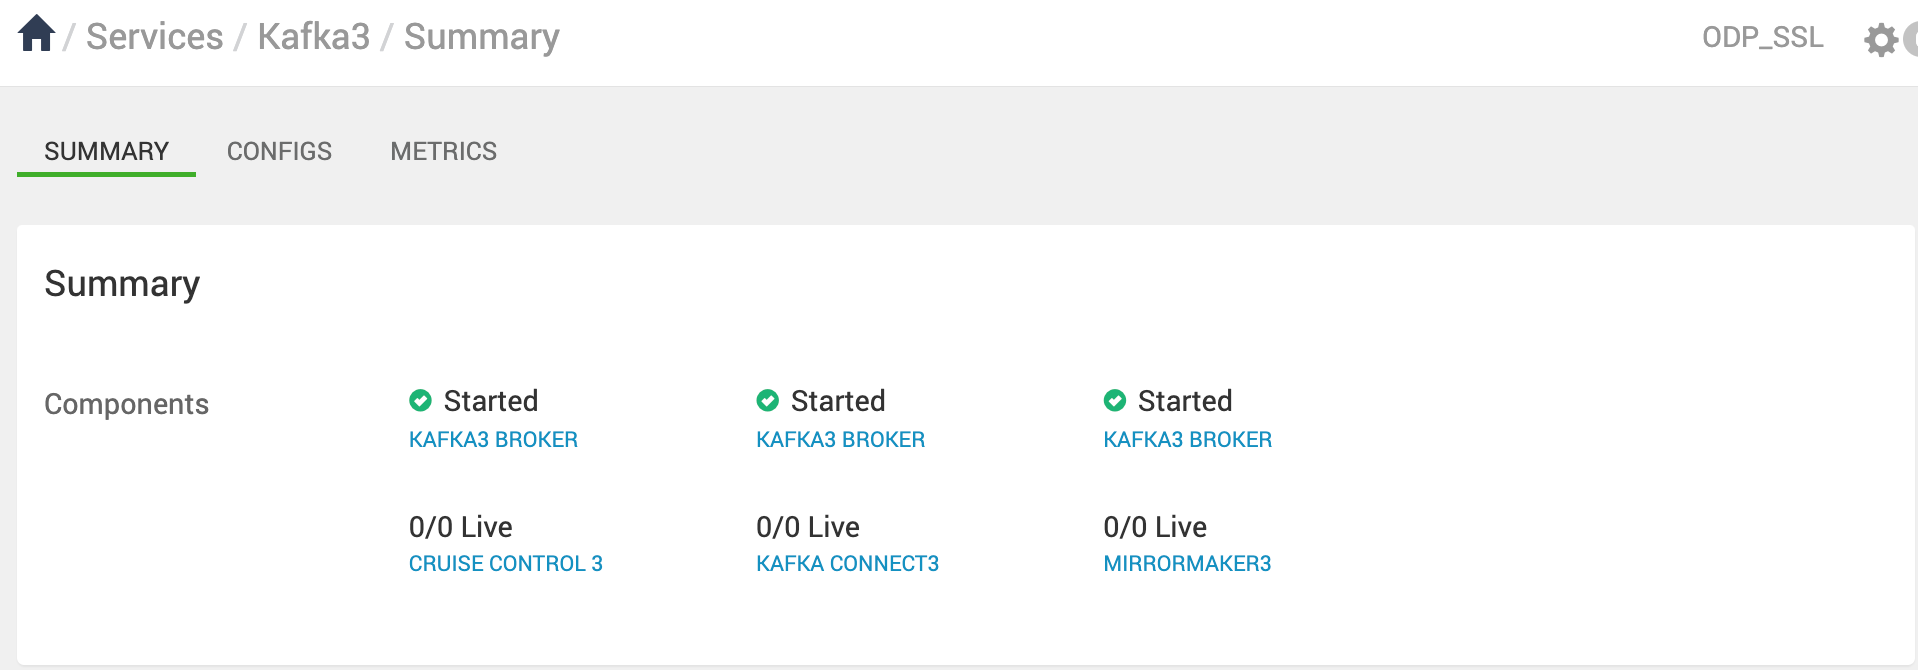
Broker: Kafka brokers act as intermediaries that store messages in topic partitions and replicate them to ensure fault tolerance. Kafka 3.7.1 introduces improvements in broker scalability and resource management.
Controller: Responsible for managing partition leadership and handling cluster metadata. With Kafka3 KRaft Mode, controller functionality is embedded within brokers, eliminating the need for ZooKeeper.
KRaft Mode: Kafka3 introduces KRaft (Kafka Raft Metadata Mode), which allows Kafka to manage metadata without relying on ZooKeeper. This simplifies operations, improves fault tolerance, and enhances scalability by embedding the metadata controller directly within the brokers.
Installing Kafka 3 using Ambari
Perform the following steps to install the Ambari Kafka 3 Mpack:
Download the branch from the code and zip it with the
tar.gzextension.Upload the gzipped file to the ambari-server.
Execute the following command to install Kafka 3.
Upon running the above command, the following message is displayed.
Restart the ambari-server using the following command:
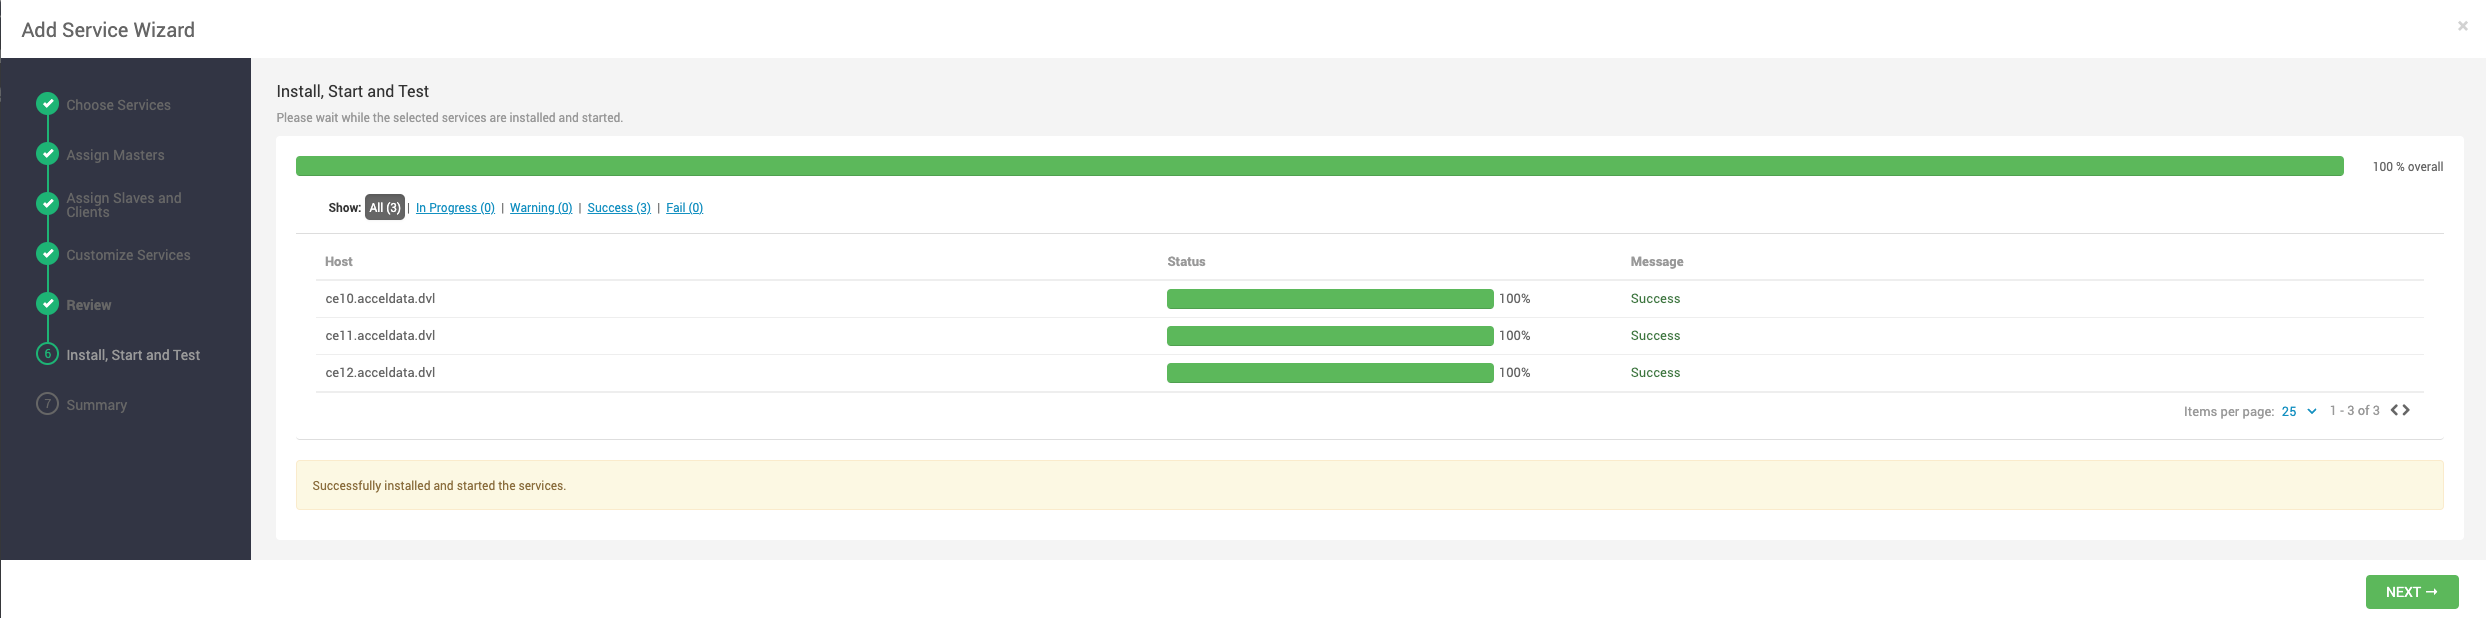
Log in to the Ambari UI and navigate to the Add Kafka3 service.
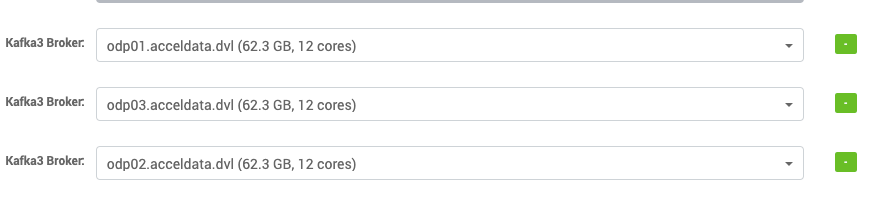
Select the hosts for Kafka 3 brokers.
Under
Advanced kraft-broker-controller, enable the Kraft configuration as this is very crucial for installation:
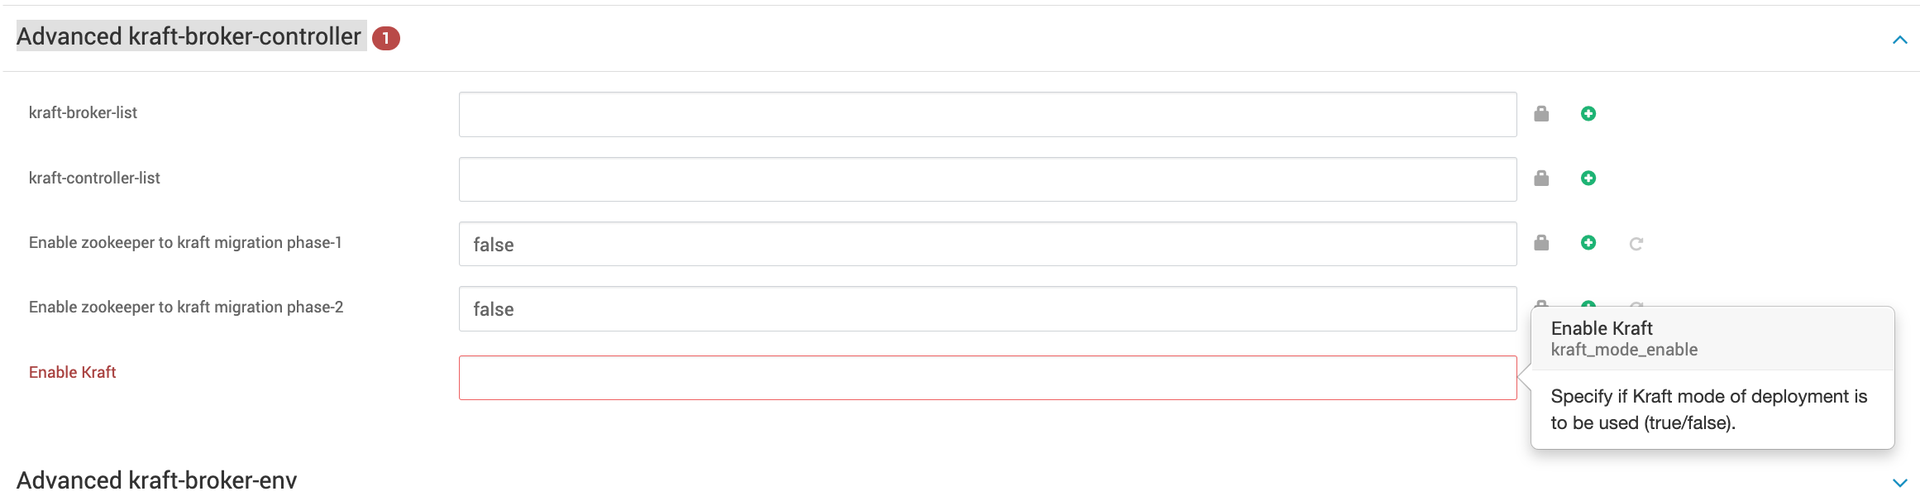
The above configuration must be set based on your deployment type:
Set
Enable KRaftto false for the ZooKeeper-based deployment.Set
Enable KRaftto true for the KRaft mode deployments.
ZooKeeper is deprecated but it's still supported for metadata management of Kafka clusters.
Zookeeper based Deployment
Set
Enable KRaftto false underAdvanced kraft-broker-controller.Apart from this configuration, do not set any kraft related configurations through Ambari.
After the installation, make sure that the above configuration is not changed. It can only be changed during the ZK-KRAFT migrating process.
Set Log directories[
log.dirs] underAdvanced kafka3-broker,which can be used to store Kafka 3 log data. By default/kafka3-logsis used as the log directory.

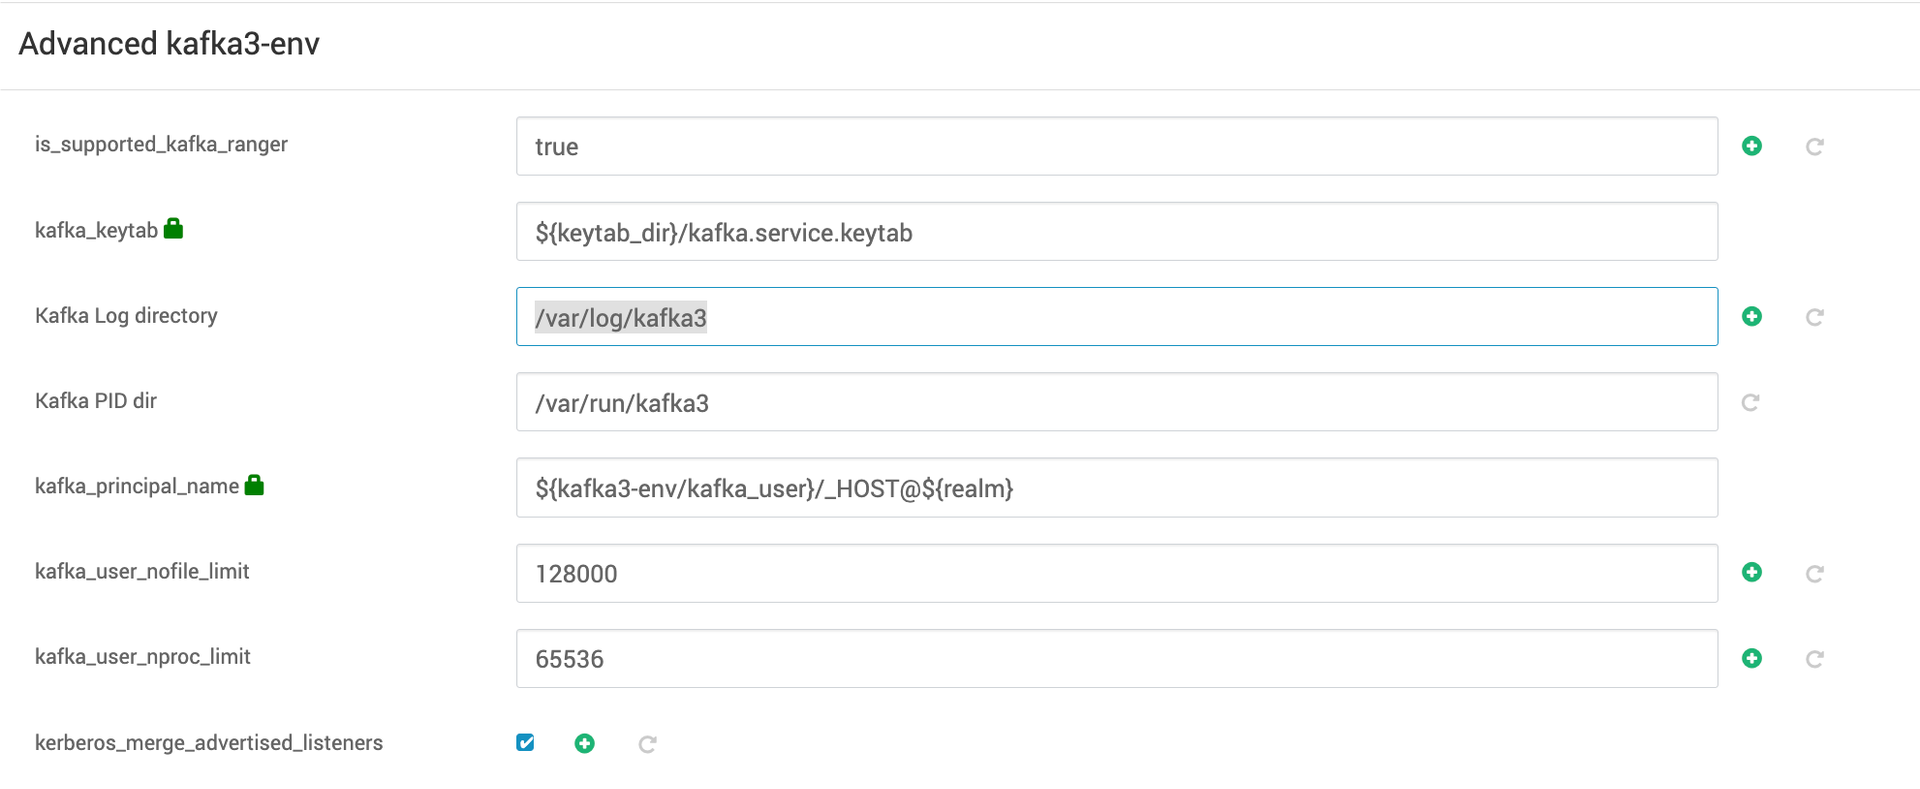
Under
Advanced kafka3-env, you can configureKafka log directoryto store Kafka 3 operational logs. Additionally, you can specifyKafka PID directory, which is used to store the process ID (PID) files for Kafka 3.
Specify the port on which you want your kafka-servers to listen.

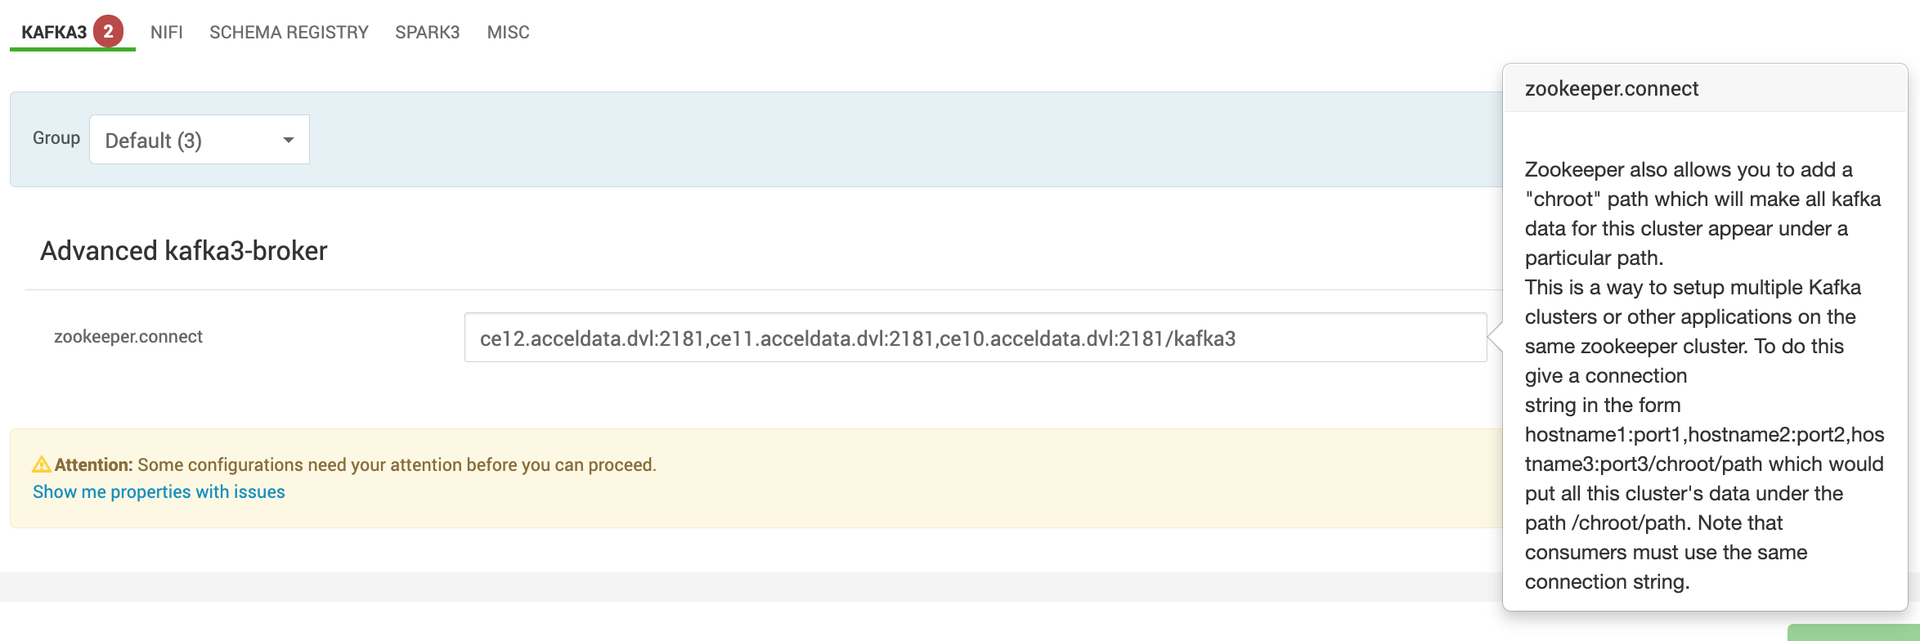
By default Kafka 3 uses the
/kafka3zookeeper namespace to avoid conflicts with existing Kafka clusters by specifying a chroot path in the connection string.

KRaft mode deployment
Set
Enable KRaftto true underAdvanced kraft-broker-controller.
After the installation, make sure the above configuration is not updated.
In the kraft mode of deployment, you can select certain hosts as controller, broker, or both depending on the size of the cluster and use case.
Broker Role
A broker is sometimes called a node or server, is responsible for orchestrating the storage transmission of messages within the Kafka cluster.
Controller Role
A controller coordinates the cluster, managing and tracking its metadata. Controllers form a metadata quorum, where each one serves either as an active controller or a hot standby for the current active controller.
While Kafka nodes can serve both as brokers and controllers, it is sometimes preferable to separate these functions, especially in more complex deployments. In simpler setups, combining the broker and controller roles can lead to greater efficiency.
To maintain high availability, a majority of controllers must be operational. For instance, with 3 controllers, the cluster can tolerate 1 failure; with 5 controllers, it can handle up to 2 failures.
Specify a list of comma separated node.id@hostname which you want to select as controllers and brokers in kraft-controller-list and kraft-broker-list respectively under Advanced kraft-broker-controller.

For example, in this case there are three Kafka brokers and one controller.
First provide
node.idto the controller list. For example, for controller1,node.idmust be set to 1, and so on. Each node ID must be unique across all the servers in a particular cluster. No two servers can have the same node ID regardless of theirprocess.rolesvalues. (Even if a node is both controller and broker still a different node.id must be provided under the controller and broker list.)Keep
Enable zookeeper to kraft migration phase-1andEnable zookeeper to kraft migration phase-2to false. It must only be changed during the ZK-KRAFT migrating process.
Set log directories [
log.dirs] underAdvanced kraft-brokerandAdvanced kraft-controllerwhich can used store kraft-broker and kraft-controller log data respectively. By default/kraft-broker-logsand/kraft-controller-logsare used as the log directories for broker and controller respectively.

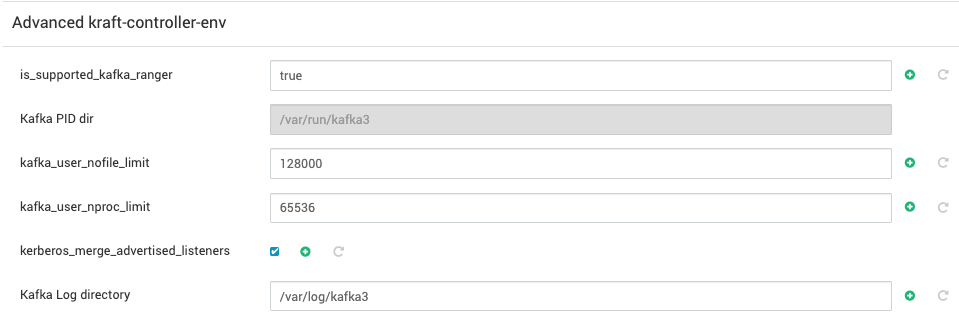
Under
Advanced kraft-broker-envandAdvanced kraft-controller-env, you can configure theKraft-broker log directoryandKraft-controller log directoryto store kafka3-kraft operational logs. Additionally, you can specifyKafka PID directoryfor broker and controller which is used to store the process ID (PID) files for kraft-broker and kraft-controller.
Specify the port on which you want your
kraft-brokersandkraft-controllersto listen underAdvanced kraft-brokerandAdvanced kraft-controllerrespectively.


If the Ranger-Kafka plugin is enabled in Kraft mode, the following policy must be added via Ranger UI:

Kraft Cluster Metadata Policy,which must include _cluster_metadata topic.You can also modify the remaining
conigsdepending on your use case for controller and broker underAdvanced kraft-controller,Advanced kraft-broker,Advanced kraft-controller-env,andAdvanced kraft-controller-env.Start kafka-3 in kraft mode.
The following are the major limitations of kraft mode:
Moving from Kafka clusters with ZooKeeper to KRaft clusters or the other way around is not supported.
JBOD storage with multiple disks is not supported.
SCRAM-SHA-512 authentication is not supported.
Modifying certain dynamic configurations on the standalone KRaft controller.
When you use KRaft instead of ZooKeeper, you must use current, non-deprecated, and configurations settings. The settings to use are described in the following table.
Feature | Allowed with Zookeeper | Required with KRaft |
|---|---|---|
Clients and services |
|
|
Schema Registry |
|
|
Administrative tools |
|
|
Retrieve Kafka cluster ID |
| From the command line, use |
Note: If the Ranger-Kafka plugin is enabled, make sure to use rangerlookup keytab and principal. You can edit these configurations through the Ranger UI under Service Manager > Edit Service > Config Properties.
