To install required packages and configure Docker for LDAP Server and PHPLDAPADMIN, perform the following:
Install and Configure Packages
sudo yum install openldap-devel
pip3.8 install apache-airflow[ldap]==2.8.1
sudo subscription-manager register
sudo subscription-manager refresh
sudo subscription-manager attach --auto
Set Up Docker for LDAP
sudo dnf config-manager --add-repo=https://download.docker.com/linux/centos/docker-ce.repo
sudo dnf repolist -v
sudo dnf install --allowerasing --nobest docker-ce
sudo dnf install https://download.docker.com/linux/centos/7/x86_64/stable/Packages/containerd.io-1.2.6-3.3.el7.x86_64.rpm
sudo dnf install docker-ce
sudo systemctl enable --now docker
systemctl is-active docker
Download and Configure Docker Compose
curl -L "https://github.com/docker/compose/releases/download/1.23.2/docker-compose-$(uname -s)-$(uname -m)" -o docker-compose
sudo mv docker-compose /usr/local/bin && sudo chmod +x /usr/local/bin/docker-compose
sudo ln -s /usr/local/bin/docker-compose /usr/bin/docker-compose
Prepare LDAP Directory Structure.
mkdir -p airflow_ldap/ldap
cd airflow_ldap/ldap
vi bootstrap.ldif
#In bootstrap.ldif file add below content
# LDIF Export for dc=shihadeh,dc=intern
# Server: openldap (openldap)
# Search Scope: sub
# Search Filter: (objectClass=*)
# Total Entries: 9
#
# Generated by phpLDAPadmin (http://phpldapadmin.sourceforge.net) on May 5, 2021 2:59 pm
# Version: 1.2.5
version: 1
# Entry 1: dc=netflux,dc=com
dn: dc=netflux,dc=com
dc: netflux
o: netflux
objectclass: top
objectclass: dcObject
objectclass: organization
# Entry 2: cn=bhead,dc=netflux,dc=com
dn: cn=bhead,dc=netflux,dc=com
cn: bhead
displayname: Bob Head
givenname: bhead
mail: bobhead@gmail.com
objectclass: inetOrgPerson
objectclass: top
sn: BobHead
userpassword: bob
# Entry 3: cn=jwick,dc=netflux,dc=com
dn: cn=jwick,dc=netflux,dc=com
cn: jwick
displayname: John Wick
givenname: jwick
mail: johnwick@gmail.com
objectclass: inetOrgPerson
objectclass: top
sn: JohnWick
userpassword: john
# Entry 4: cn=mlamberti,dc=netflux,dc=com
dn: cn=mlamberti,dc=netflux,dc=com
cn: mlamberti
displayname: Marc Lamberti
givenname: mlamberti
mail: marclamberti@gmail.com
objectclass: inetOrgPerson
objectclass: top
sn: MarcLamberti
userpassword: marc
# Entry 5: ou=Groups,dc=netflux,dc=com
dn: ou=Groups,dc=netflux,dc=com
objectclass: organizationalUnit
objectclass: top
ou: Groups
# Entry 6: cn=Admin,ou=Groups,dc=netflux,dc=com
dn: cn=Admin,ou=Groups,dc=netflux,dc=com
cn: Admin
objectclass: groupOfUniqueNames
objectclass: top
uniquemember: cn=mlamberti,dc=netflux,dc=com
# Entry 7: cn=Data_science,ou=Groups,dc=netflux,dc=com
dn: cn=Data_science,ou=Groups,dc=netflux,dc=com
cn: Data_science
objectclass: groupOfUniqueNames
objectclass: top
uniquemember: cn=bhead,dc=netflux,dc=com
# Entry 8: cn=Marketing,ou=Groups,dc=netflux,dc=com
dn: cn=Marketing,ou=Groups,dc=netflux,dc=com
cn: Marketing
objectclass: groupOfUniqueNames
objectclass: top
uniquemember: cn=jwick,dc=netflux,dc=com
# Entry 9: ou=Users,dc=netflux,dc=com
dn: ou=Users,dc=netflux,dc=com
objectclass: organizationalUnit
objectclass: top
ou: Users
Configure Docker Services for LDAP
vi airflow_ldap/docker-compose.yml
version: '3'
services:
openldap:
image: osixia/openldap:1.5.0
container_name: openldap
hostname: openldap
ports:
- 389:389
- 636:636
volumes:
- ./data/certificates:/container/service/slapd/assets/certs
- ./data/slapd/database:/var/lib/ldap
- ./data/slapd/config:/etc/ldap/slapd.d
environment:
- LDAP_ORGANISATION=netflux
- LDAP_DOMAIN=netflux.com
- LDAP_ADMIN_USERNAME=admin
- LDAP_ADMIN_PASSWORD=admin
- LDAP_CONFIG_PASSWORD=admin
- "LDAP_BASE_DN=dc=netflux,dc=com"
- LDAP_TLS_CRT_FILENAME=server.crt
- LDAP_TLS_KEY_FILENAME=server.key
- LDAP_TLS_CA_CRT_FILENAME=netflux.com.ca.crt
phpldapadmin:
image: osixia/phpldapadmin:0.9.0
container_name: phpldapadmin
hostname: phpldapadmin
ports:
- 8888:80
environment:
- PHPLDAPADMIN_LDAP_HOSTS=openldap
- PHPLDAPADMIN_HTTPS=false
depends_on:
- openldap
volumes:
postgres-db-volume:
Access PHPLDAPADMIN UI
Once the User Interface is accessible, modify Airflow Configuration
#
# Licensed to the Apache Software Foundation (ASF) under one
# or more contributor license agreements. See the NOTICE file
# distributed with this work for additional information
# regarding copyright ownership. The ASF licenses this file
# to you under the Apache License, Version 2.0 (the
# "License"); you may not use this file except in compliance
# with the License. You may obtain a copy of the License at
#
# http://www.apache.org/licenses/LICENSE-2.0
#
# Unless required by applicable law or agreed to in writing,
# software distributed under the License is distributed on an
# "AS IS" BASIS, WITHOUT WARRANTIES OR CONDITIONS OF ANY
# KIND, either express or implied. See the License for the
# specific language governing permissions and limitations
# under the License.
"""Default configuration for the Airflow webserver"""
import os
from flask_appbuilder.security.manager import AUTH_LDAP
AUTH_TYPE = AUTH_LDAP
AUTH_LDAP_SERVER = "ldap://10.90.9.78:389"
AUTH_LDAP_USE_TLS = False
# searches
AUTH_LDAP_SEARCH = "dc=netflux,dc=com" # the LDAP search base
AUTH_LDAP_UID_FIELD = "cn" # the username field
# For a typical OpenLDAP setup (where LDAP searches require a special account):
AUTH_LDAP_BIND_USER = "cn=admin,dc=netflux,dc=com" # the special bind username for search
AUTH_LDAP_BIND_PASSWORD = "admin" # the special bind password for search
# registration configs
AUTH_USER_REGISTRATION = True # allow users who are not already in the FAB DB
AUTH_USER_REGISTRATION_ROLE = "Public" # this role will be given in addition to any AUTH_ROLES_MAPPING
AUTH_LDAP_FIRSTNAME_FIELD = "givenName"
AUTH_LDAP_LASTNAME_FIELD = "sn"
AUTH_LDAP_EMAIL_FIELD = "mail" # if null in LDAP, email is set to: "{username}@email.notfound"
# a mapping from LDAP DN to a list of FAB roles
AUTH_ROLES_MAPPING = {
"cn=Marketing,ou=Groups,dc=netflux,dc=com": ["Op"],
"cn=Data_science,ou=Groups,dc=netflux,dc=com": ["Viewer"],
"cn=Admin,ou=Groups,dc=netflux,dc=com": ["Admin"],
}
# the LDAP user attribute which has their role DNs
AUTH_LDAP_GROUP_FIELD = "memberOf"
# if we should replace ALL the user's roles each login, or only on registration
AUTH_ROLES_SYNC_AT_LOGIN = True
# force users to re-auth after 30min of inactivity (to keep roles in sync)
PERMANENT_SESSION_LIFETIME = 1800
Update Airflow through the Ambari UI.
[ldap]
bind_user = cn=admin,dc=netflux,dc=com
search_scope = LEVEL
basedn = dc=netflux,dc=com
uri = ldap://10.90.9.78:389
group_member_attr = memberOf
data_profiler_filter =
bind_password = admin
cacert =
user_filter = objectClass=*
user_name_attr = cn
superuser_filter =
[api]
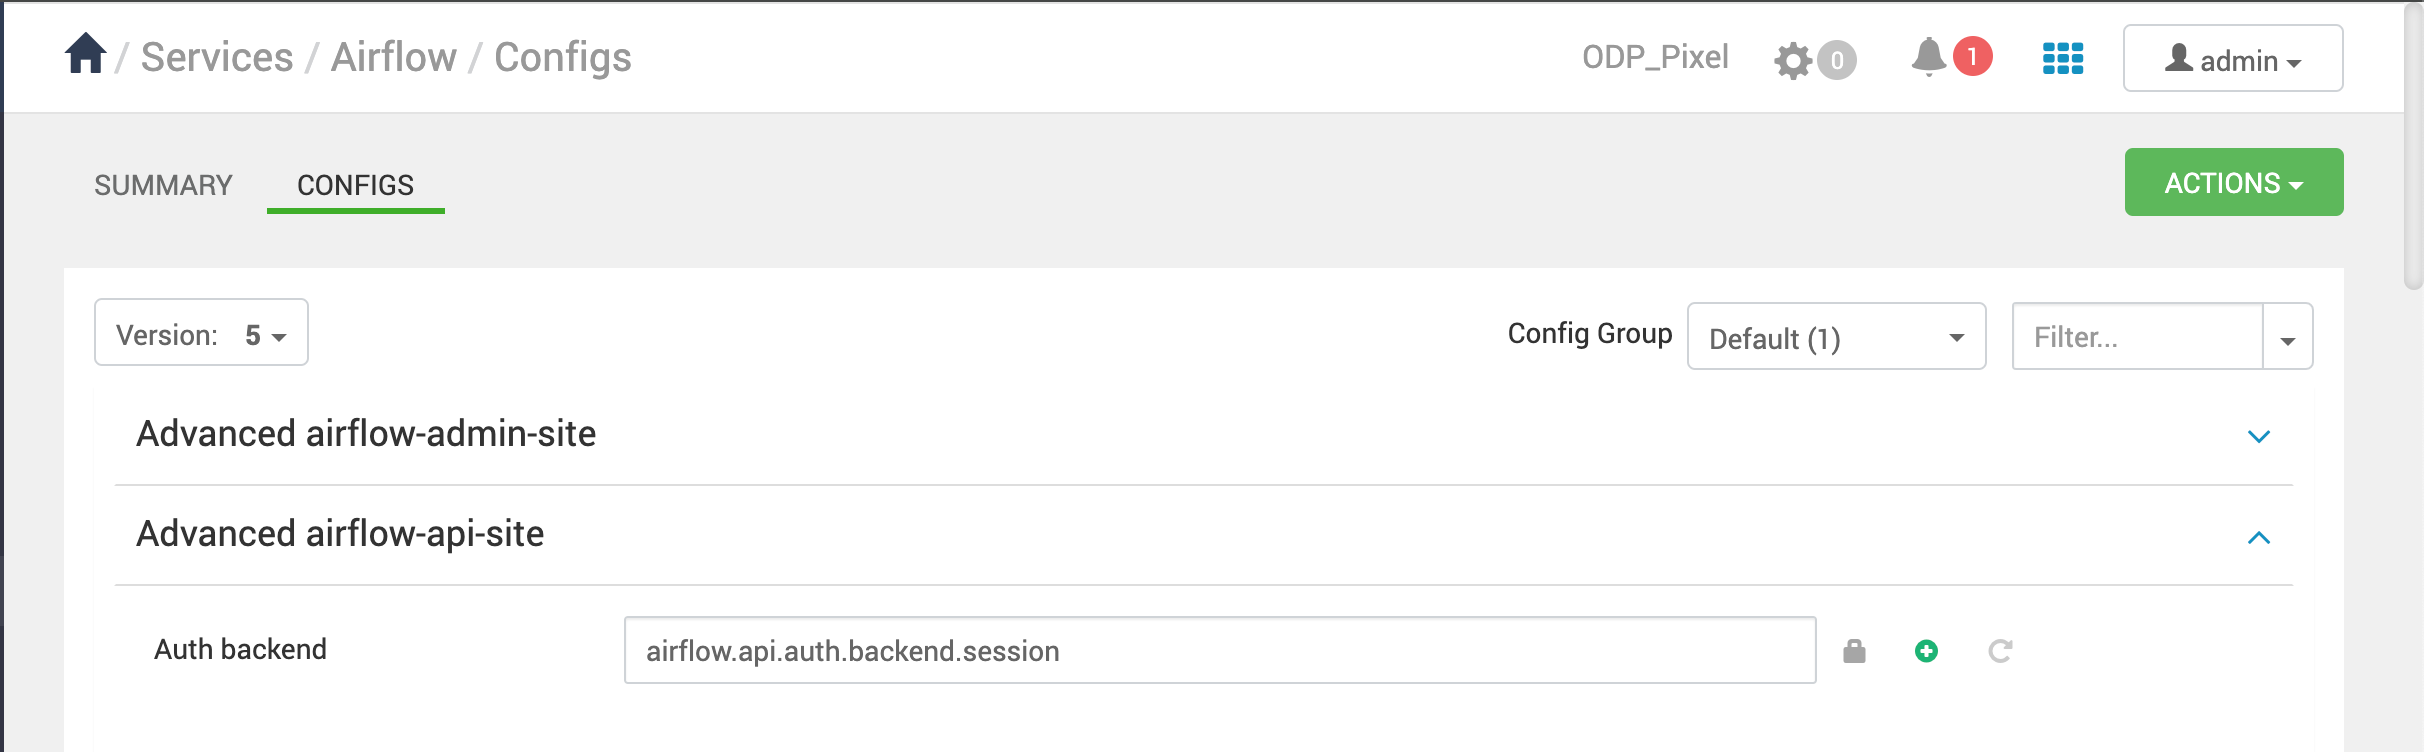
auth_backend = airflow.api.auth.backend.session
[webserver]
rbac = True
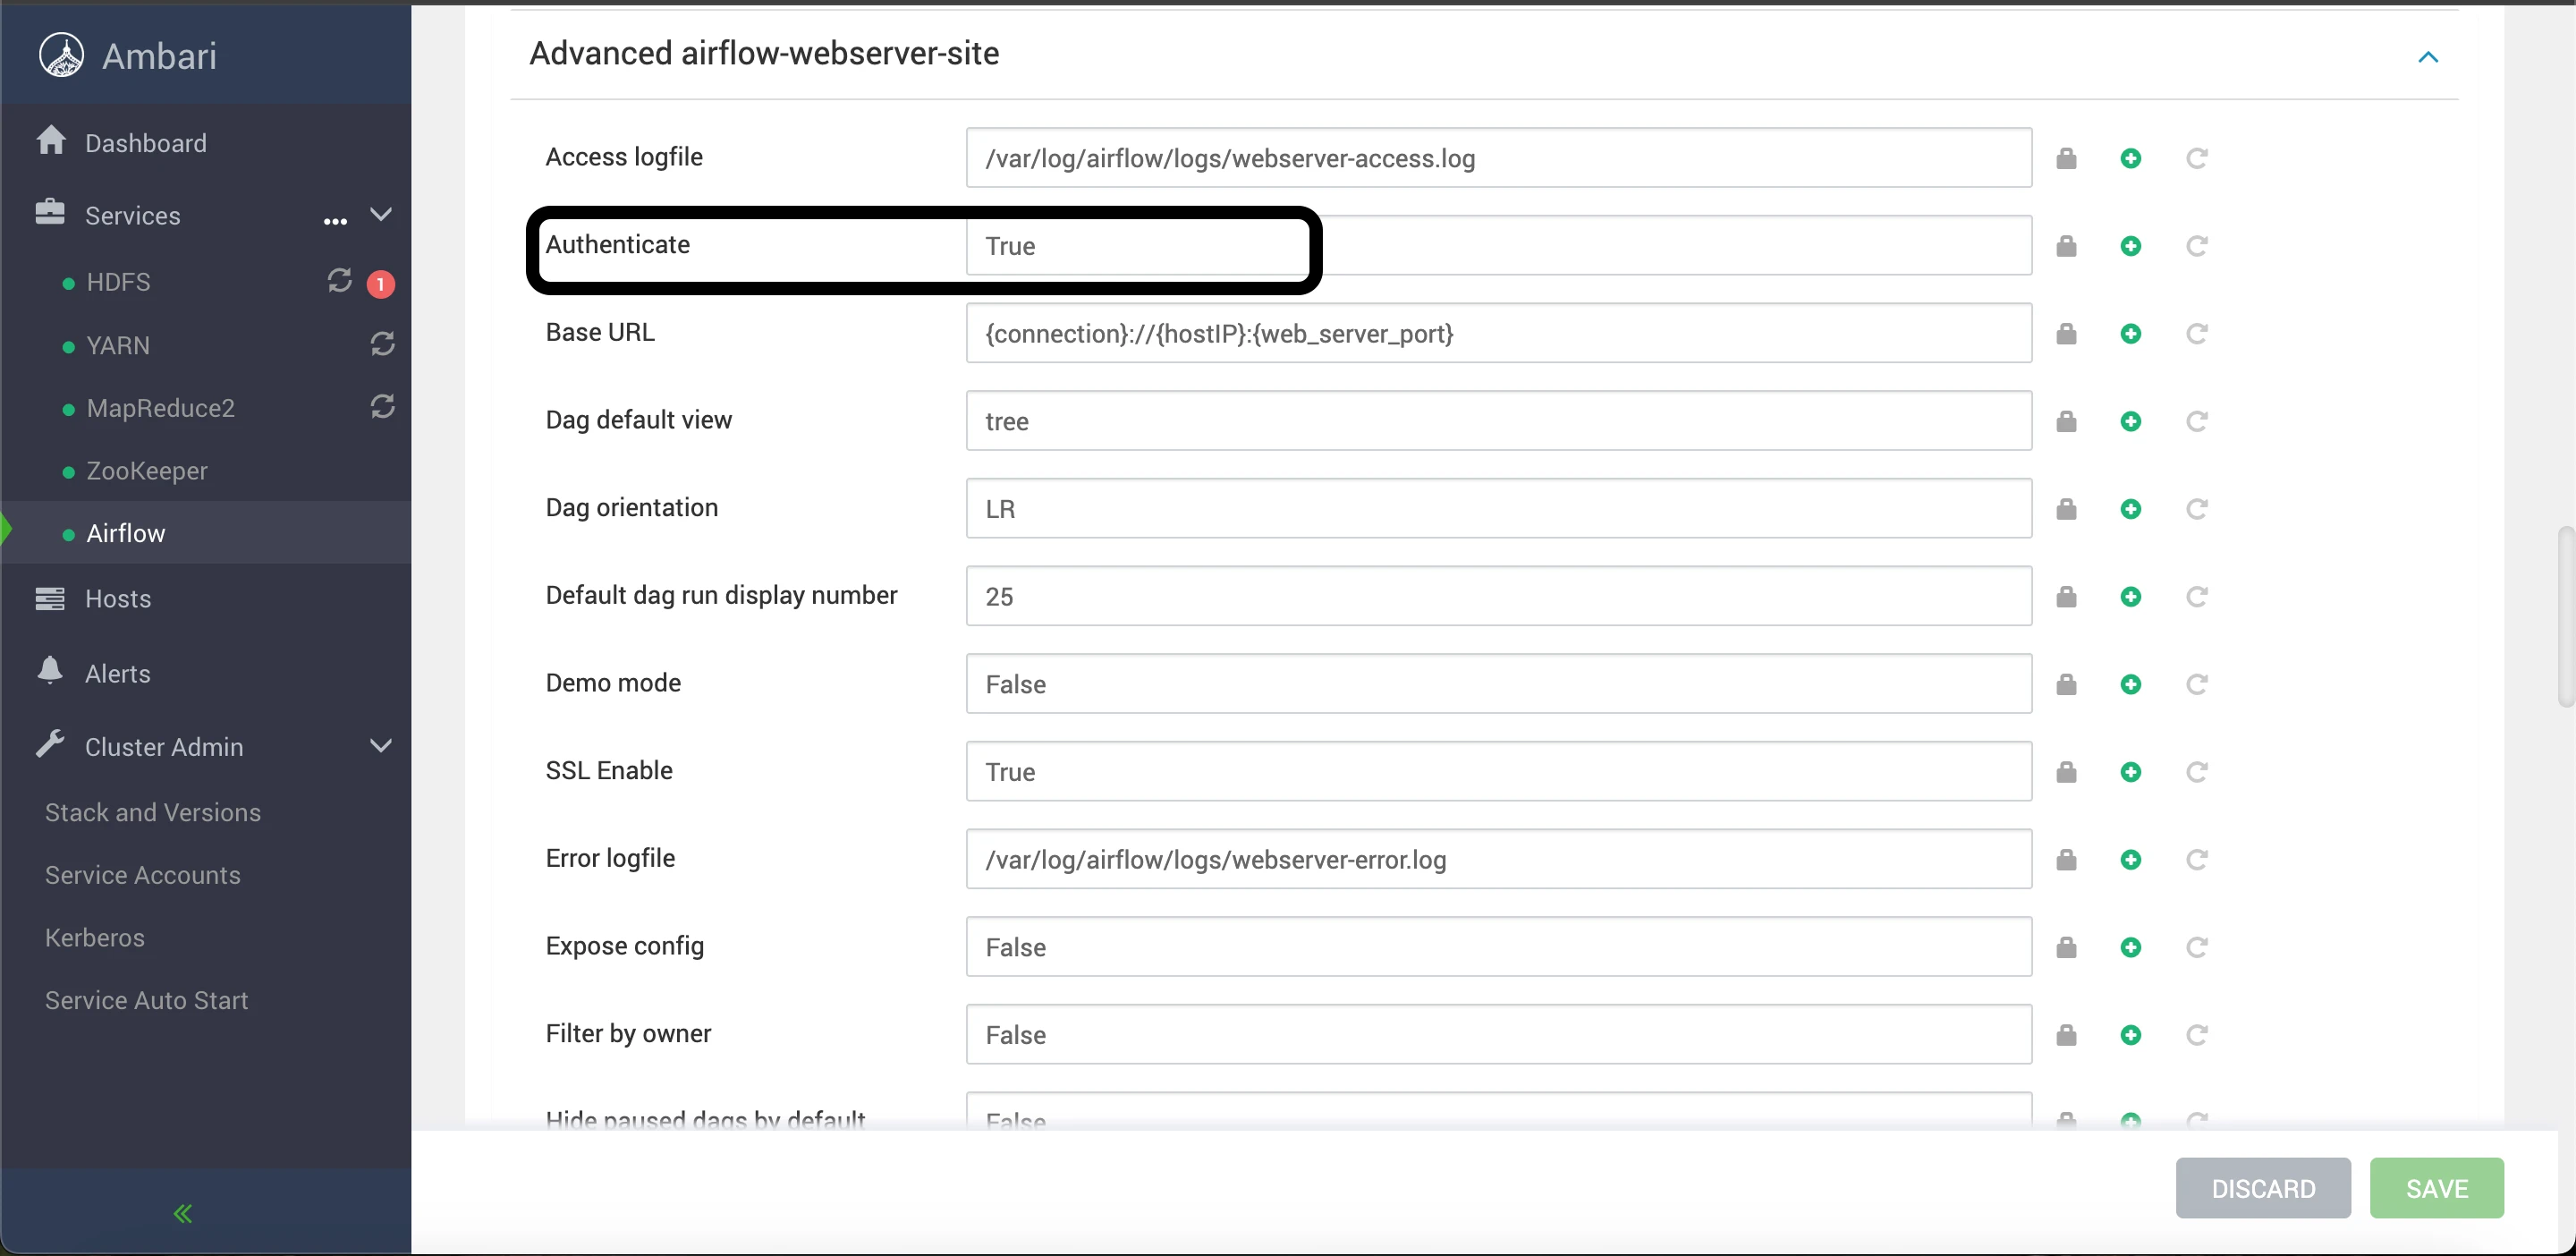
authenticate = True
Advanced airflow-ldap-site:
Advanced airflow-api-site:
Advanced airflow-webserver-site:
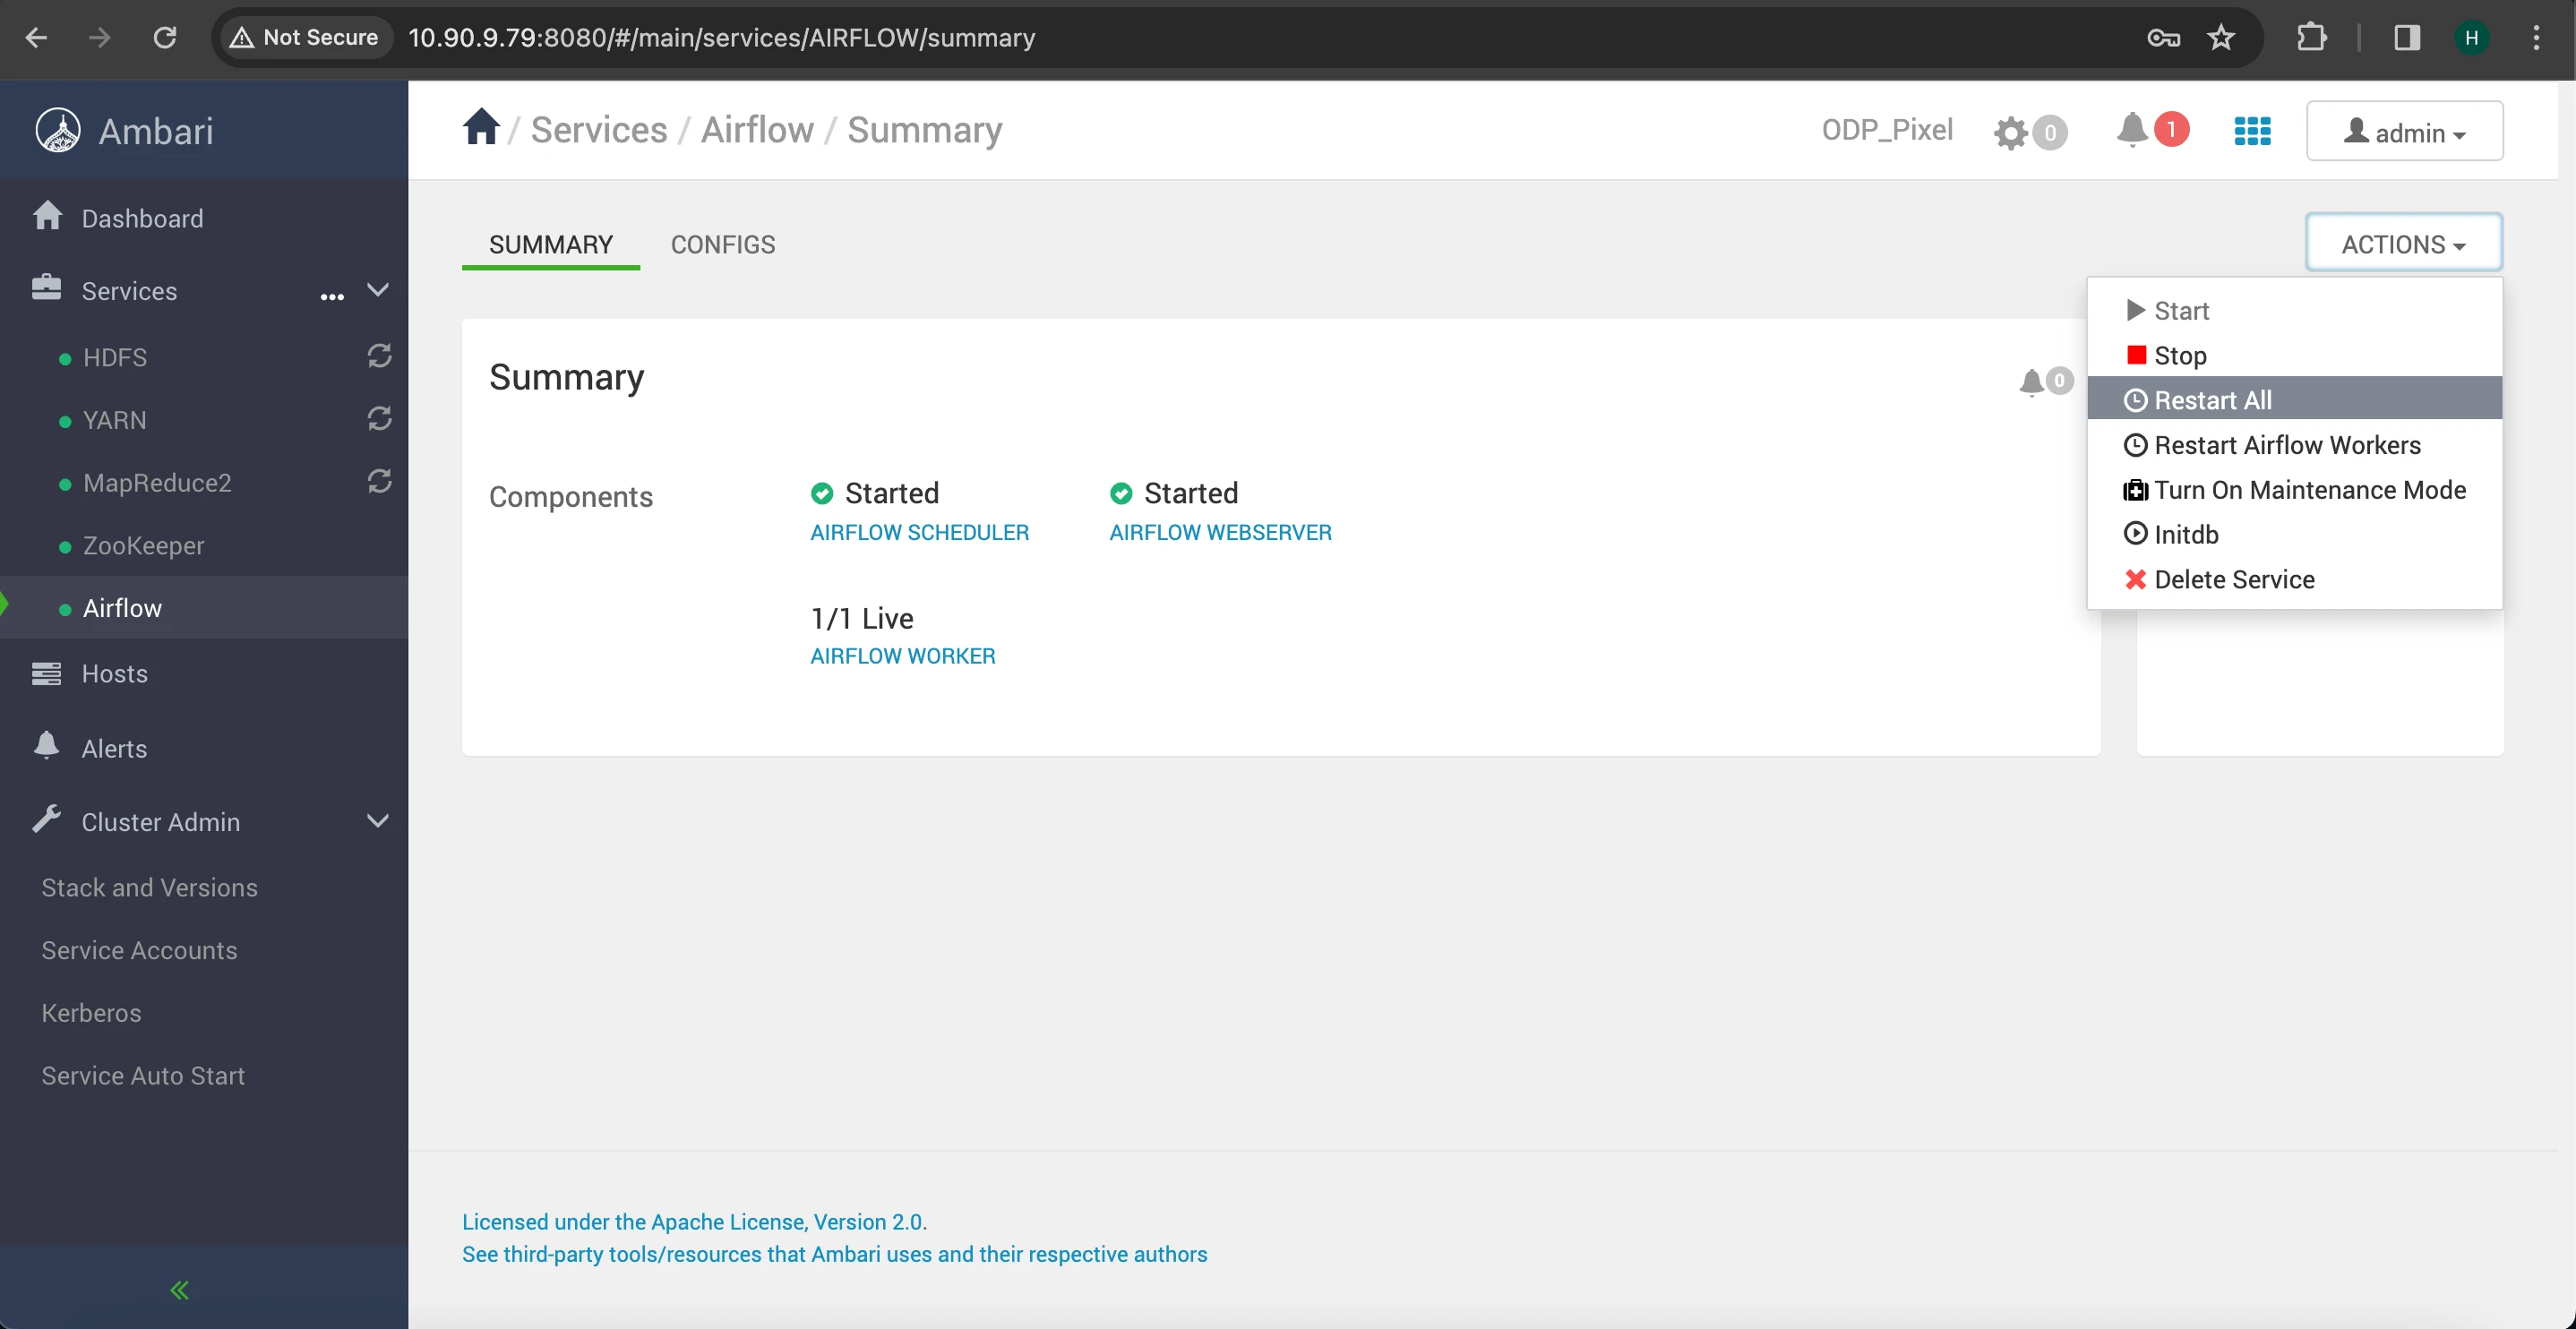
Restart Airflow Components
Note
It is advised to set up your own LDAP server with custom user configurations for security and management purposes.
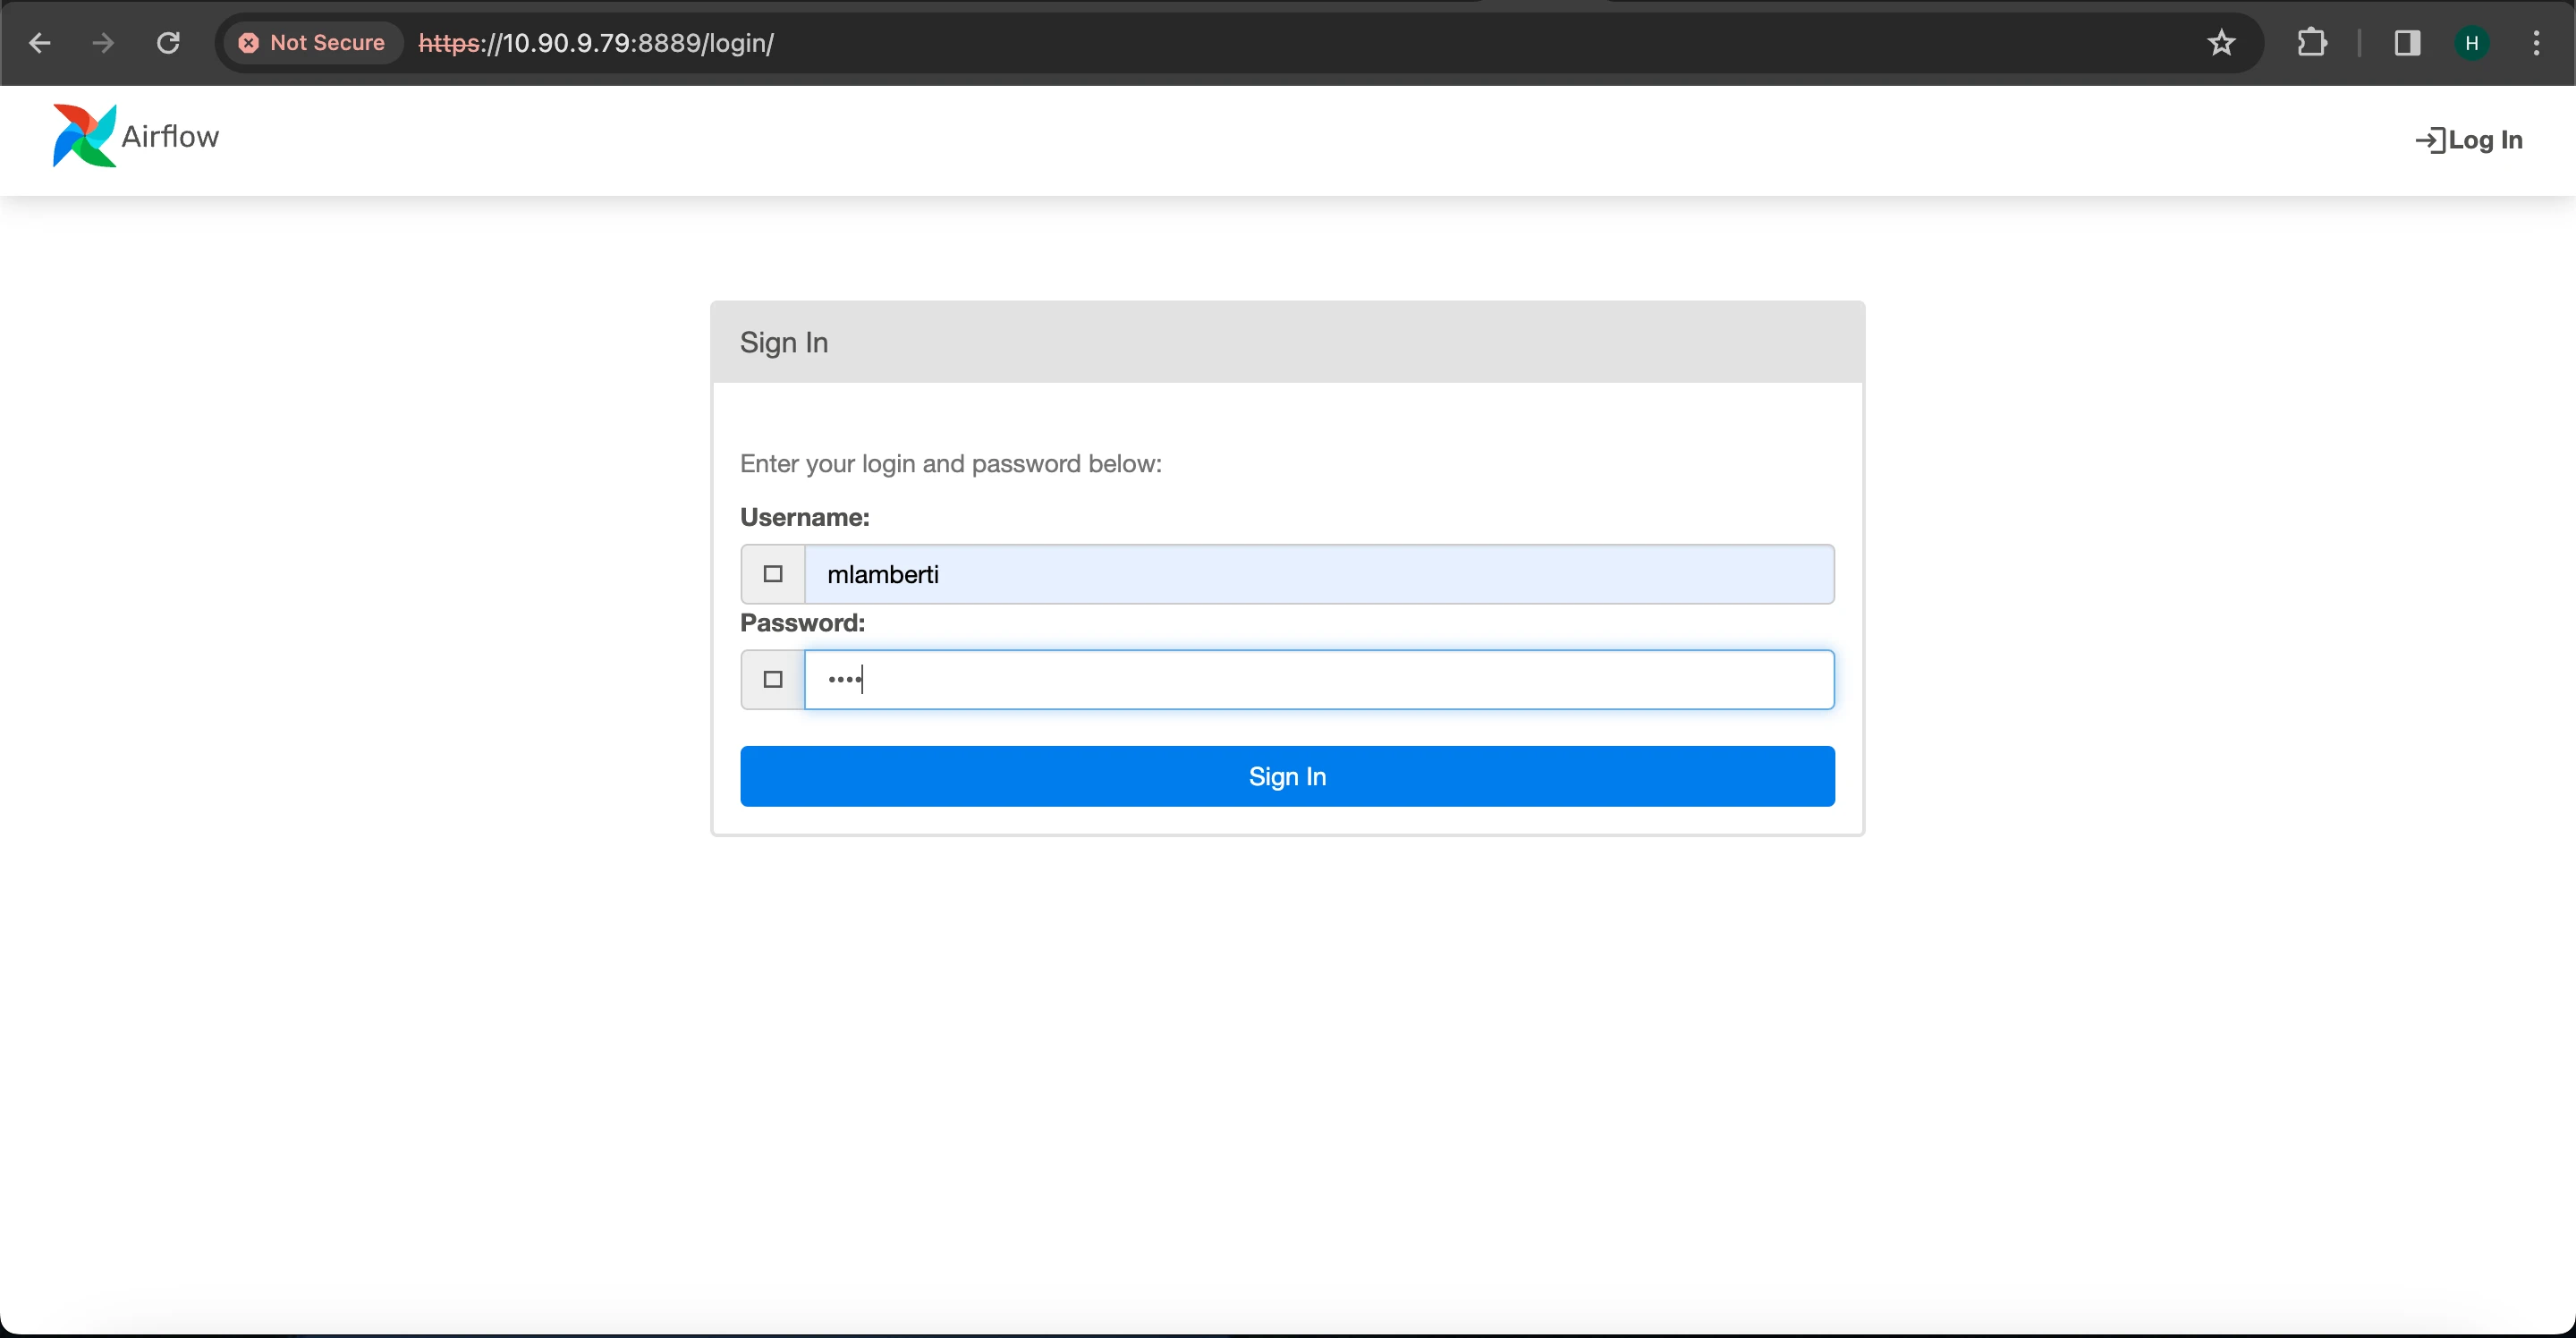
Below the LDAP admin user has been configured:
- Username: mlamberti
- Password: marc
This section provides step by step instructions for setting up SSL within the Airflow environment. Beginning with generating SSL certificates and keys using OpenSSL, the process continues with configuring Airflow's web server settings via the Ambari UI. Following these steps ensures a robust SSL setup, enabling users to access the Airflow web server securely. Additionally, this guide touches on Kerberos integration, clarifying automated setup within Airflow and offering instructions for disabling Kerberos if needed.
To set up SSL, follow these steps:
Navigate to the Airflow home directory.
Generate a new SSL certificate and key by running the following OpenSSL command:
openssl req \
-newkey rsa:2048 -nodes -keyout domain.key \
-x509 -days 365 -out airflow.crt
After generating the SSL certificate and key, update the Airflow webserver configurations from the Ambari UI with the following settings:
Set SSL Enable to True.
Specify the web server host IP address.
Additionally, in the Ambari UI for the web server configuration, update the following parameters:
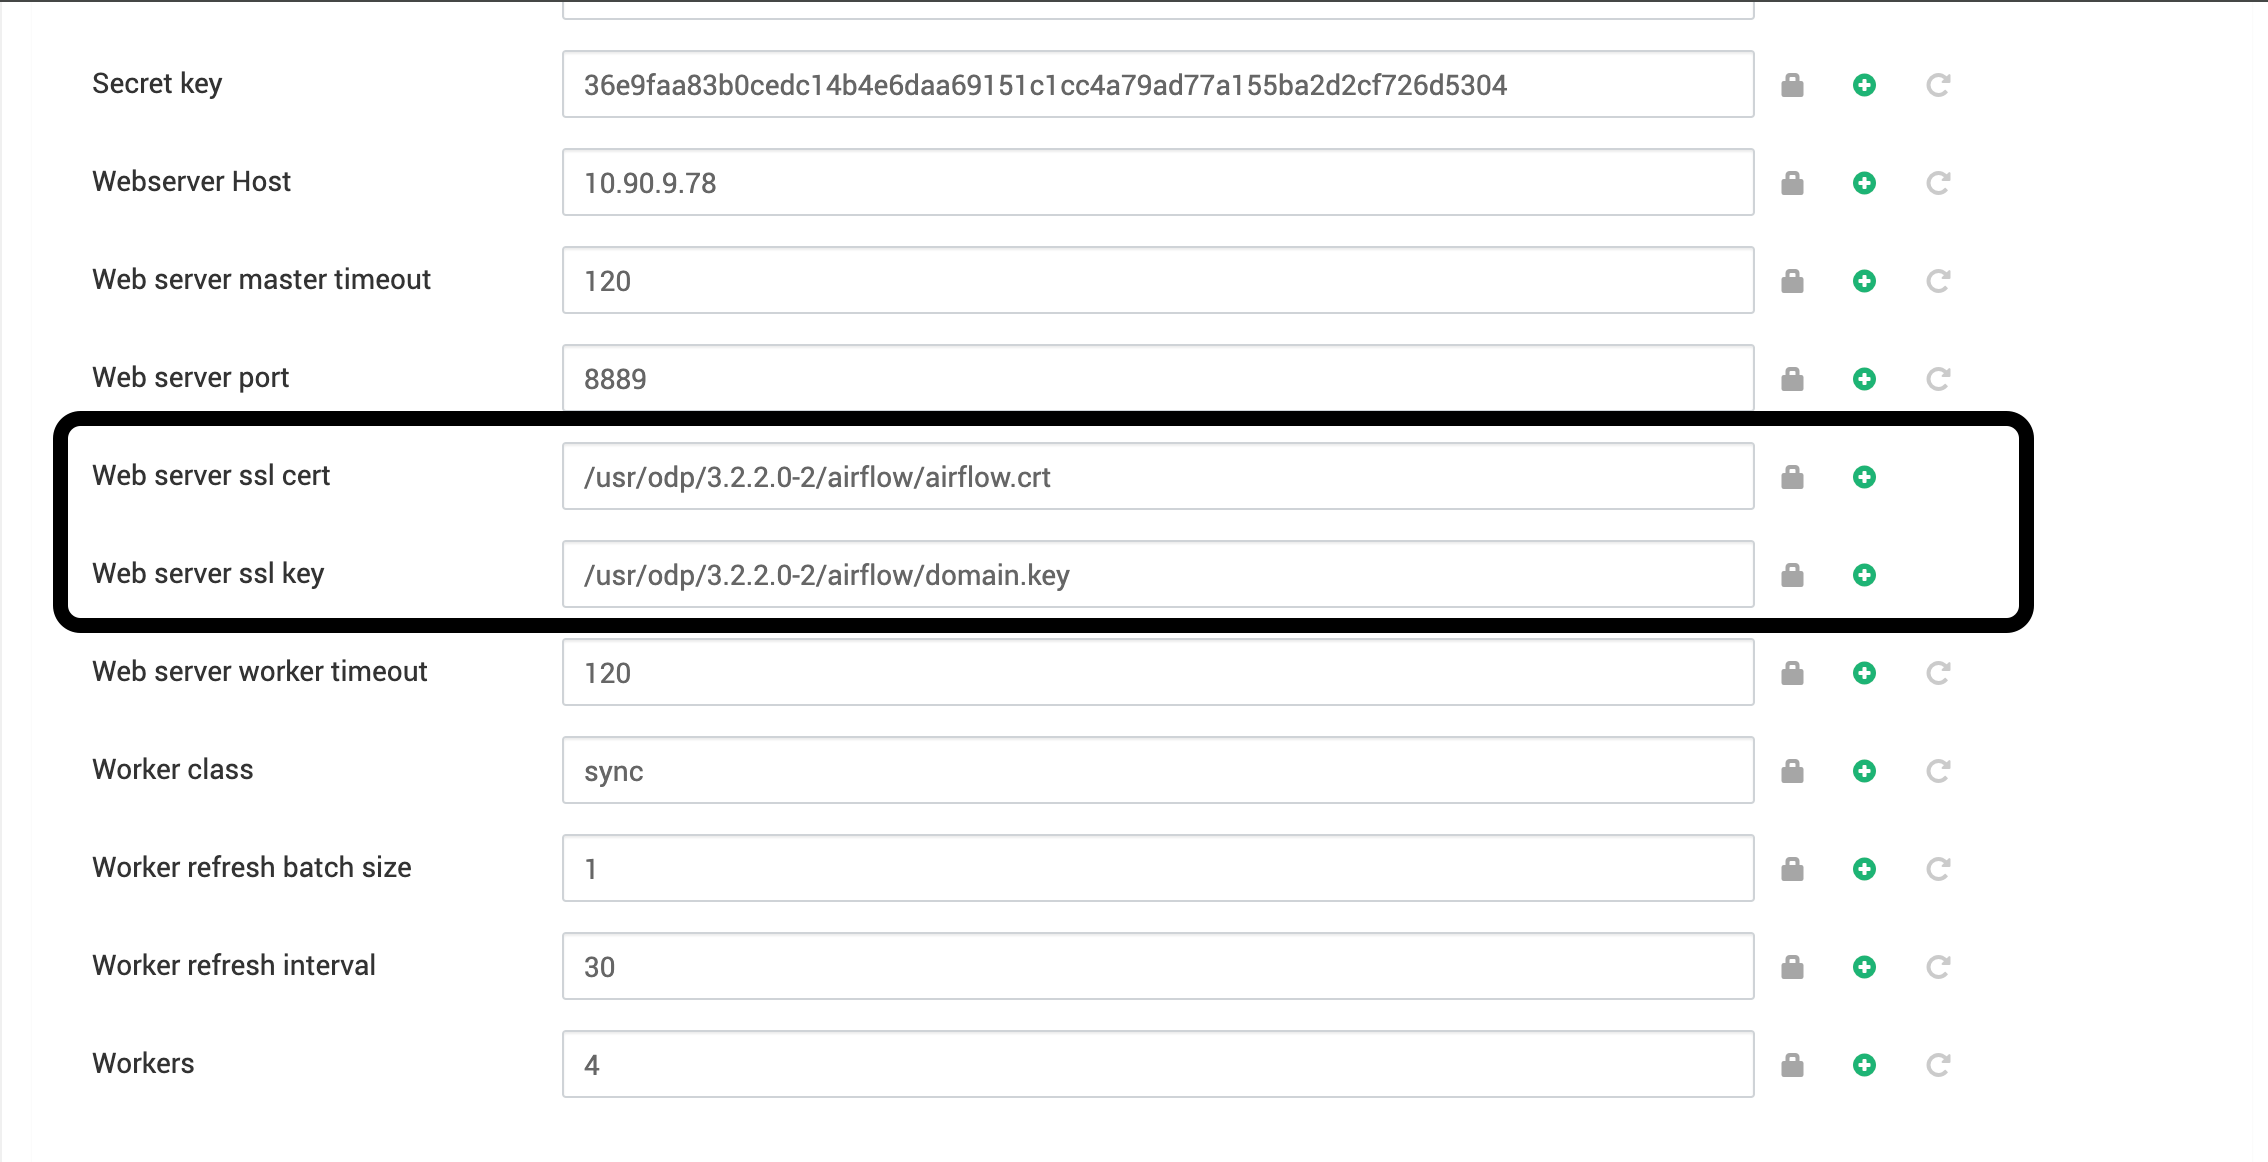
Web server SSL certificate: /usr/odp/3.2.3.1-2/airflow/airflow.crt
Web server SSL key: /usr/odp/3.2.3.1-2/airflow/domain.key
Specify the file path for the certificate and key files in the Ambari UI. __
Adjust the ownership and permissions of the SSL certificate and key files using the following commands:
chown airflow:airflow /usr/odp/3.2.3.3-2/airflow/airflow.crt
chmod 644 /usr/odp/3.2.3.1-2/airflow/airflow.crt
chown airflow:airflow /usr/odp/3.2.3.3-2/airflow/domain.key
chmod 600 /usr/odp/3.2.3.3-2/airflow/domain.key
Ensure that the Certificate and Key files have the correct permissions assigned to them for both the airflow user and group.
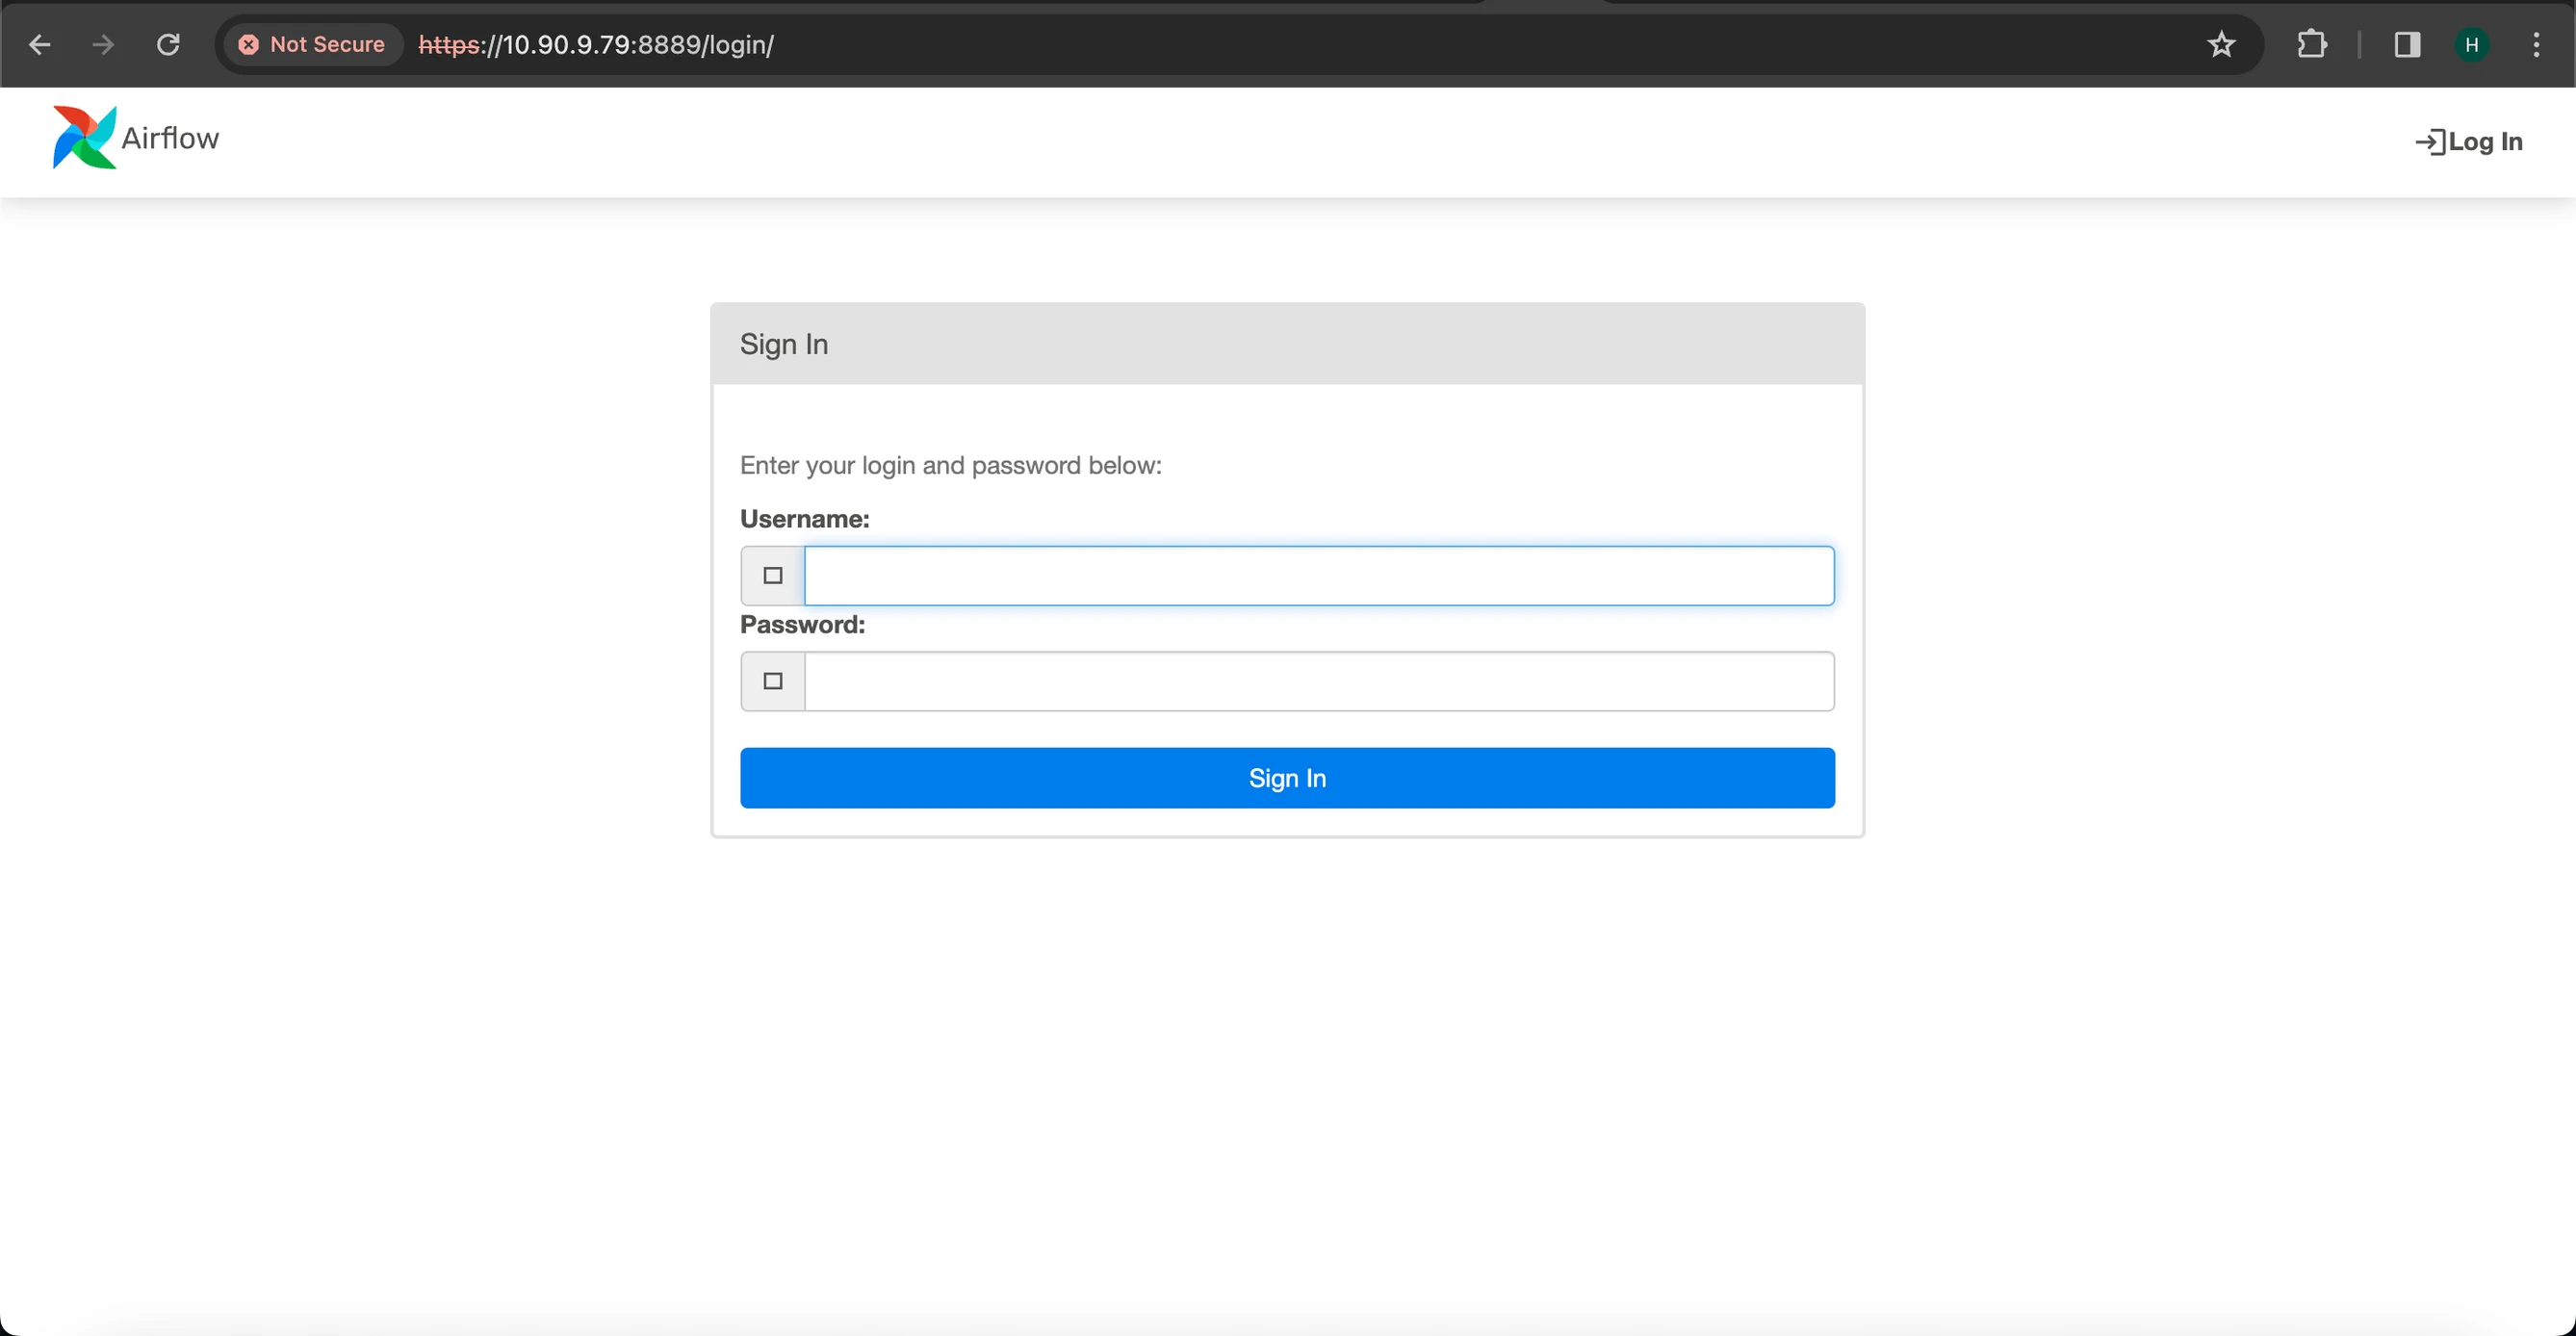
Restart the Airflow components and then access the Airflow webserver UI using the HTTPS protocol and the specified host IP and port (8889).
Check if the HTTPS URL is functioning properly.
Note
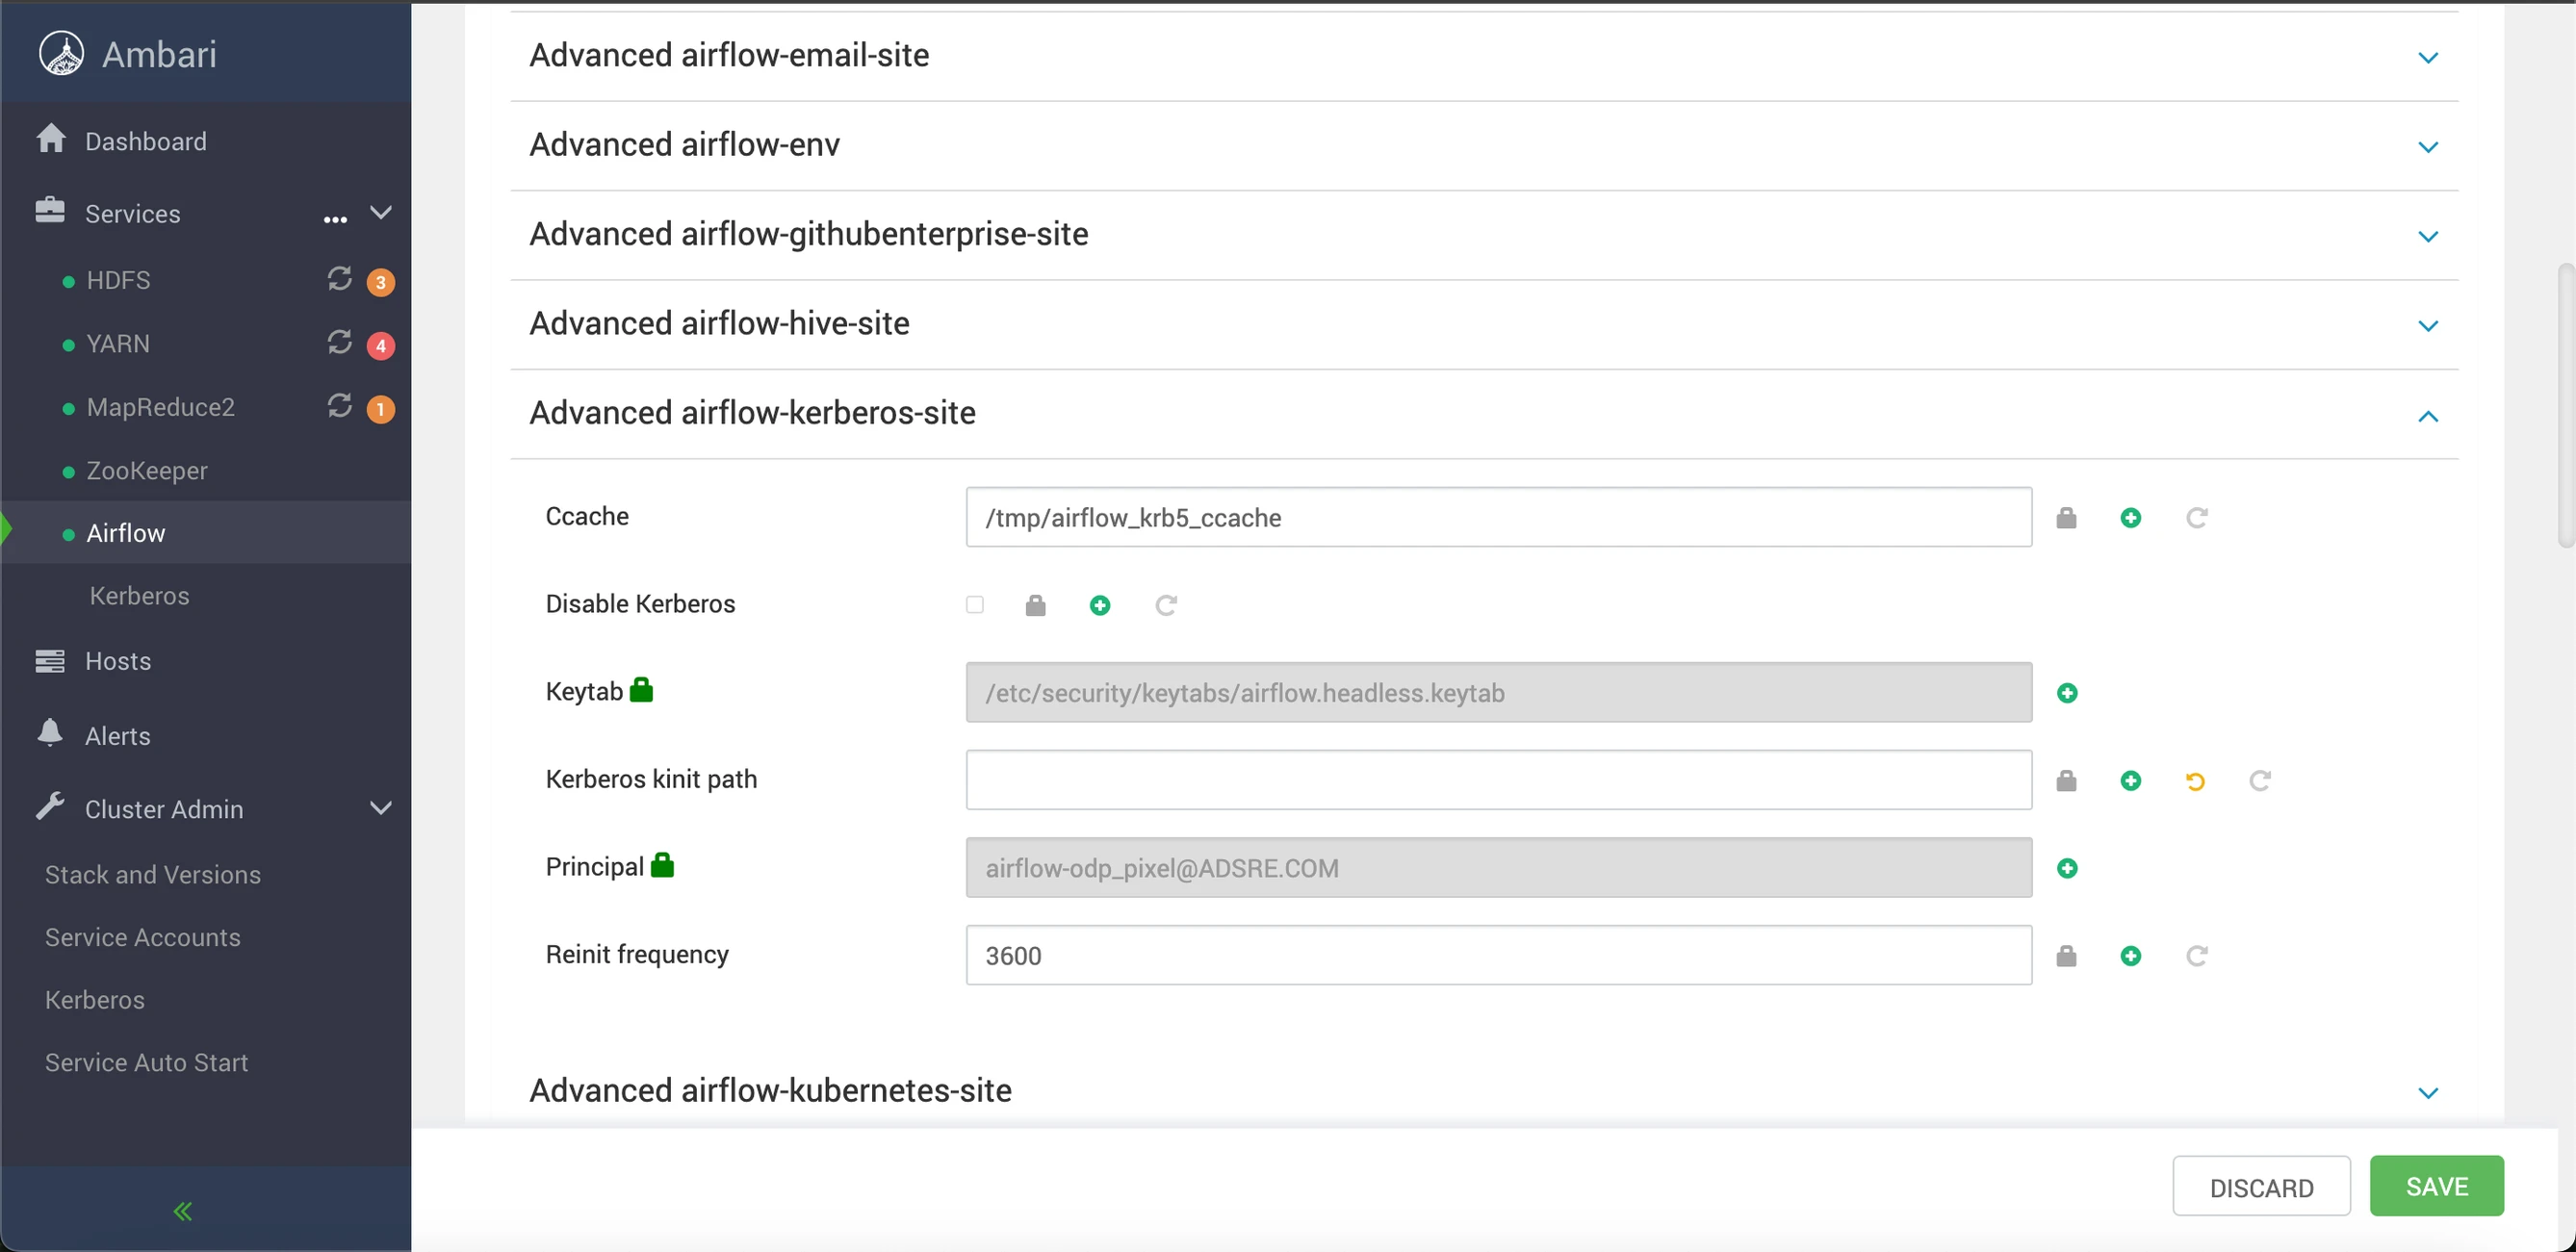
Kerberos integration in Apache Airflow is automated when the cluster has Kerberos enabled. You need not manually configure Kerberos for Airflow. To disable or stop Kerberos after it's been enabled, simply toggle the Disable Kerberos checkbox. Kerberos will then be deactivated for the Apache Airflow service.
The checkbox to disable Kerberos can be found in the Advanced Kerberos Site section. Navigate to this section, locate the checkbox labeled Disable Kerberos, and select it to deactivate Kerberos for the Apache Airflow service.
RabbitMQ, an implementation of the Advanced Message Queuing Protocol (AMQP), serves as a queueing service. It stands as a fast and reliable open-source message server, accommodating diverse scenarios such as reliable integration, content-based routing, global data dissemination, and robust monitoring alongside high-capacity data ingestion.
To configure RabbitMQ, perform the following:
# Install EPEL repository and curl
dnf install epel-release curl -y
# Add RabbitMQ repositories and install Erlang
curl -s "https://packagecloud.io/install/repositories/rabbitmq/rabbitmq-server/script.rpm.sh" | bash
curl -s "https://packagecloud.io/install/repositories/rabbitmq/erlang/script.rpm.sh" | bash
dnf install erlang -y
# Install RabbitMQ server
dnf install rabbitmq-server -y
# Start and enable RabbitMQ server
systemctl start rabbitmq-server
systemctl enable rabbitmq-server
# Create an admin user
rabbitmqctl add_user admin
# Set admin user tags
rabbitmqctl set_user_tags admin administrator
# List users
rabbitmqctl list_users
# Add a virtual host for Airflow
rabbitmqctl add_vhost airflow
# List virtual hosts
rabbitmqctl list_vhosts
# Set permissions for the admin user on the Airflow virtual host
rabbitmqctl set_permissions -p airflow admin ".*" ".*" ".*"
# Enable RabbitMQ management plugin
rabbitmq-plugins enable rabbitmq_management
# Restart RabbitMQ server
systemctl restart rabbitmq-server
# Install pyamqp package for Python 3
pip3.8 install pyamqp
# Check the status
rabbitmqctl status
ss -antpl | grep 15672
Info
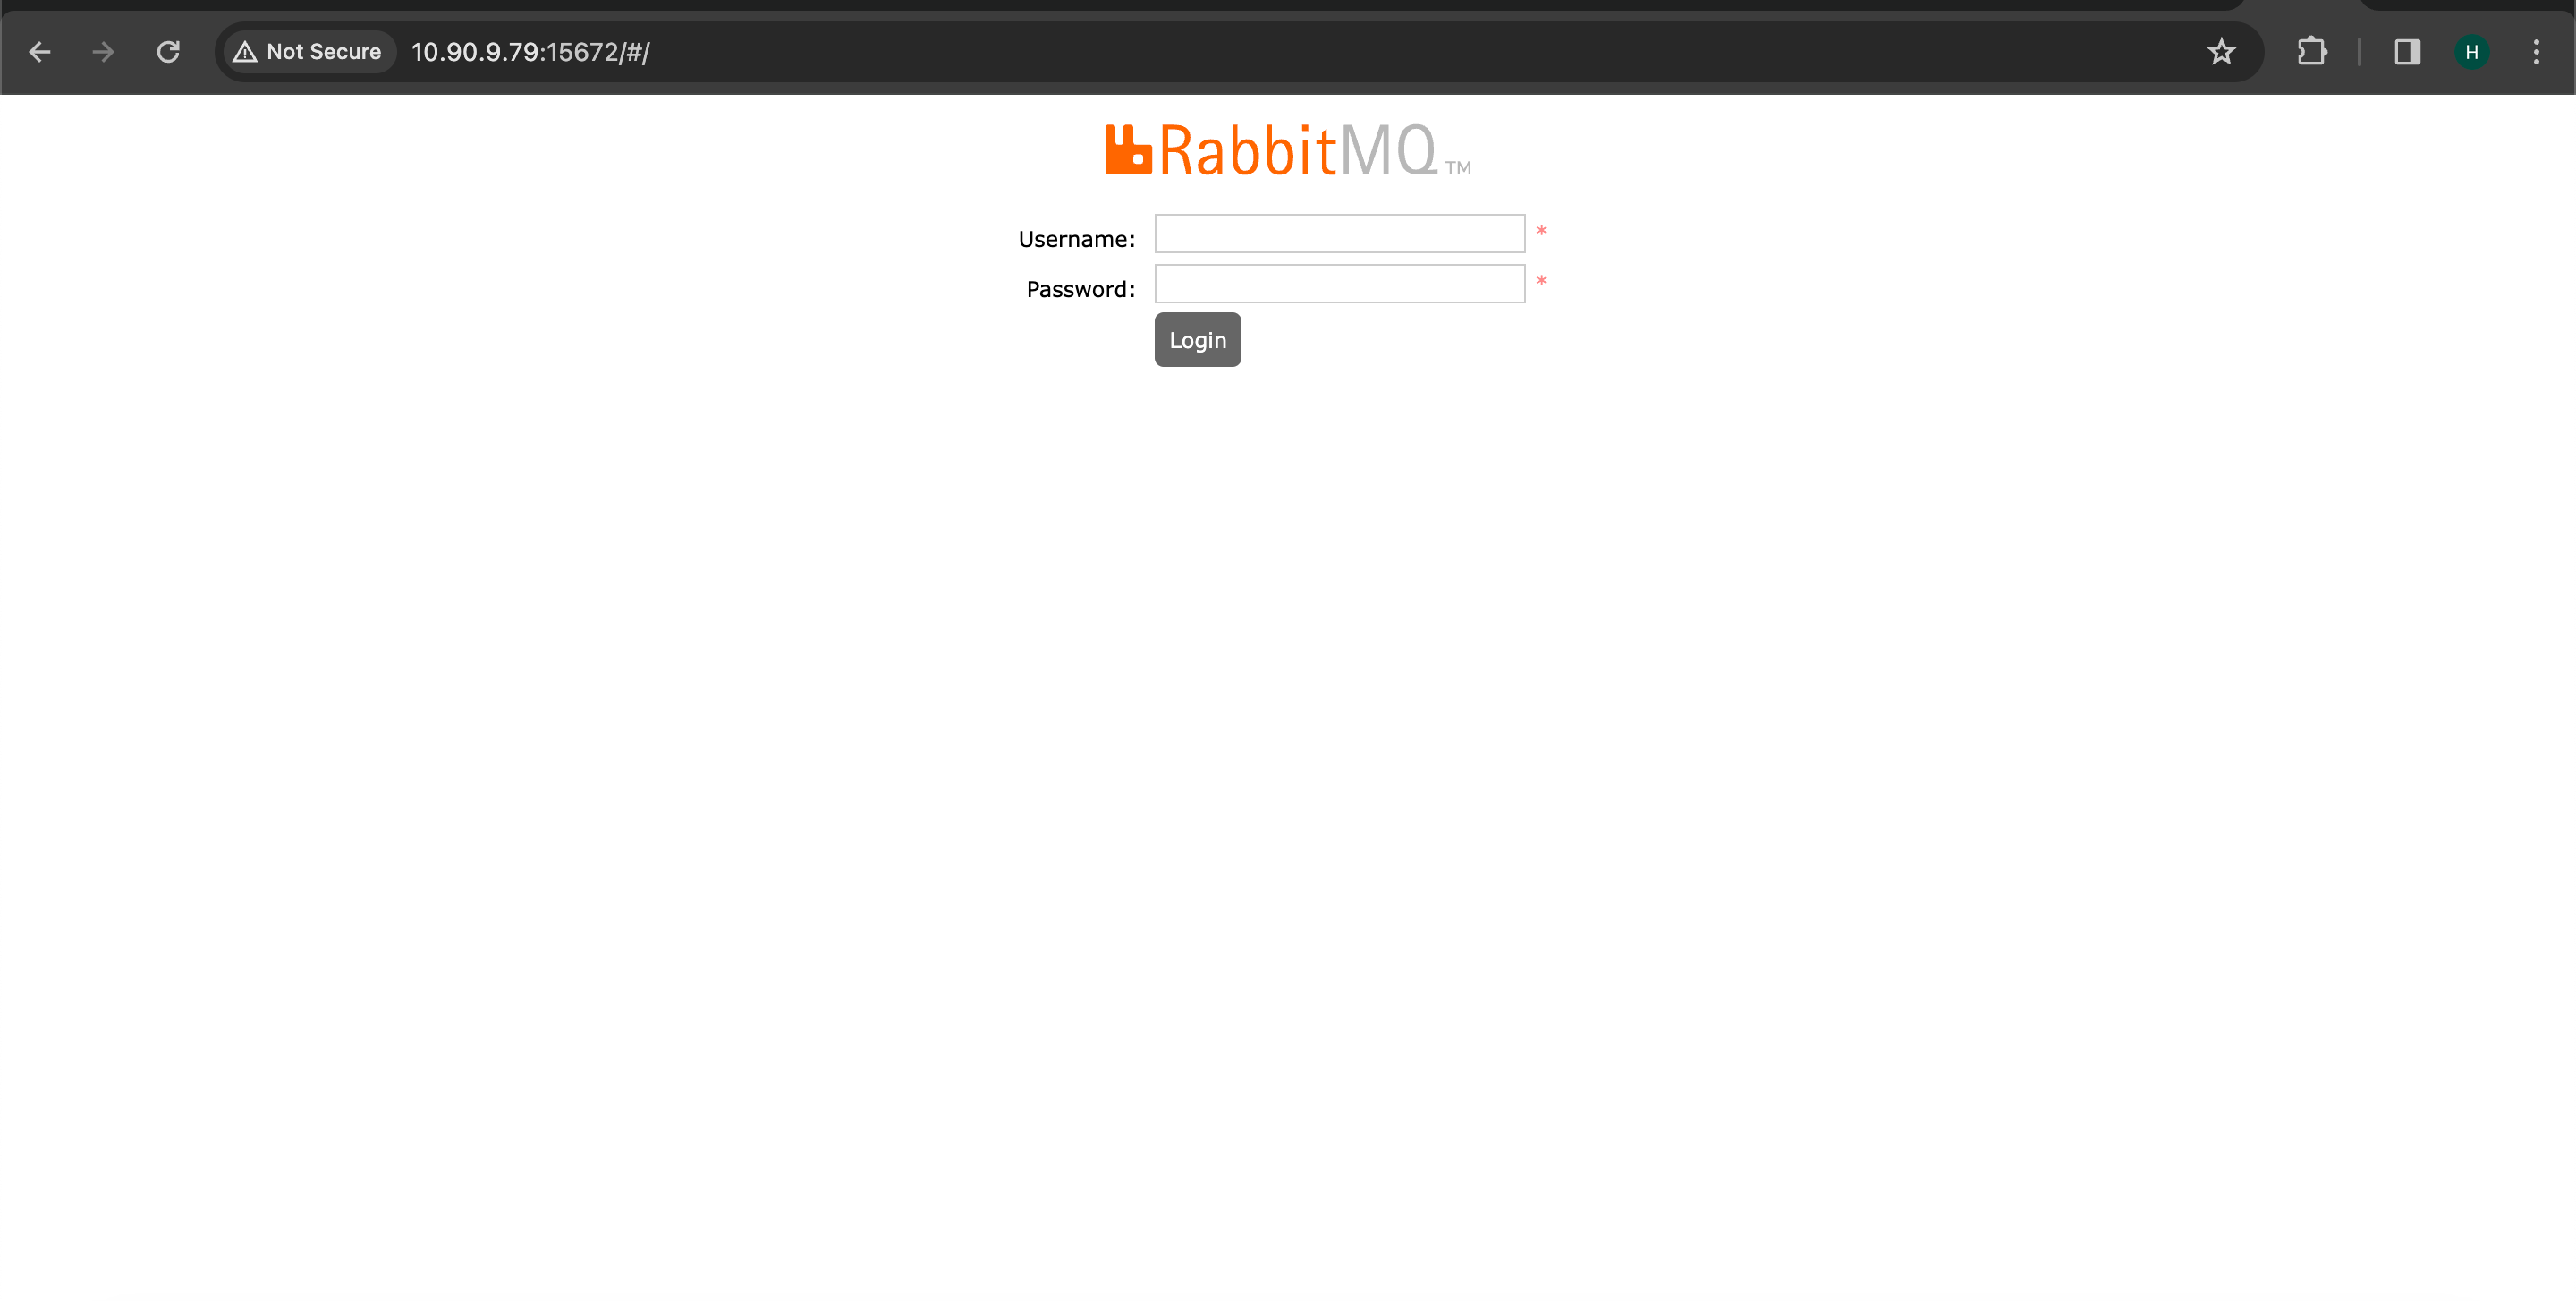
You can now try to access the RabbitMQ UI.
For updating RabbitMQ configuration via the Ambari UI, perform the following:
Log in to the Ambari UI.
Navigate to the RabbitMQ service within the database configuration section.
Locate the configuration section for the RabbitMQ service.
Adjust relevant parameters in the RabbitMQ configuration, including host, port, credentials, and virtual host.
Save the changes made.
Restart the Airflow service, if necessary, to implement the modifications.
By utilizing the Ambari UI to update RabbitMQ configuration, ensure that the RabbitMQ service aligns with your specific needs.
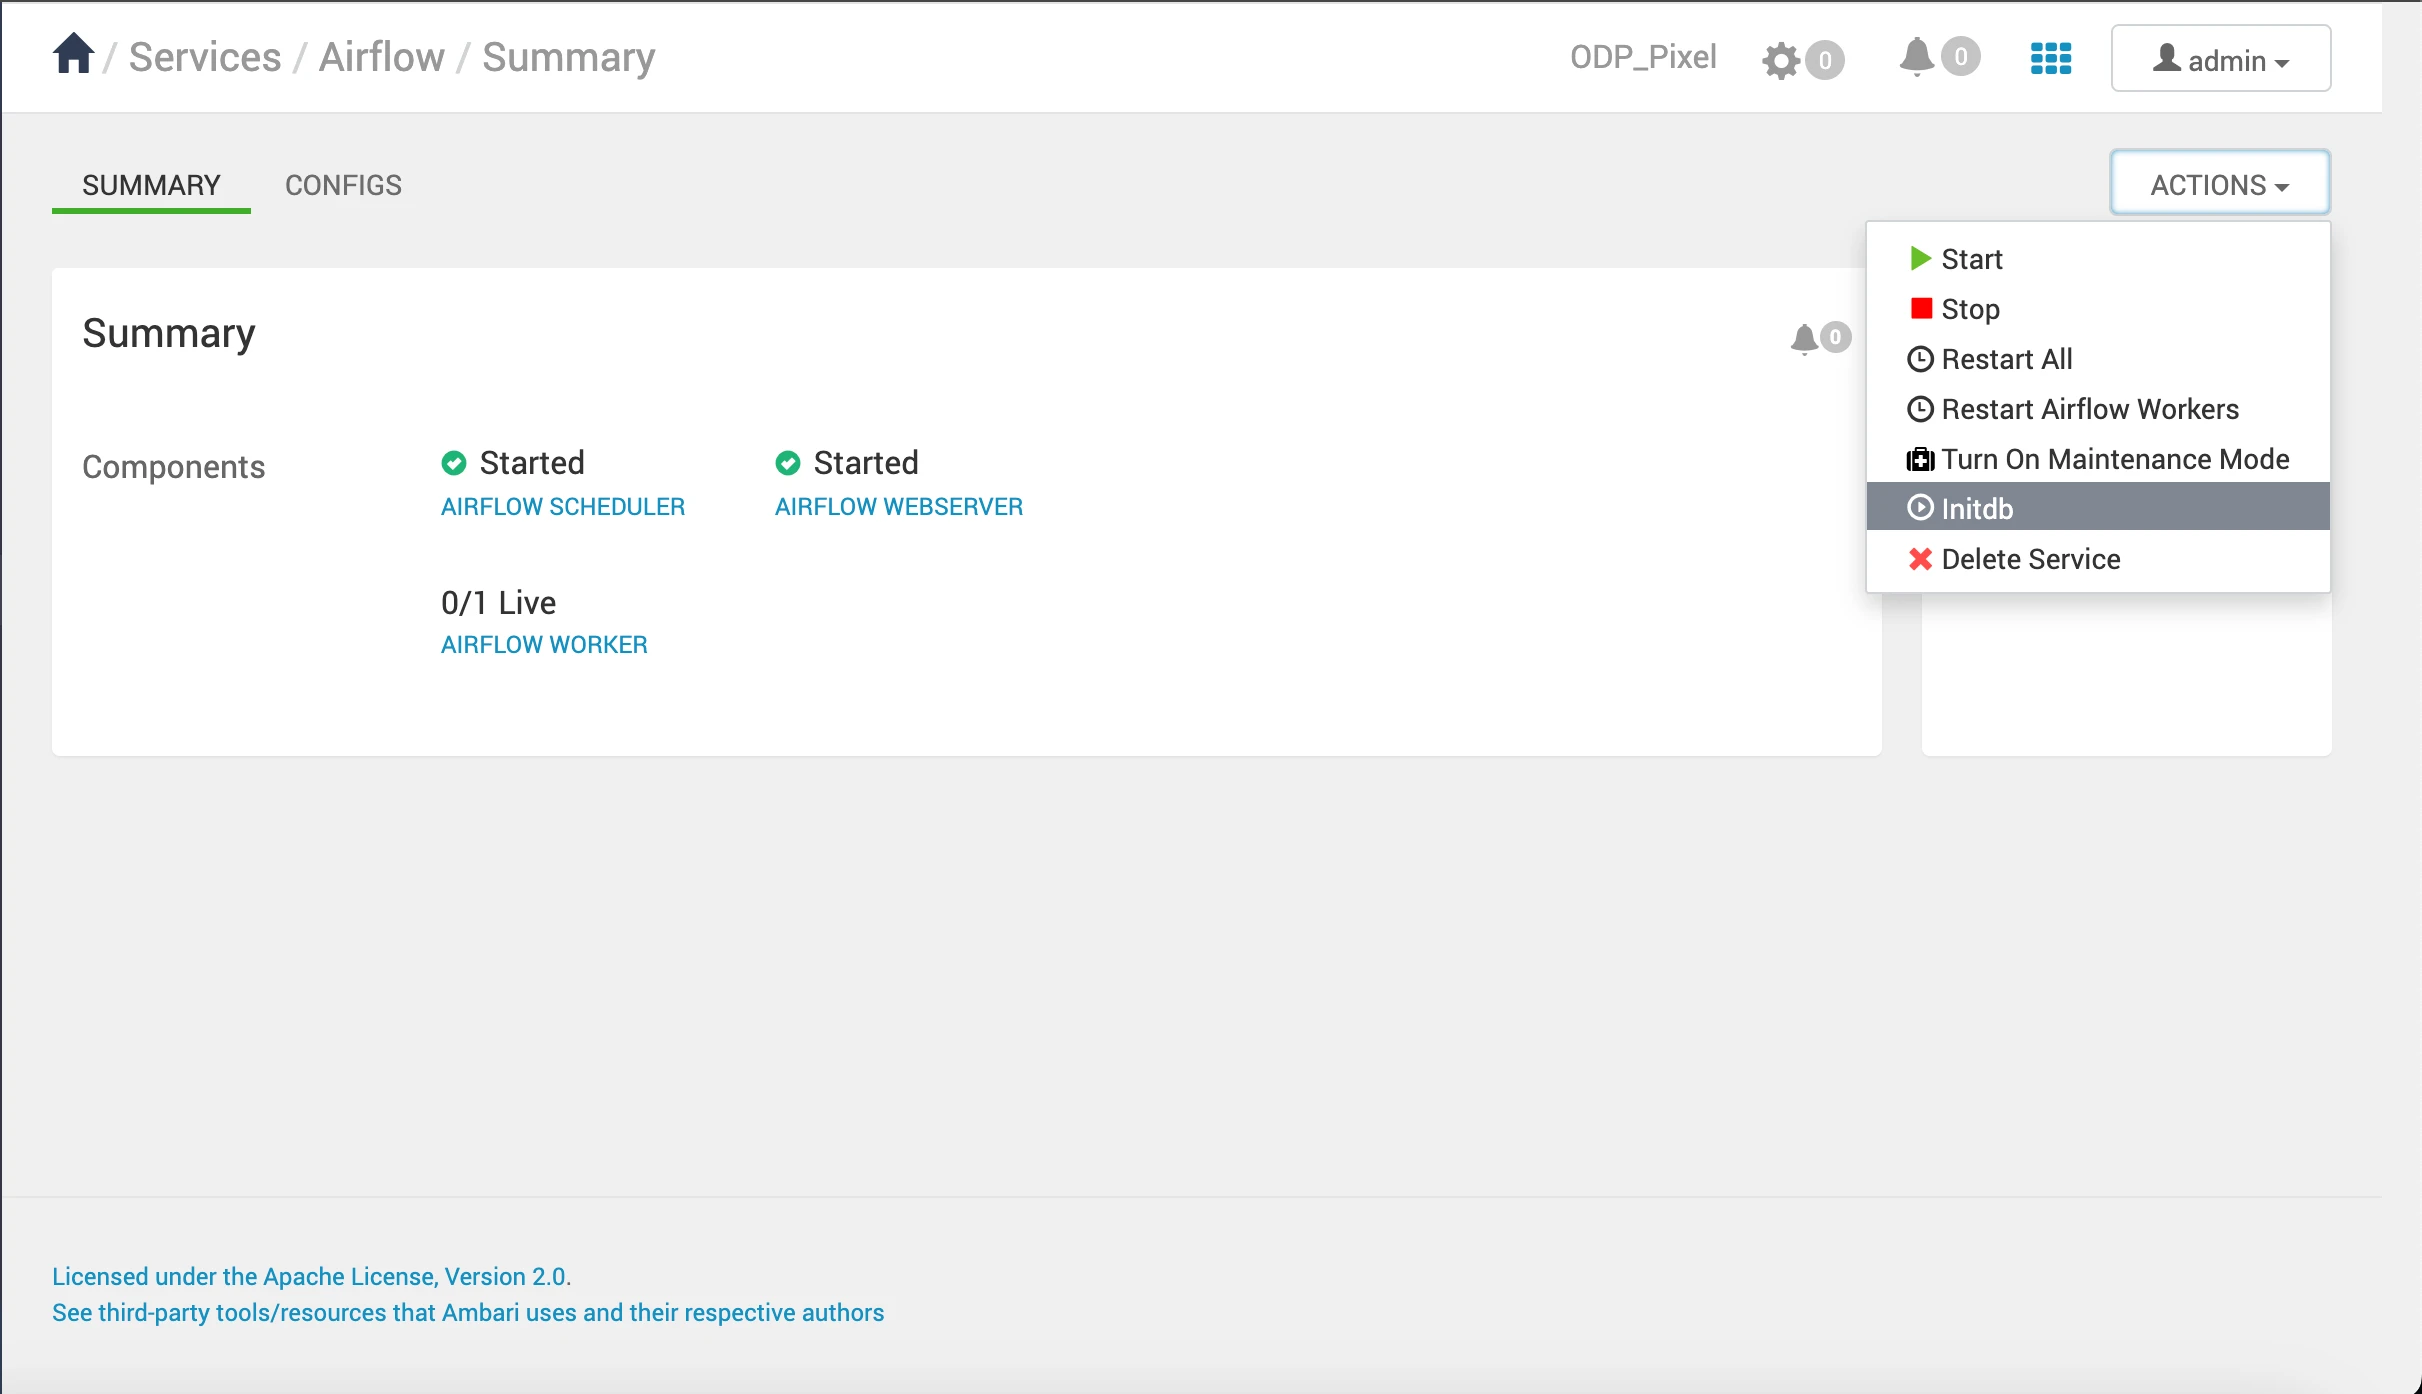
Initiate the Airflow database initialization process through the Ambari UI.
Restart the Airflow services.
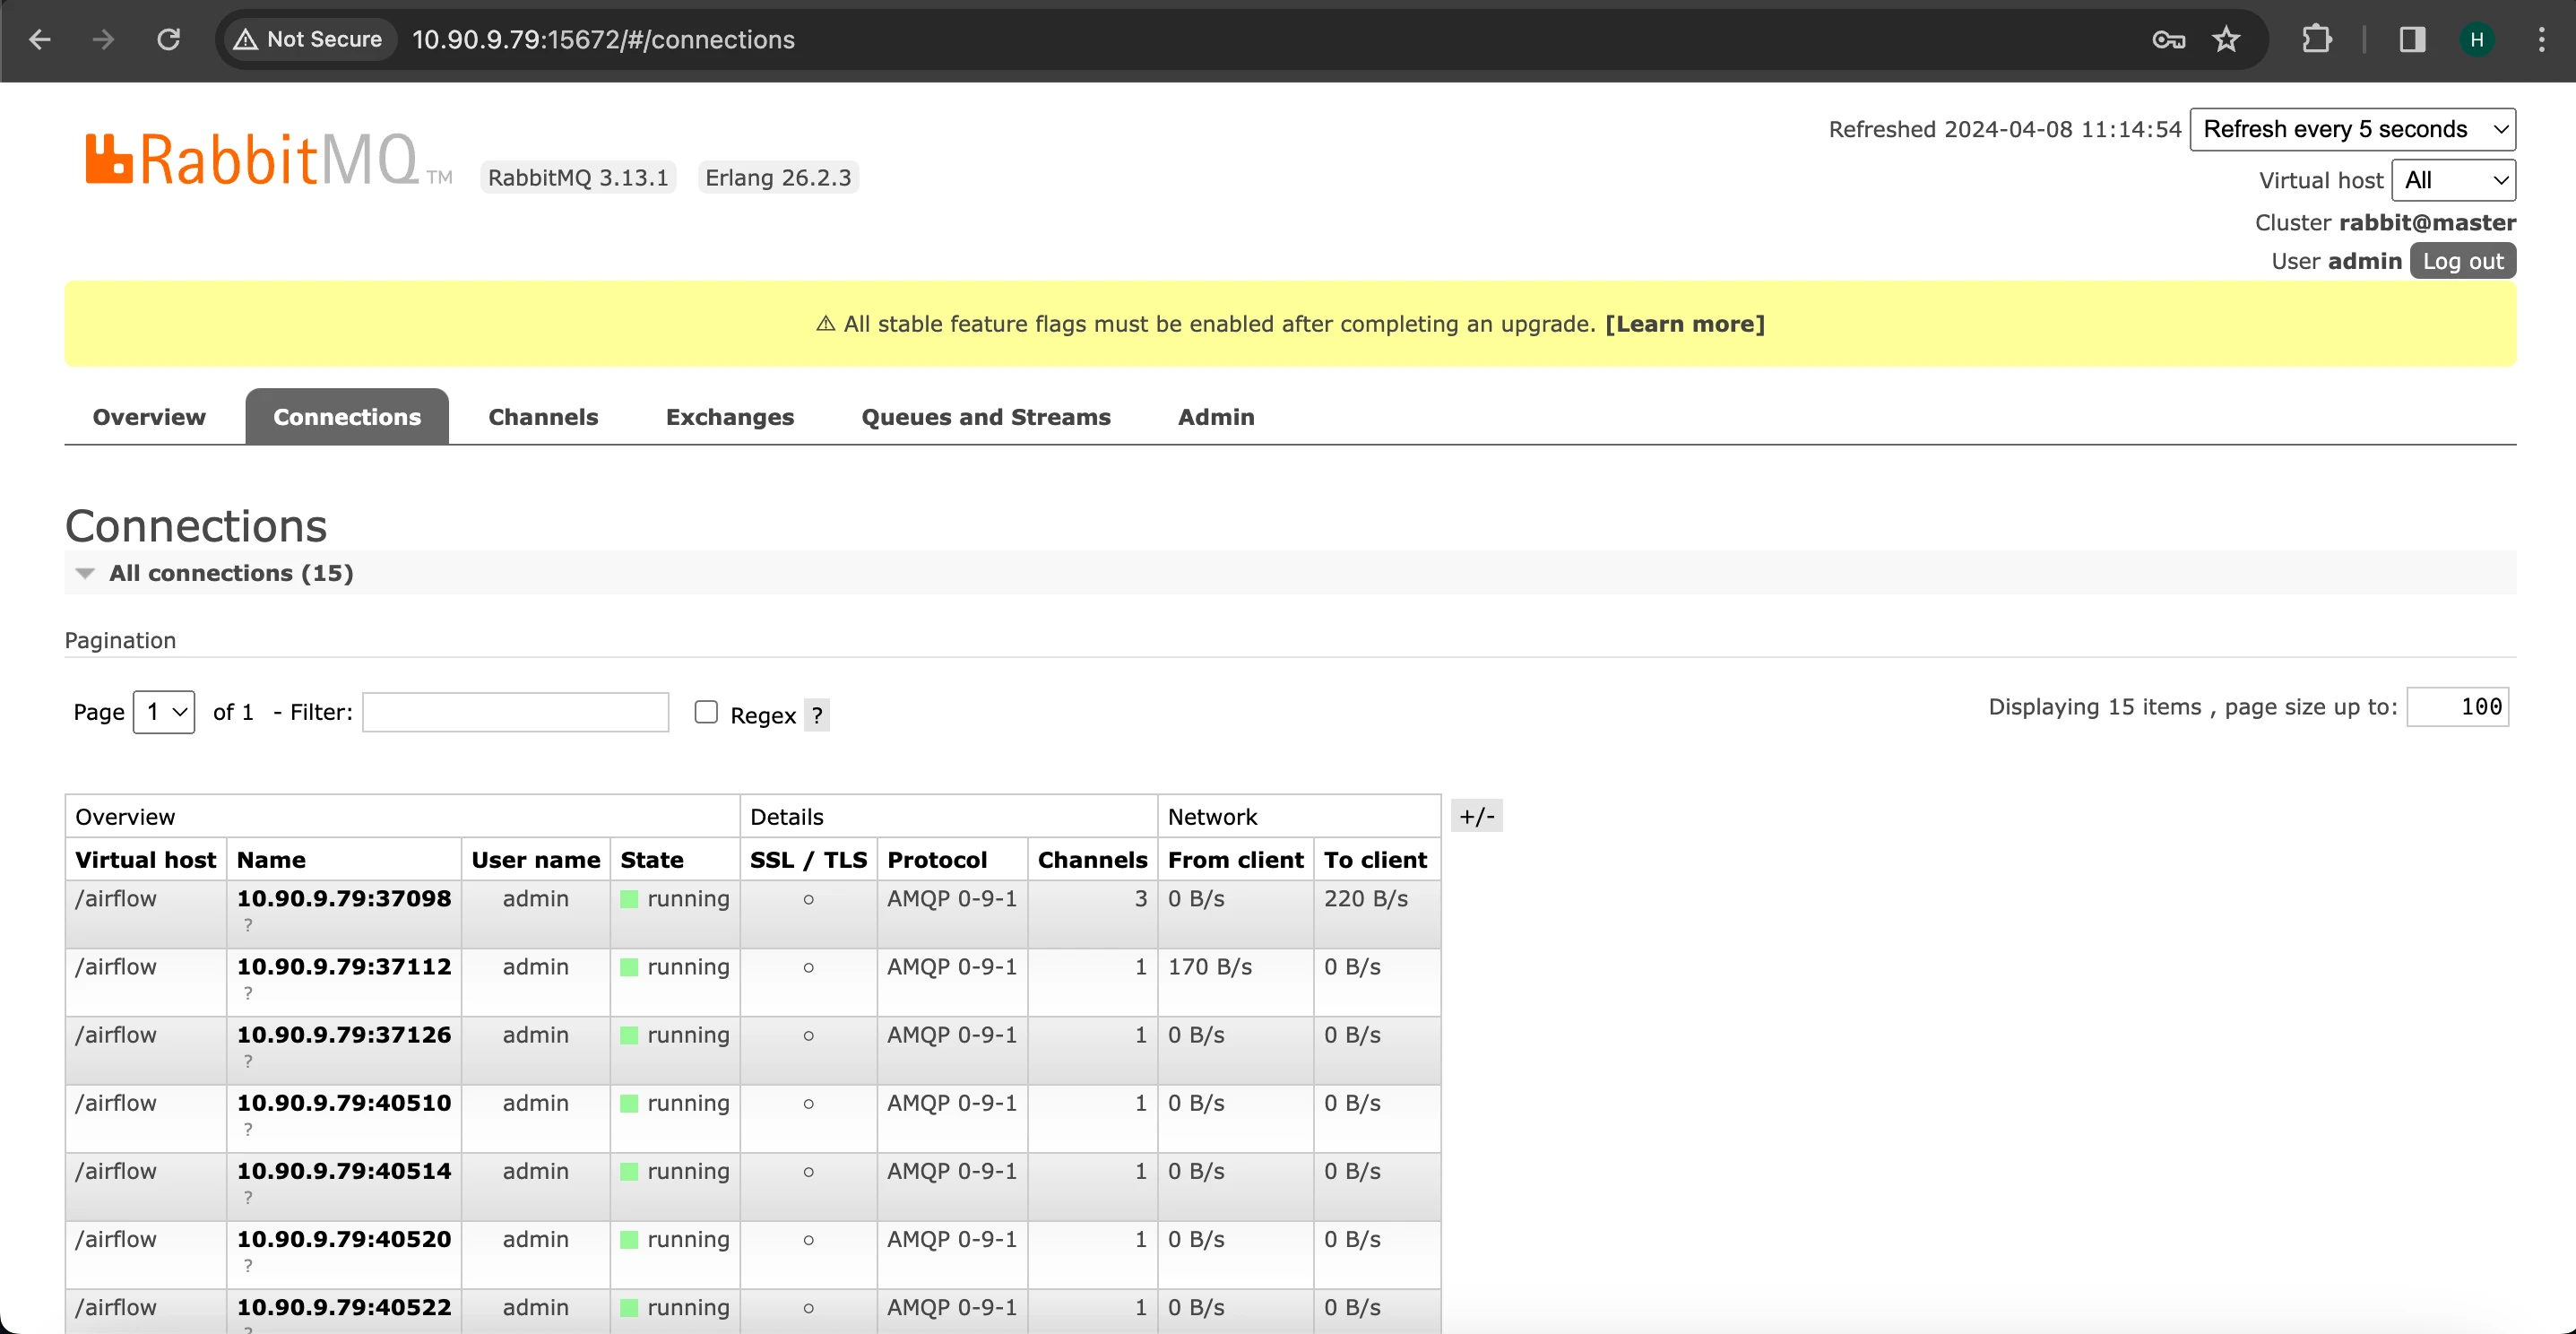
Check within the RabbitMQ UI to confirm the successful establishment of the connection.
To monitor Celery workers, utilize the Flower UI.
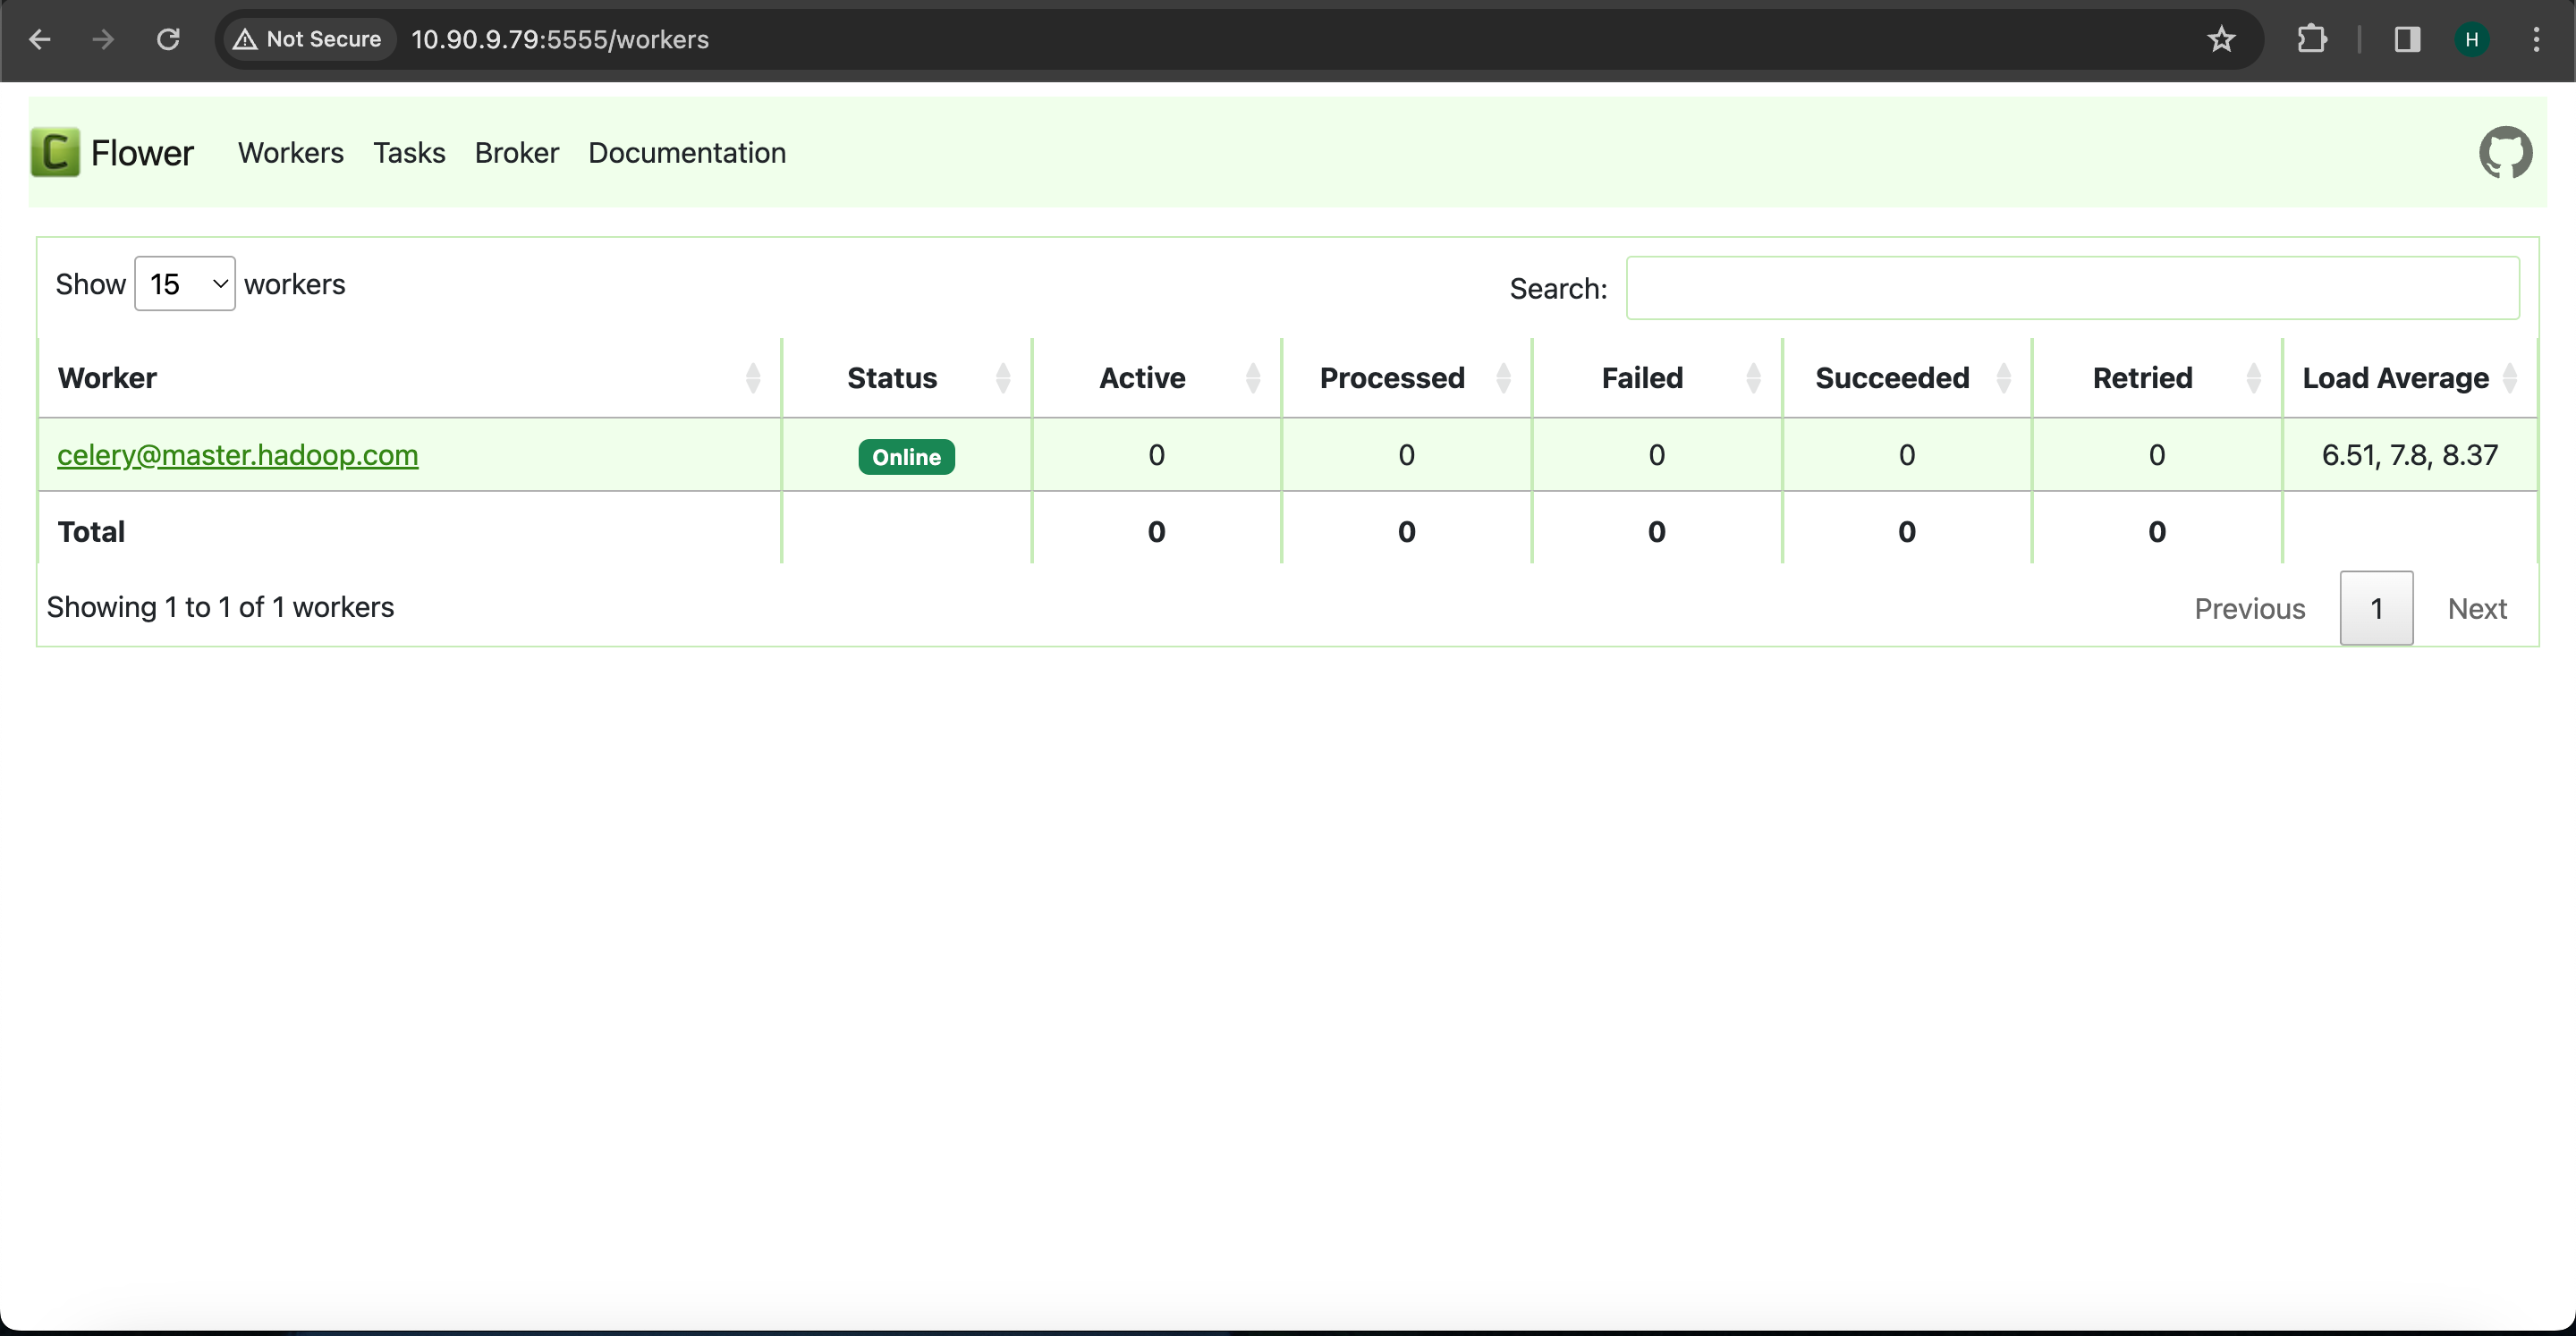
Flower is a web-based tool designed for monitoring and managing Celery clusters. It features a user interface that provides comprehensive insights into all Celery workers. The interface offers clear statistics regarding active tasks and processed tasks, indicating their success or failure status, along with the load average of the tasks. Additionally, Flower maintains detailed information such as task names, arguments, results, and task completion times.
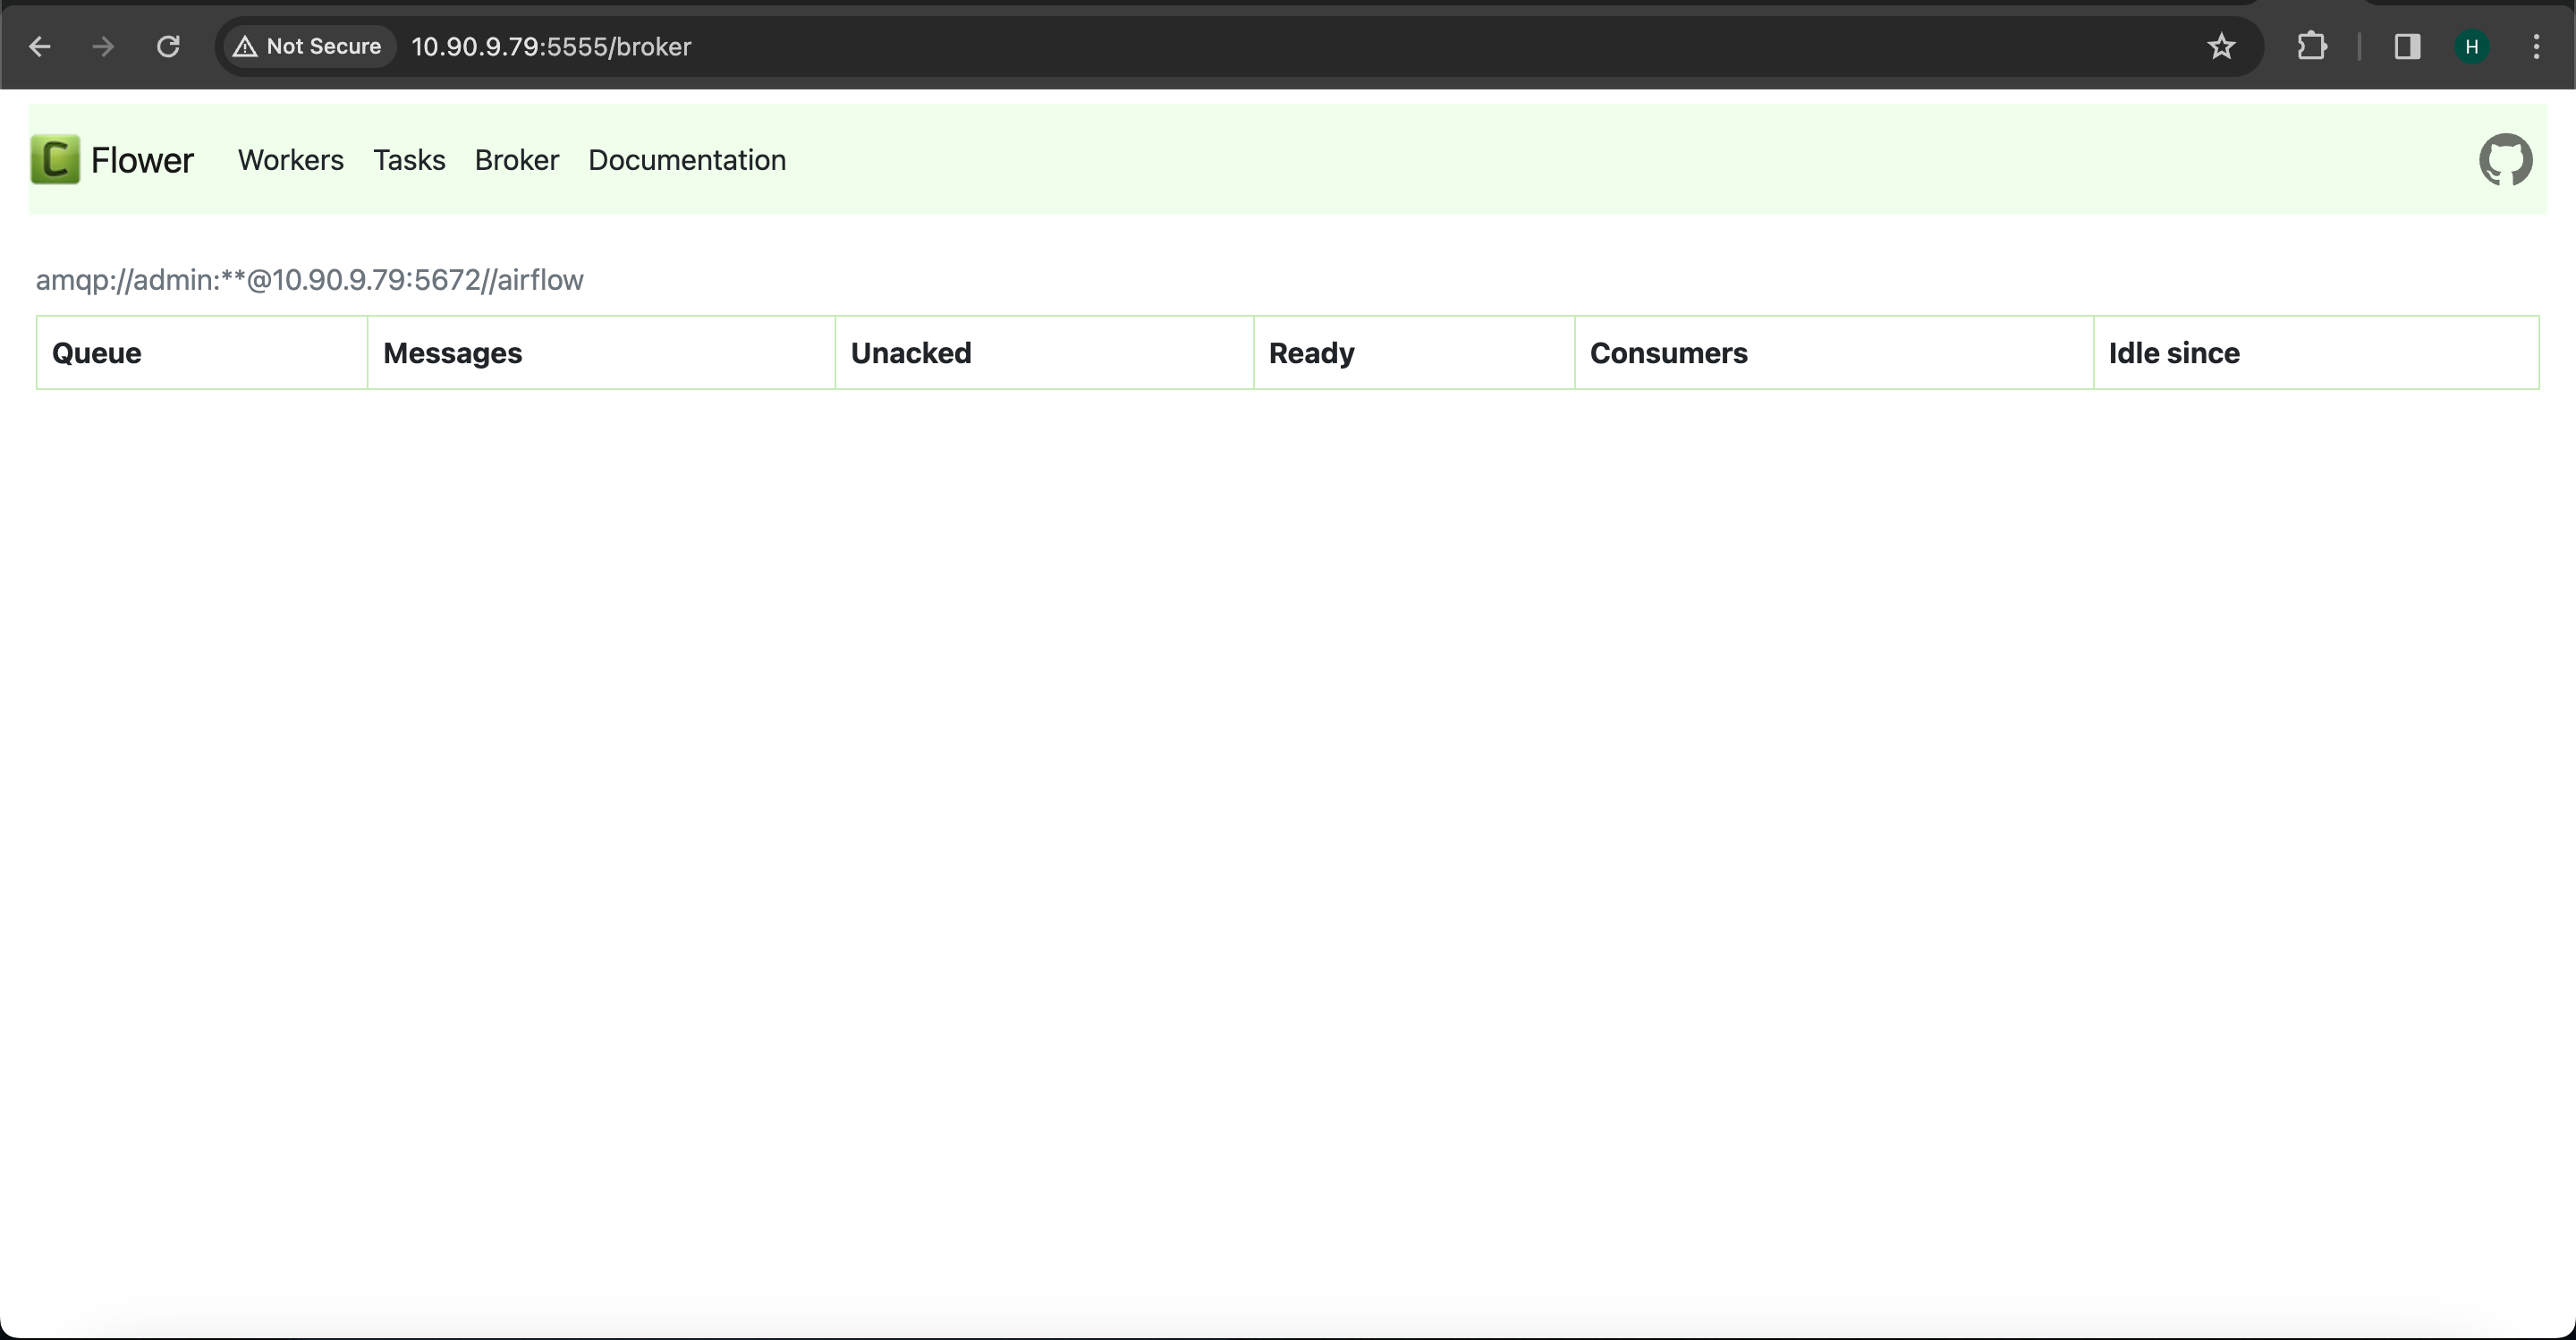
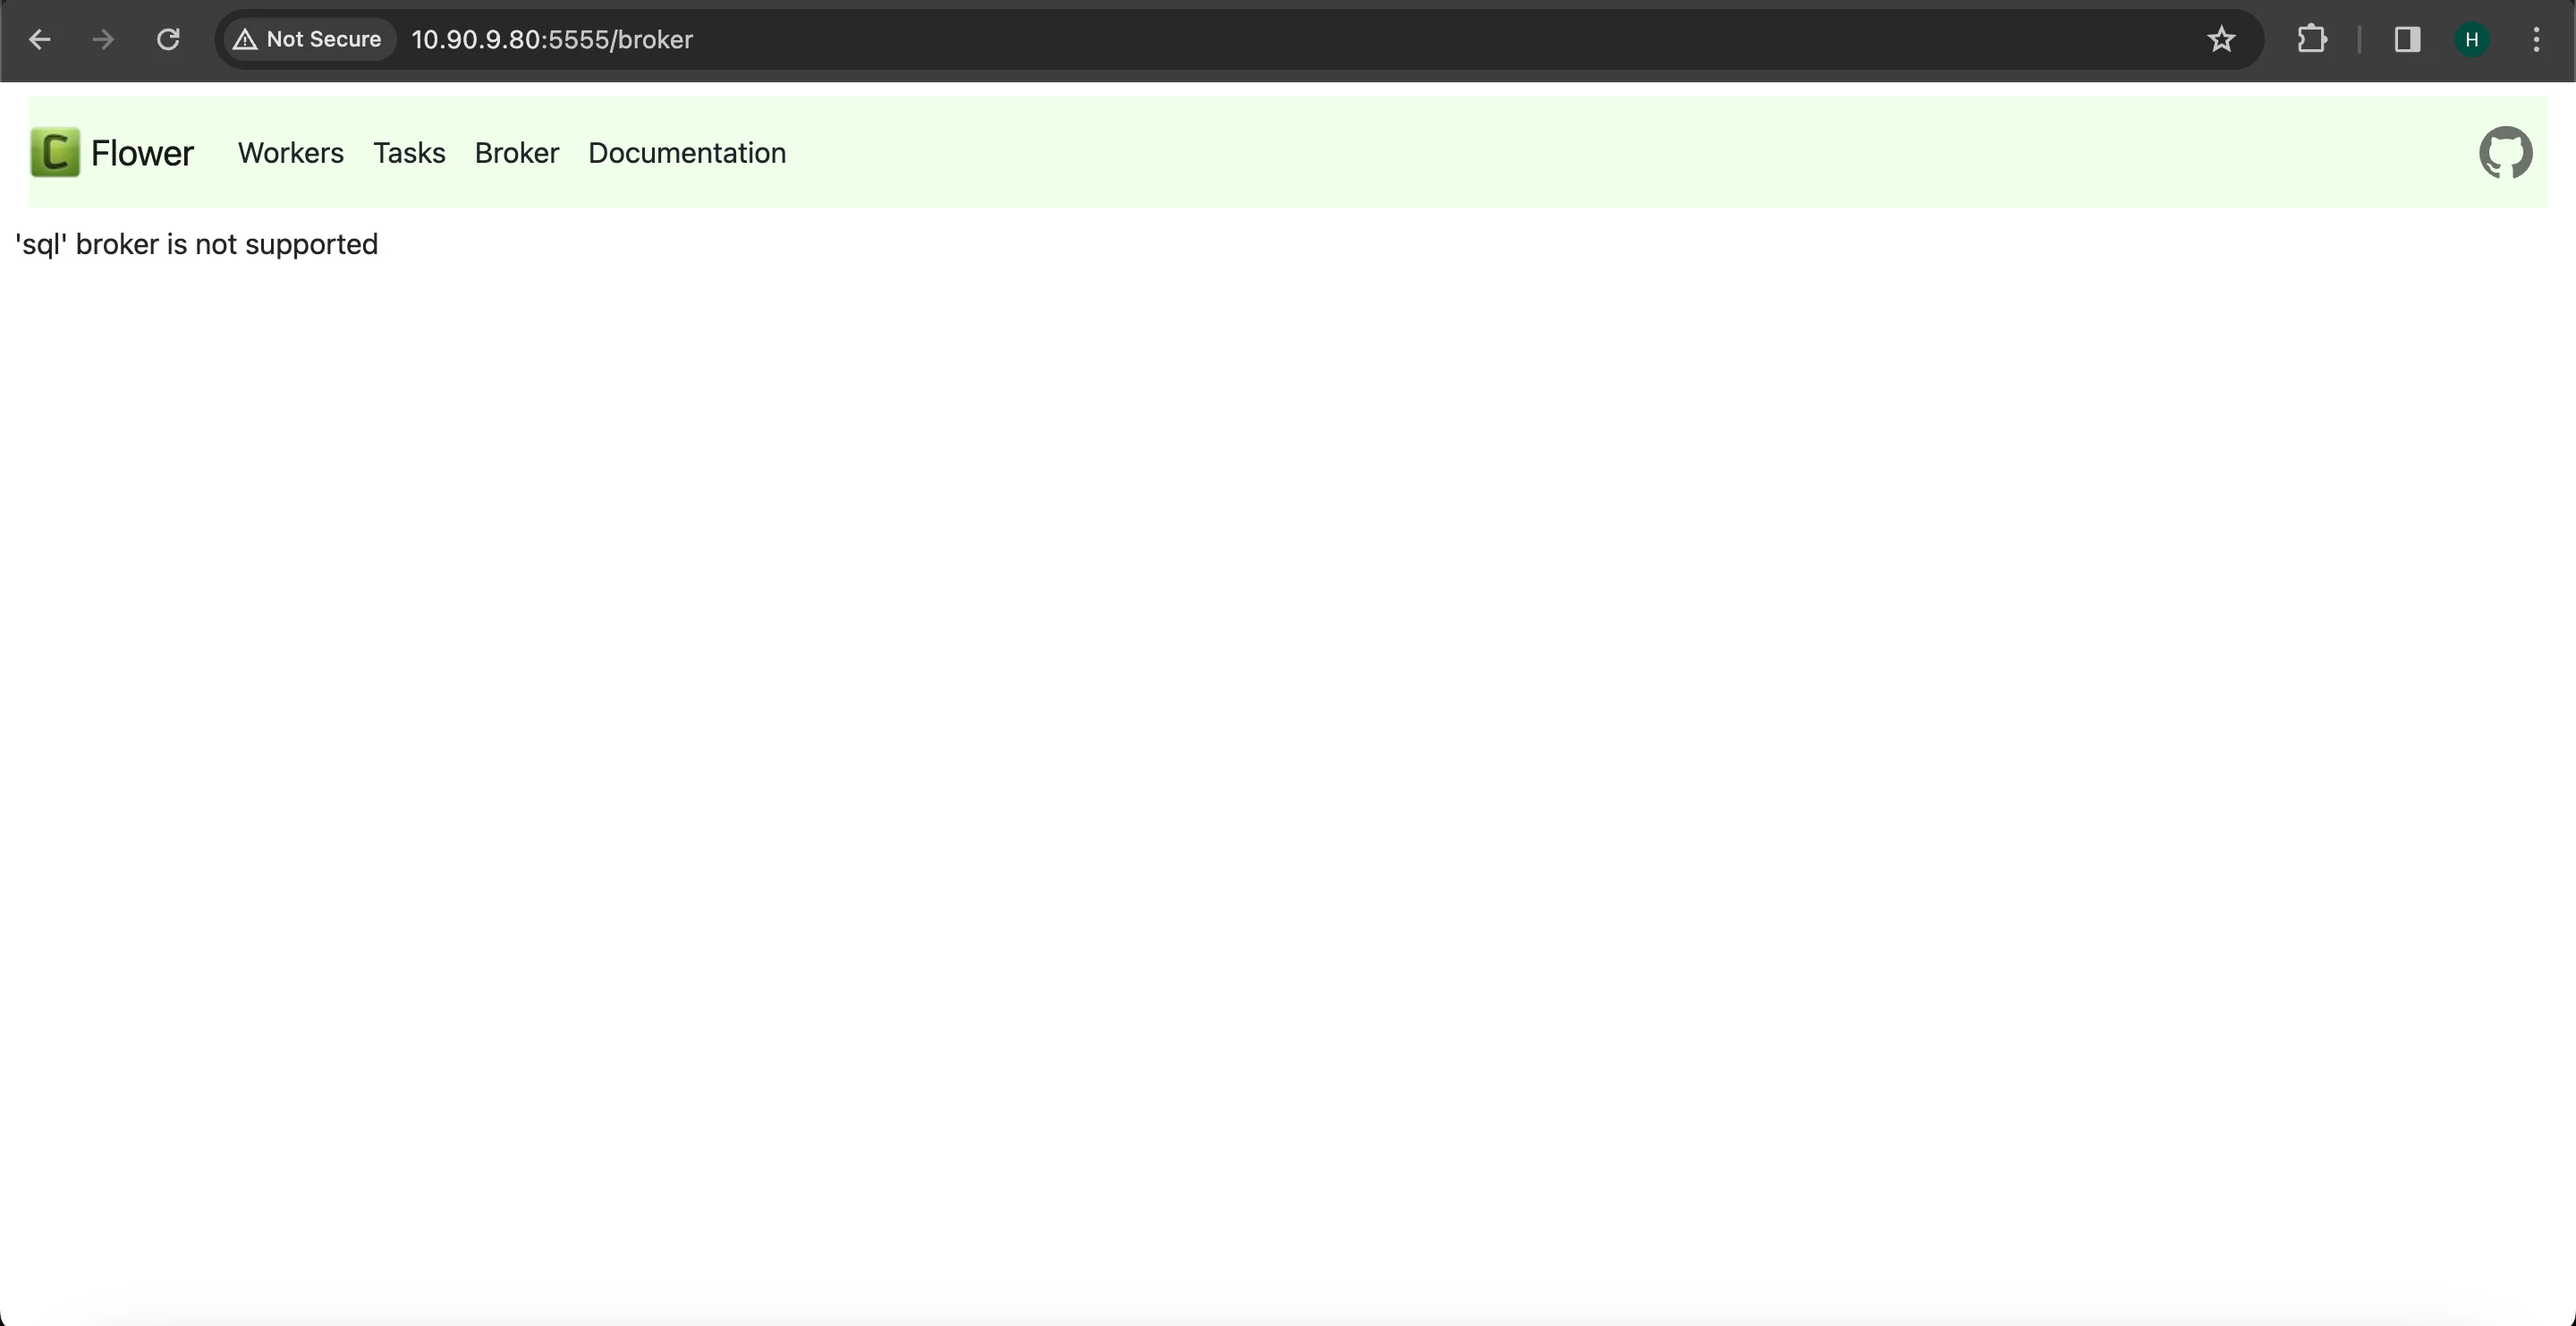
The Flower UI for Celery Worker is currently operational on port 5555. However, it is incompatible with SQL brokers. To enable monitoring with the Flower UI for Celery workers, it is necessary to configure RabbitMQ as the message queuing broker.
Once RabbitMQ is configured and the connection is established as visible in the RabbitMQ UI, attempt to access the Flower UI. This should allow you to observe the Celery workers running within the Flower UI.
Note If you are utilizing MySQL or PostgreSQL as the message broker or Celery broker, note that Flower is not compatible with SQL brokers. Therefore, attempting to access the Flower UI will result in encountering the following error message within the Flower UI.