This release adds Streamlit to JupyterHub, making it easier to build and run interactive data applications directly from the JupyterHub environment.
Streamlit is a Python framework that turns Python scripts into interactive web applications. With Streamlit available in JupyterHub, you can build dashboards, forms, charts, and data exploration tools using familiar Python code and libraries.
1. What Is Streamlit?
Streamlit lets you create web applications directly from Python without building a separate frontend. You write a Python script, use Streamlit components such as text inputs, tables, and charts, and Streamlit renders the app in a browser.
2. Why Use It in JupyterHub
Streamlit is useful in JupyterHub for several common workflows:
- building dashboards from data already accessible in the JupyterHub environment
- creating lightweight internal tools and interactive reports
- moving notebook logic into a more shareable application format
- building interactive UIs with Python only
3. Getting Started
Unlike a notebook workflow, Streamlit apps are created as Python scripts. There is no separate default staging app or special launcher tile required for this workflow. To get started, create your own .py file, add import streamlit as st, and run it from JupyterHub.
Example
The following example creates a simple Streamlit app with a title, a text input, and a small table:
xxxxxxxxxximport streamlit as stimport pandas as pd st.title("Example Streamlit App") name = st.text_input("What is your name?")if name: st.write(f"Hello, {name}!") df = pd.DataFrame( { "Category": ["A", "B", "C"], "Value": [10, 20, 15], }) st.dataframe(df)st.bar_chart(df.set_index("Category"))Save the script as something like my_app.py.
3.1 Example: Query Hive and Display Results
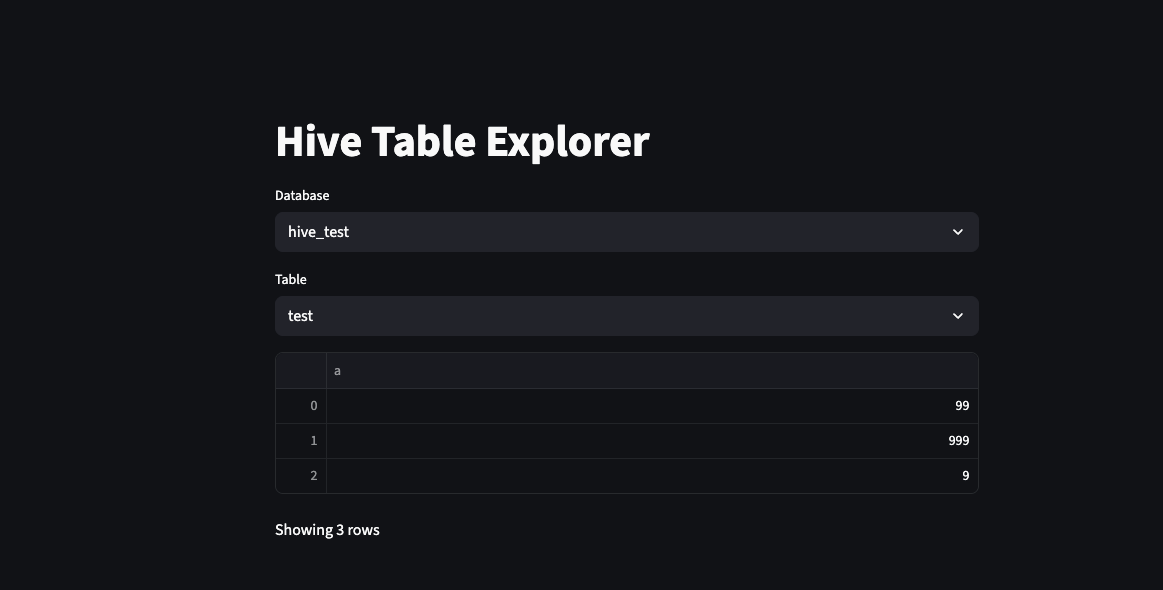
For a more realistic JupyterHub use case, the following example connects to Spark with Hive support, lets you choose a database and table, and displays a sample of the results in the Streamlit app.
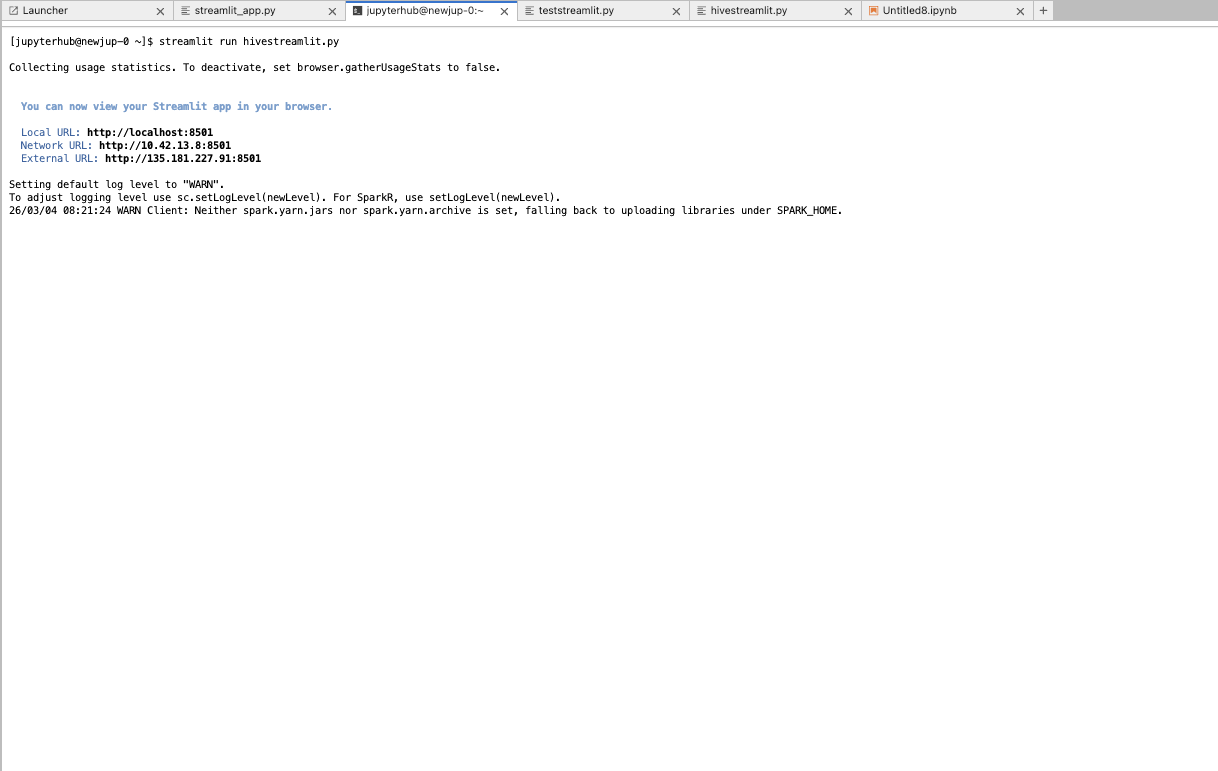
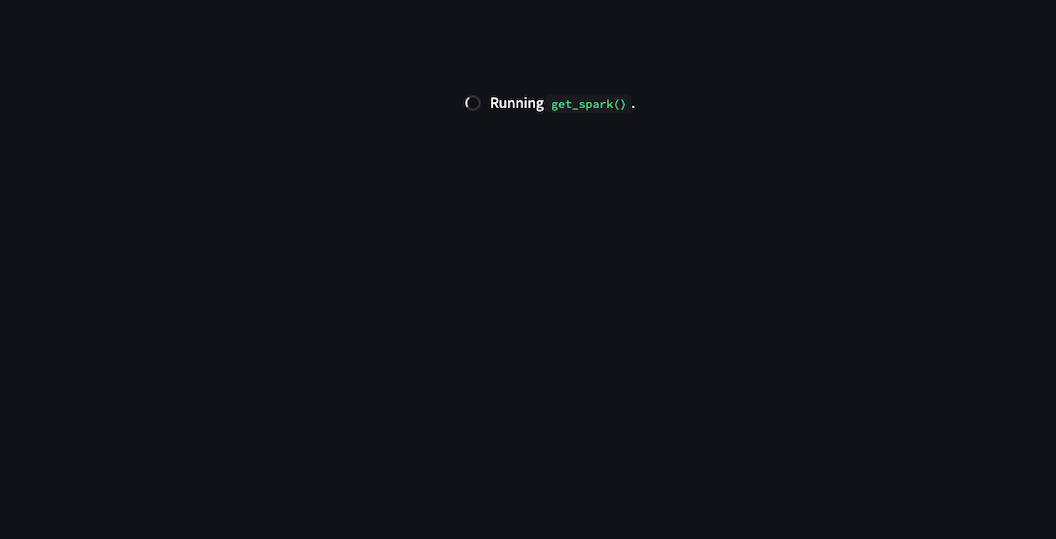
xxxxxxxxxximport osimport streamlit as stimport findsparkfrom pyspark.sql import SparkSession # Set Spark environment values for your JupyterHub installation.os.environ["SPARK_HOME"] = "/usr/odp/{odp-version}/spark3"os.environ["PYSPARK_PYTHON"] = "/usr/bin/python3"os.environ["PYSPARK_DRIVER_PYTHON"] = "python3" findspark.init("/usr/odp/{odp-version}/spark3") @st.cache_resourcedef get_spark(): return ( SparkSession.builder .config("spark.sql.catalogImplementation", "hive") .enableHiveSupport() .getOrCreate() ) spark = get_spark() st.title("Hive Table Explorer") databases = [row.namespace for row in spark.sql("SHOW DATABASES").collect()]selected_db = st.selectbox("Database", databases) if selected_db: spark.sql(f"USE {selected_db}") tables = [row.tableName for row in spark.sql("SHOW TABLES").collect()] selected_table = st.selectbox("Table", tables) if selected_table and st.button("Load Data"): df = spark.sql(f"SELECT * FROM {selected_table} LIMIT 100").toPandas() st.dataframe(df) st.write(f"Showing {len(df)} rows")Save above to something like teststreamlit.py and in terminal in jupyterhub, run streamlit run hivestreamlit.py specify port if required
This example is useful for lightweight data exploration and internal reporting workflows where Hive data is already available in the JupyterHub environment.
4. Running Your App
4.1 Create Your Application File
Create a Python file for your app, such as my_app.py, and add your Streamlit code there. This is the main workflow for building Streamlit apps in JupyterHub.
4.2 Run via JupyterHub CLI
Run the application from a terminal in JupyterHub:
xxxxxxxxxxstreamlit run my_app.pyThis starts the Streamlit app using your JupyterHub environment so you can open it in the browser and interact with it.
4.4 Iterate on Your App
As you update and save your Python script, Streamlit can automatically refresh the app, making it easy to iterate on layouts, widgets, and visualizations during development.