HDFS Audit
The HDFS Audit tab lets you view and search audit logs for security and compliance purpose. These logs contain information of activities recorded from every ip address plugged to the node.
Searching HDFS Audit Logs
You can search for audit logs associated services installed in your cluster. These logs are displayed within the timeline you select.
To search for audit logs, do the following.
- From the left panel, you can apply the following criteria for searching a log file.
- Services: Displays the list of services used in the integrated applications. These services display the time stamp at which the associated logs were last captured at.
- Filters: You can filter with the following criteria:
- Host.name
- Cmd
- Proto
- Allowed
To search a host name or cmd from the available list, type the hostname or cmd in the respective search box. If the value exists, the list displays that value automatically.
- Click the search icon placed near the search text box at the top of the page. You can alternatively type your search query manually and click the search icon.
The query string accepts only boolean operators.
- To refresh the panel, click the refresh icon.
- To hide the panel, click Hide and to display the panel click Show.
- Use
and icons to display and hide the list of Services and Filters. - To search a host name or source from the available list, type the hostname or source in the respective search box. If the value exists, the list displays that value automatically.
- To copy name of the Services and Filter, click the
that appears next to the name when you hover over the name.
The filtered logs are displayed in the log details pane below the search bar.
Time Histograms
This panel displays the logs in the form of a histogram where you can see the number of records for a particular time frame. You can view the histogram by Severity and Service. Click the drop-down located in the top right of the Time Histograms tile and choose a view.
The Severity view displays number of records of the following: Error, Info, Warn, Debug, Trace. The following image is an example of Severity view.

Severity View
The Services view displays number of records of services. You can add or remove a service from appearing in the histogram. Click the drop-down in the top left corer of the Time Histograms tile and select or deselect services. The following image is an example of Services view.

Services View
Log Details Panel
The log details pane displays the following details of a log file.
| Column Name | Description |
|---|---|
| Log Time | The time at which the log was captured. |
| UGI | The User Group Information code. This value is displayed along with the authorization level given to the UGI. |
| CMD | The command used at that particular time. To copy the command, click |
| SRC | The source path. To copy the path, click |
| DST | The destination path. To copy the path, click |
| PREM | The permissions given to the user, either read, write, or execute. To copy the permission, click |
| Allowed | The permission status of an operation, true if operation allowed and false if operation not allowed. |
| IP | The IP address of the user performing the operation. |
| Proto | The protocol used. |
| Caller Context | The tracking id of the application. To copy the ID, click |
The logs are divided in the following severity levels:
- Error
- Info
- Warn
- Debug
- Trace
Features
Grouping Logs
You can group the audit logs by Trace, Severity, or Host. Click the Group By drop-down label in the top left corner of the log details panel and select a grouping criteria.
Searching by Phrase
To search a word or phrase in a log, do the following.
- Click Highlight Text in the top-right corner of the Audit screen. A text box appears.
- You can input a string in the search box using either of the following ways.
- Type the phrase or word in the text box and press the enter key.
Click the Match Phrase button to return results that contain the exact words of the string, in the order specified.
- Select and copy the text from the log window that you want to search, and paste it in the search box and press the enter key.
- The written or pasted text if found, is highlighted in the log messages. You can also search multiple phrases or words.
Saving a Search Query
To save a search query, do the following.
- Type the query in the search box and click the
icon. A Save Search window appears. - Type a name for the search query in the Name text box.
- Click Save.
The search query is saved.
Loading a Saved Query
To load a query from the search queries you saved, do the following.
- Click the Search button in the left side of the search box.
- From the available list of saved queries, click the query you want to load.
The query is loaded and associated logs are displayed.
Downloading Logs
To download the logs, click the
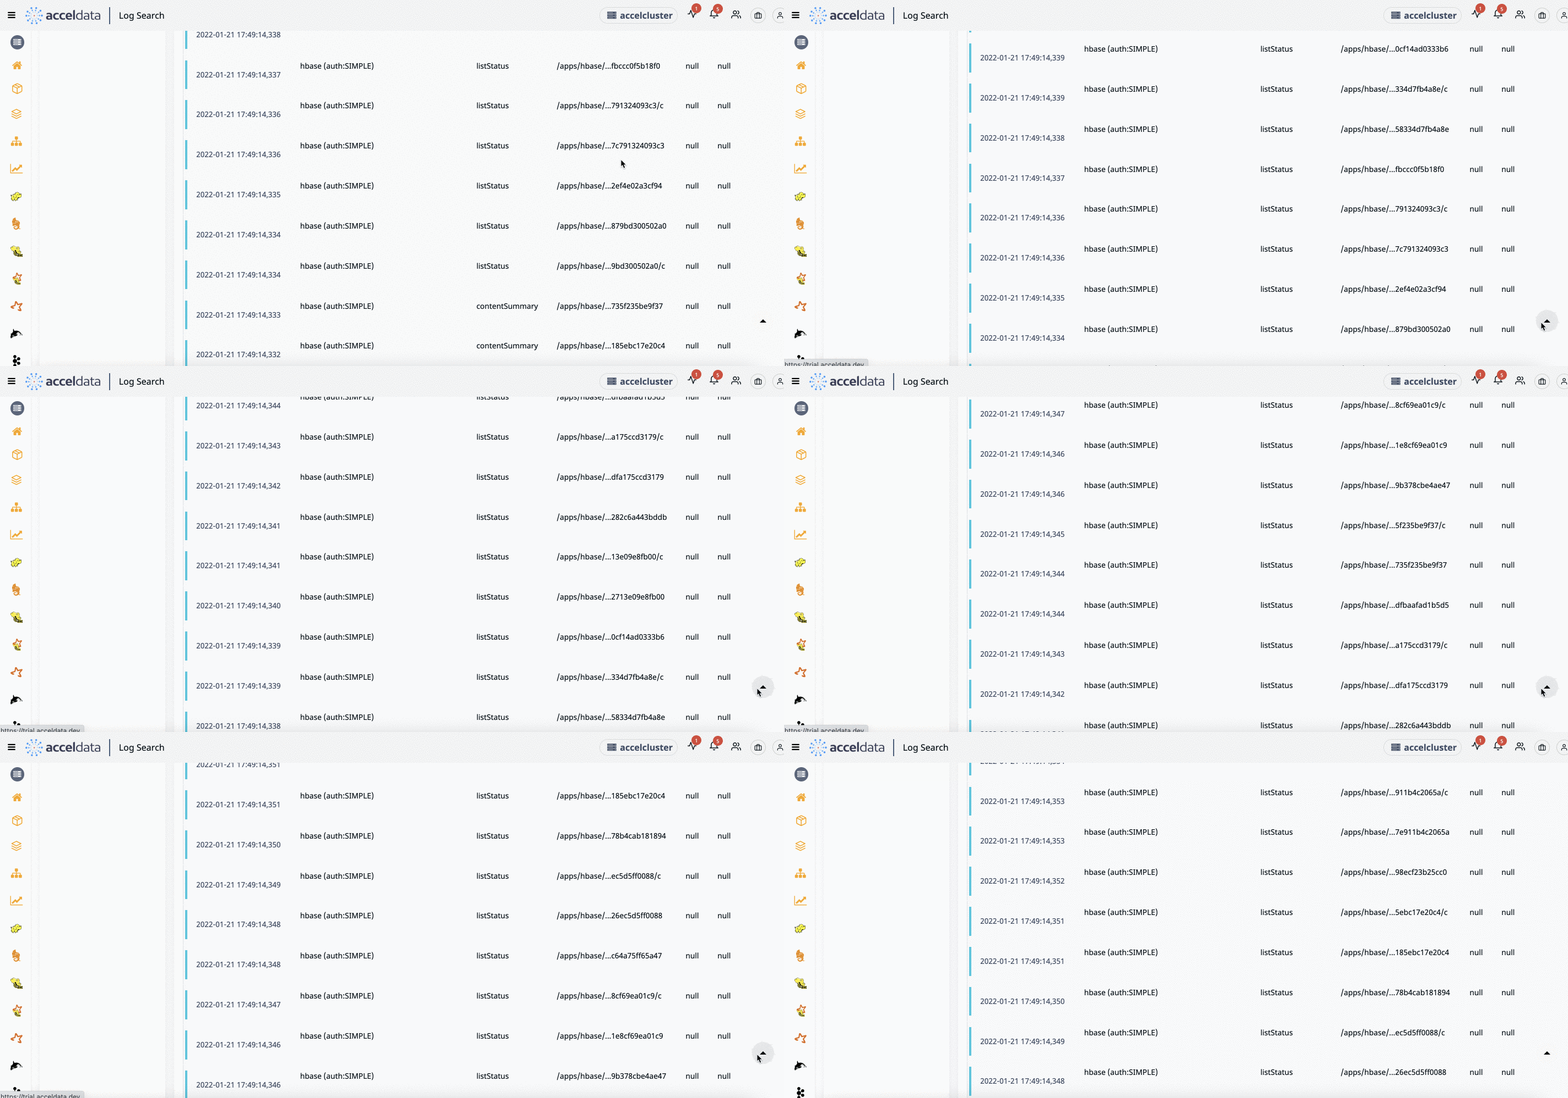
Scroll Page
To scroll the page automatically, click the icon in the bottom corner of the page. Refer the following illustration for more information:
